Boat Building
Exterior
Requirement: protect the exterior as much as possible to minimise maintenance and cost in the future.
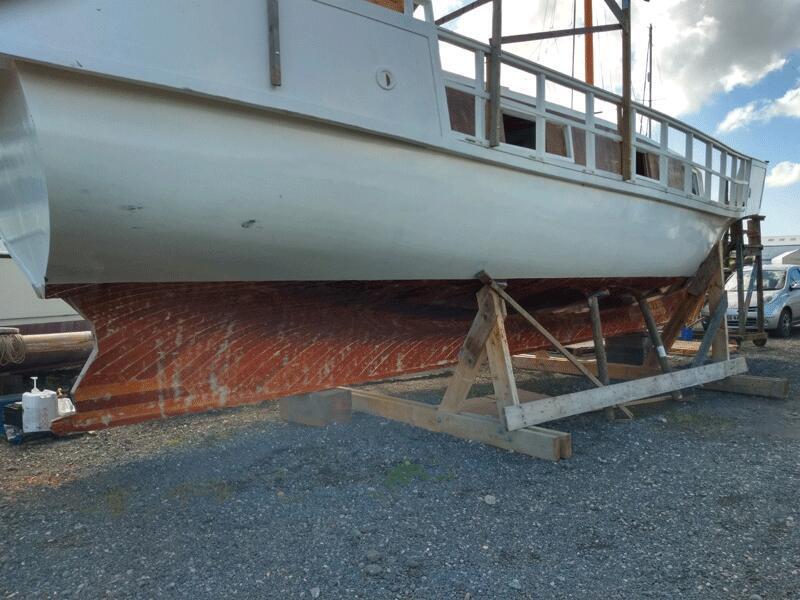
Hull Underwater
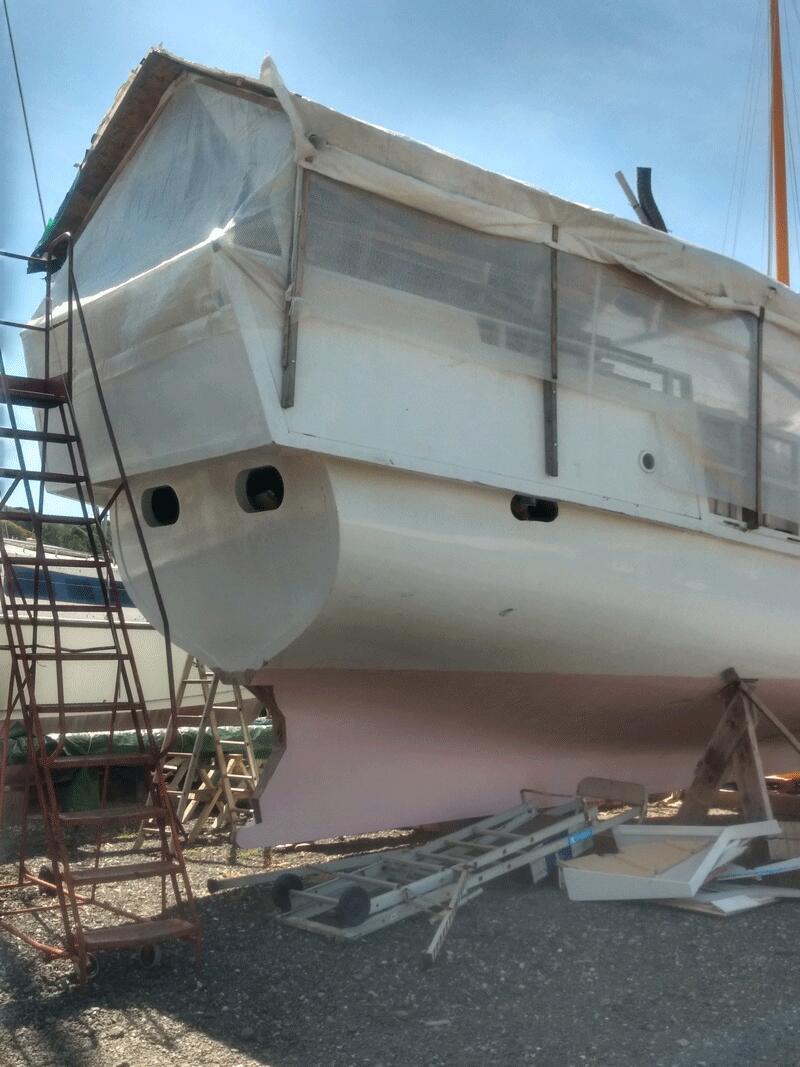
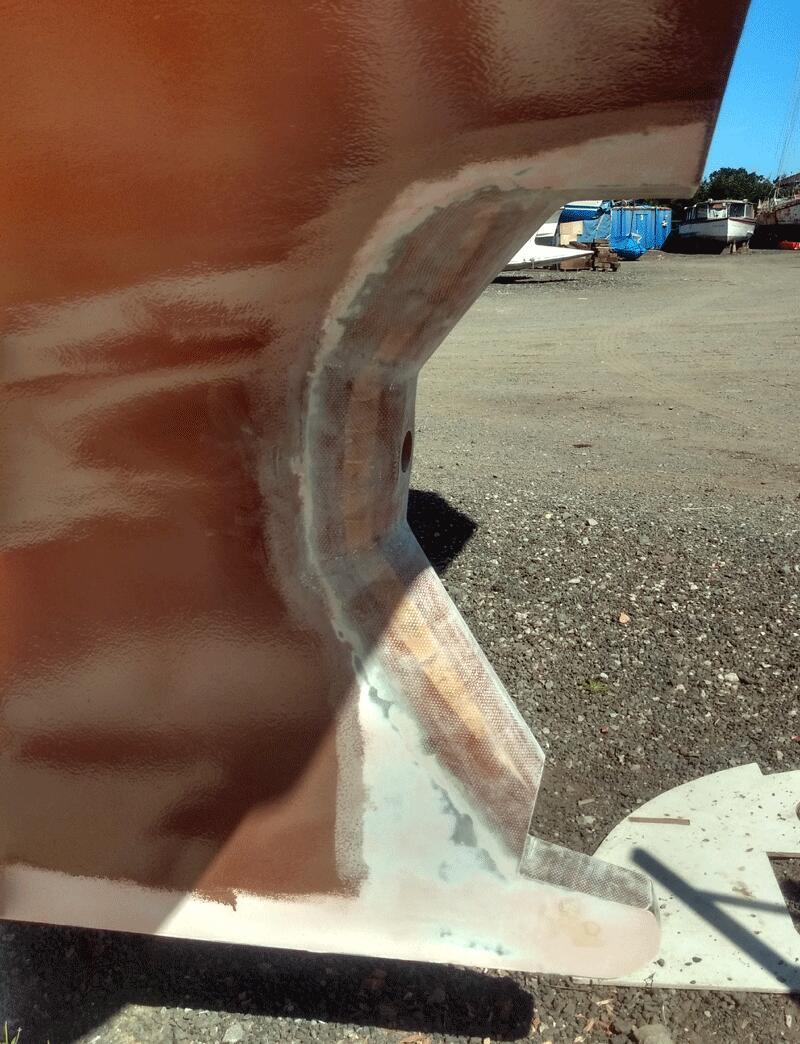
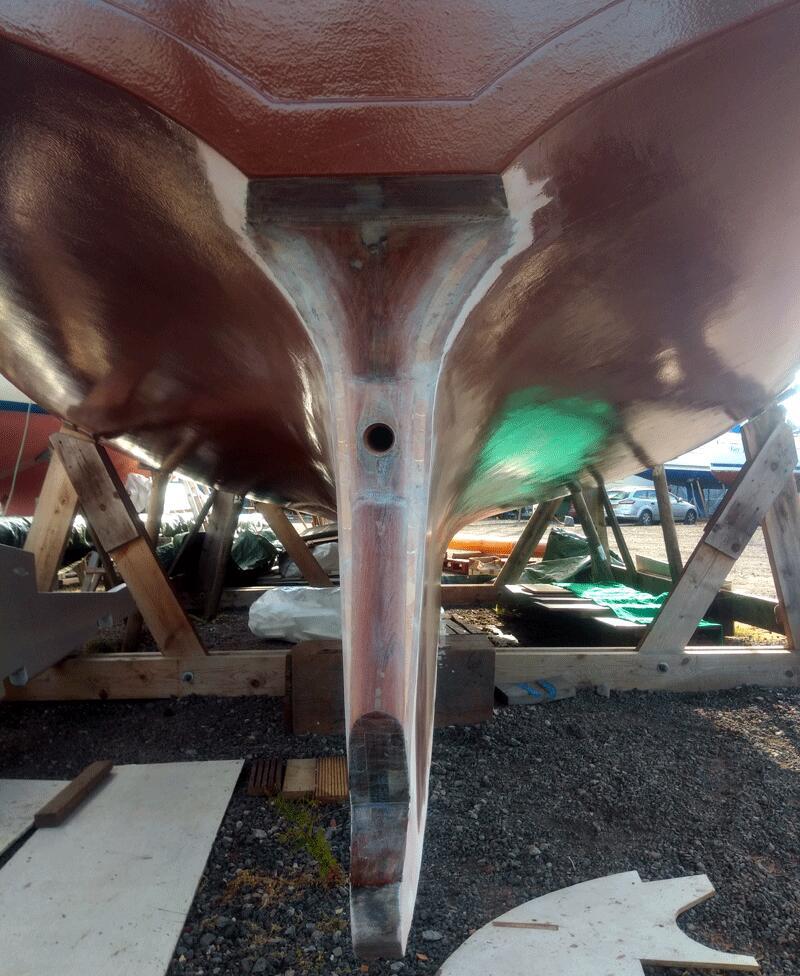
- Drilled propeller hole
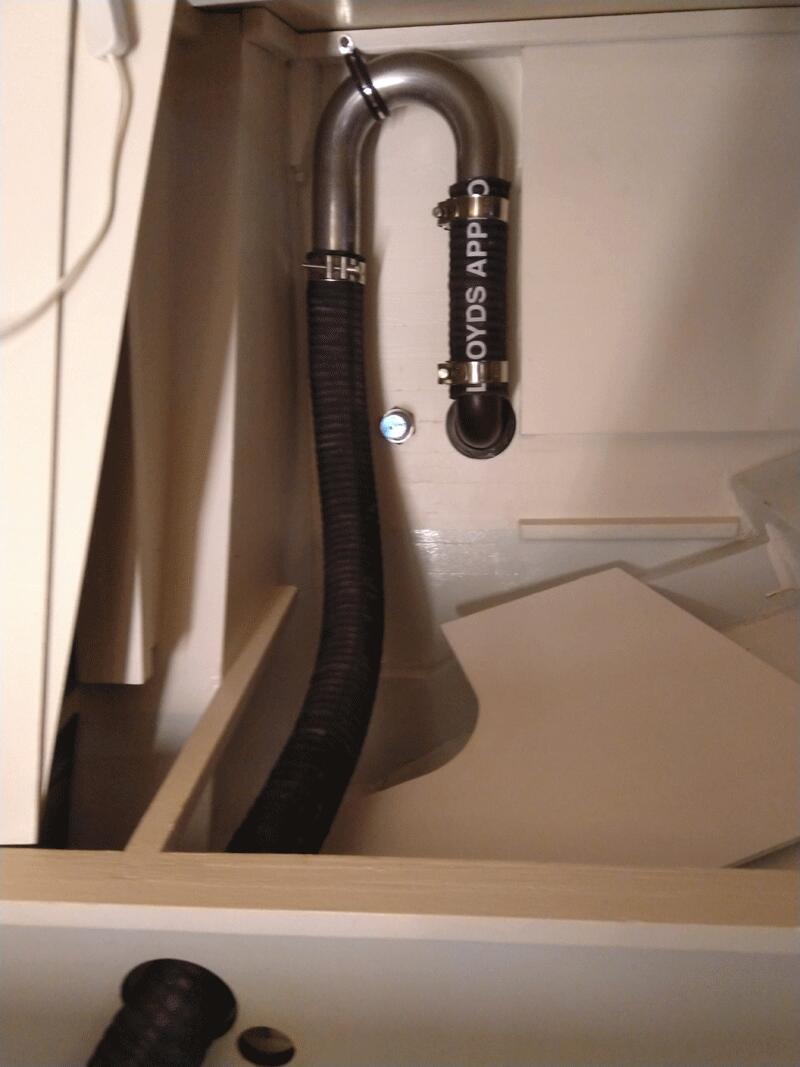
- Drilled exhaust hole
- Drilled water filter hole through the hull below waterline
- Echo sounder — cut a hole in the bottom and made it solid fibreglass & epoxy as the echo sounder does not work well through the wood. Glued the transducer on top of that.
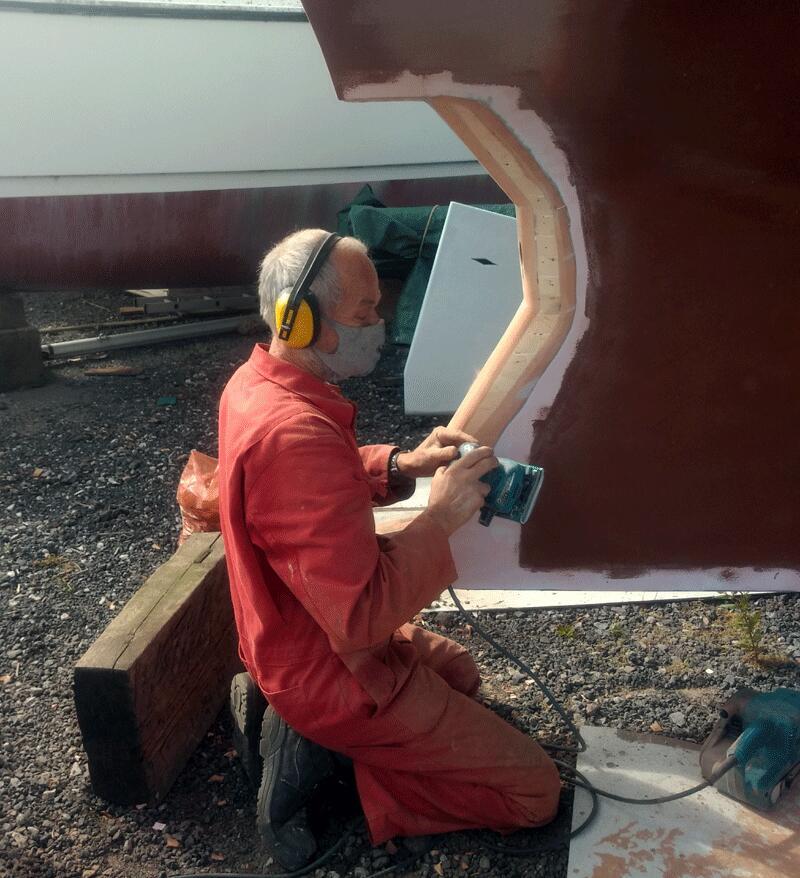
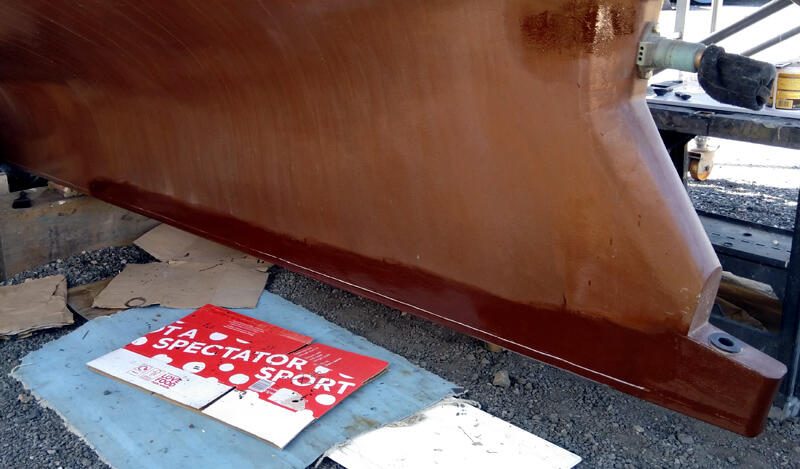
- Shaped the stern for the propeller, fibreglass, epoxied etc
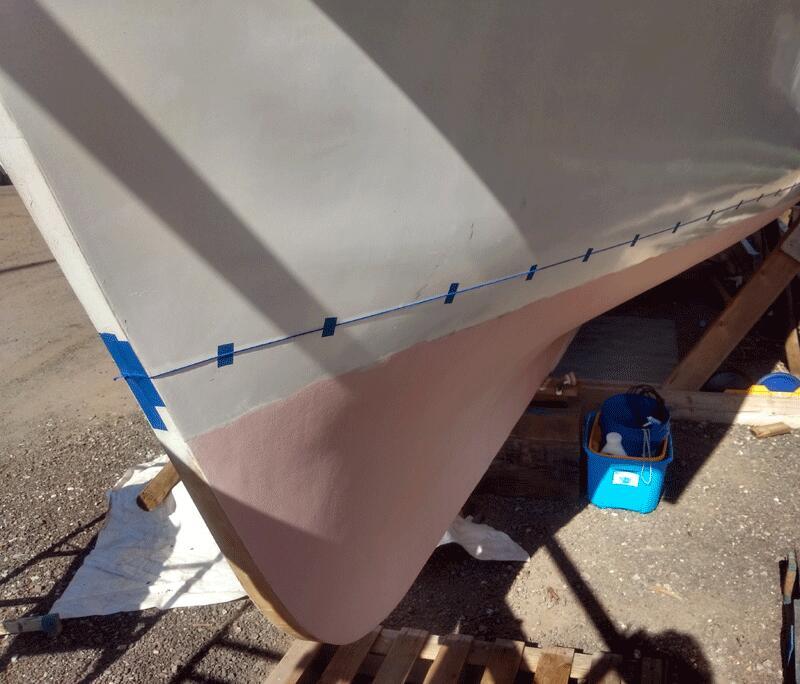
- Added wood to the stem to make it rounded
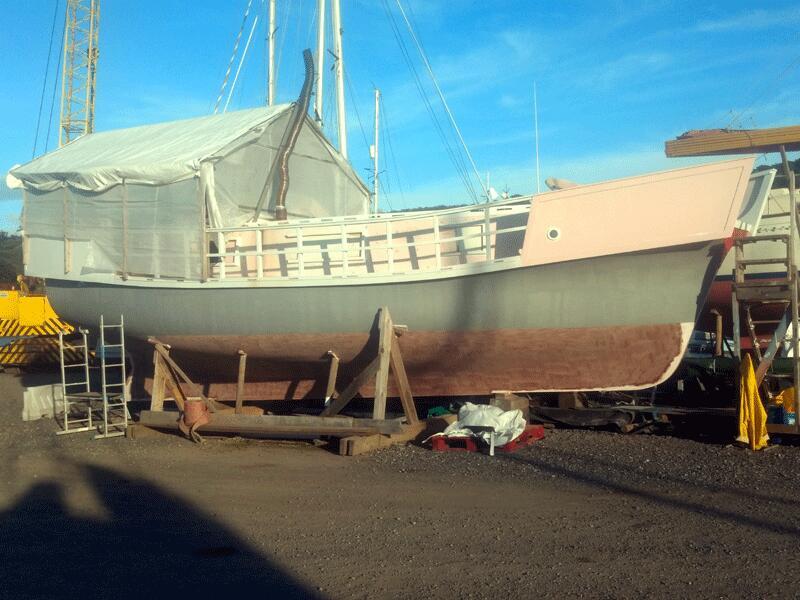
- Measured and raised the waterline 10 cm / 4"
- Epoxy glue waterline with a string
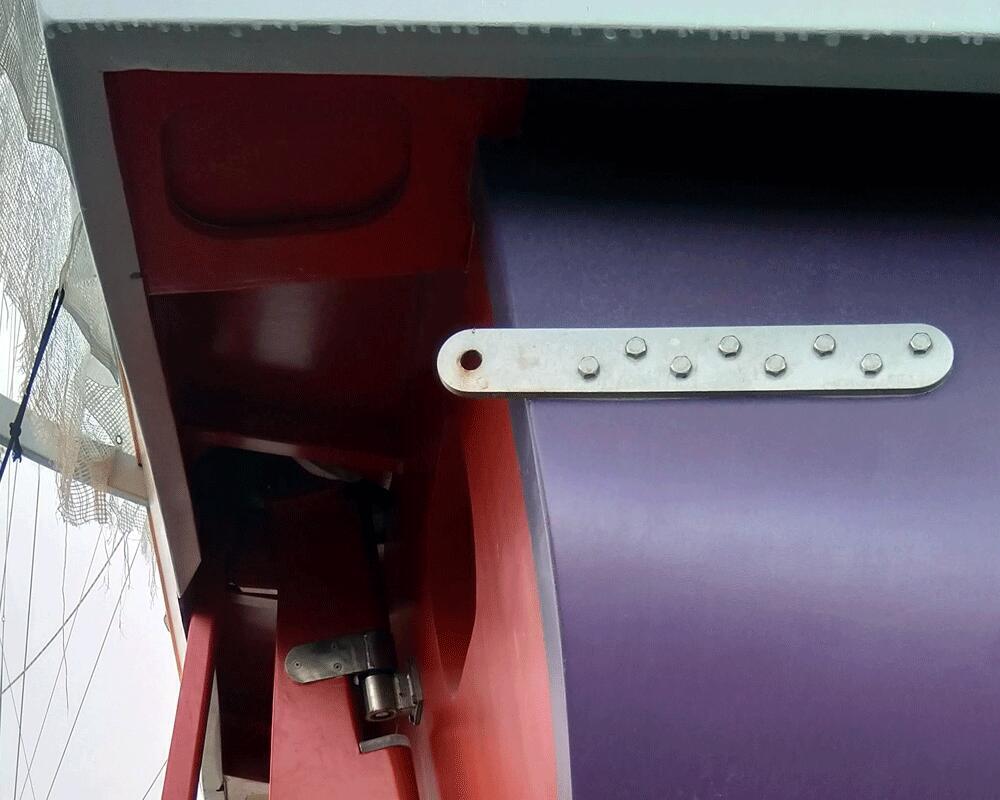
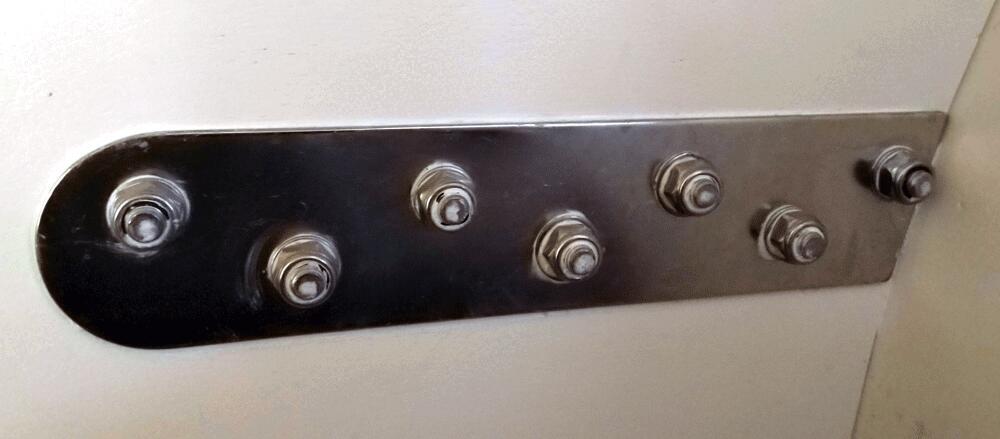
- Fitted series drogue plates: 10mm stainless steel plate — 40 cm long, with 4mm SS backing plate
Finish
- 2 coats of epoxy, sanded
- 2 coats of epoxy primer, sanded
- 5 coats of epoxy and copper coat powder mix applied in one day to bond well
- Sanded before launch to expose copper
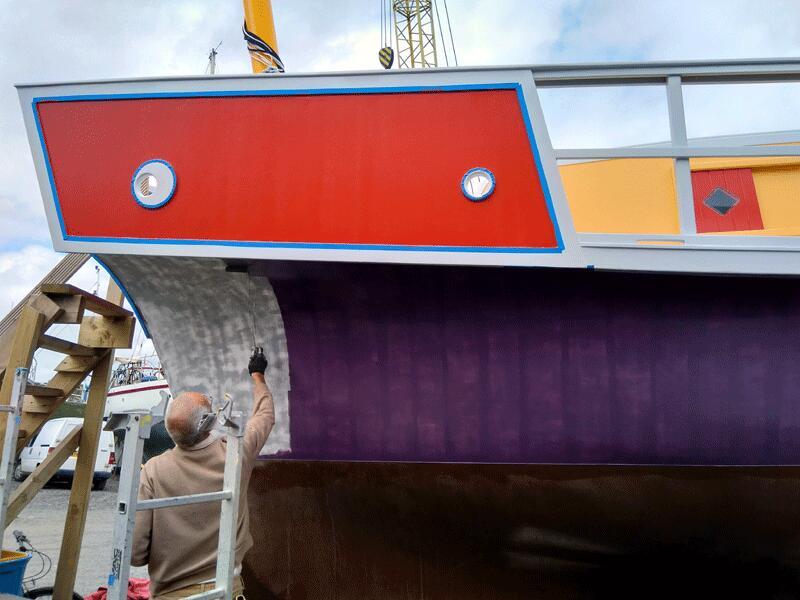
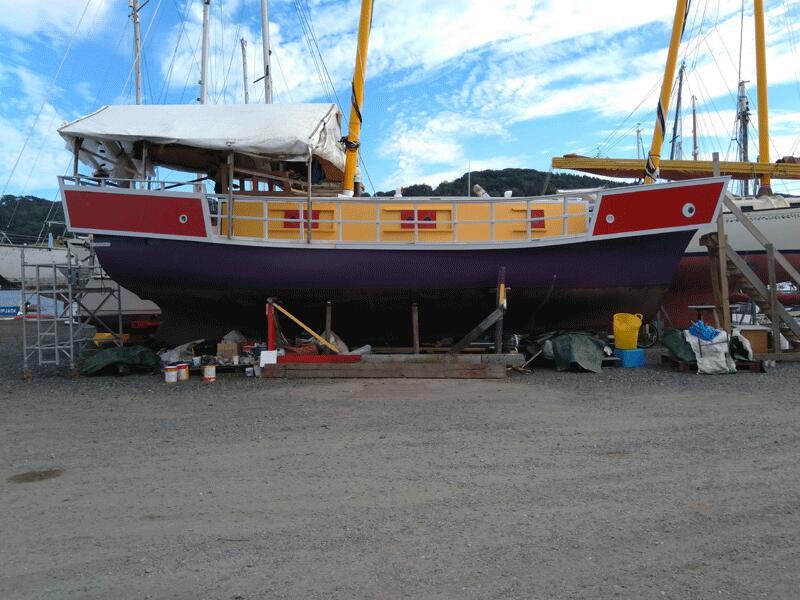
Topsides
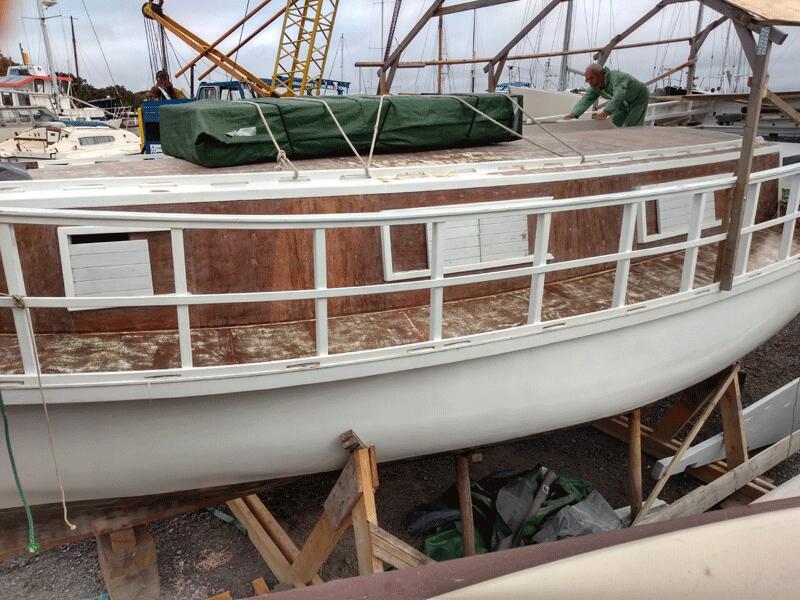
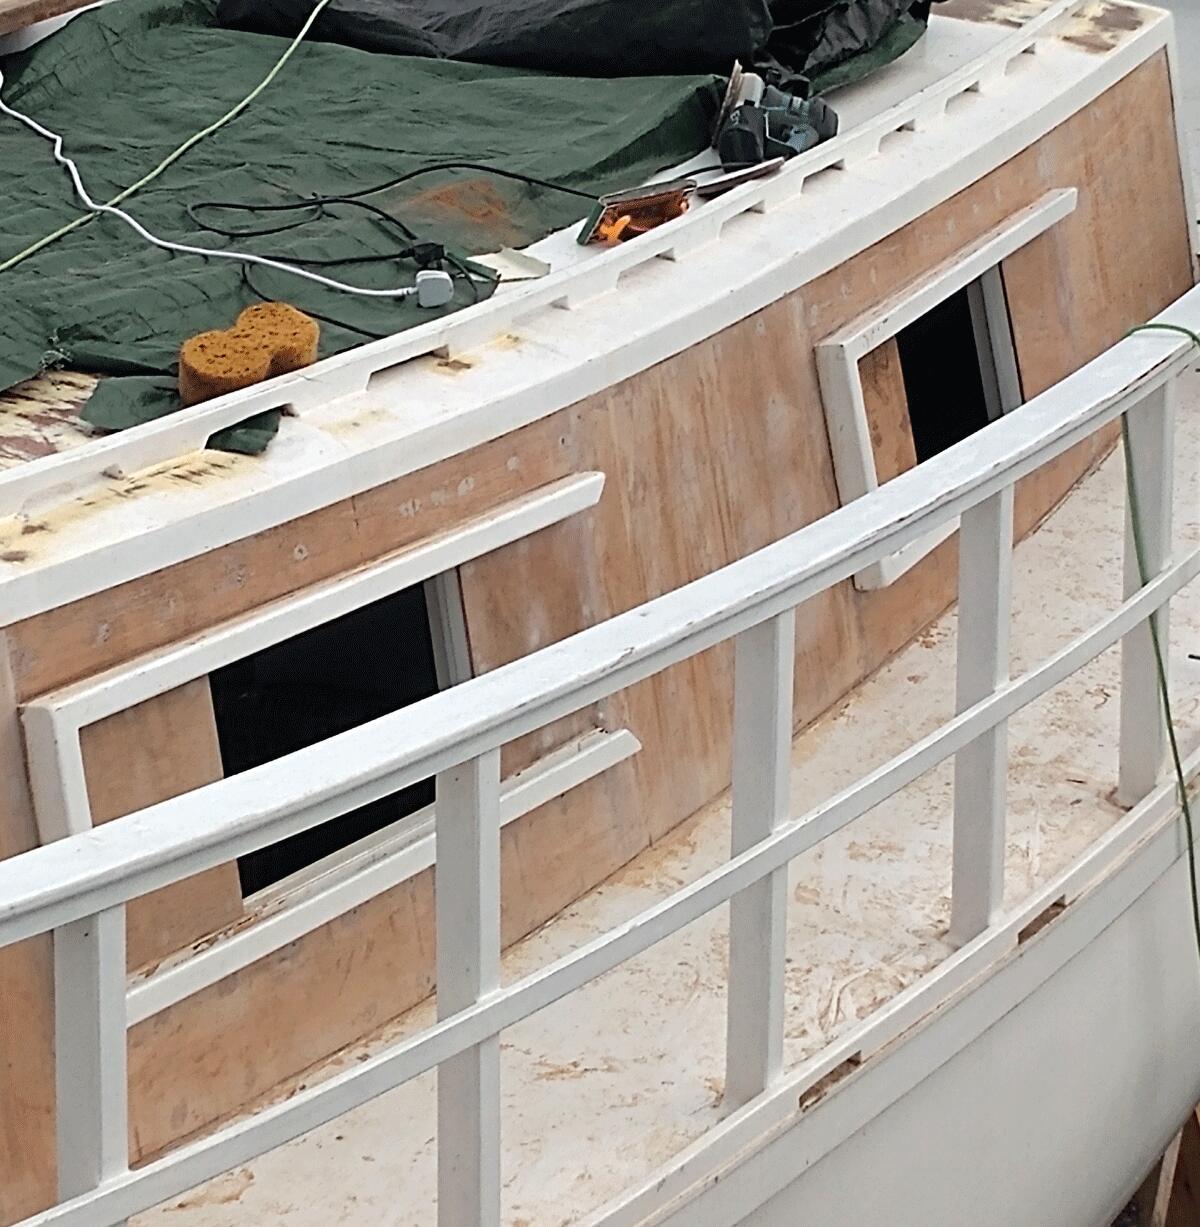
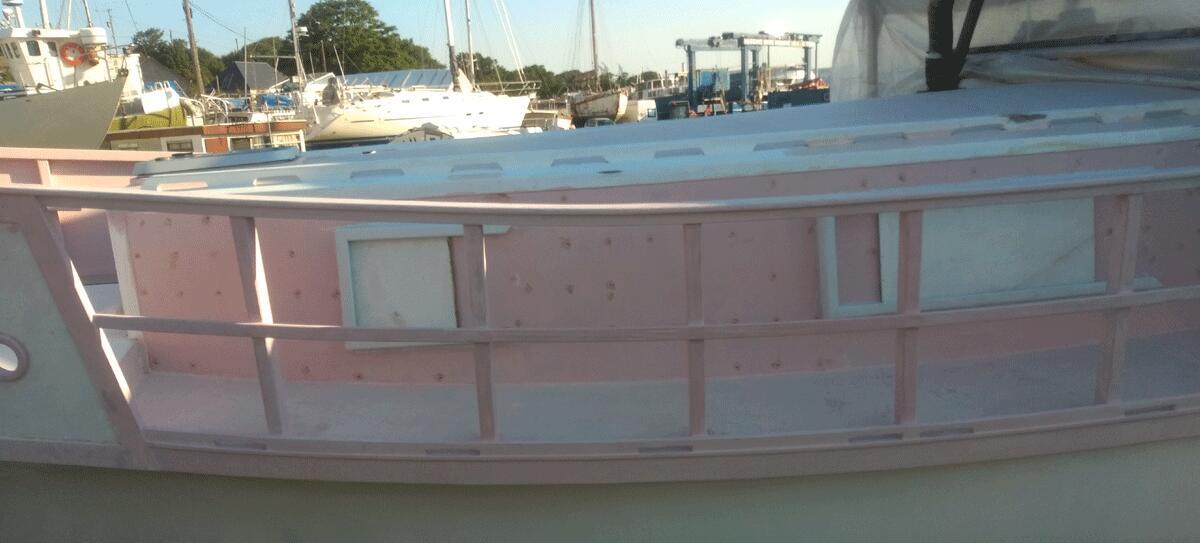
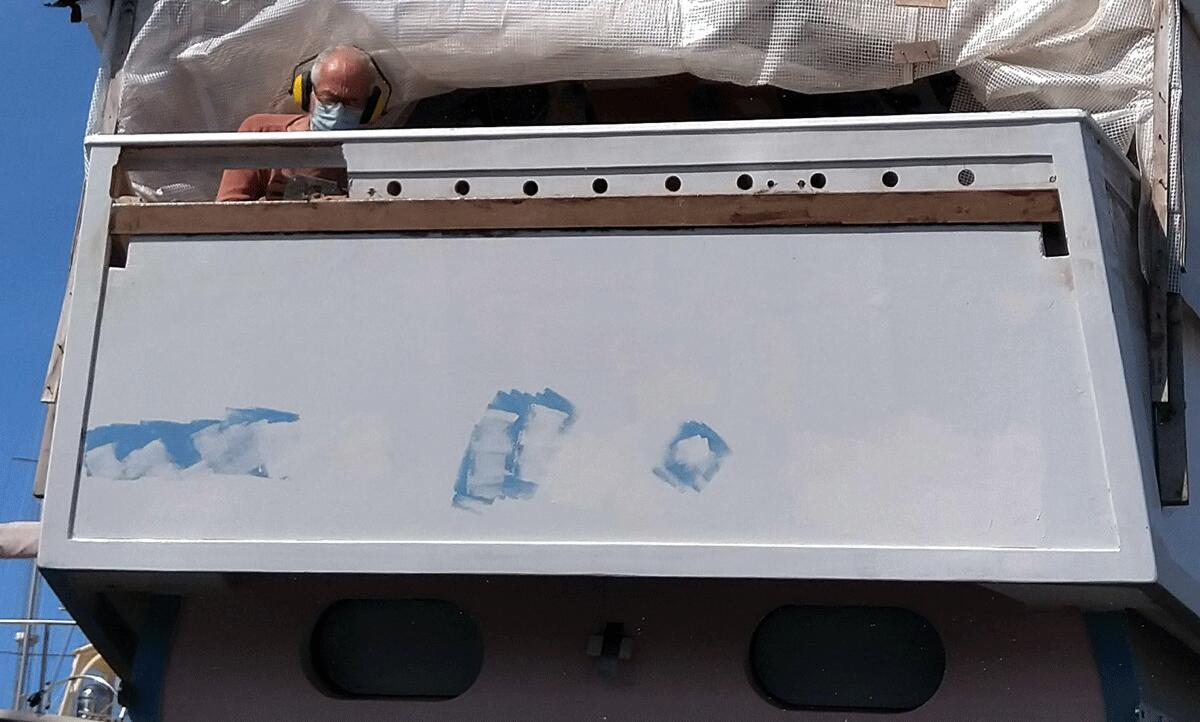
- Cut out 2 windows port and starboard and 2 aft
- Epoxy coated at time of build and painted to a high standard — only needed to paint to our colour scheme
- Two epoxy undercoat paint, plus two polyurethane paint
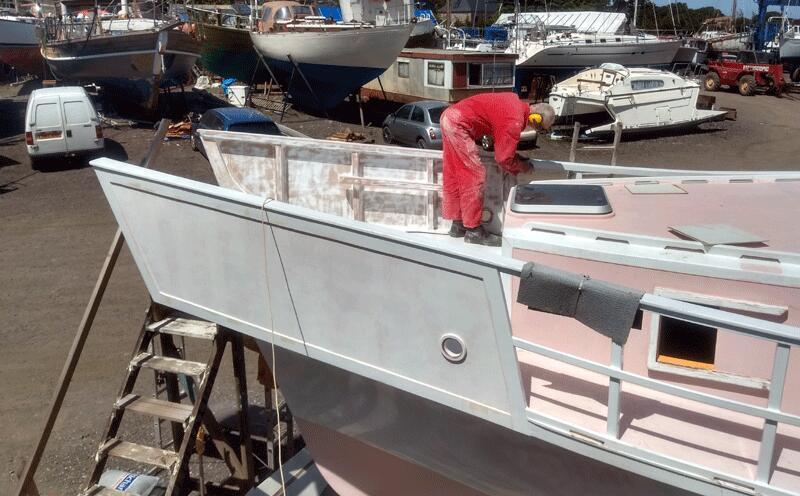
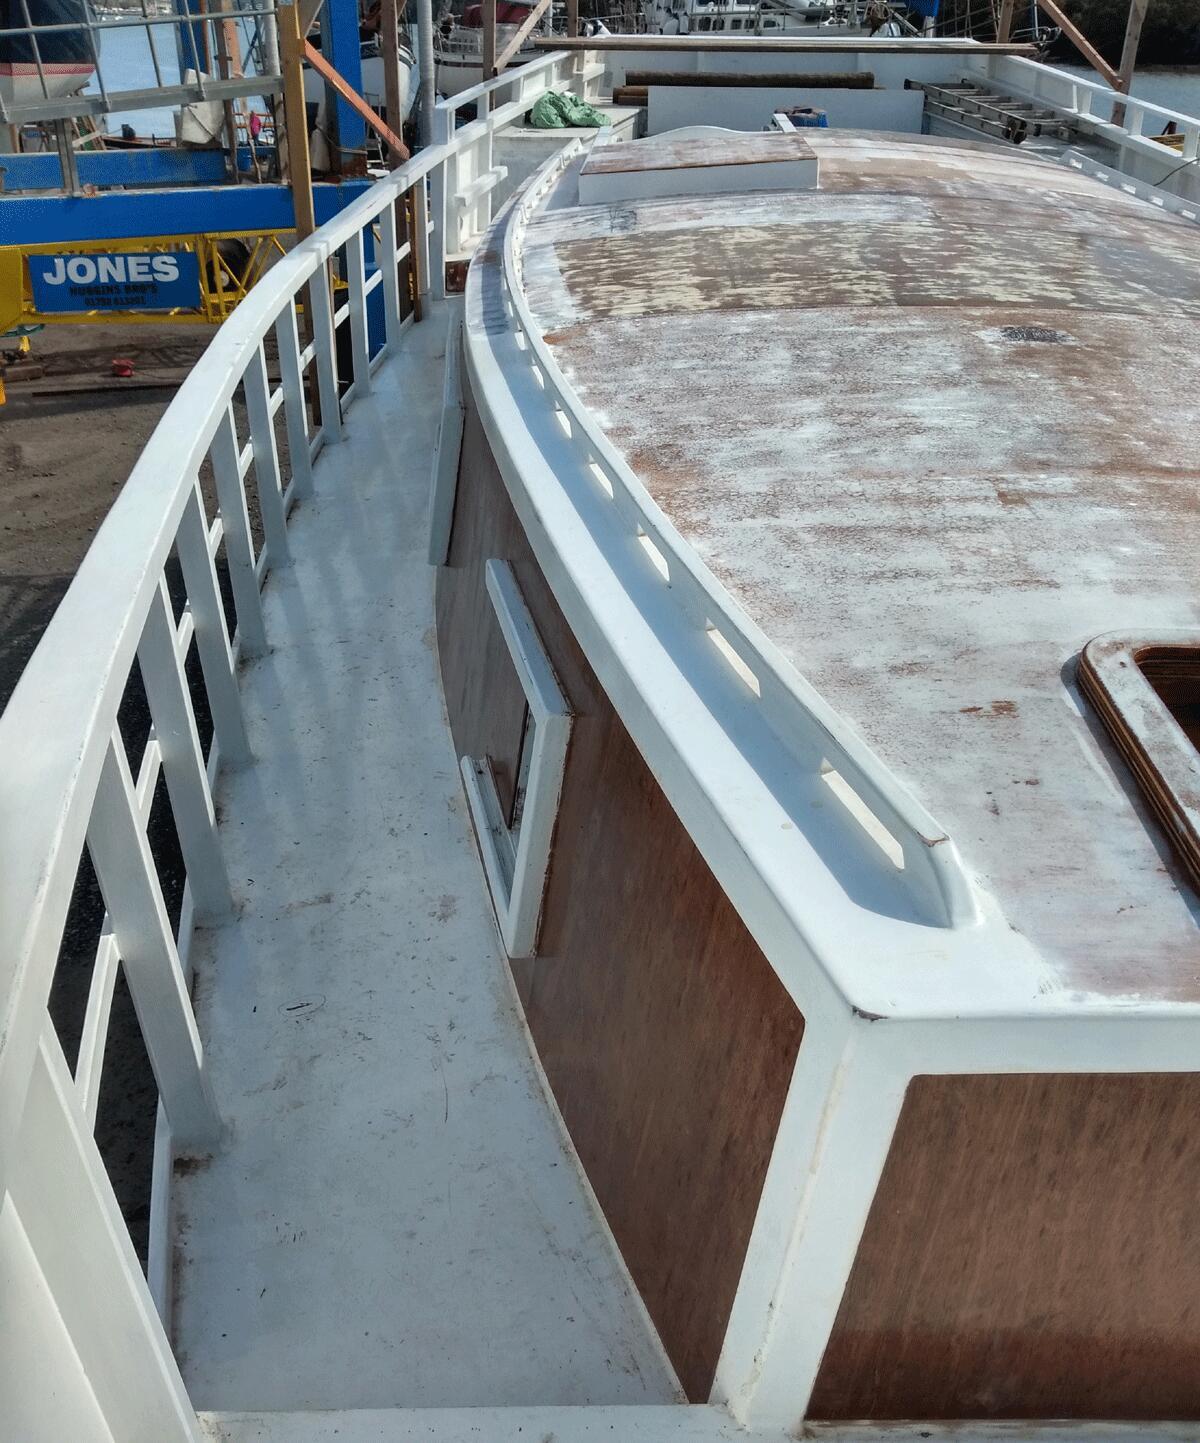
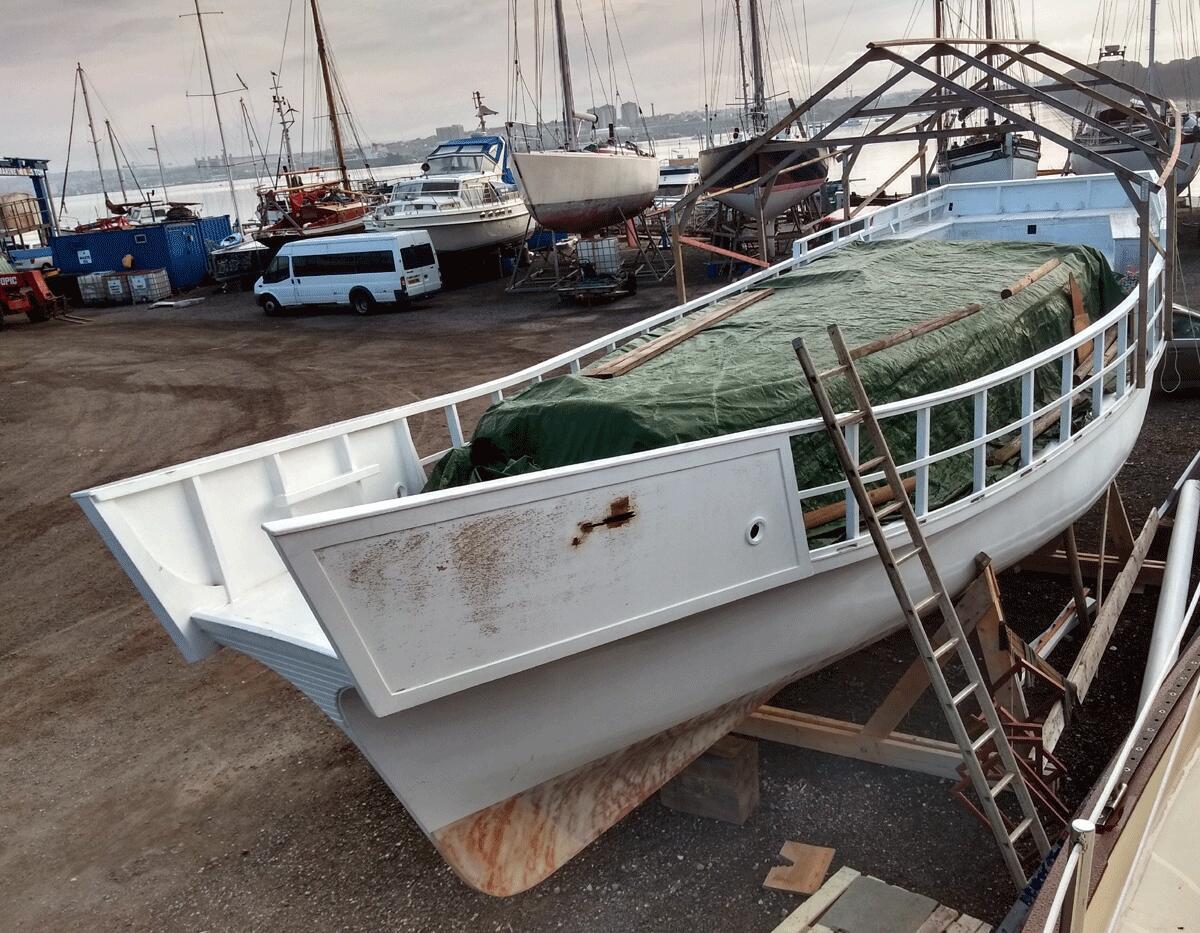
Bow and Side Decks
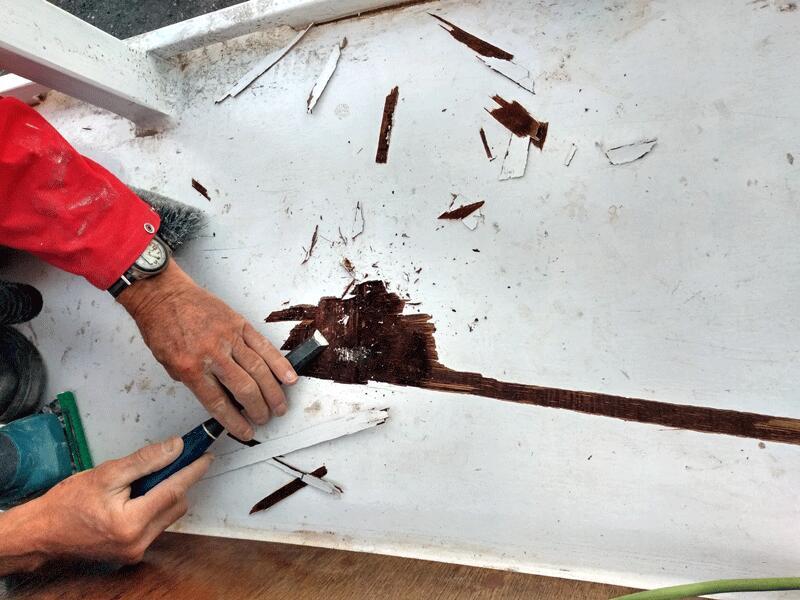
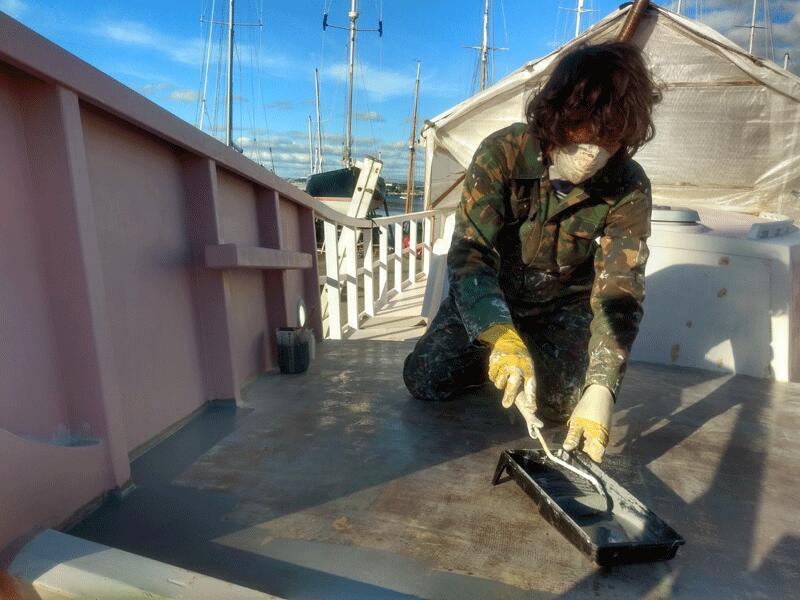
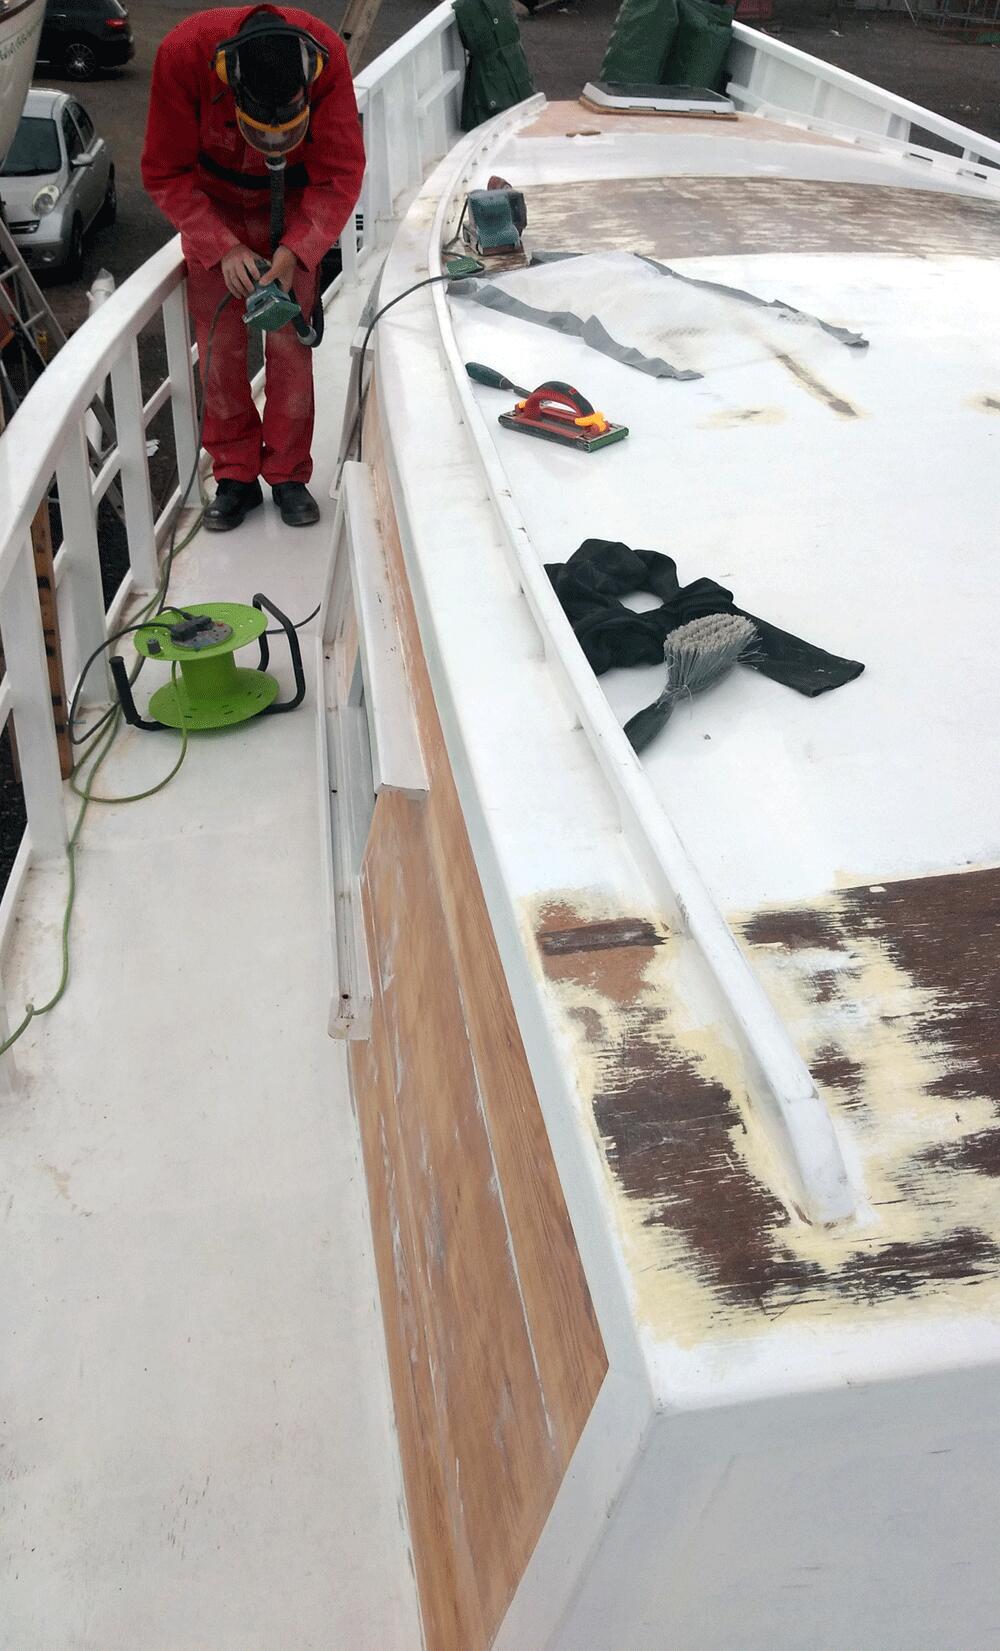
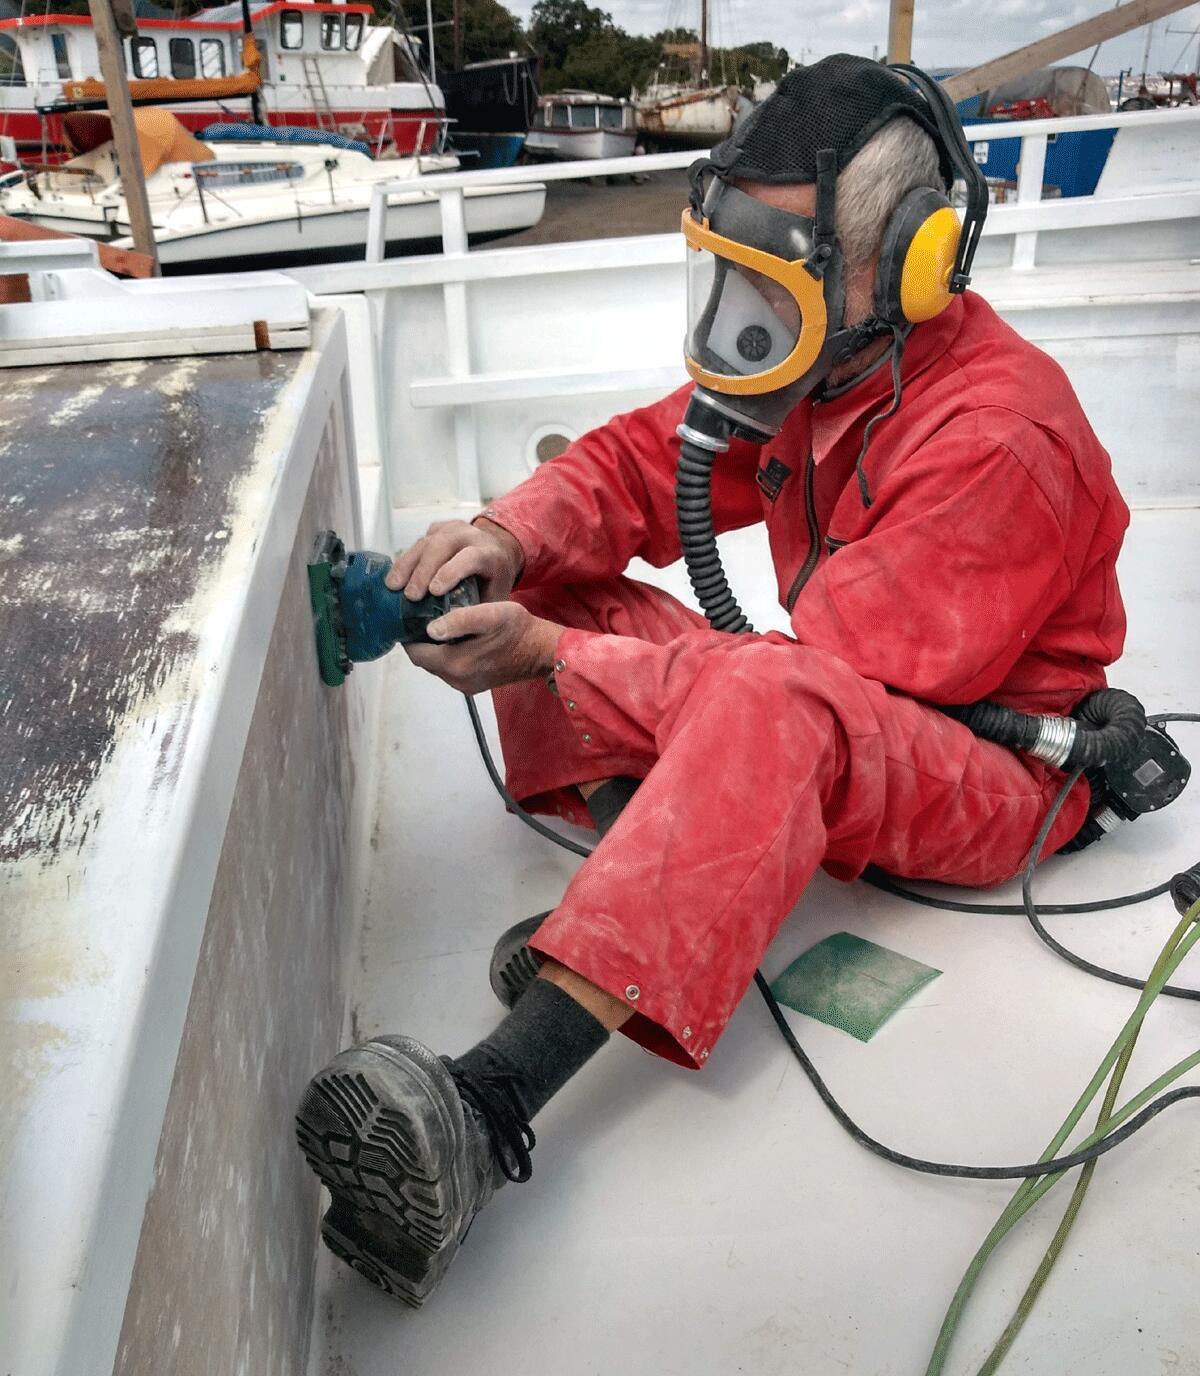
- Sanded back the paint
- Epoxy fibreglass
- Epoxy undercoat x 2
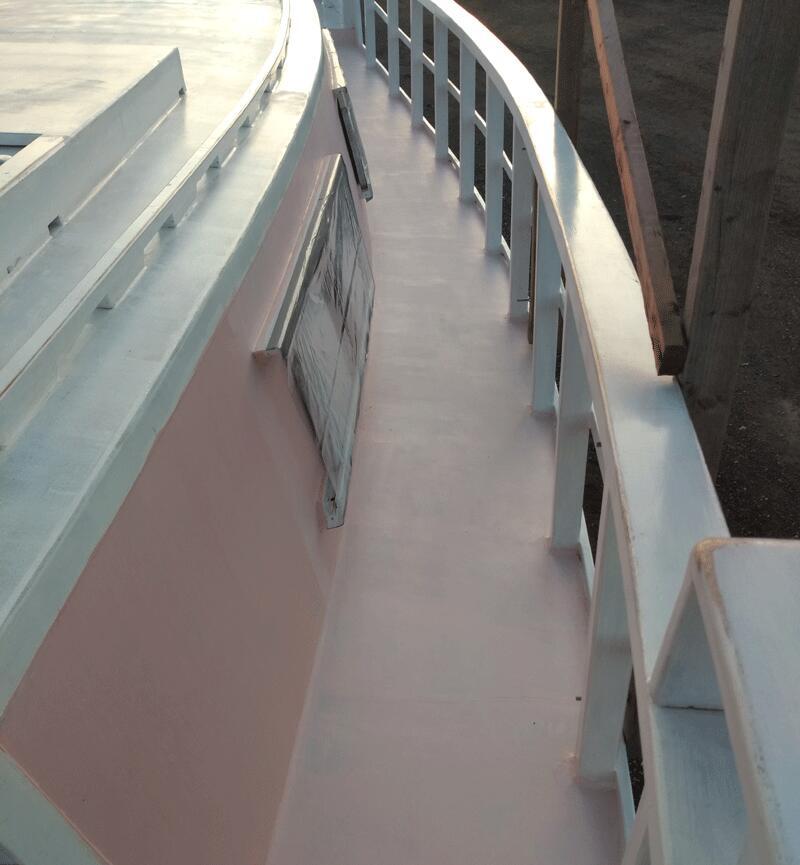
- Non-slip paint
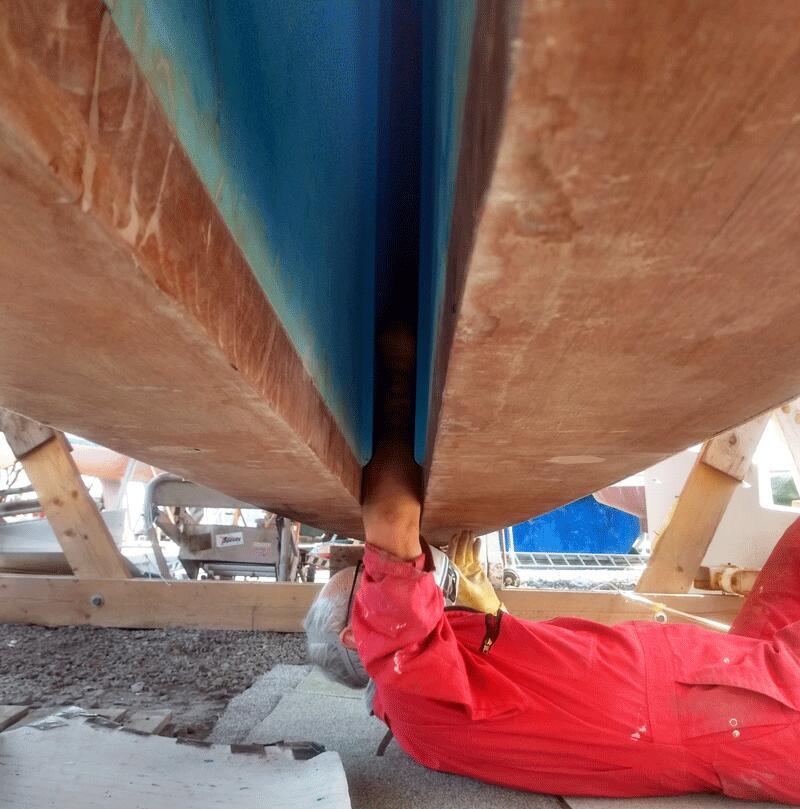
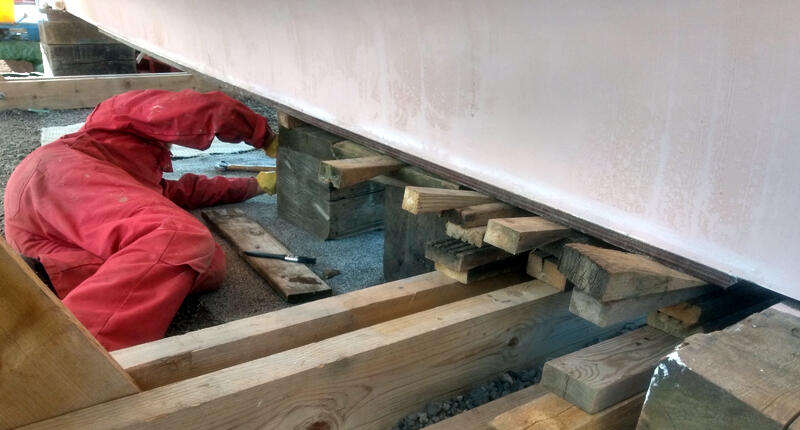
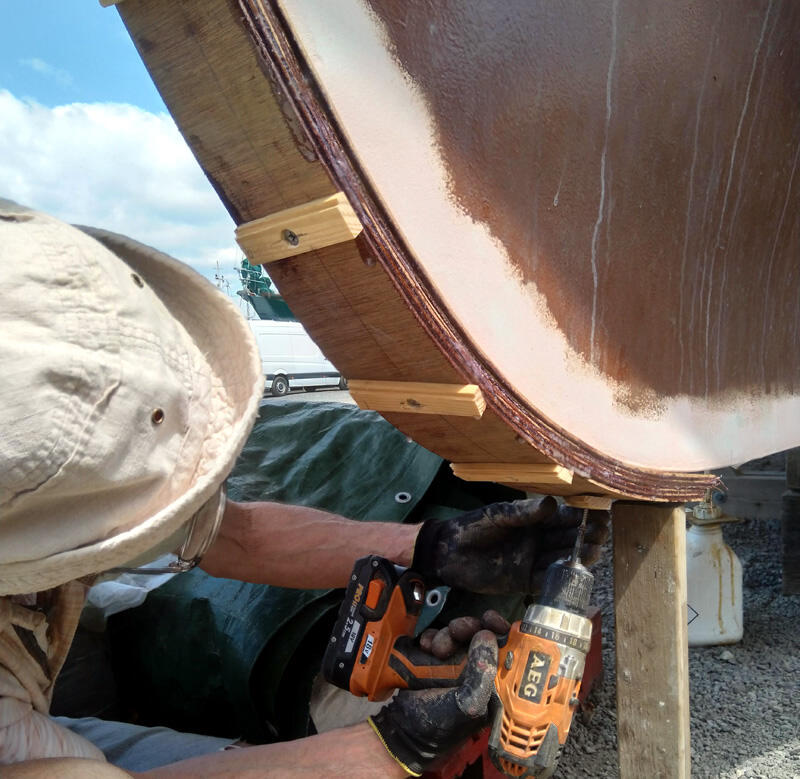
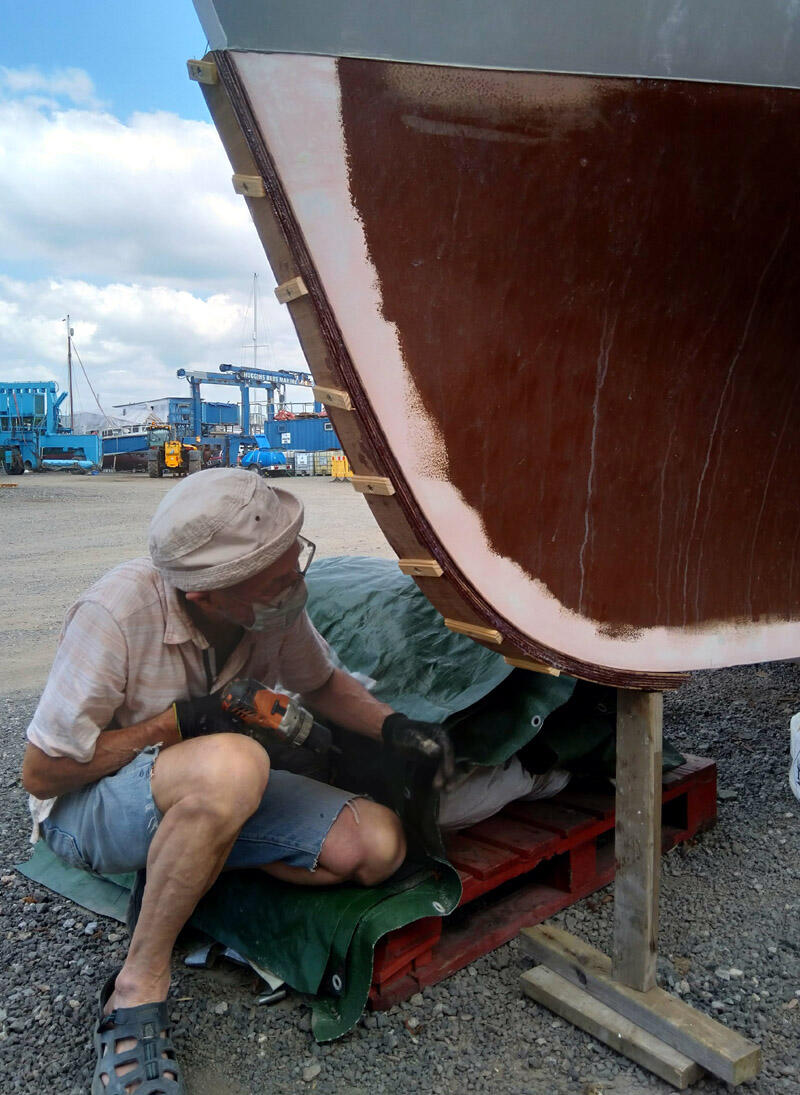
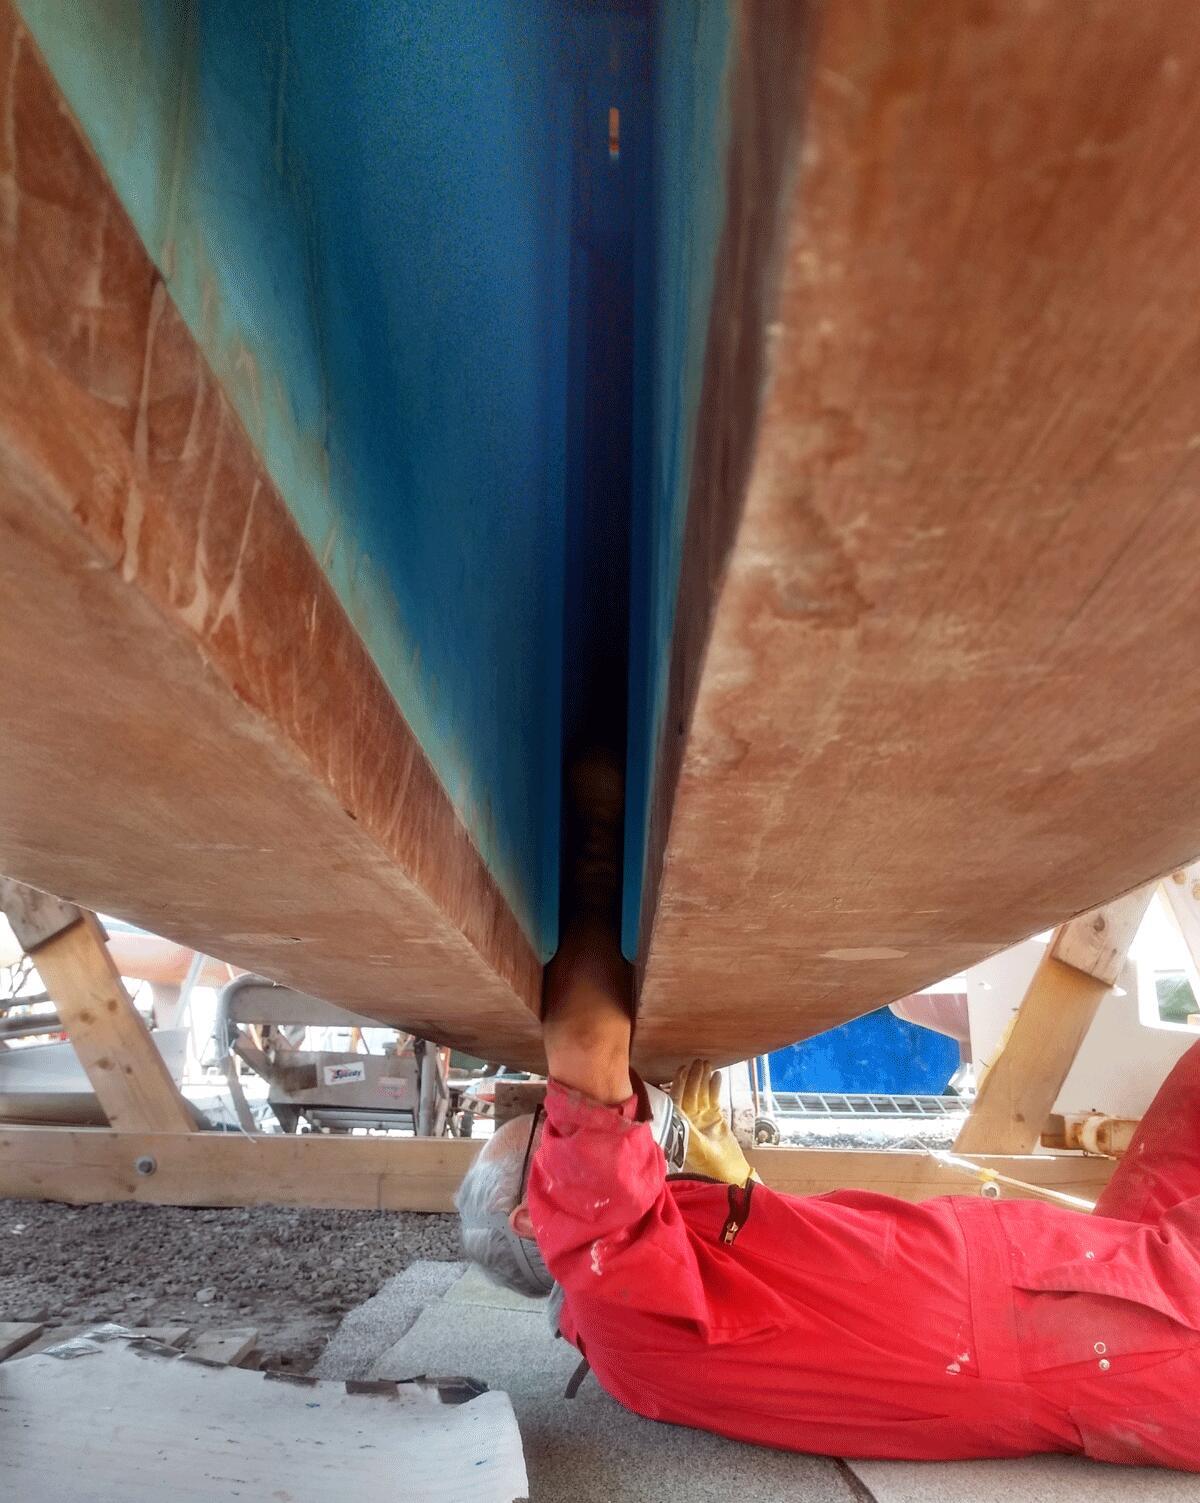
Shoe
- Steel shoe by design discarded as maintenance issue
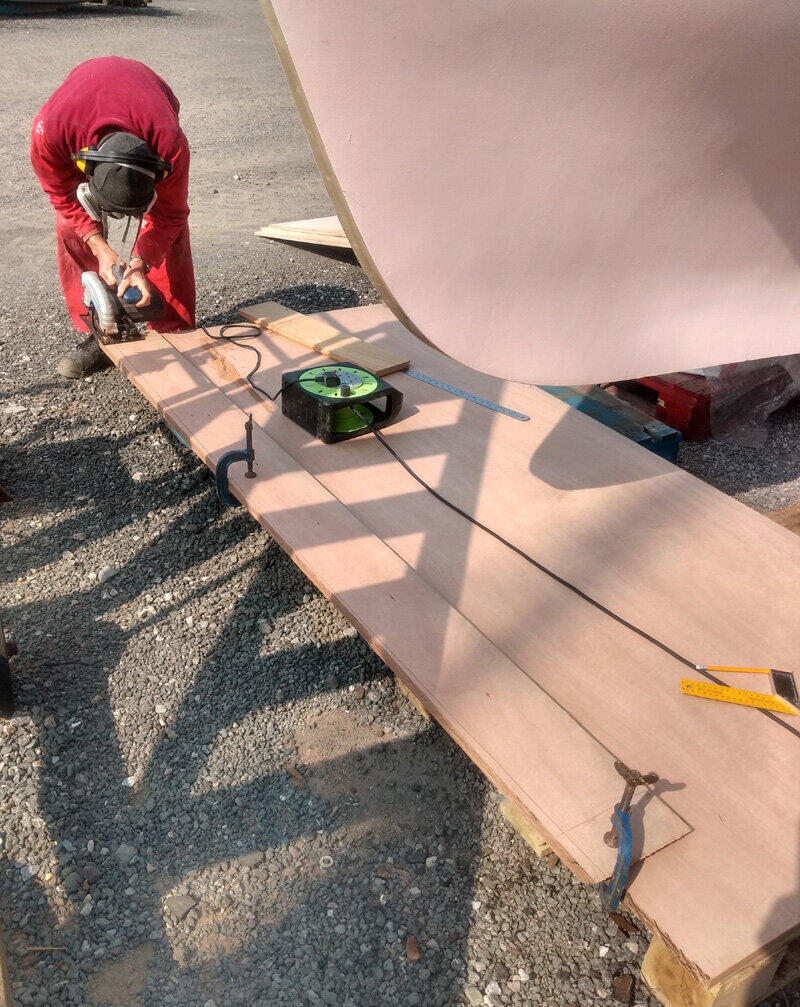
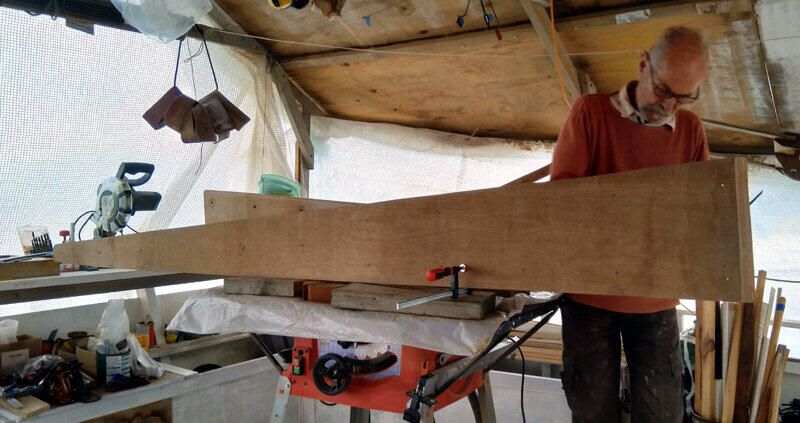
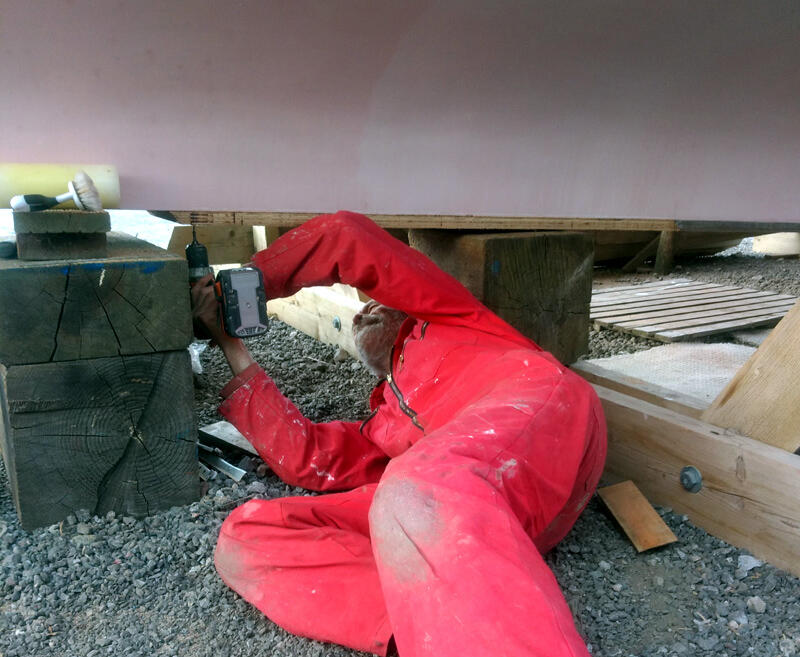
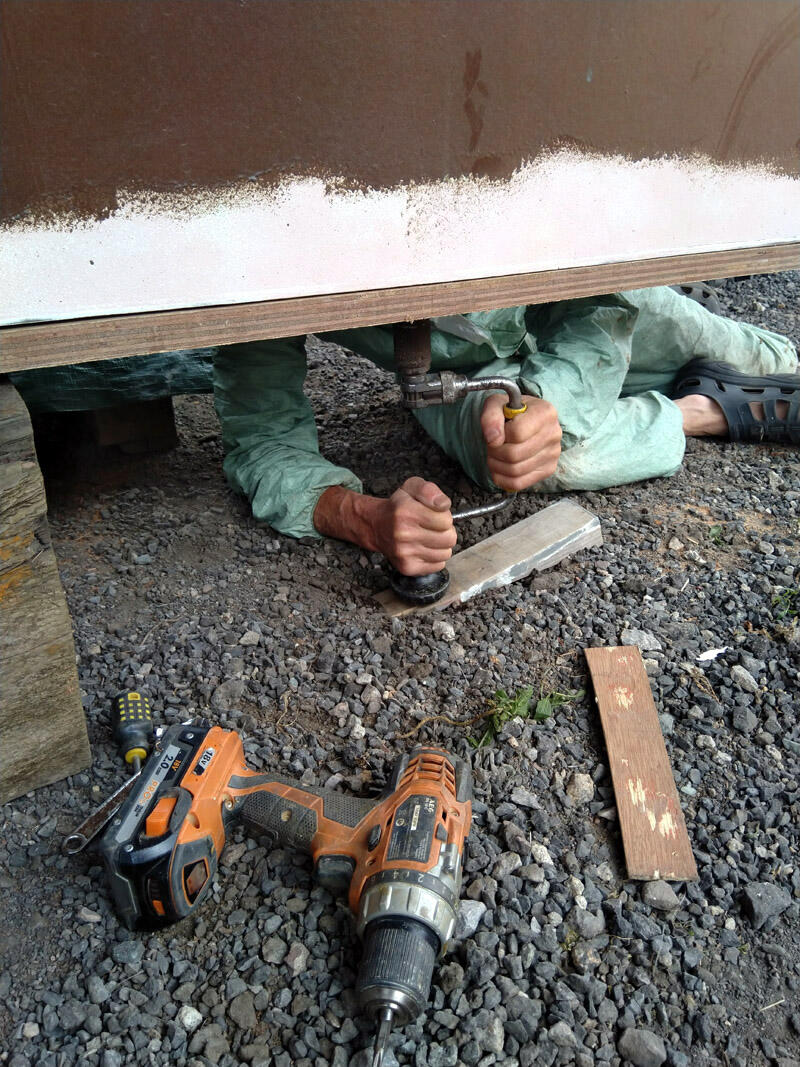
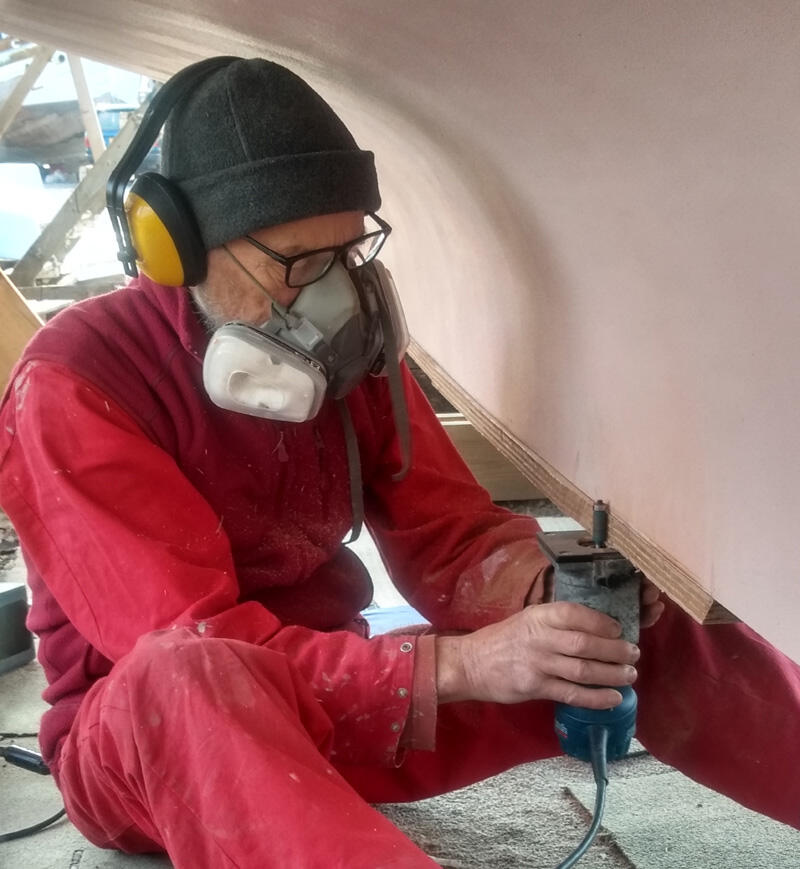
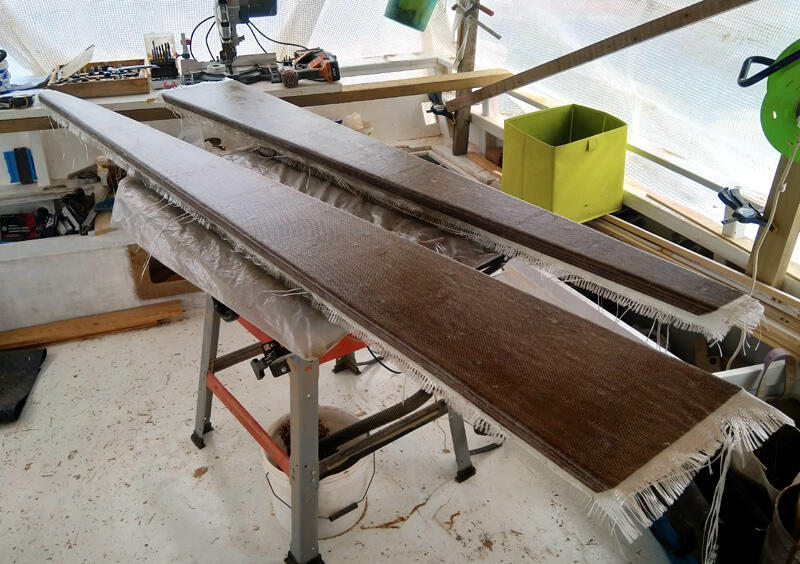
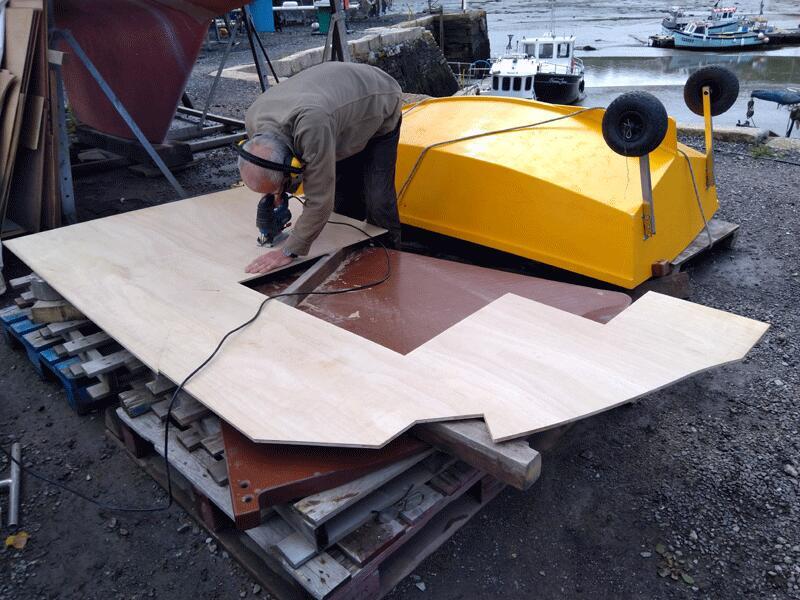
- Measured and dry fit plywood shoe (25mm), rout edges
- Fibreglass & epoxy plywood shoe to the bottom of the keel
- Fit to the keel with epoxy glue
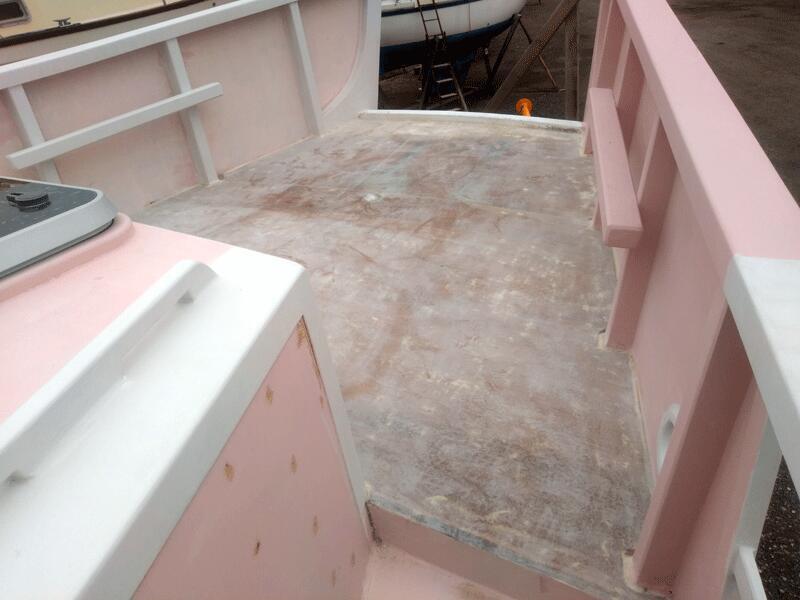
Side Decks
- Repaired damaged plywood in places
- Fibreglass bow and side decks
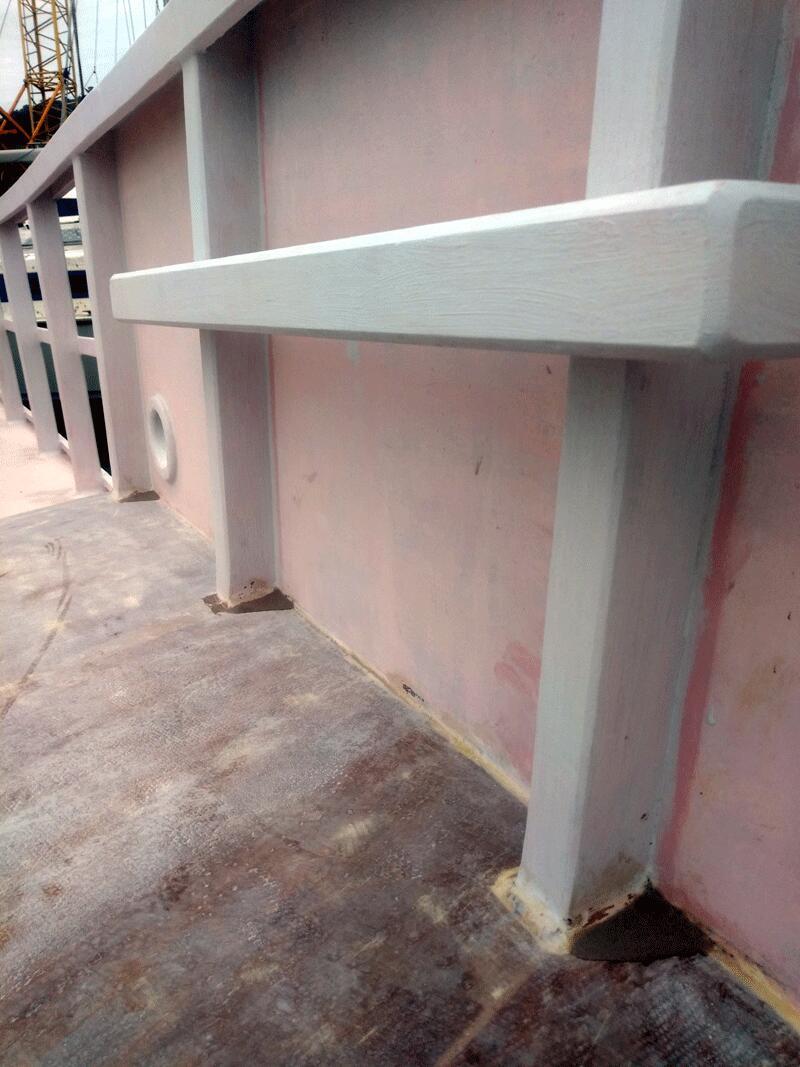
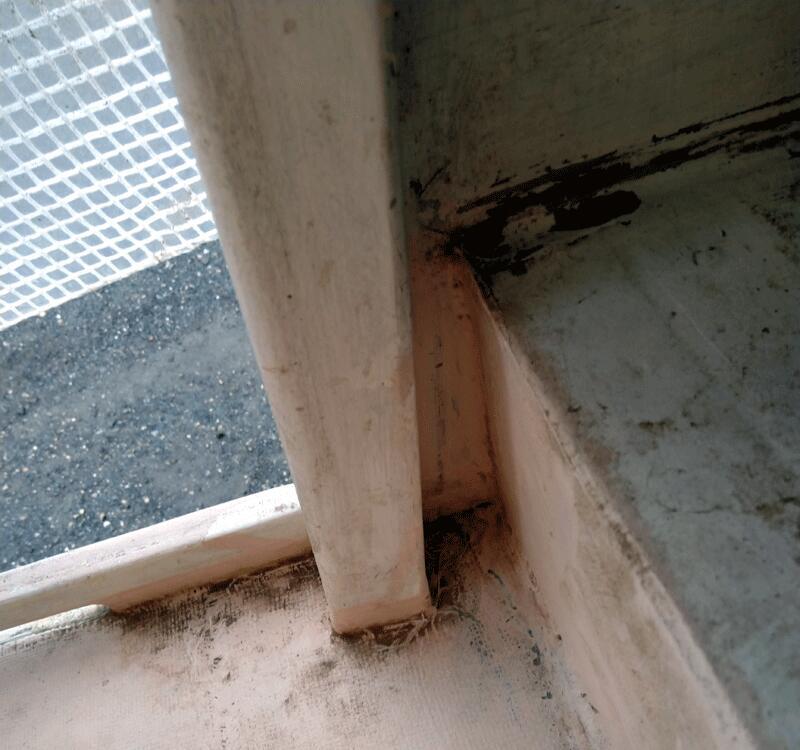
- Filled the stanchions at deck level to stop water collecting
- Filled gaps near the aft step to stop rot
Bulwarks
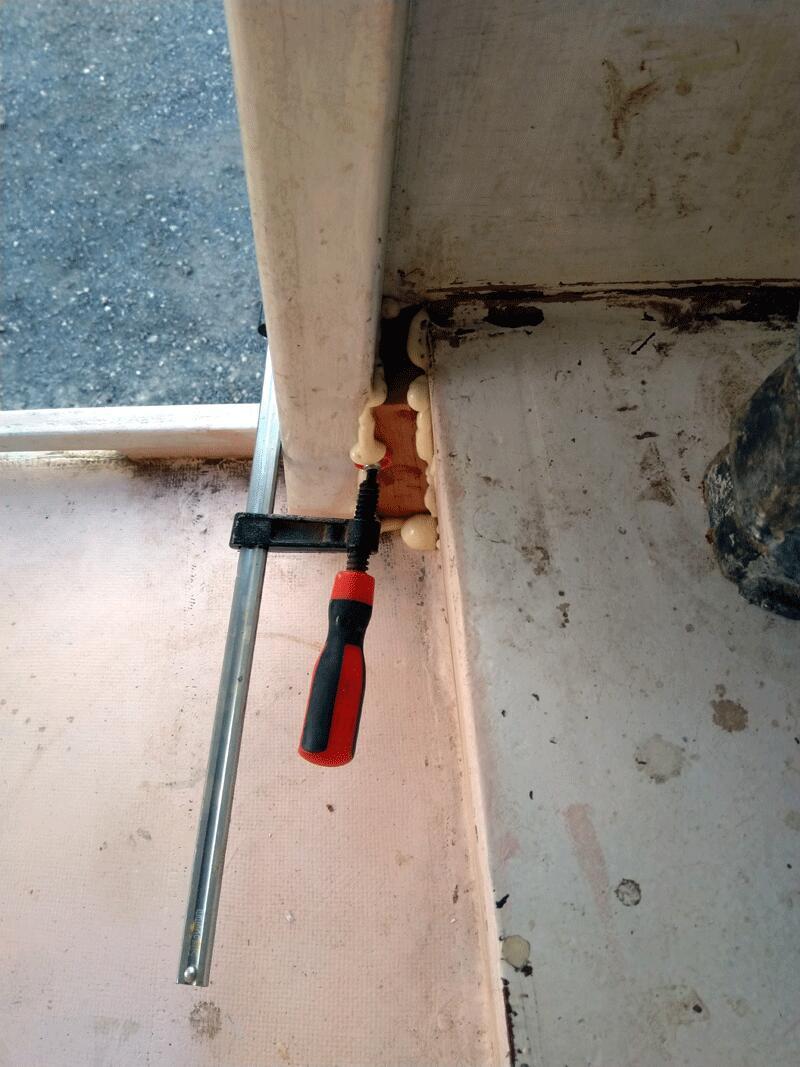
- Repaired plywood
- Drilled new eye in the bow and made a ring — epoxied
Cabin
- Repaired damaged plywood areas on the cabin top
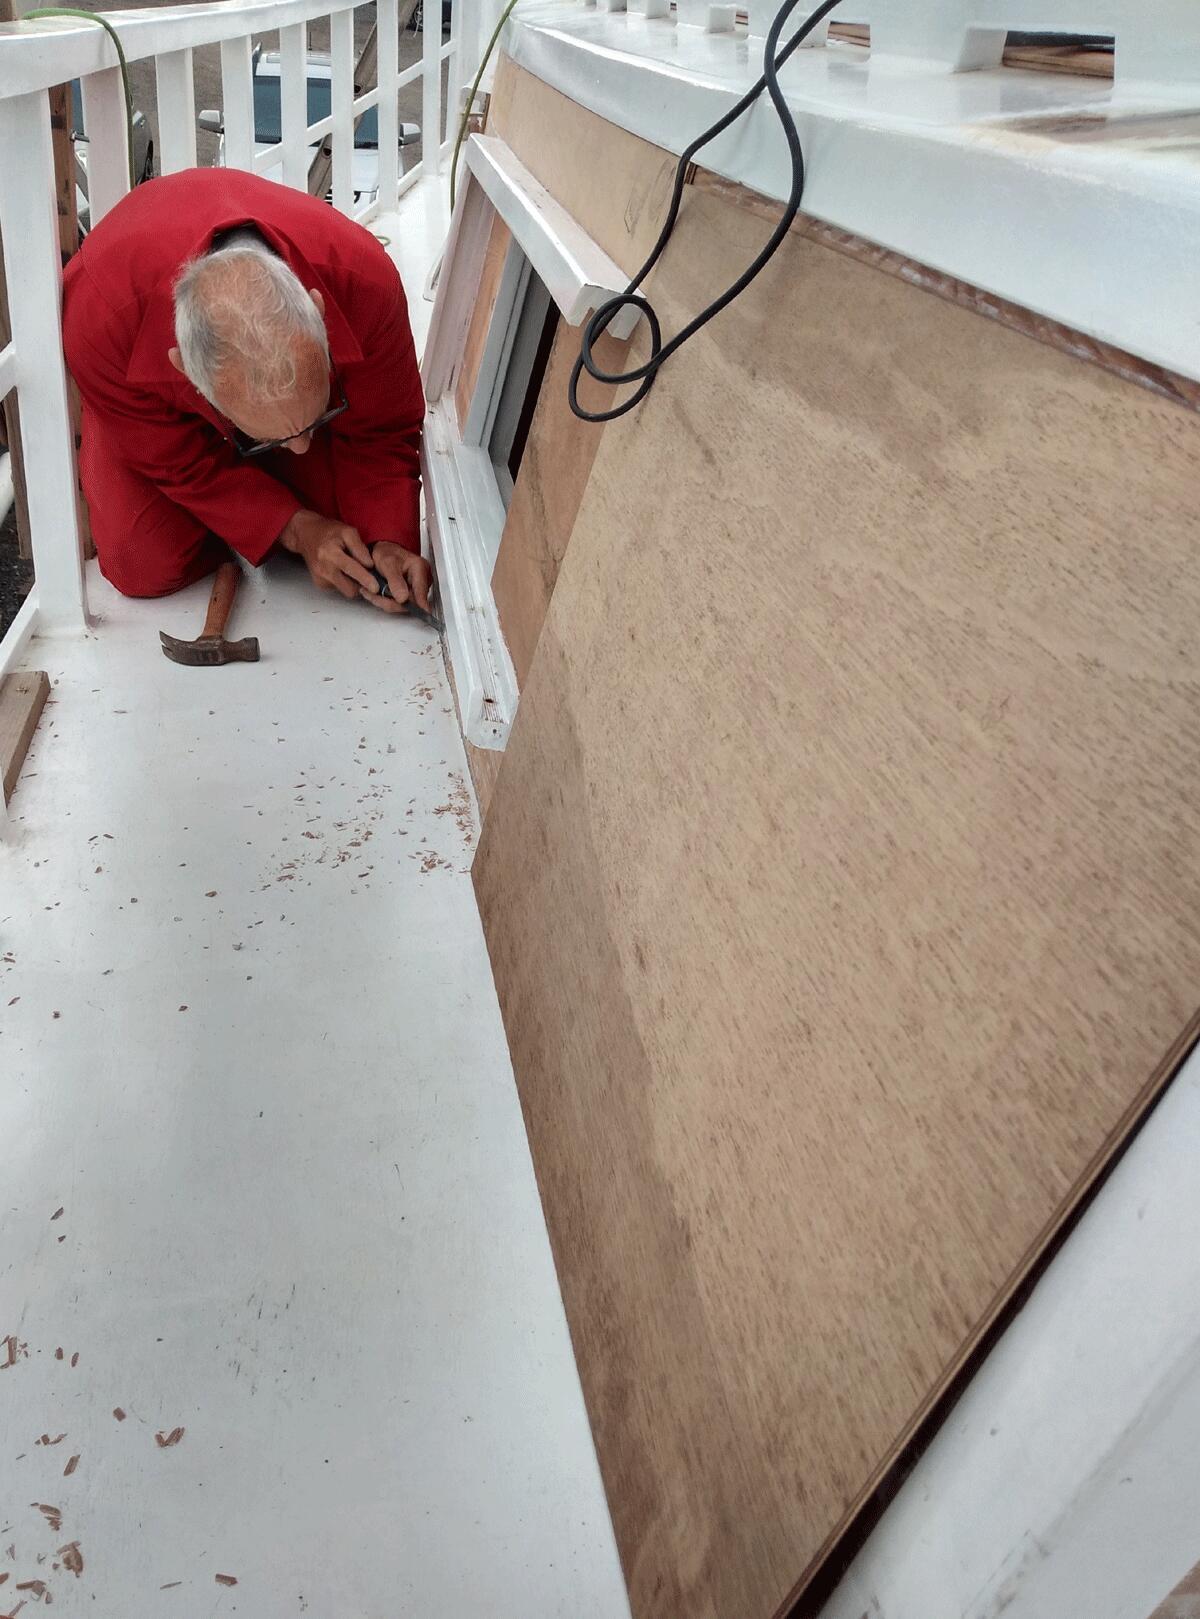
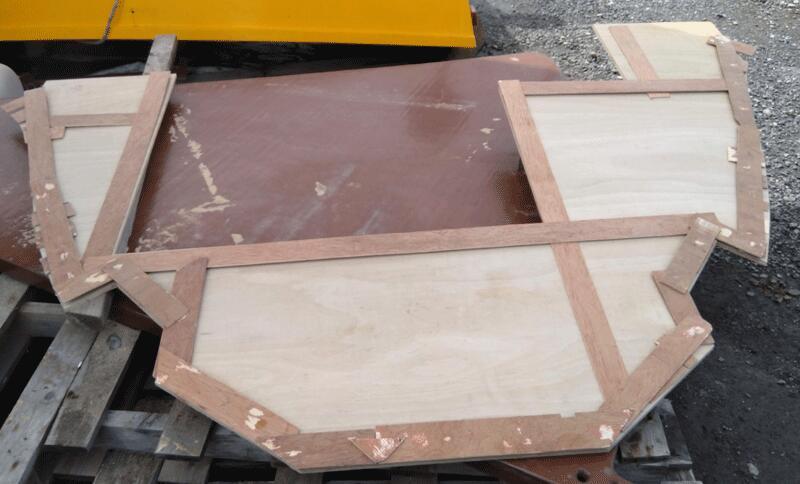
- Made pattern for plywood to fit on cabin sides on original sapele, cut plywood
- Epoxied glue plywood to the cabin & screwed
- Coated plywood with epoxy
- Filled the screws & filleted cabin to deck joint
- Epoxy undercoat x 2 — painted x 2
- Windows — built up window sills to drain overboard
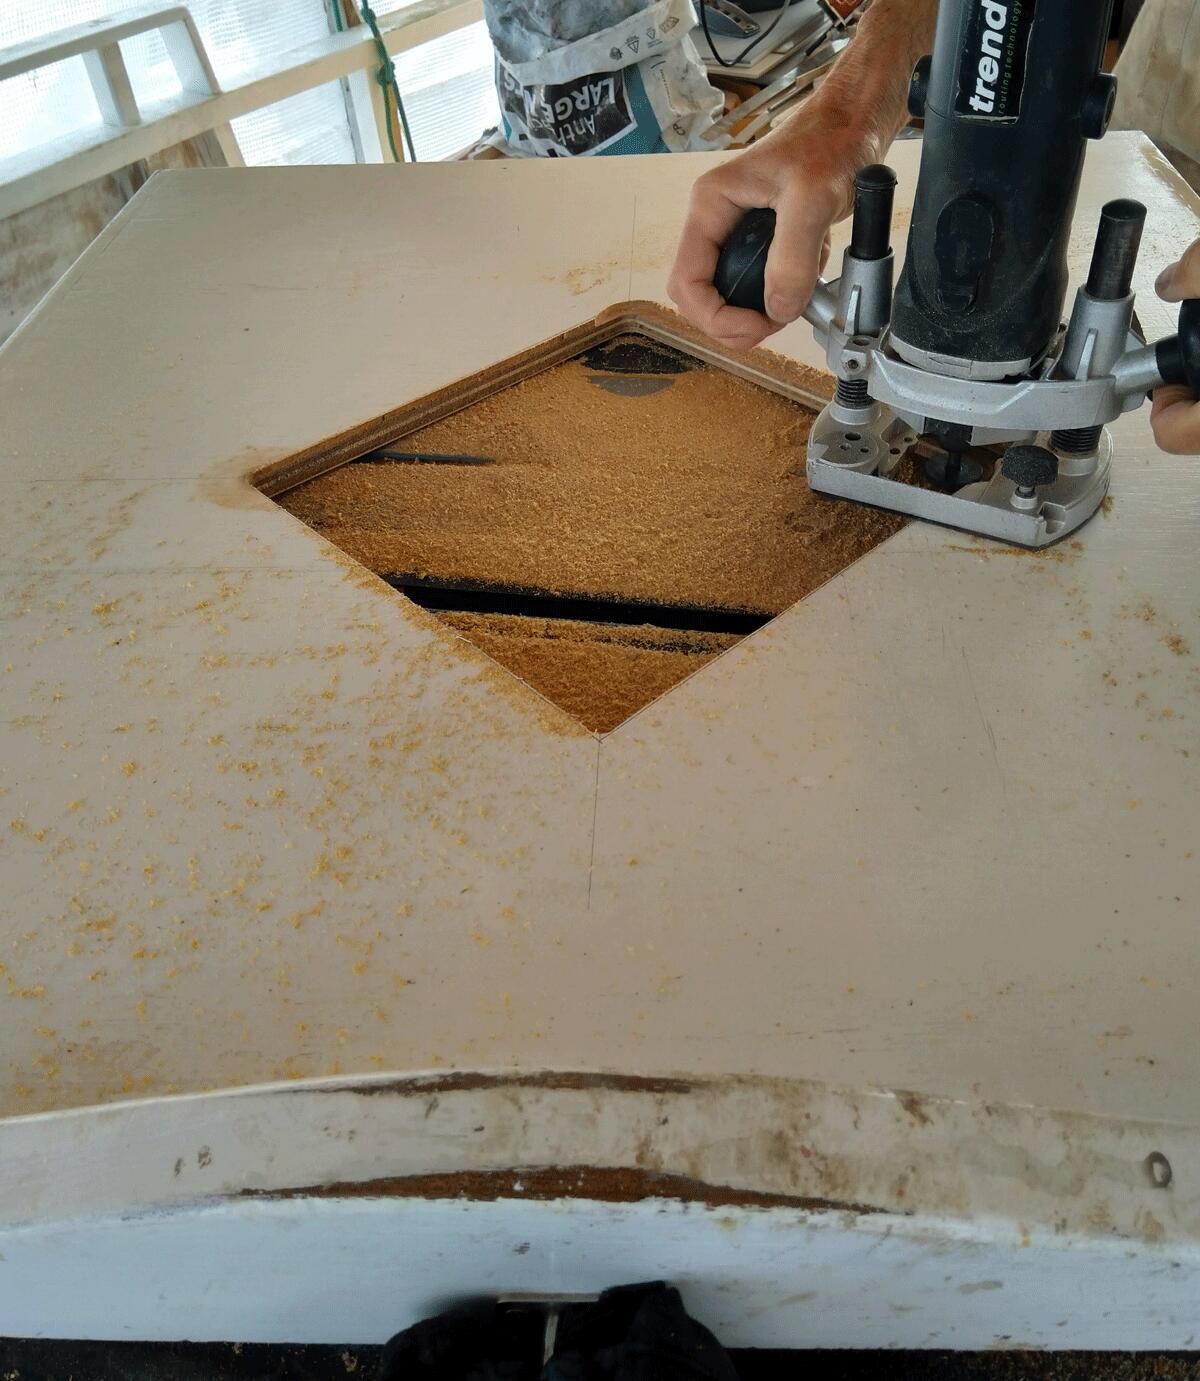
- Hatch FWD — made frame, replaced the hatch
- Hatch Tufnol sliding runners
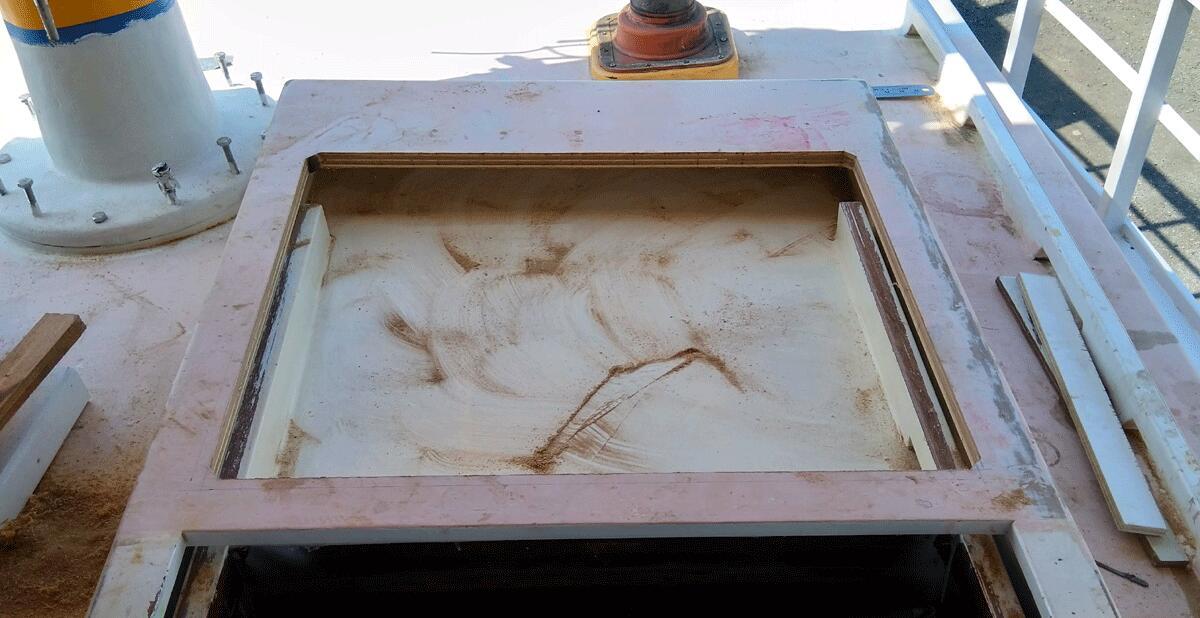
- Hatch inspection opening for maintenance
- Hatch diamond window closed with polycarbonate
- New polycarbonate wash board
Cuddy
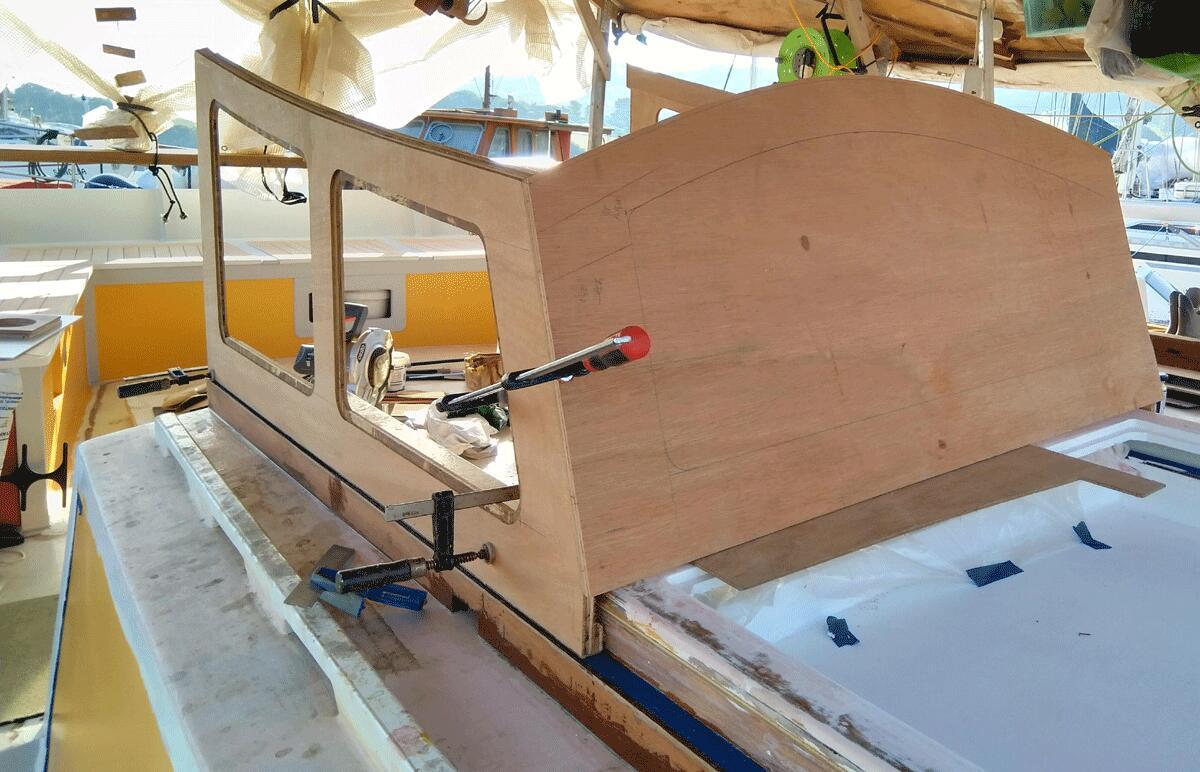
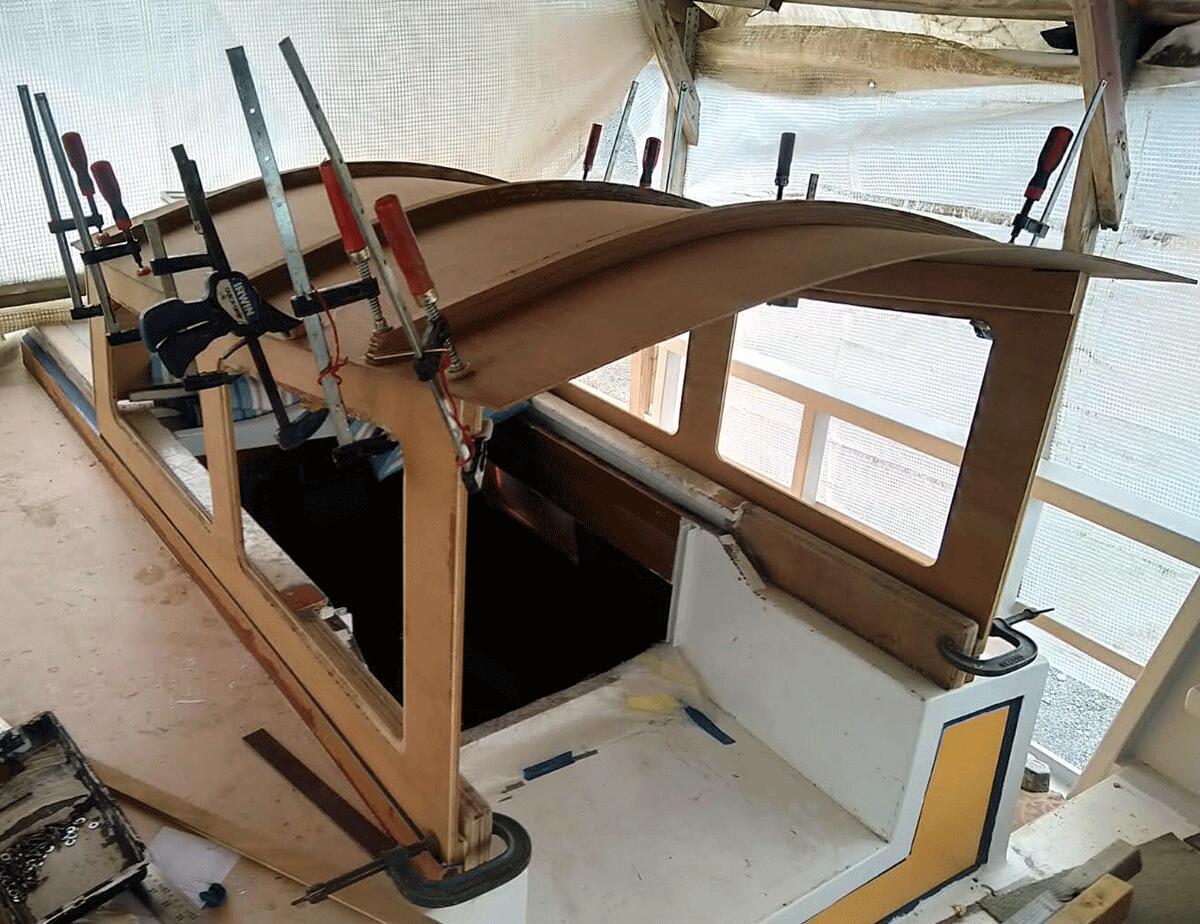
- Designed and built a sliding cuddy above the bridge deck
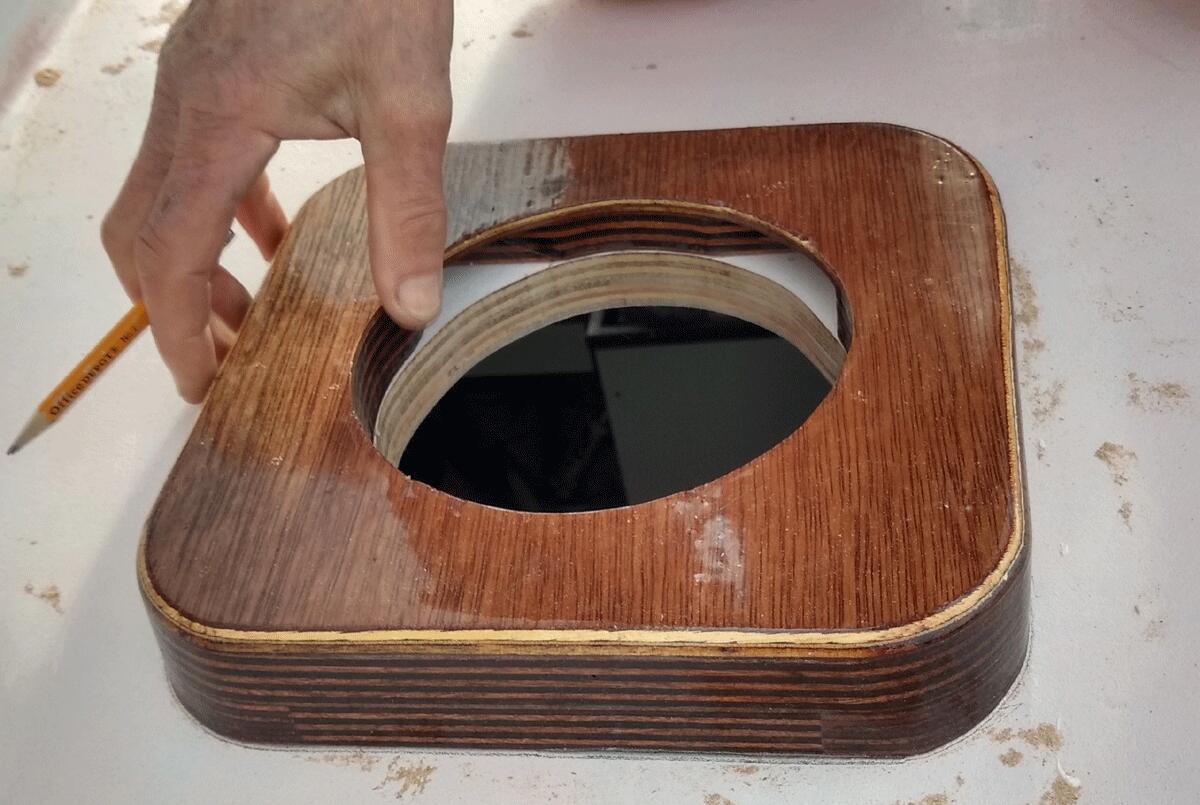
- Vents — made ring, fitted
- Chimneys — made rings, fitted
- Grab rails — painted
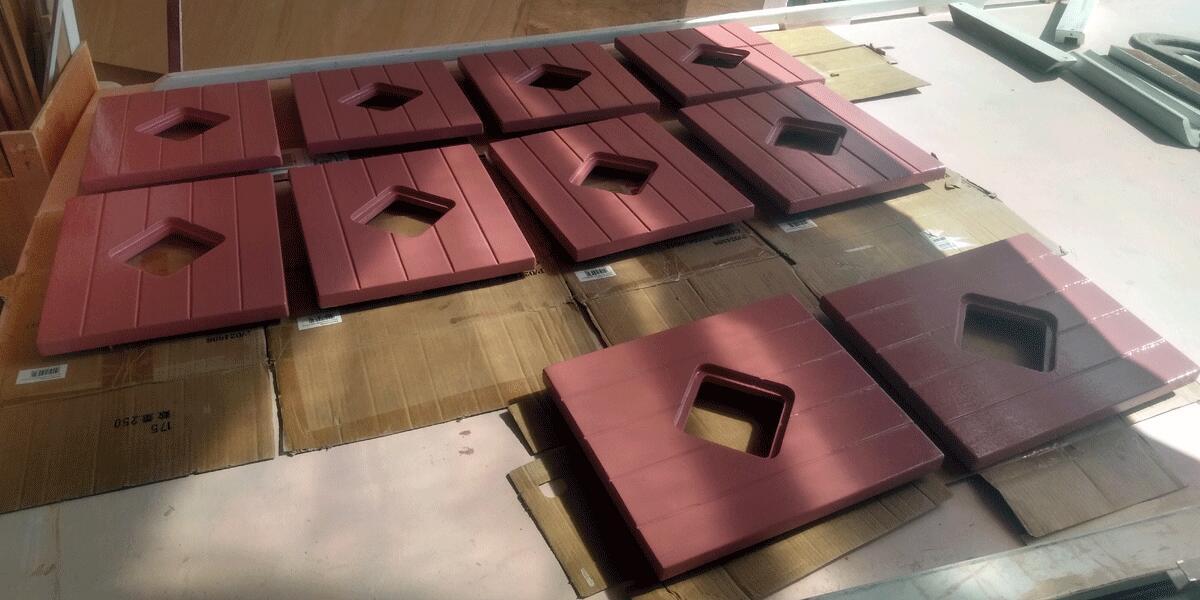
- Window shutters — cut diamond window shape and rebate for polycarbonate, paint and glaze

Cockpit
Inside:
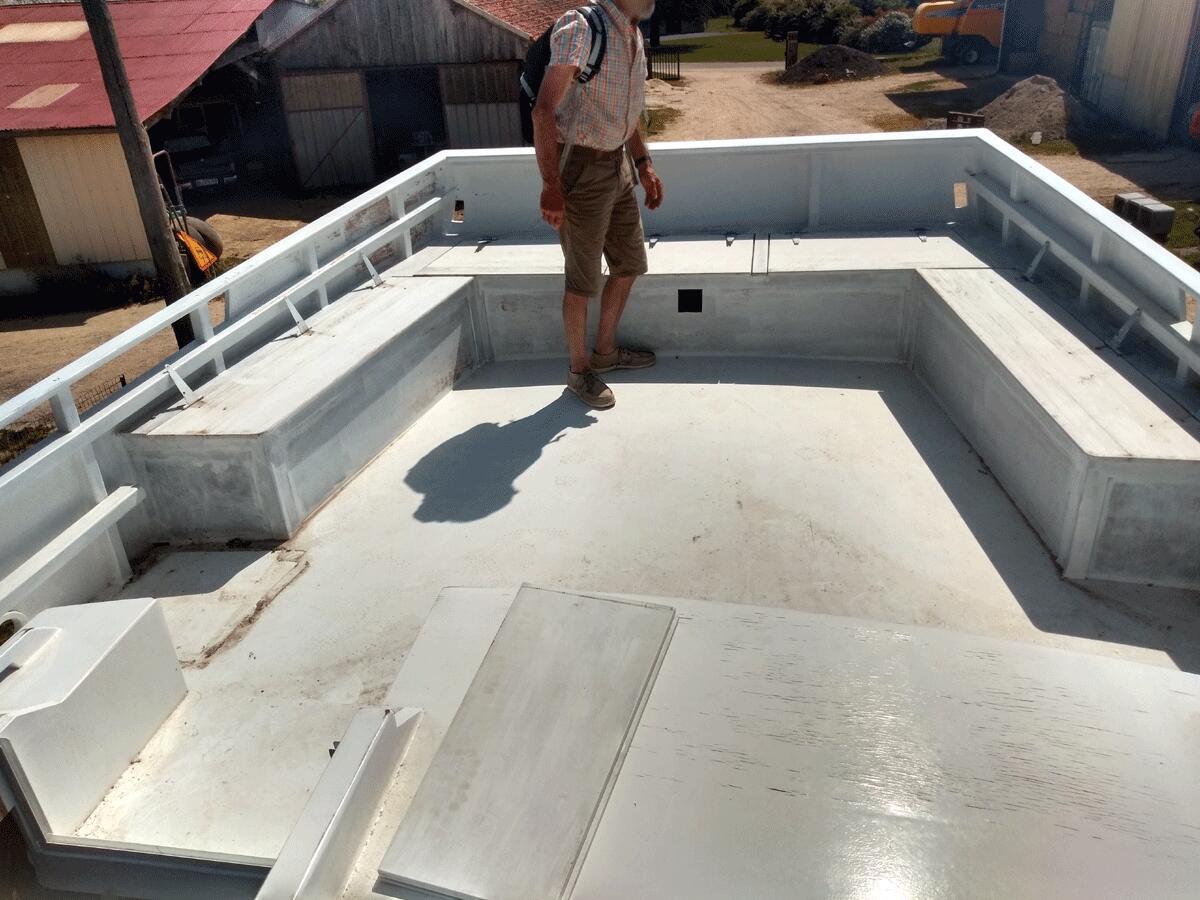
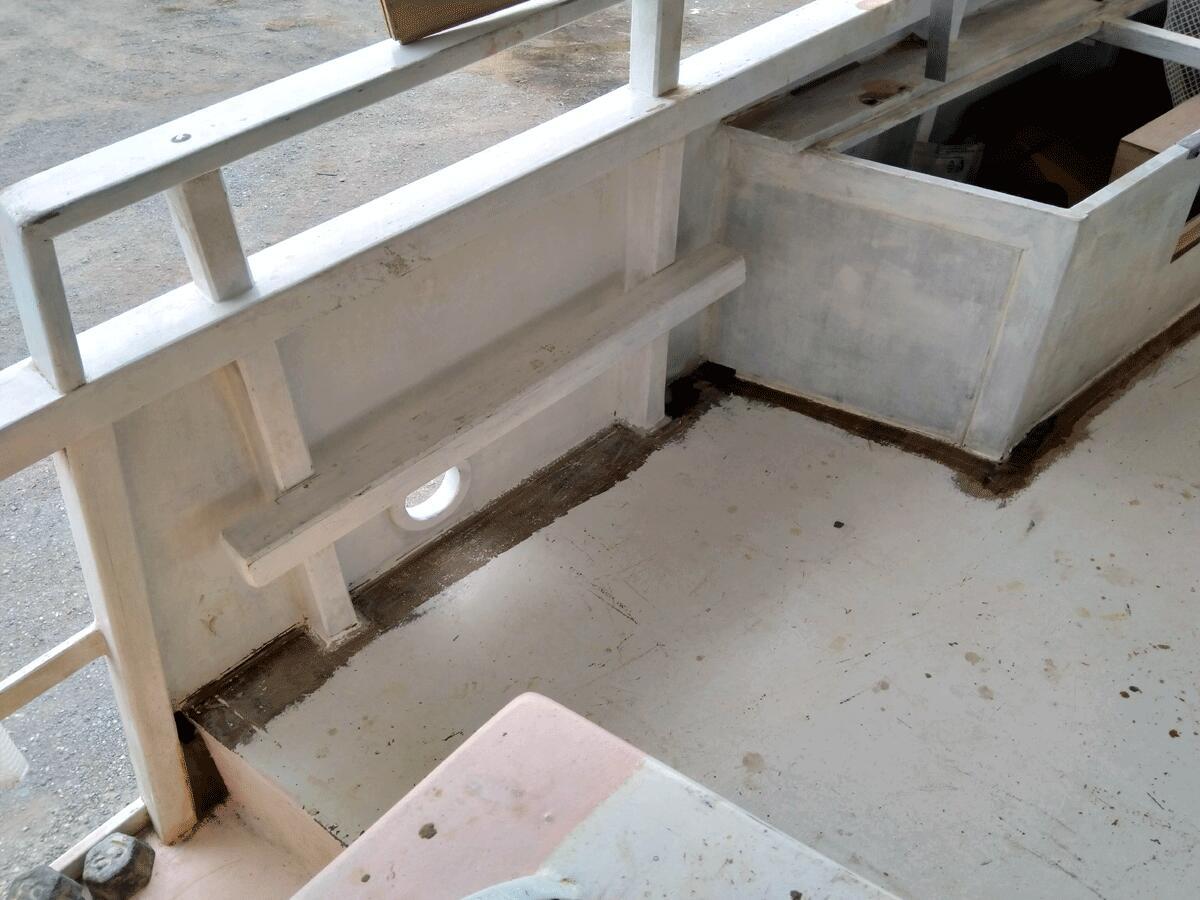
- Fibreglass cockpit deck inside lockers and cockpit deck edges, epoxy undercoats and epoxy paint finish
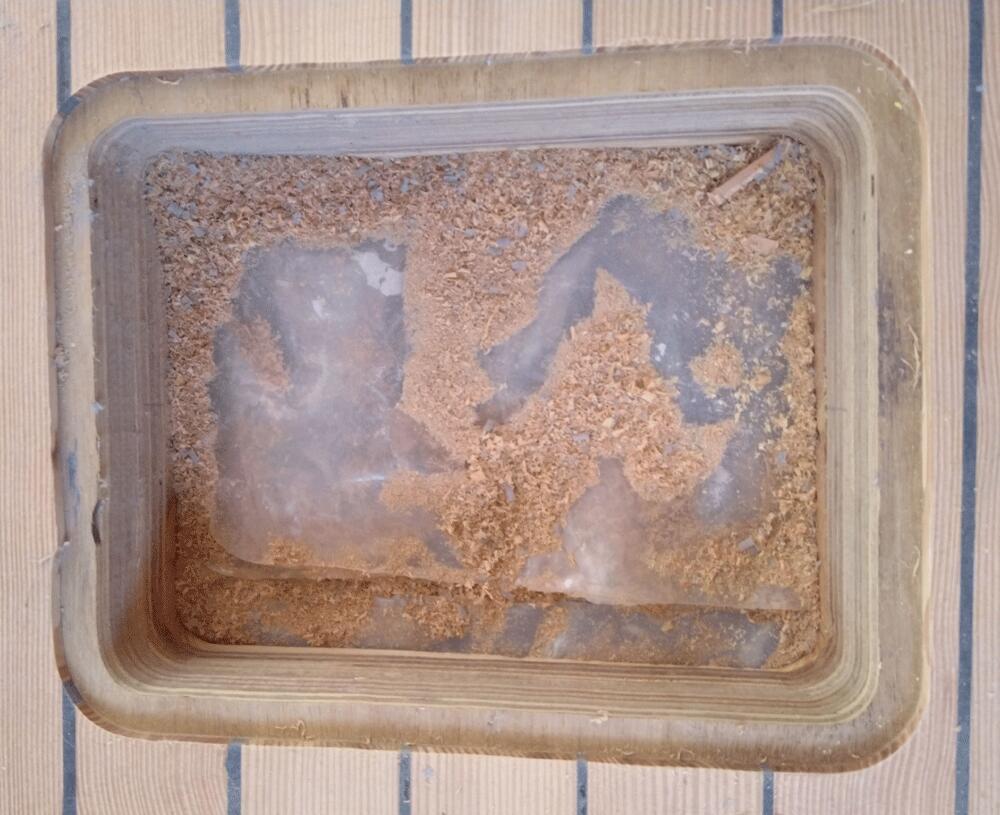
- Cut holes for series drogue access
- Two air ventilators for saloon
Outside:
- Epoxied locker sides and fibreglass locker base edges to the cockpit deck (5cm) for water drain channel
Lids:
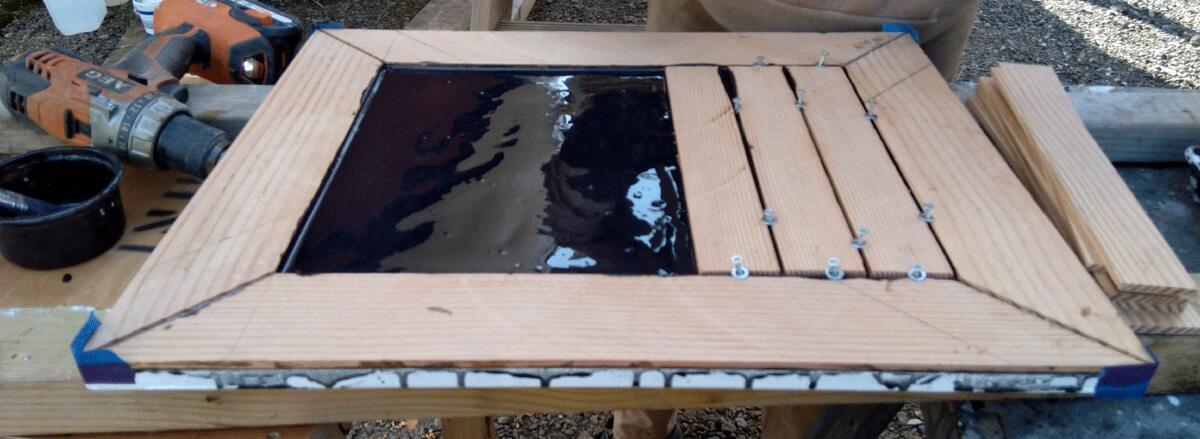
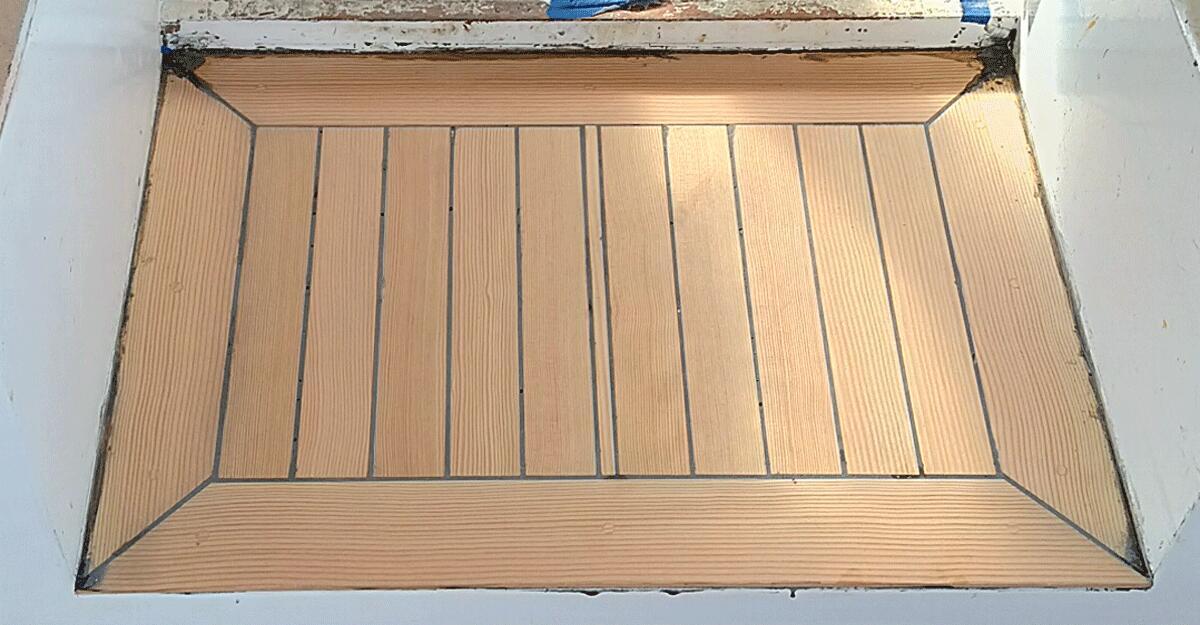
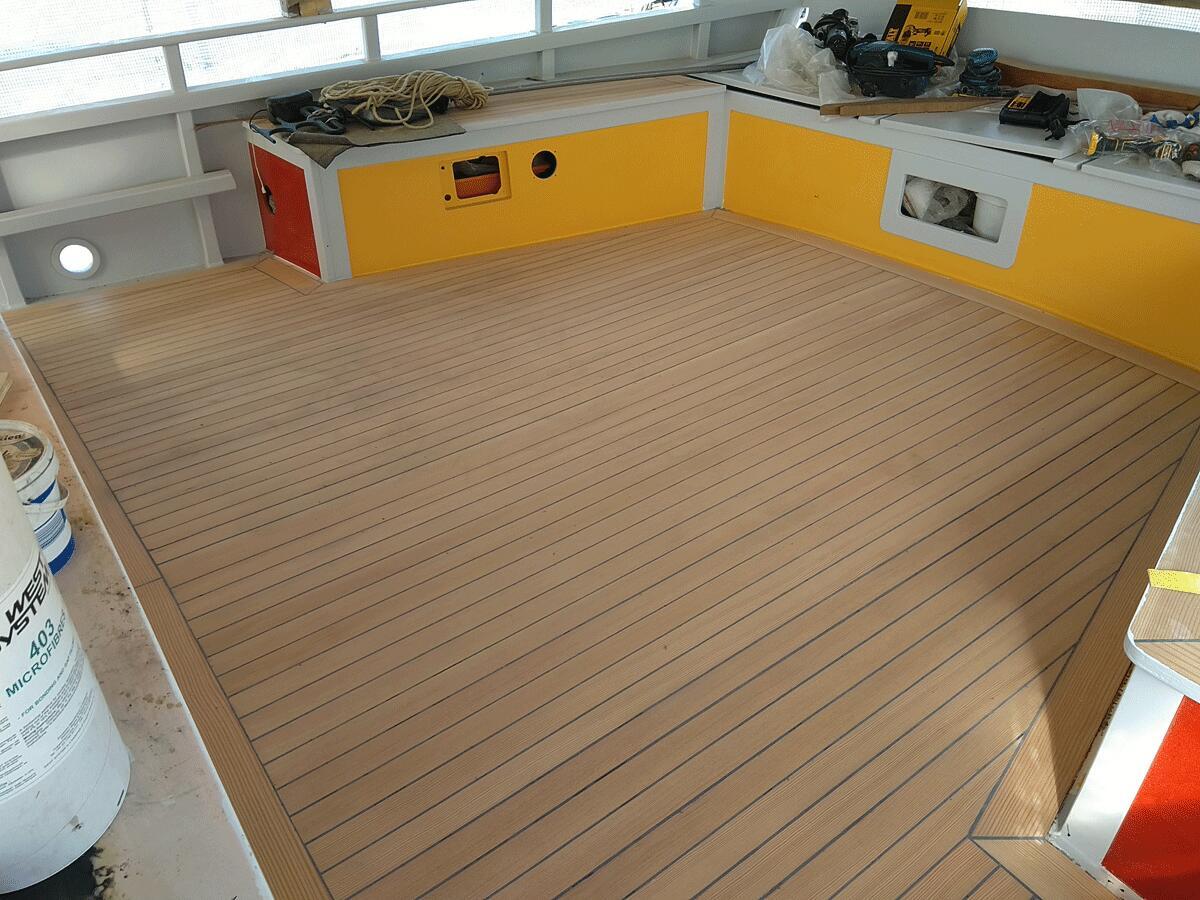
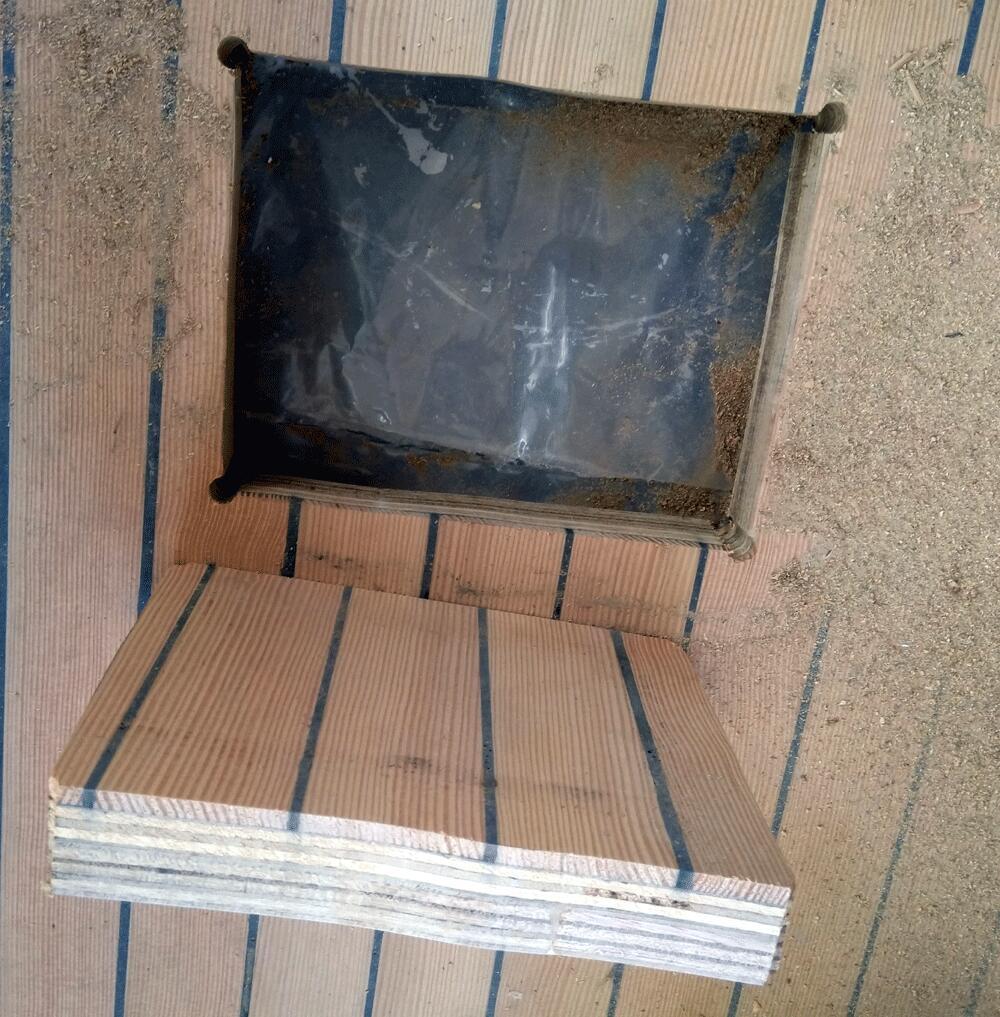
- Cut new from plywood, epoxy glue Douglas Fir decking veneer down
Cockpit deck:
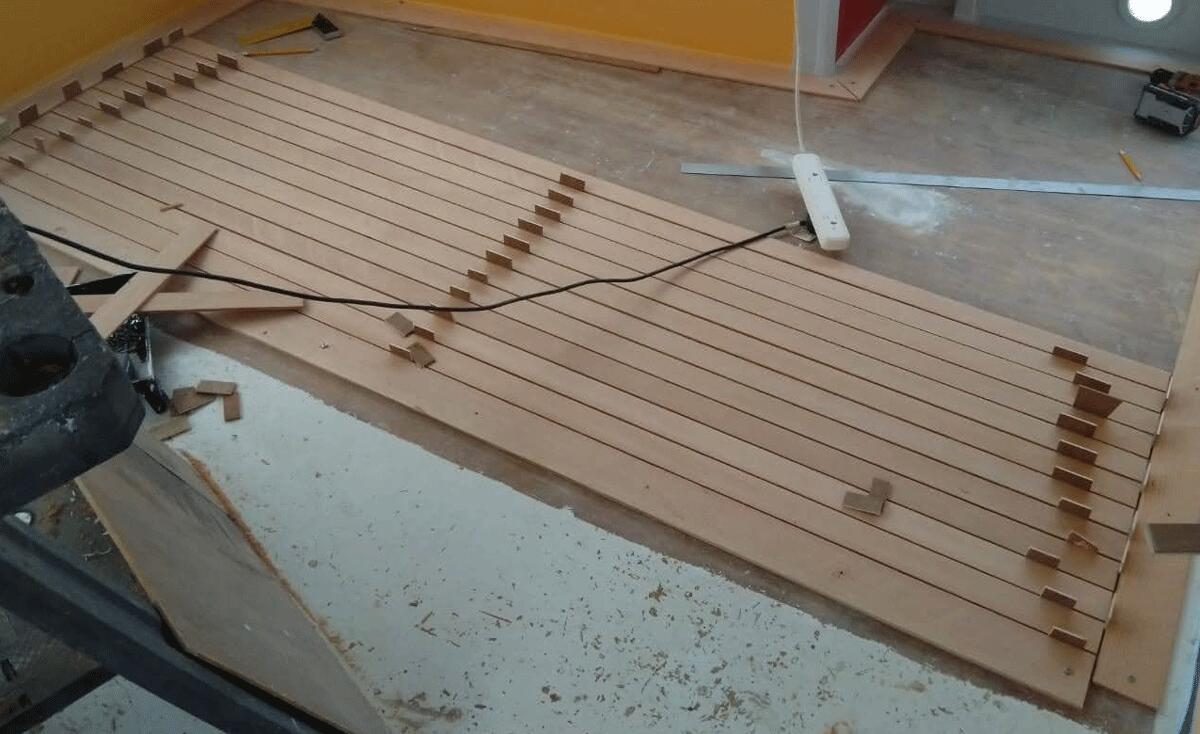
- Belt sand and epoxy glue Douglas Fir decking veneer down (Gougeon brothers method)
- Filled corners close to the frames to stop waterlog & help drainage
- Deck light — drilled holes, glue polycarbonate with UHB tape
- Cut down all round the top sides and reinforce with plywood where cut bulwarks
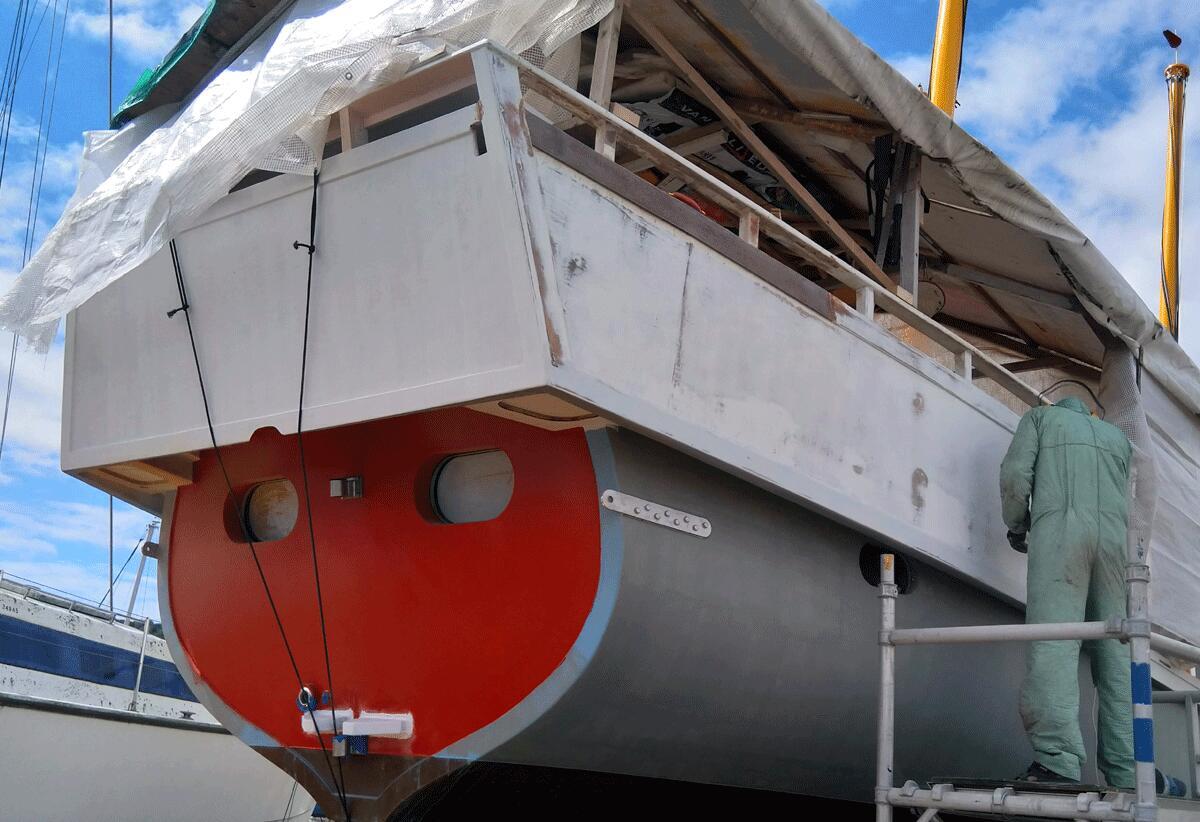
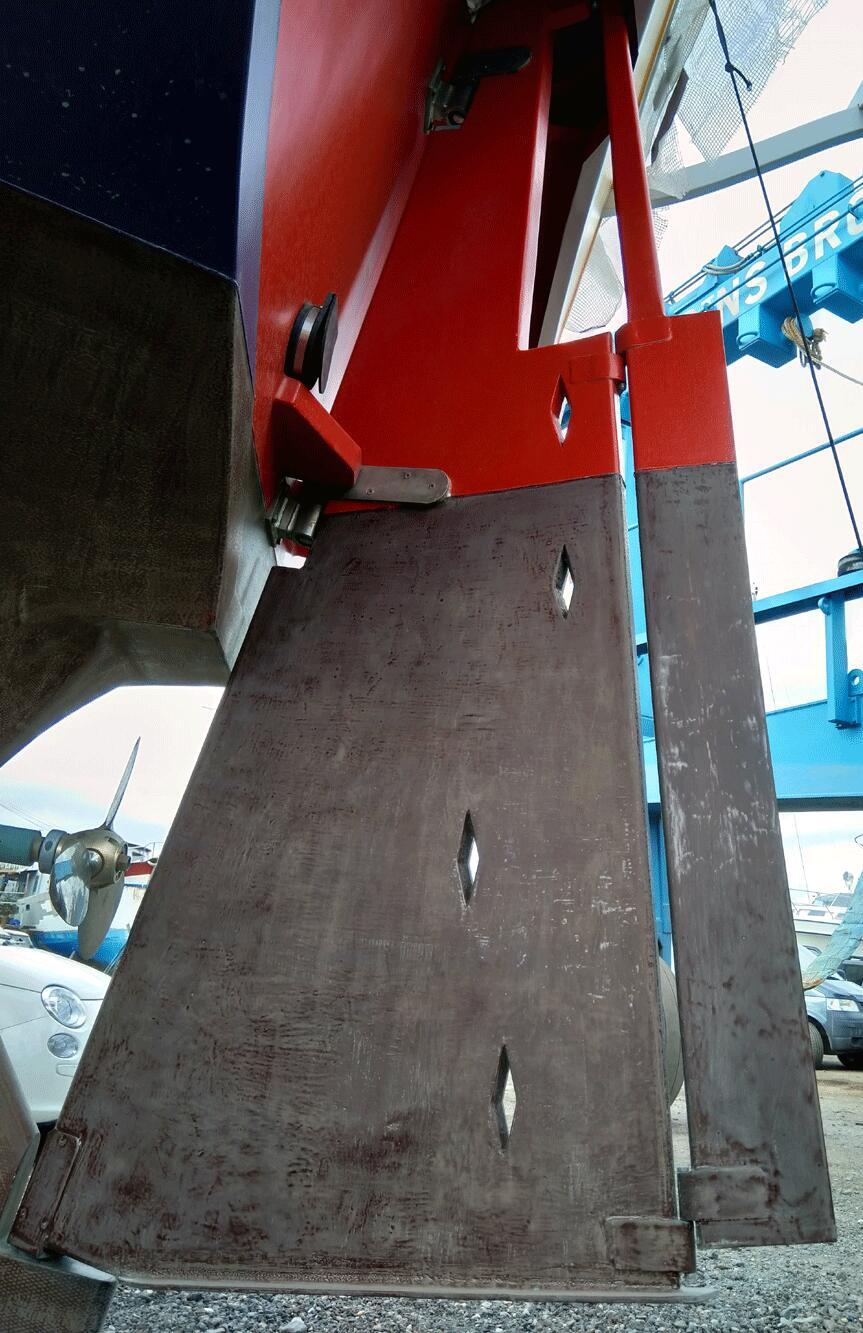
- Shaved off bottom aft bulwark to fit the rudder & self steering / trim tab
Davits
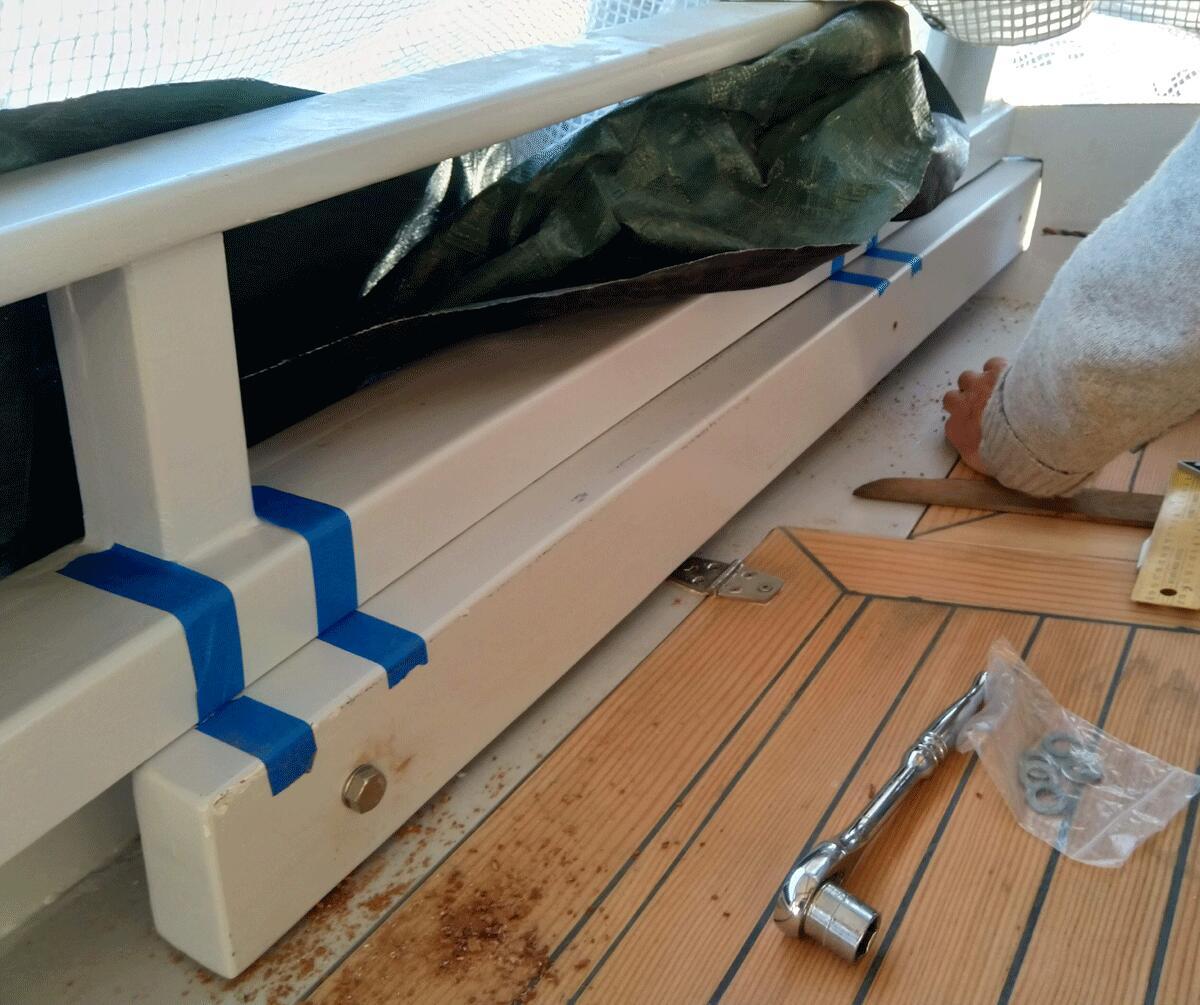
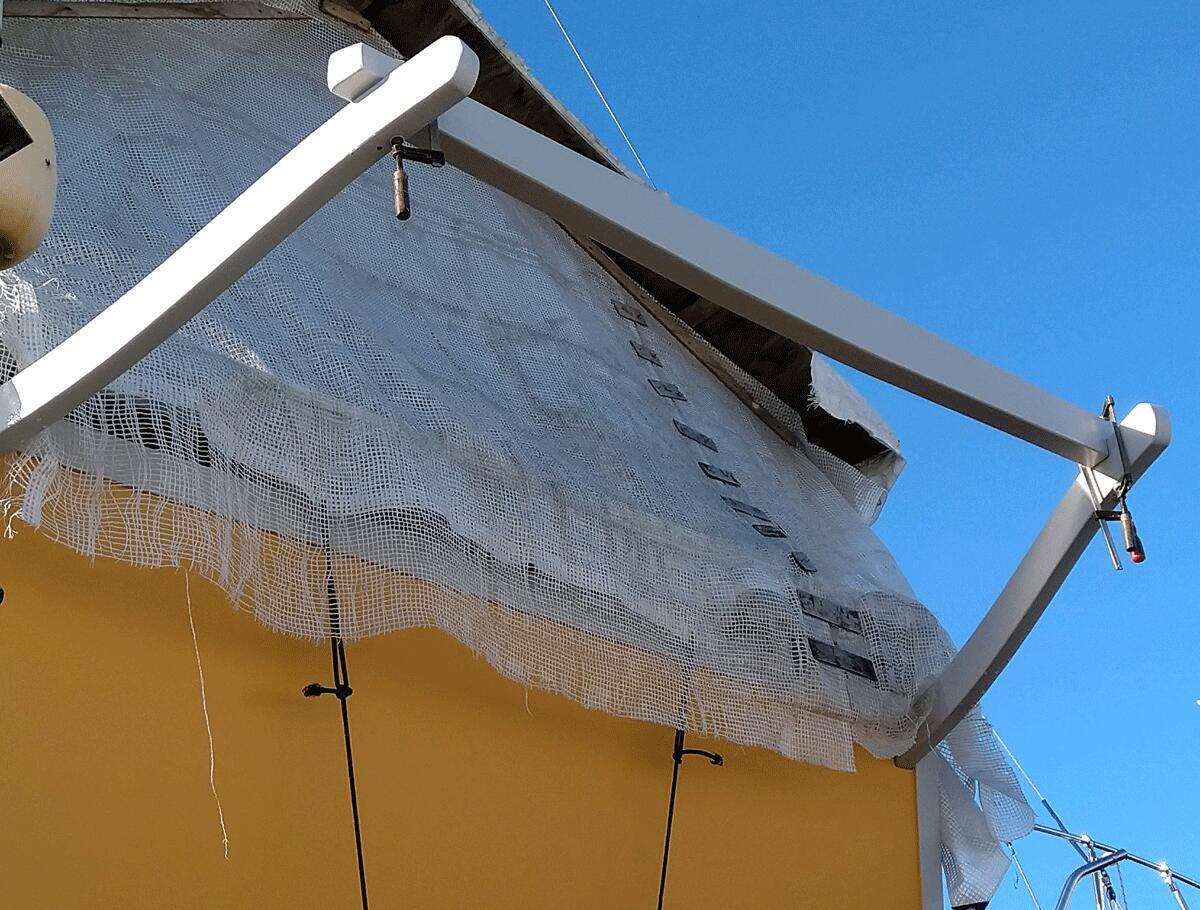
- Fit through aft bulwark / epoxy / paint — bolt on davits
Steering & Self Steering
Rudder:
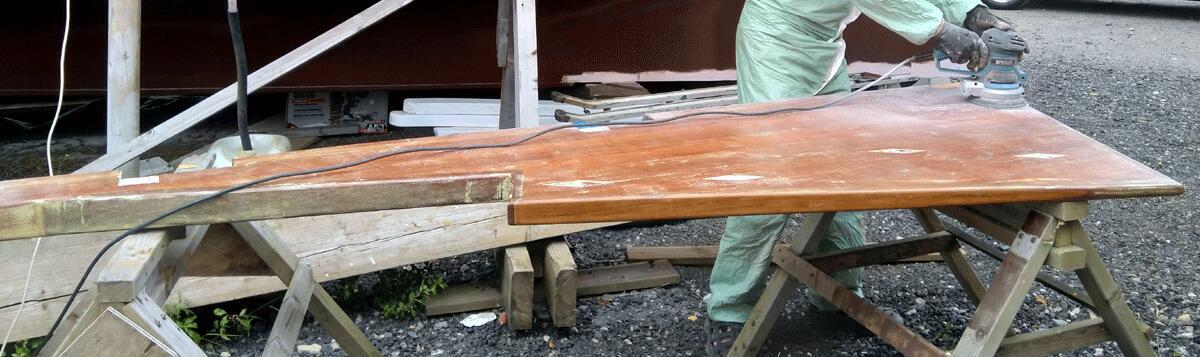
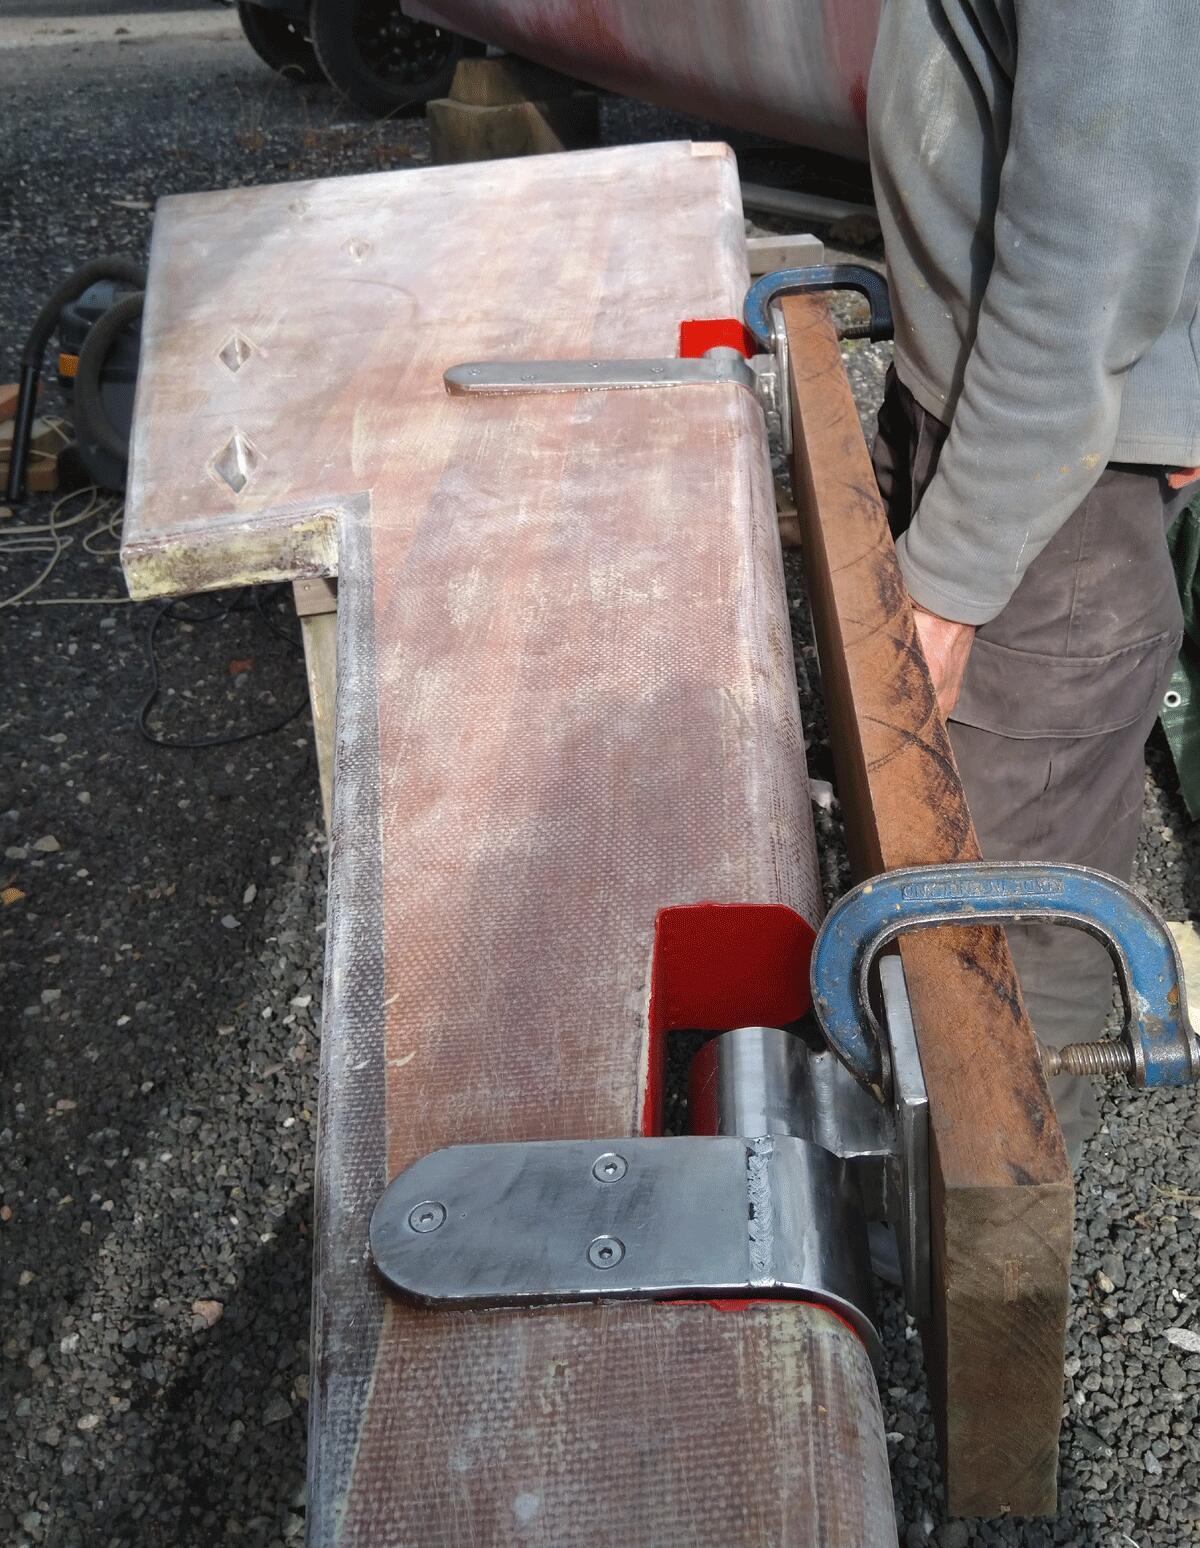
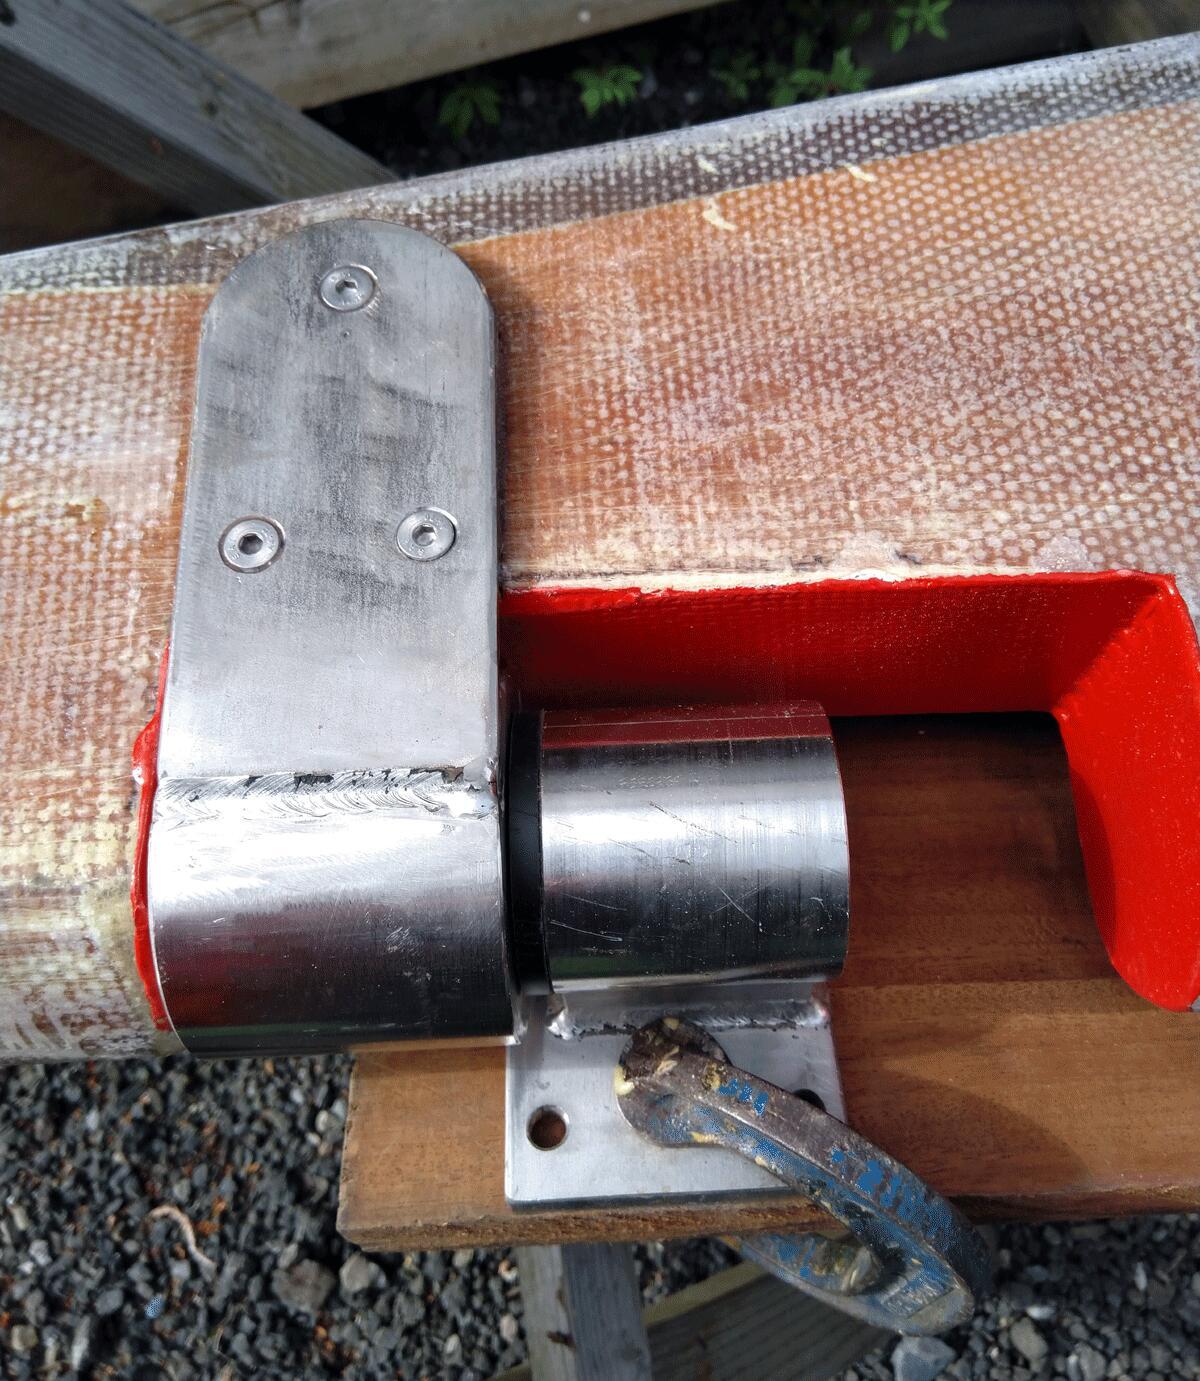
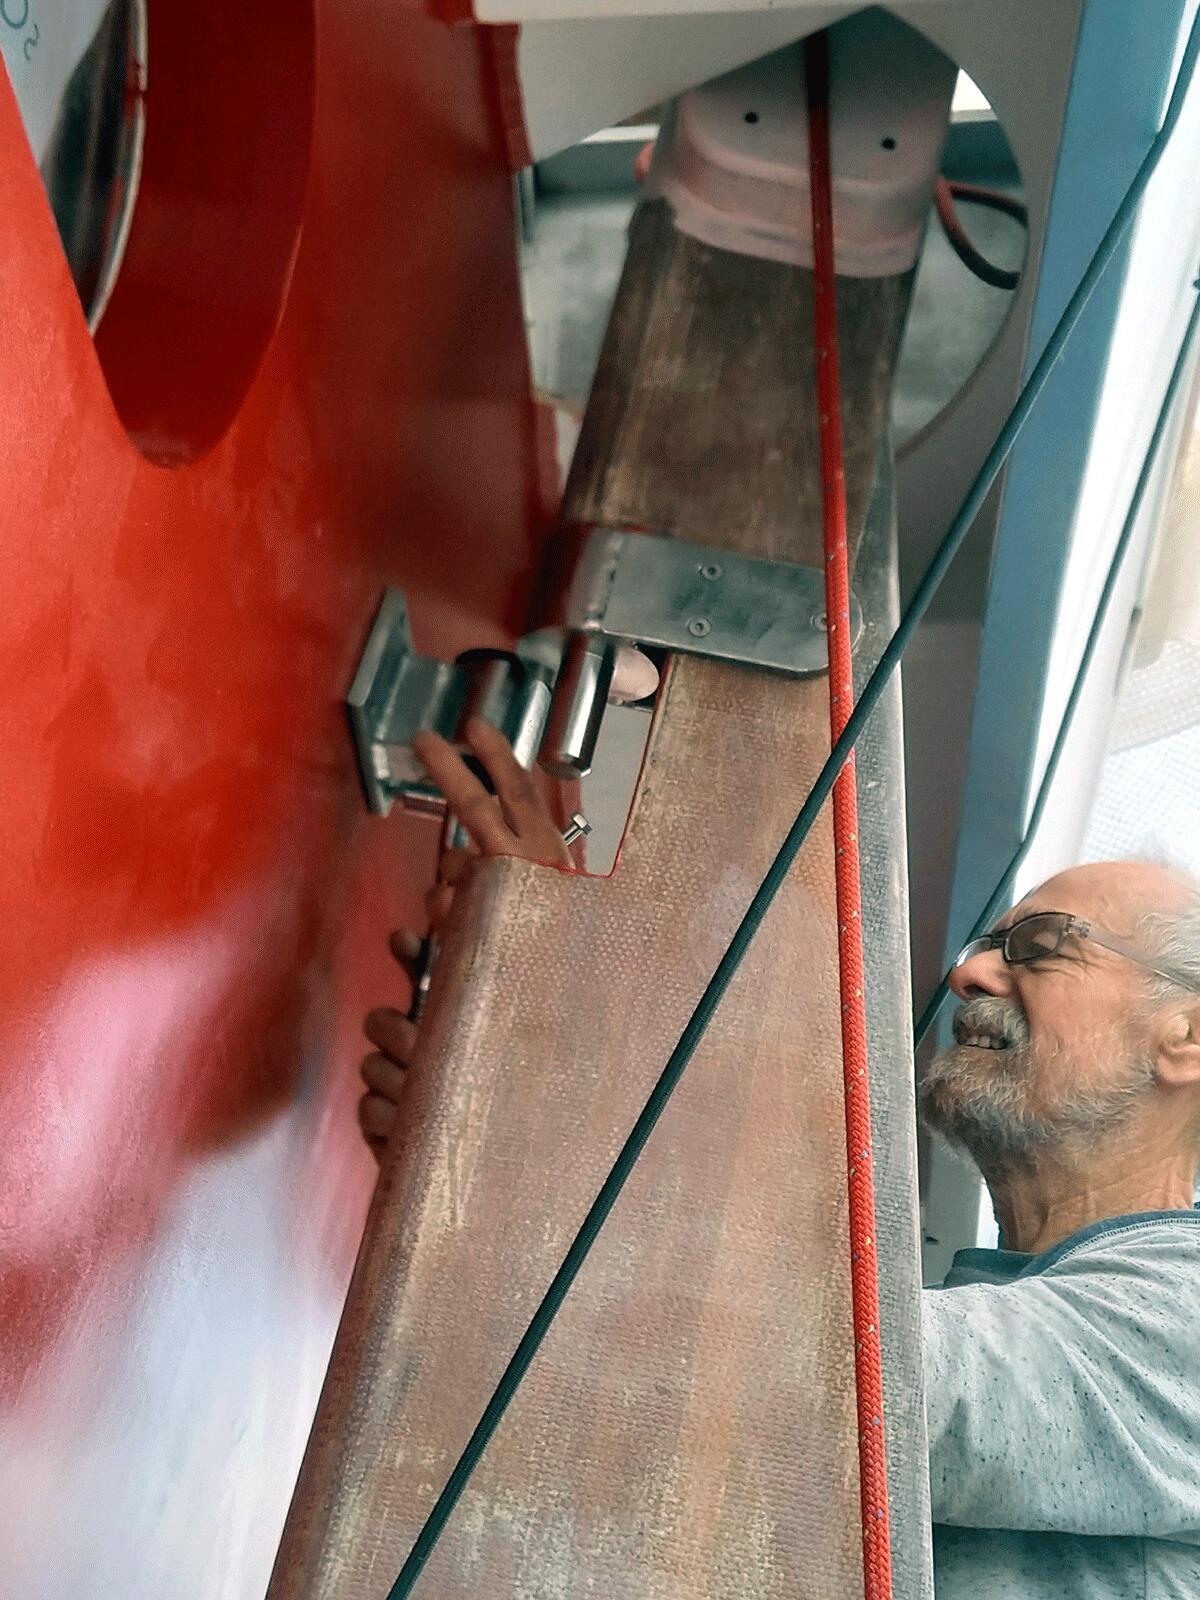
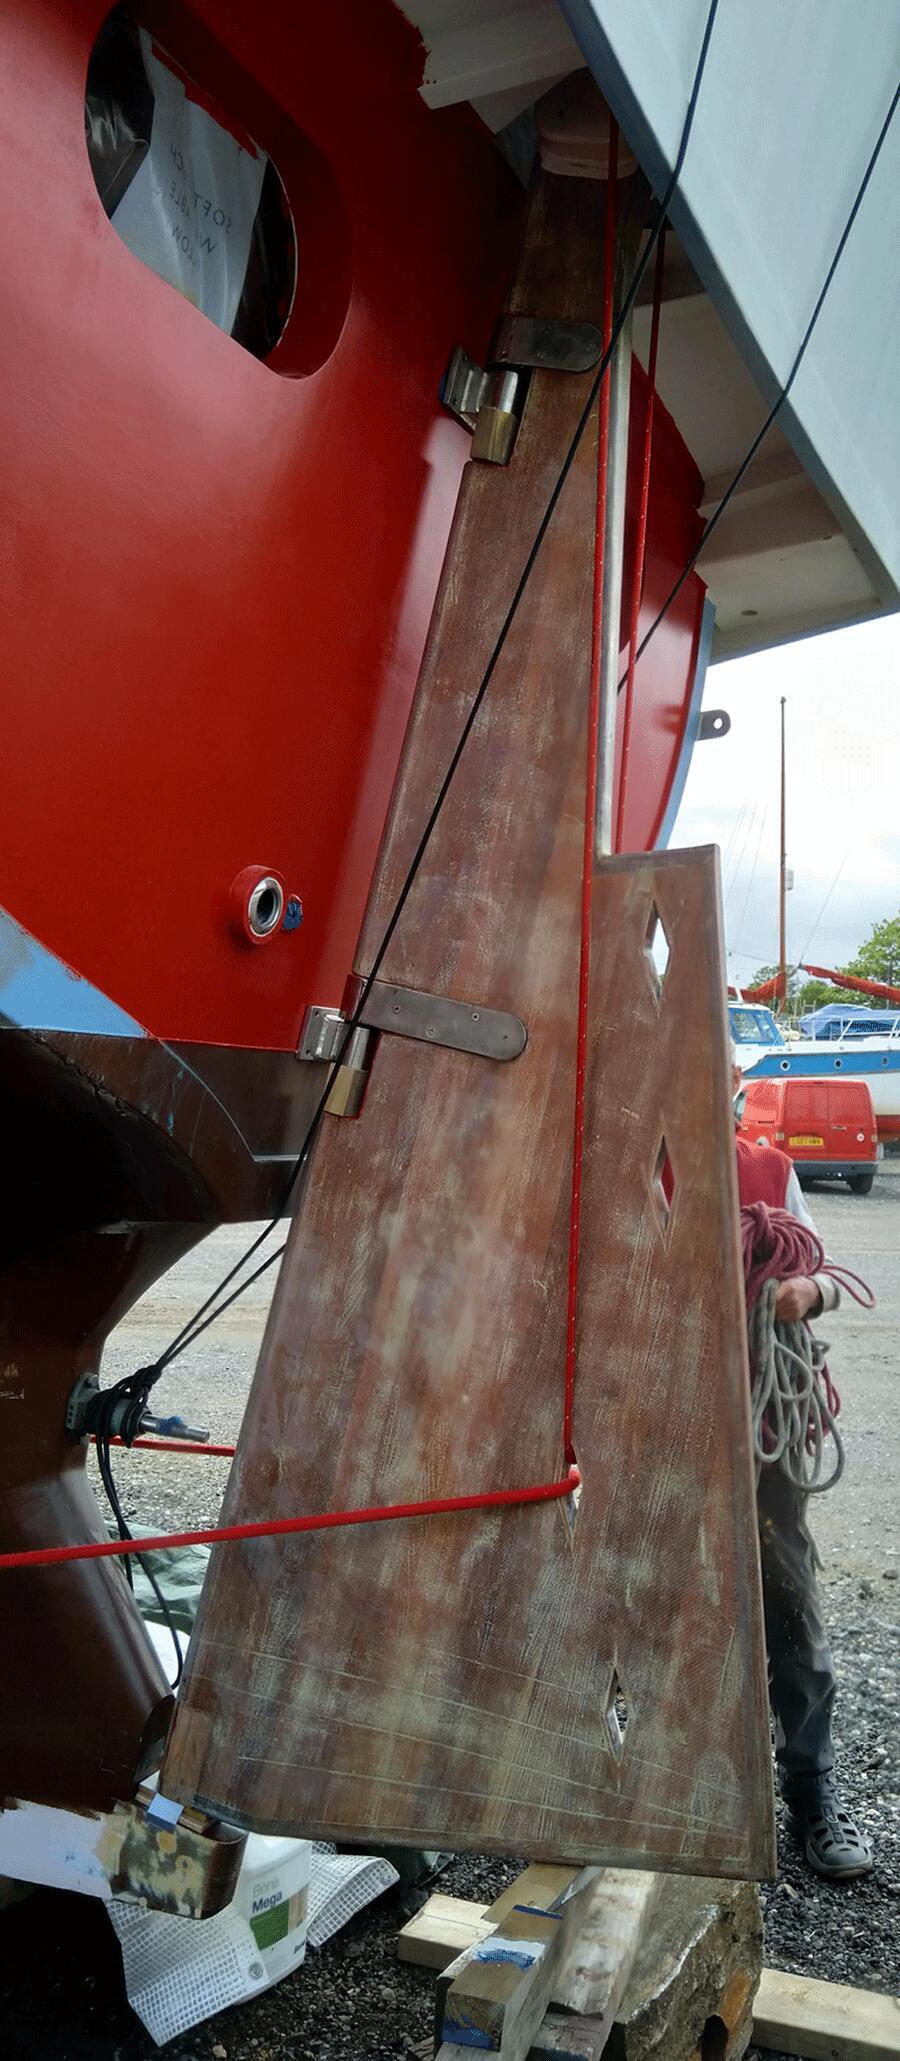
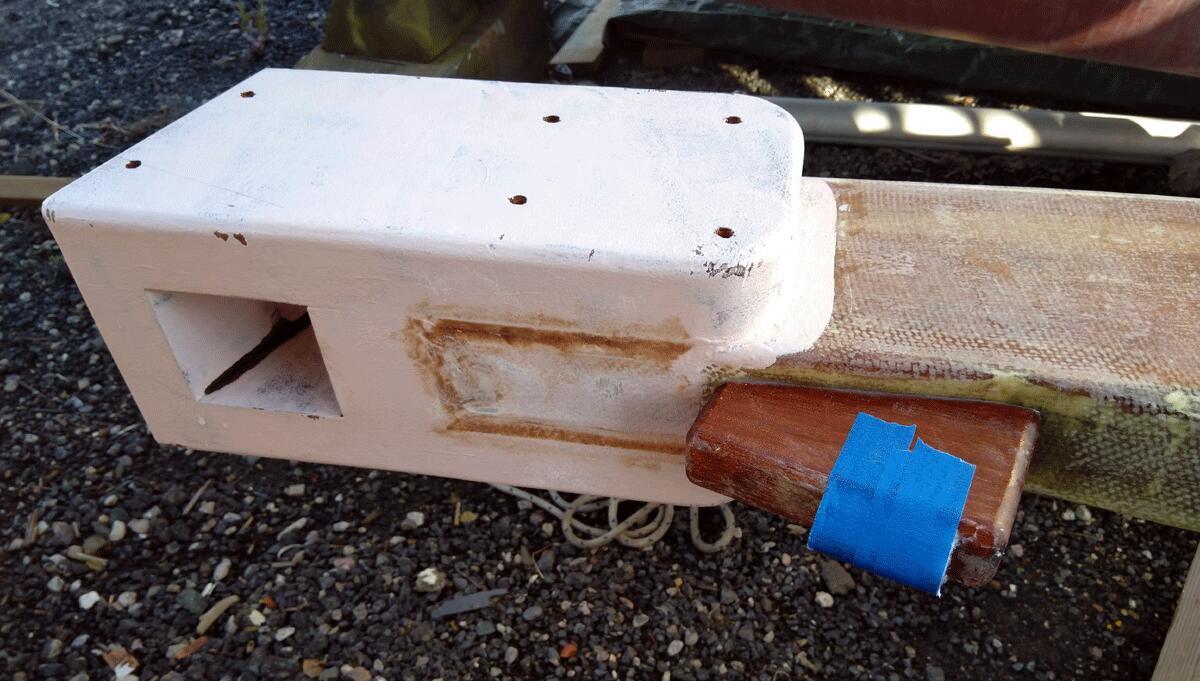
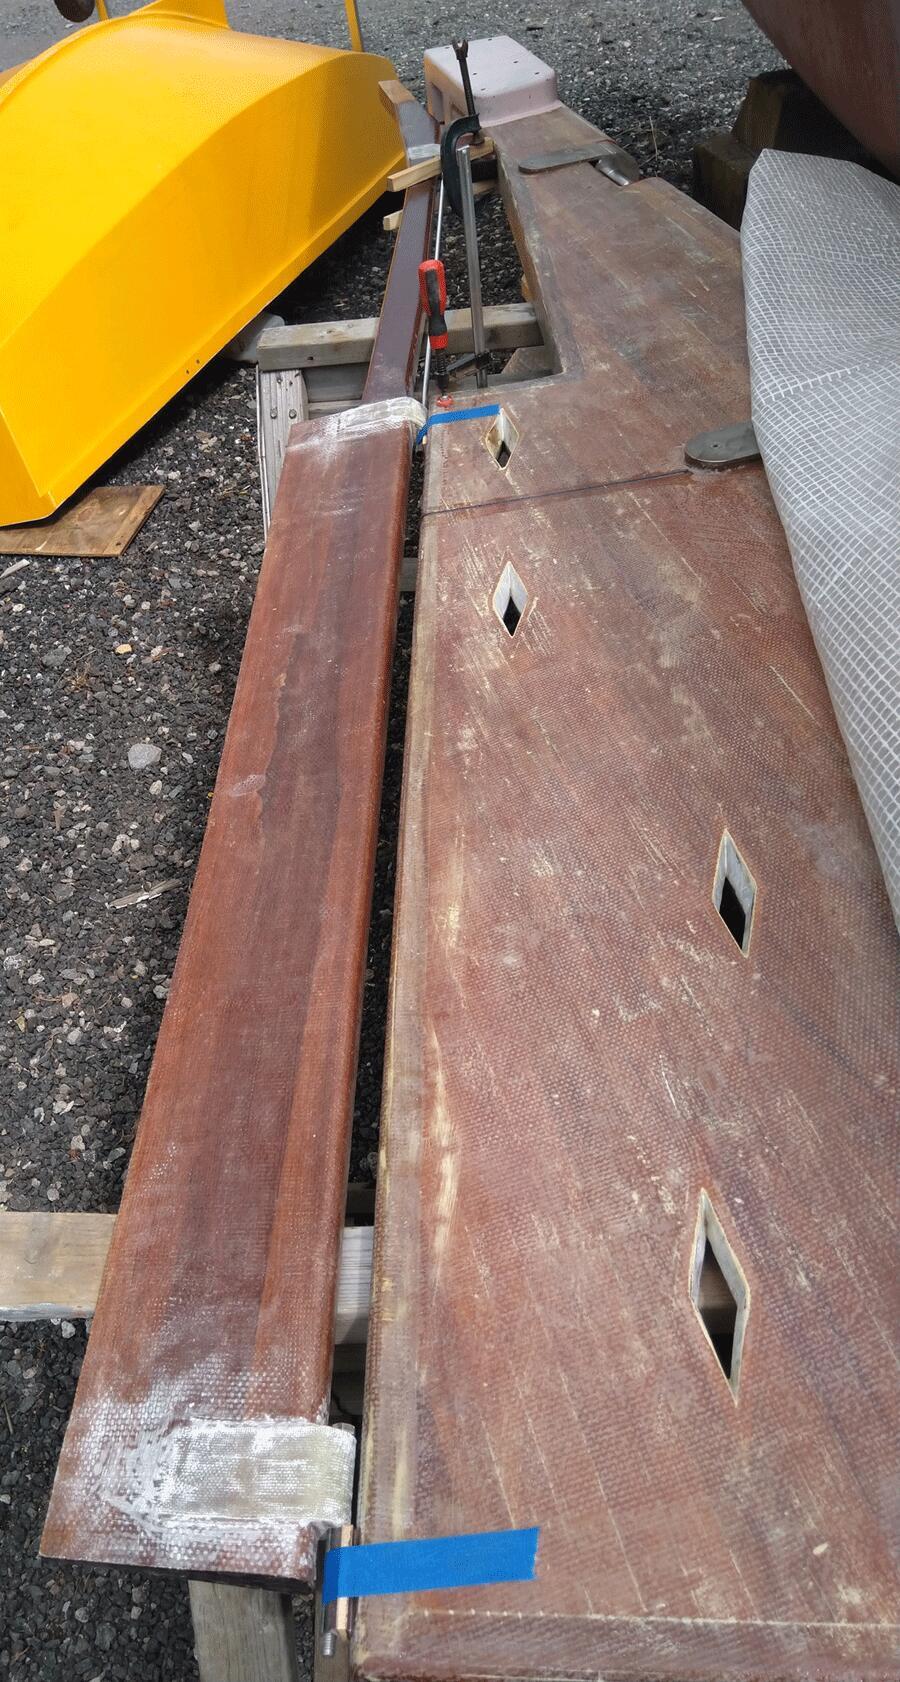
- Build rudder head
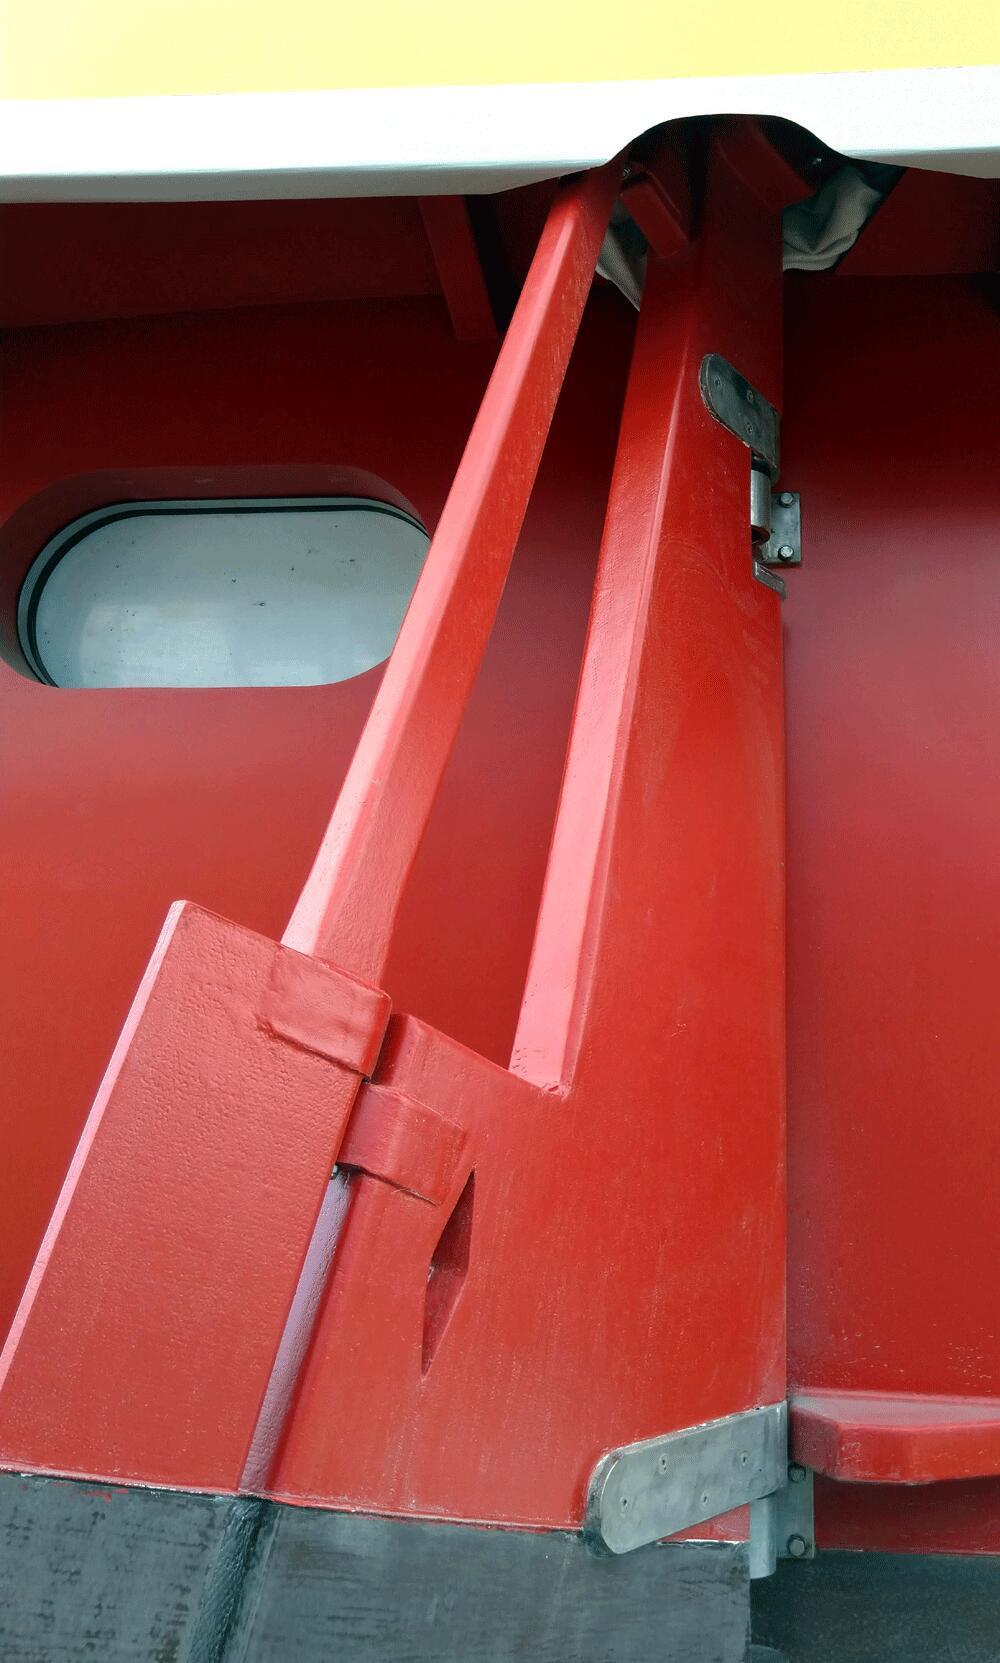
- Metal fittings to the hull and rudder
- Propeller cut-out, fibreglass, dry fitted
- Added trim tab
- Trimmed aft bulwark beam to fit trim tab
- Added end plate to rudder
Tiller:
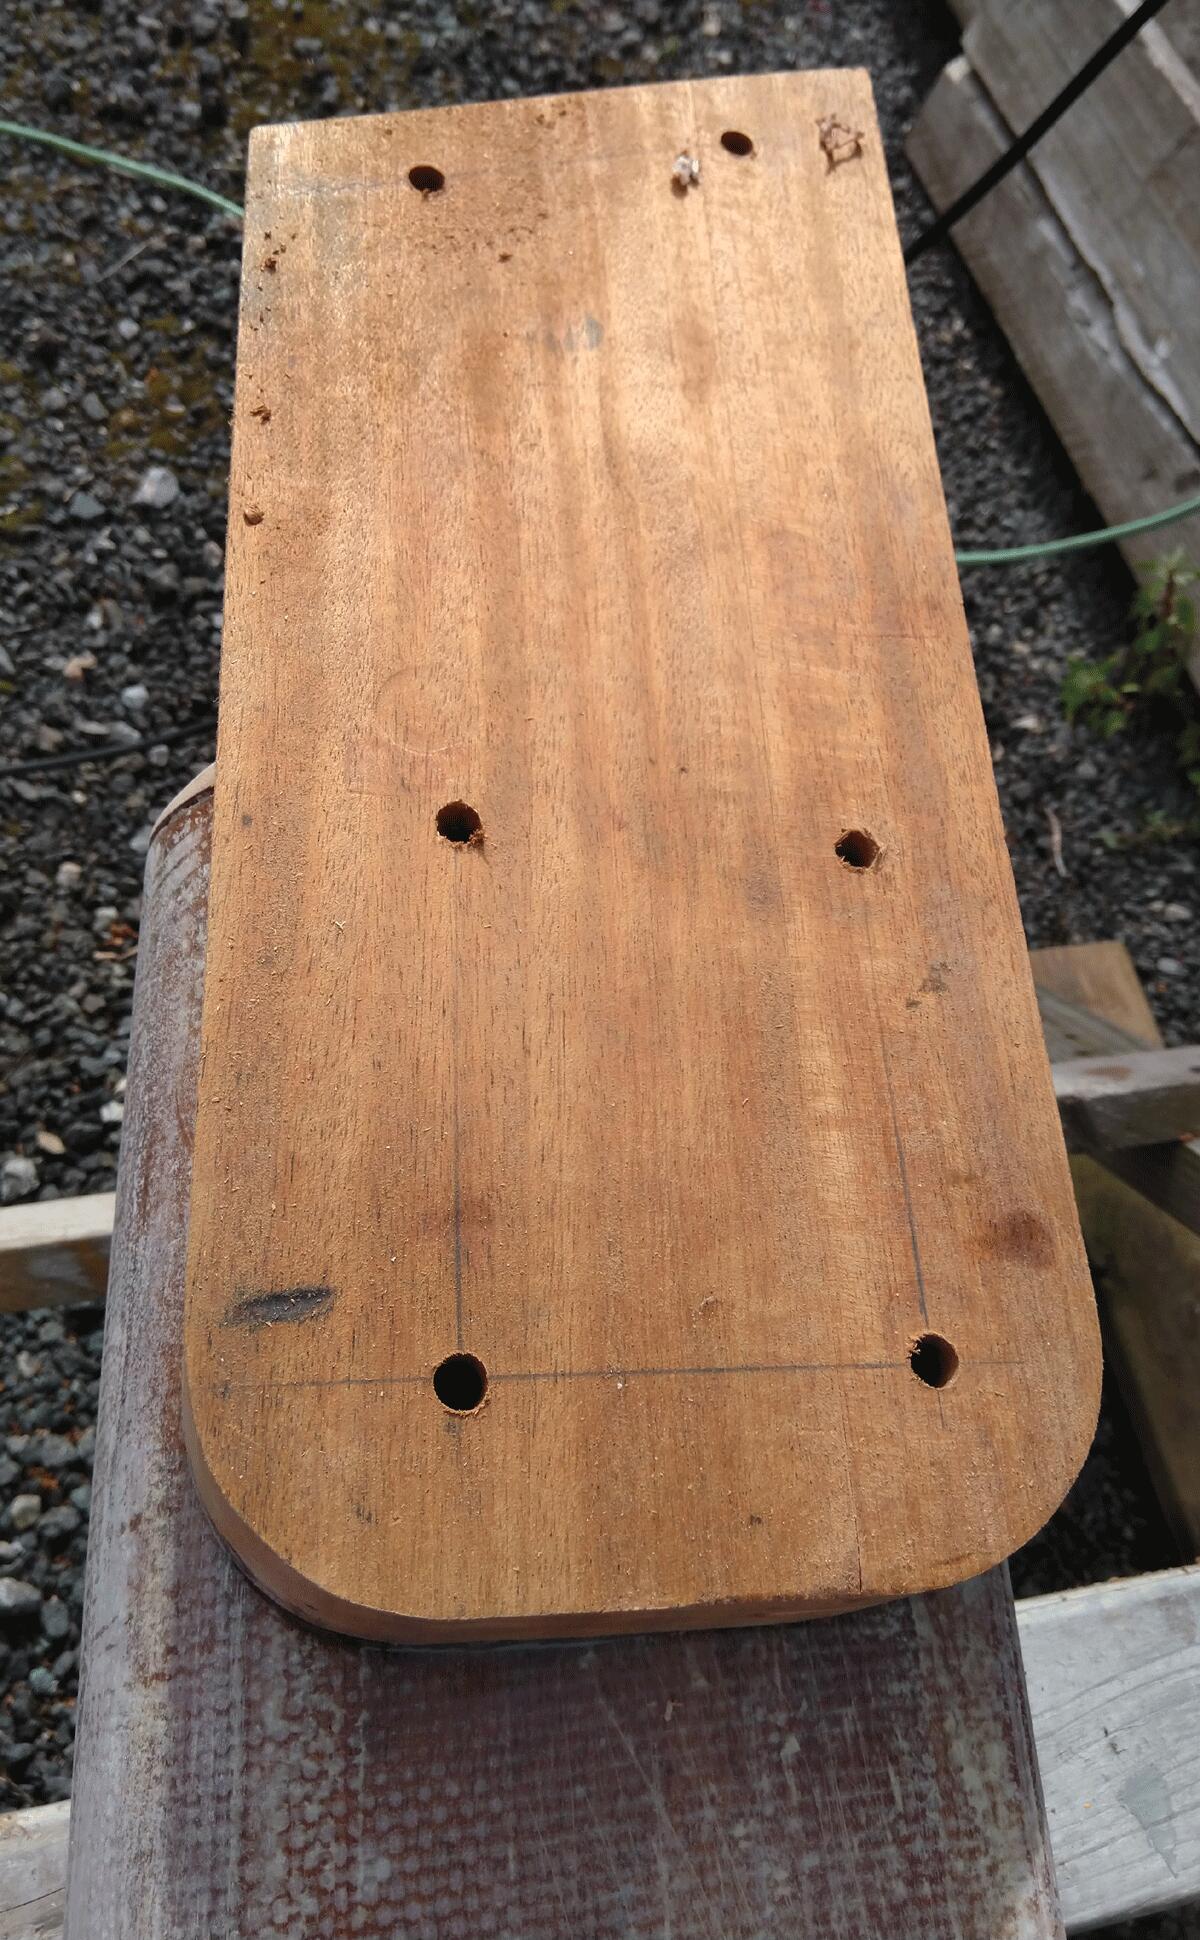
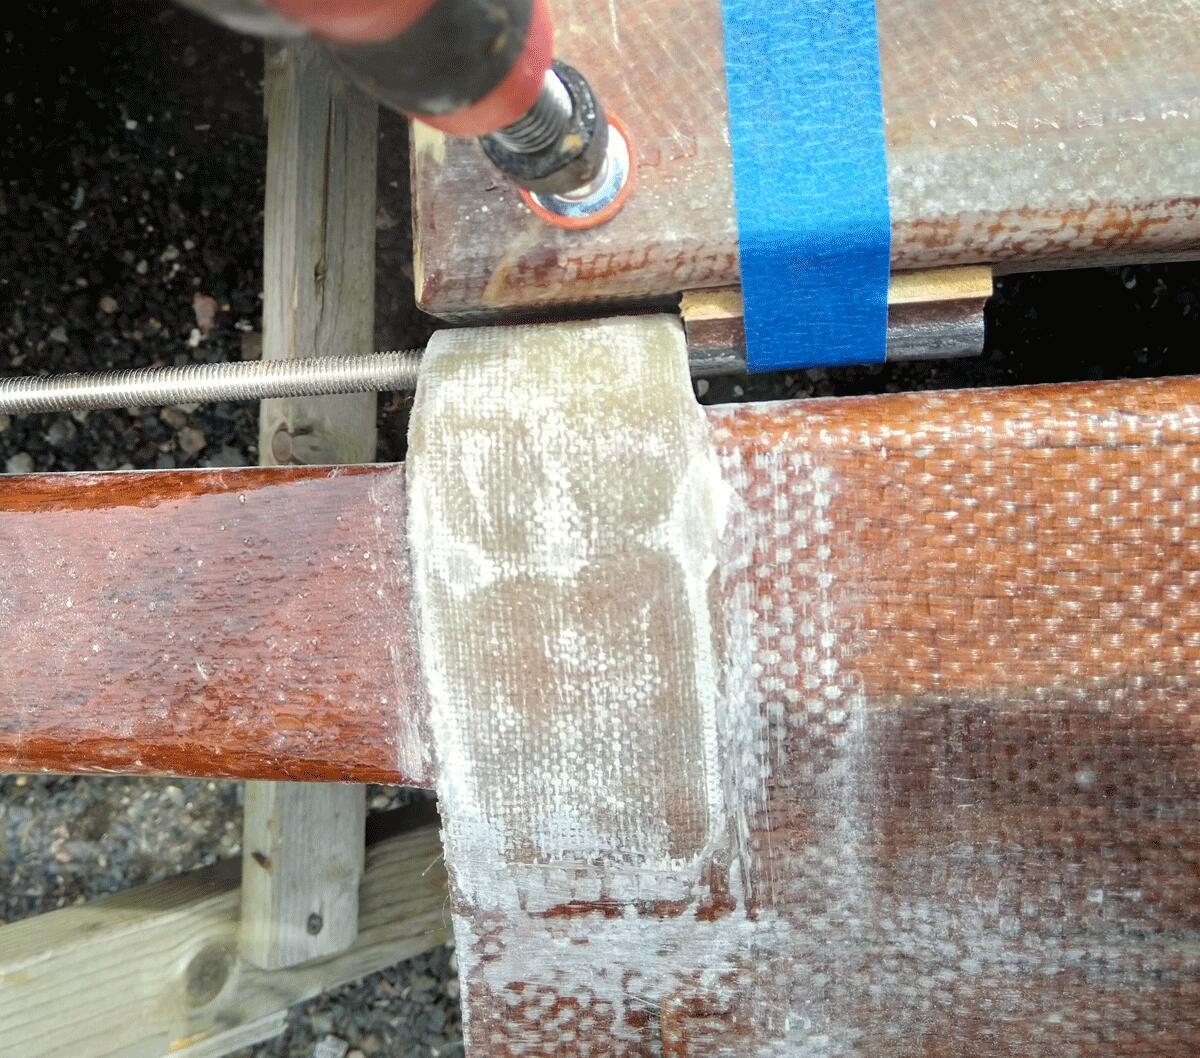
- Made and fit tiller joint to rudder head
- Made hinge plate for tiller connection
Self Steering:
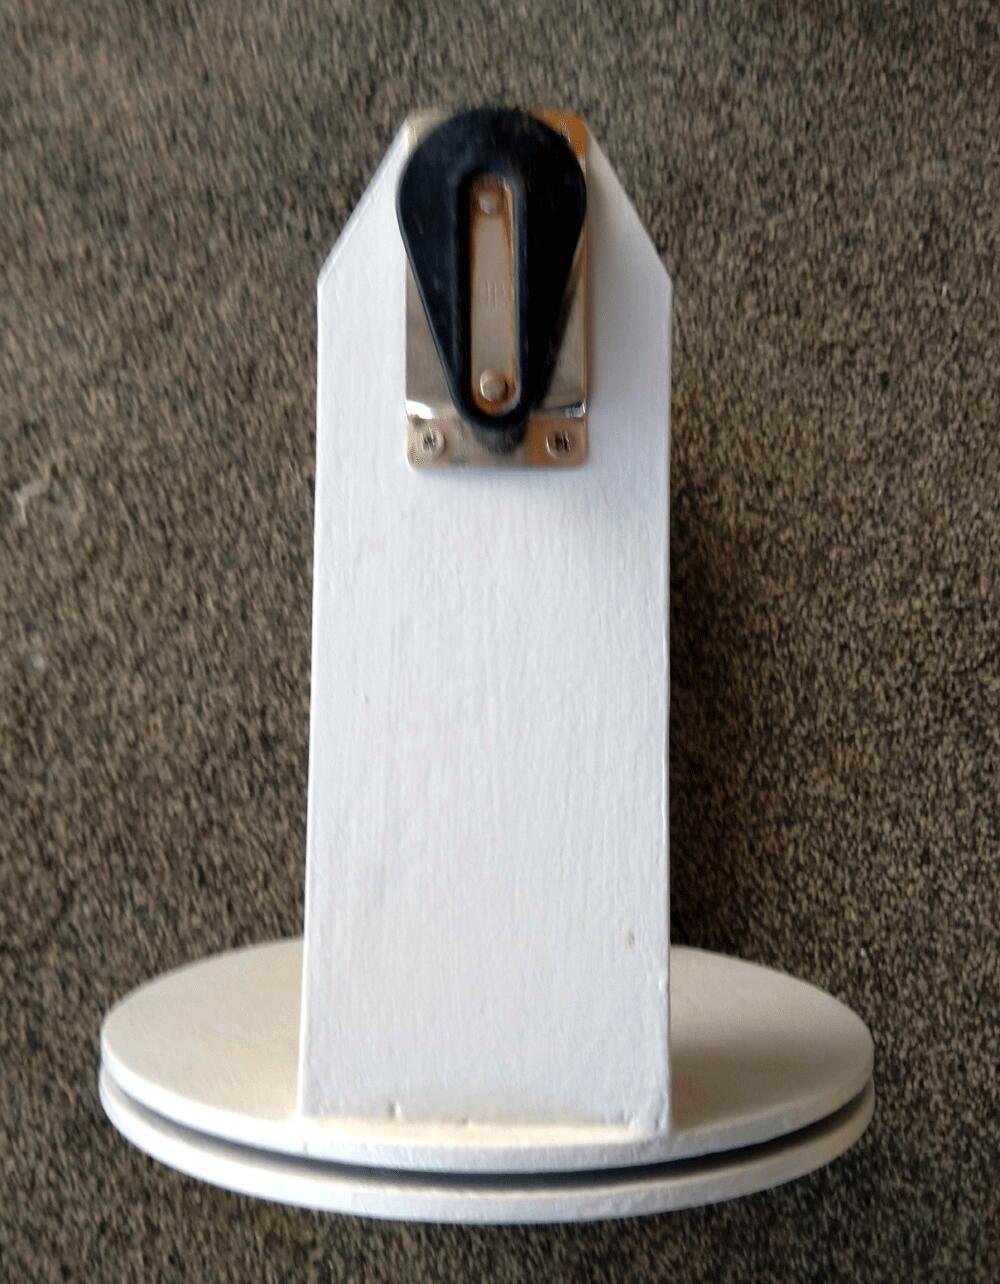
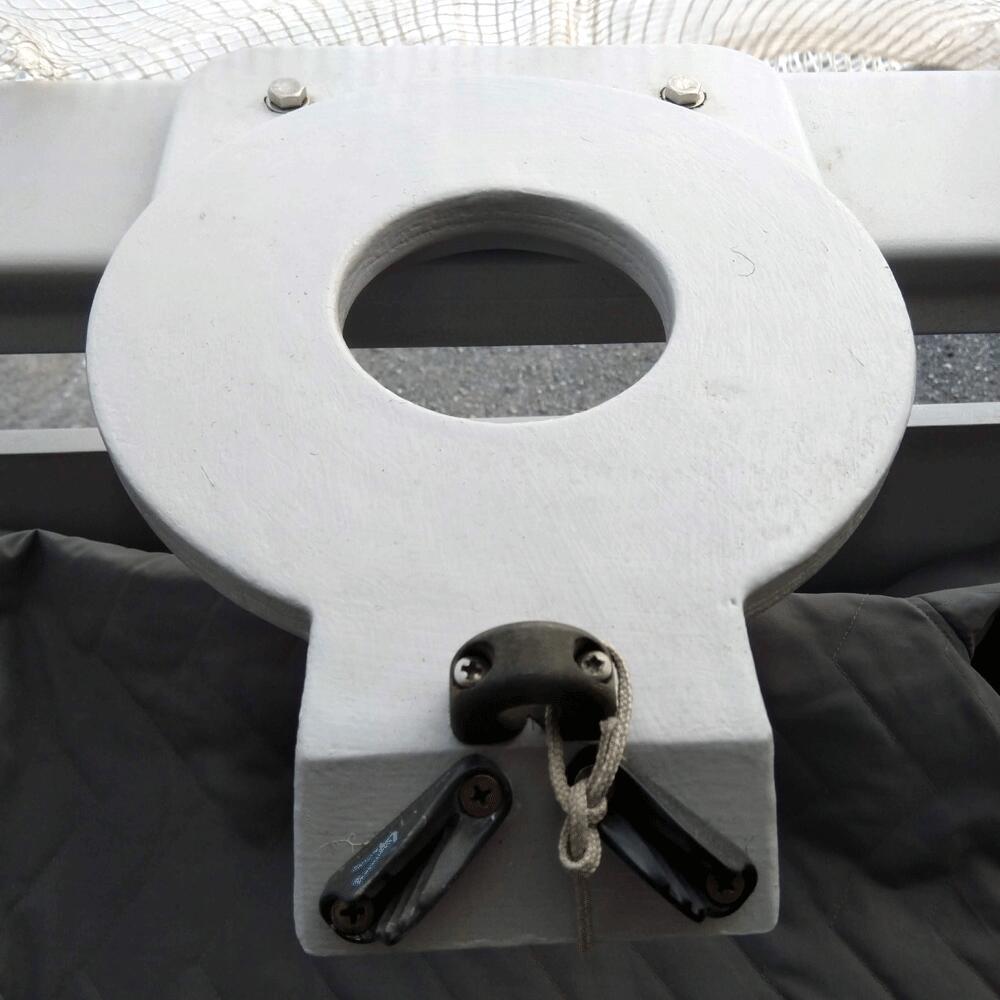
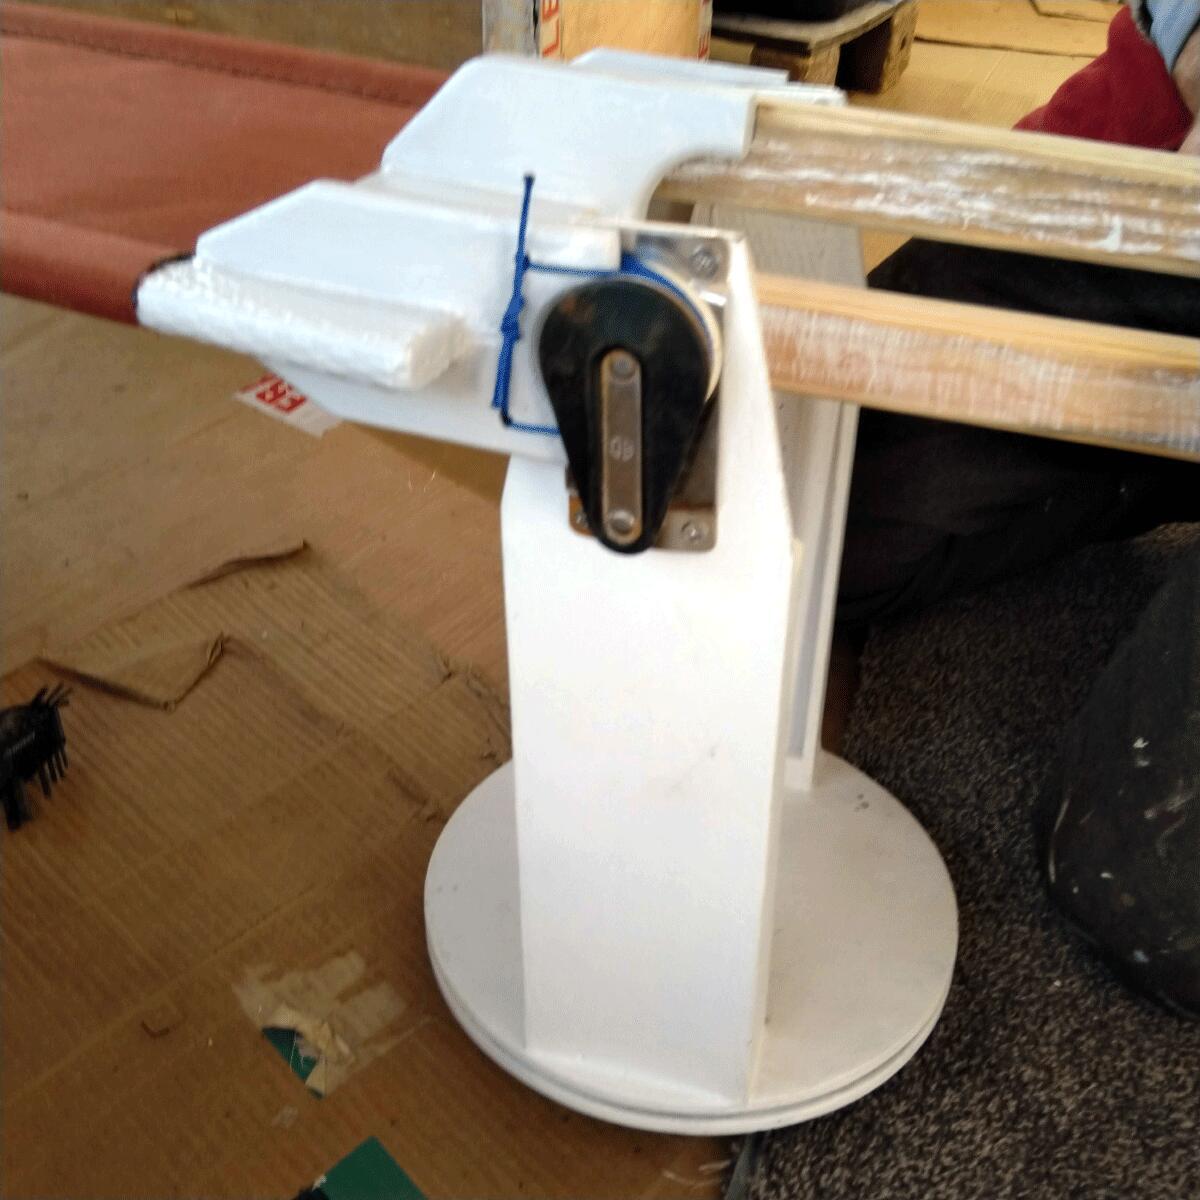
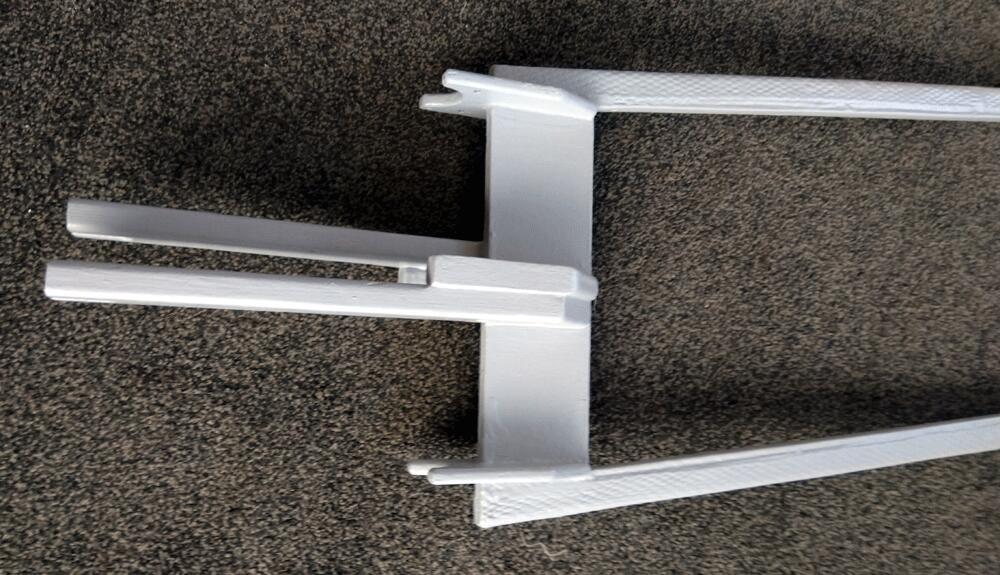
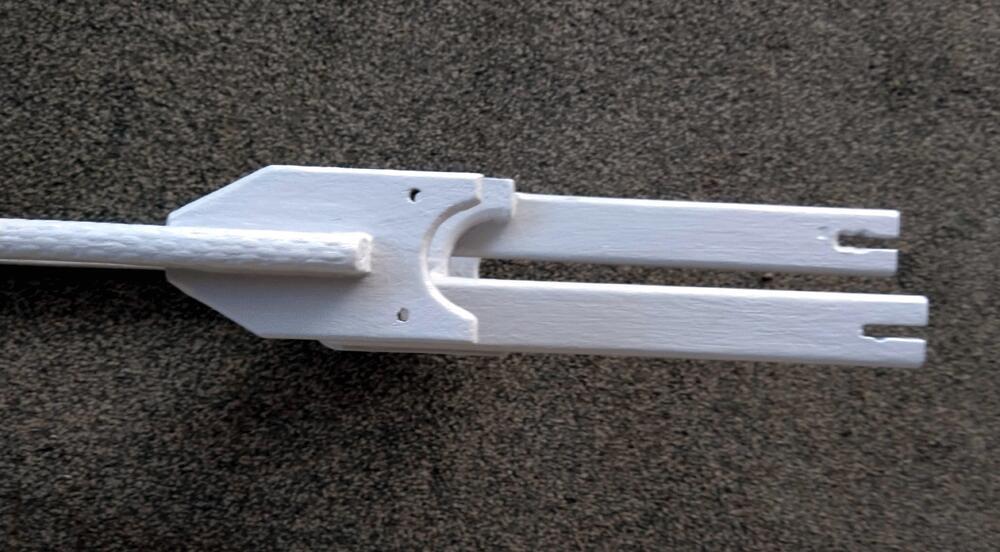
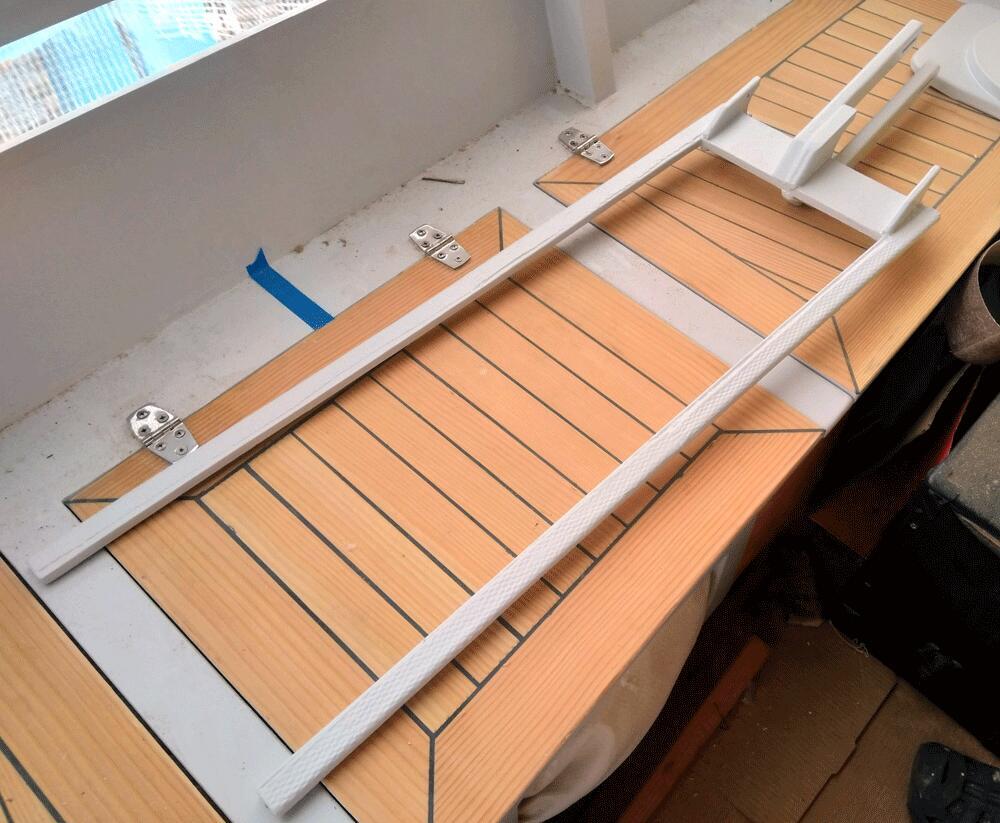
- Built Bill Belcher OTG 2 connected to trim tab on the rudder
Masts
Sizes:
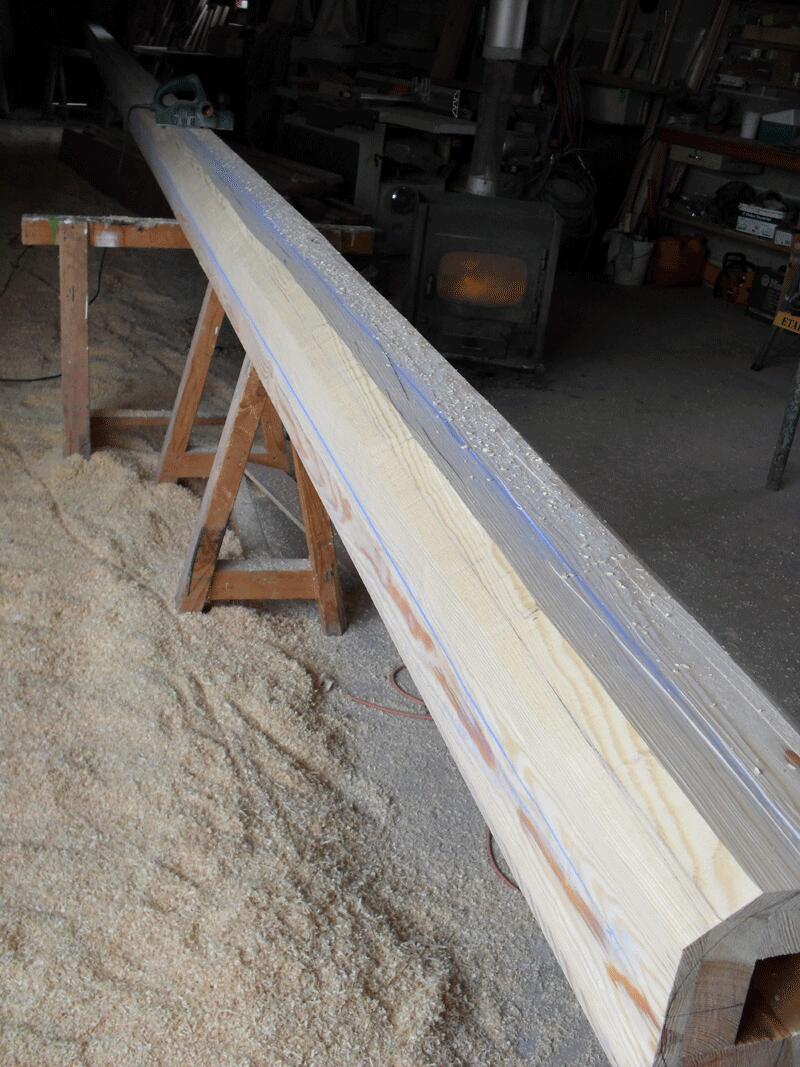
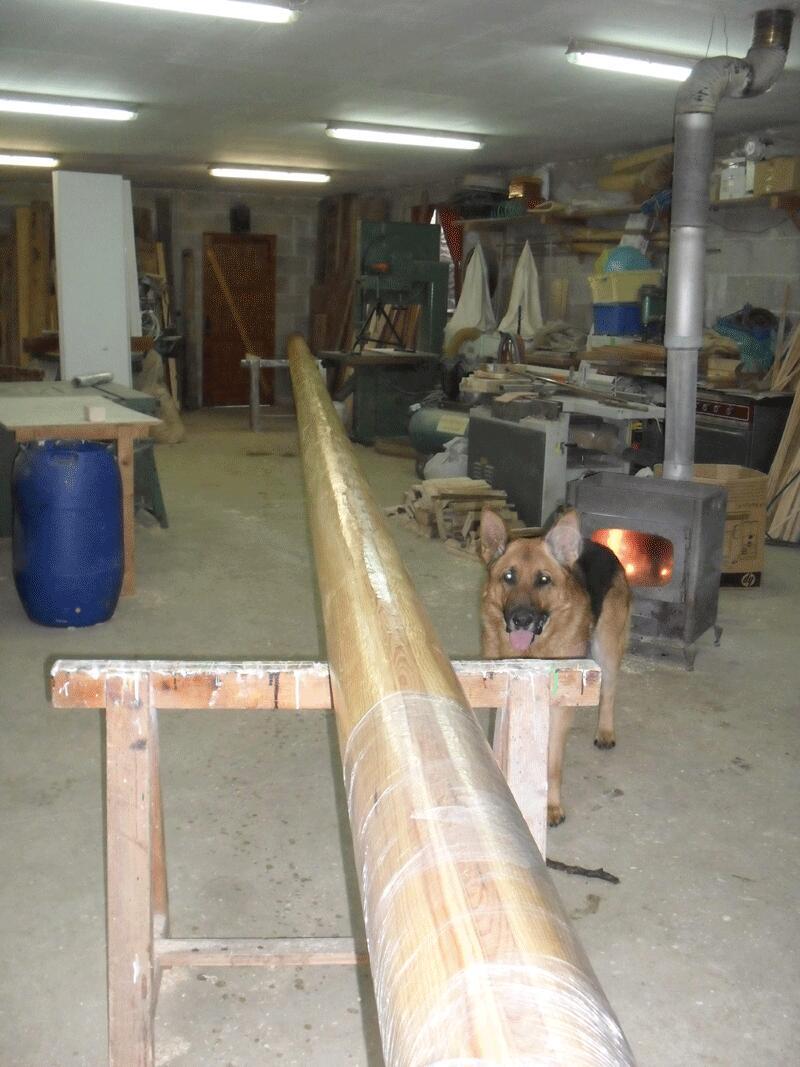
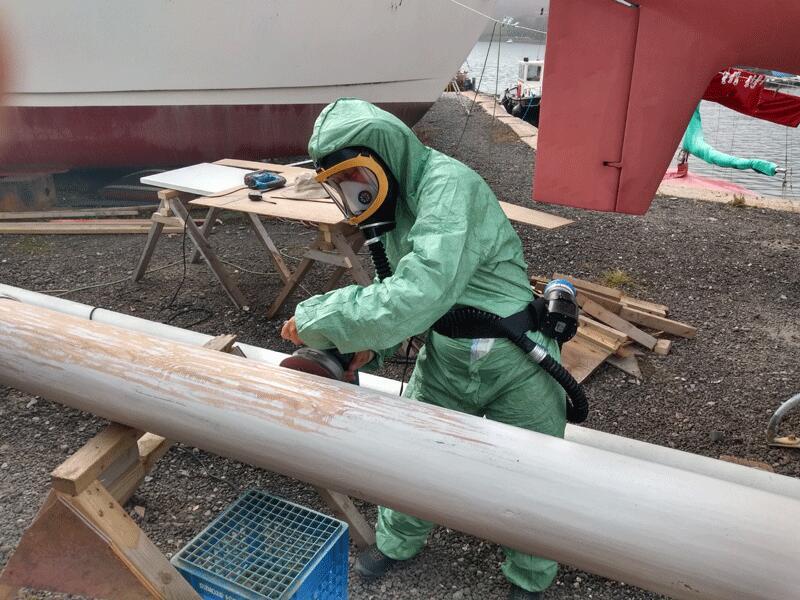
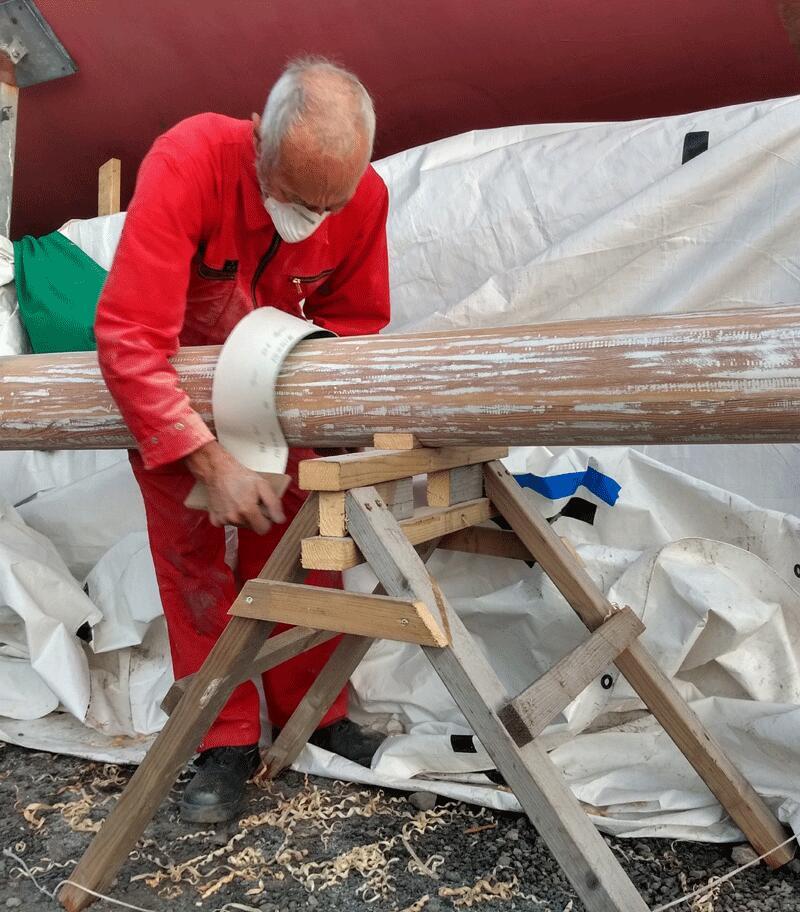
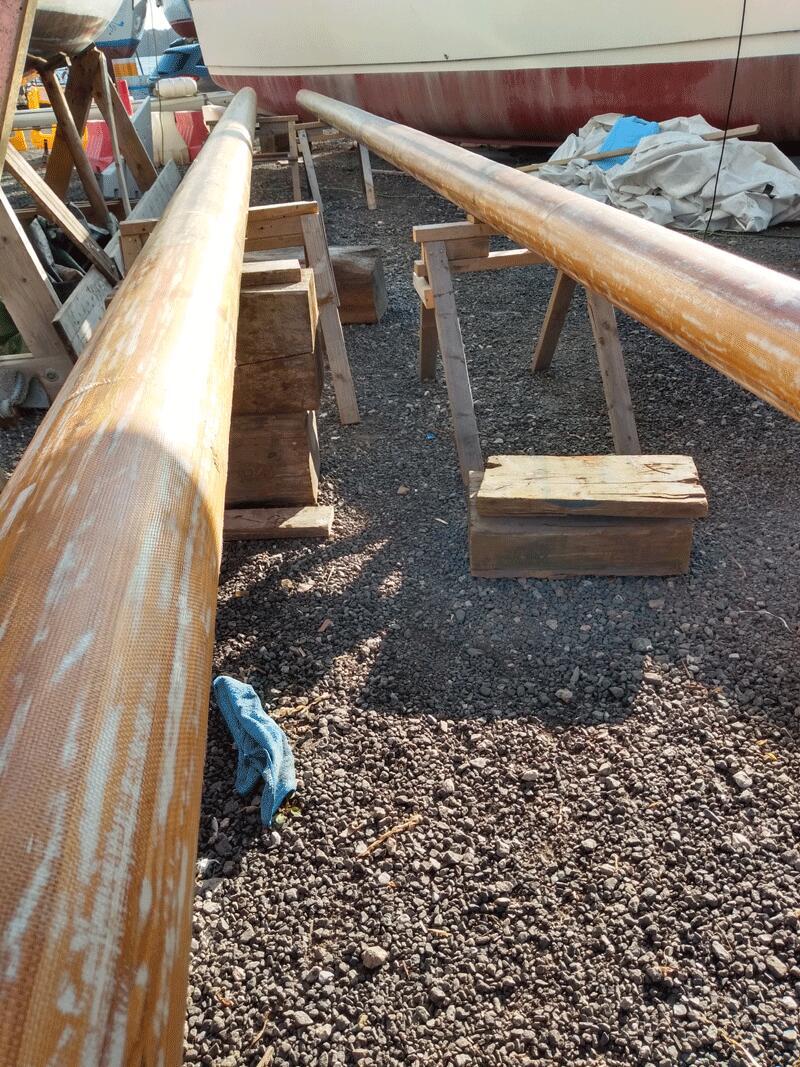
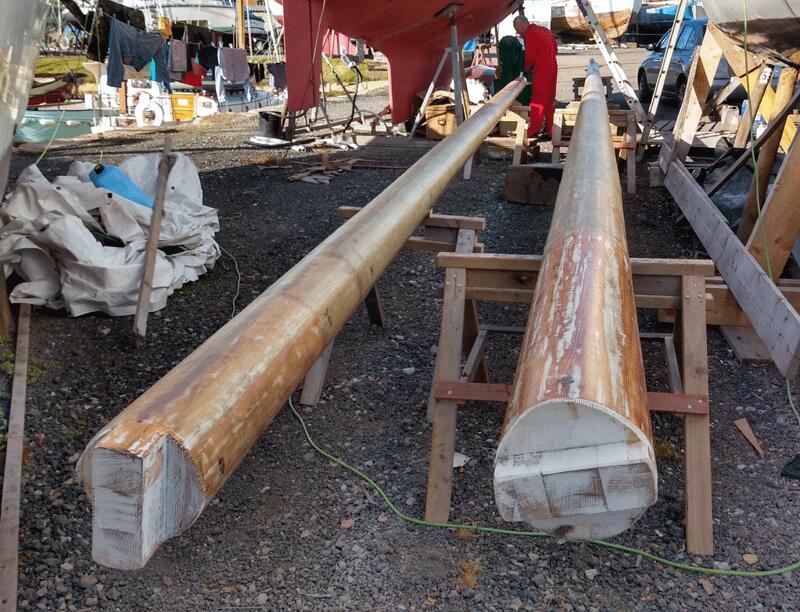
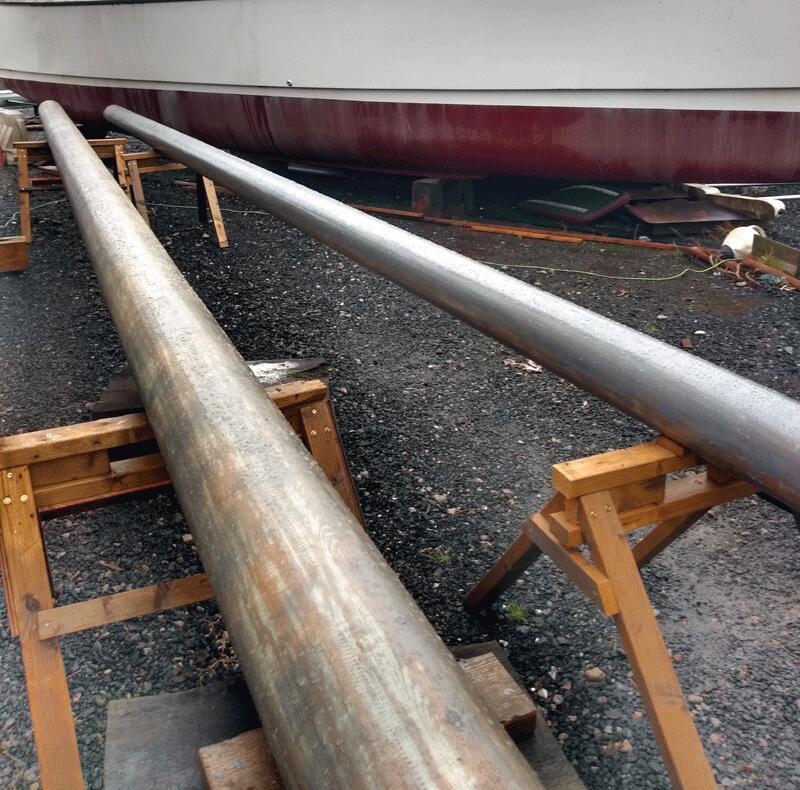
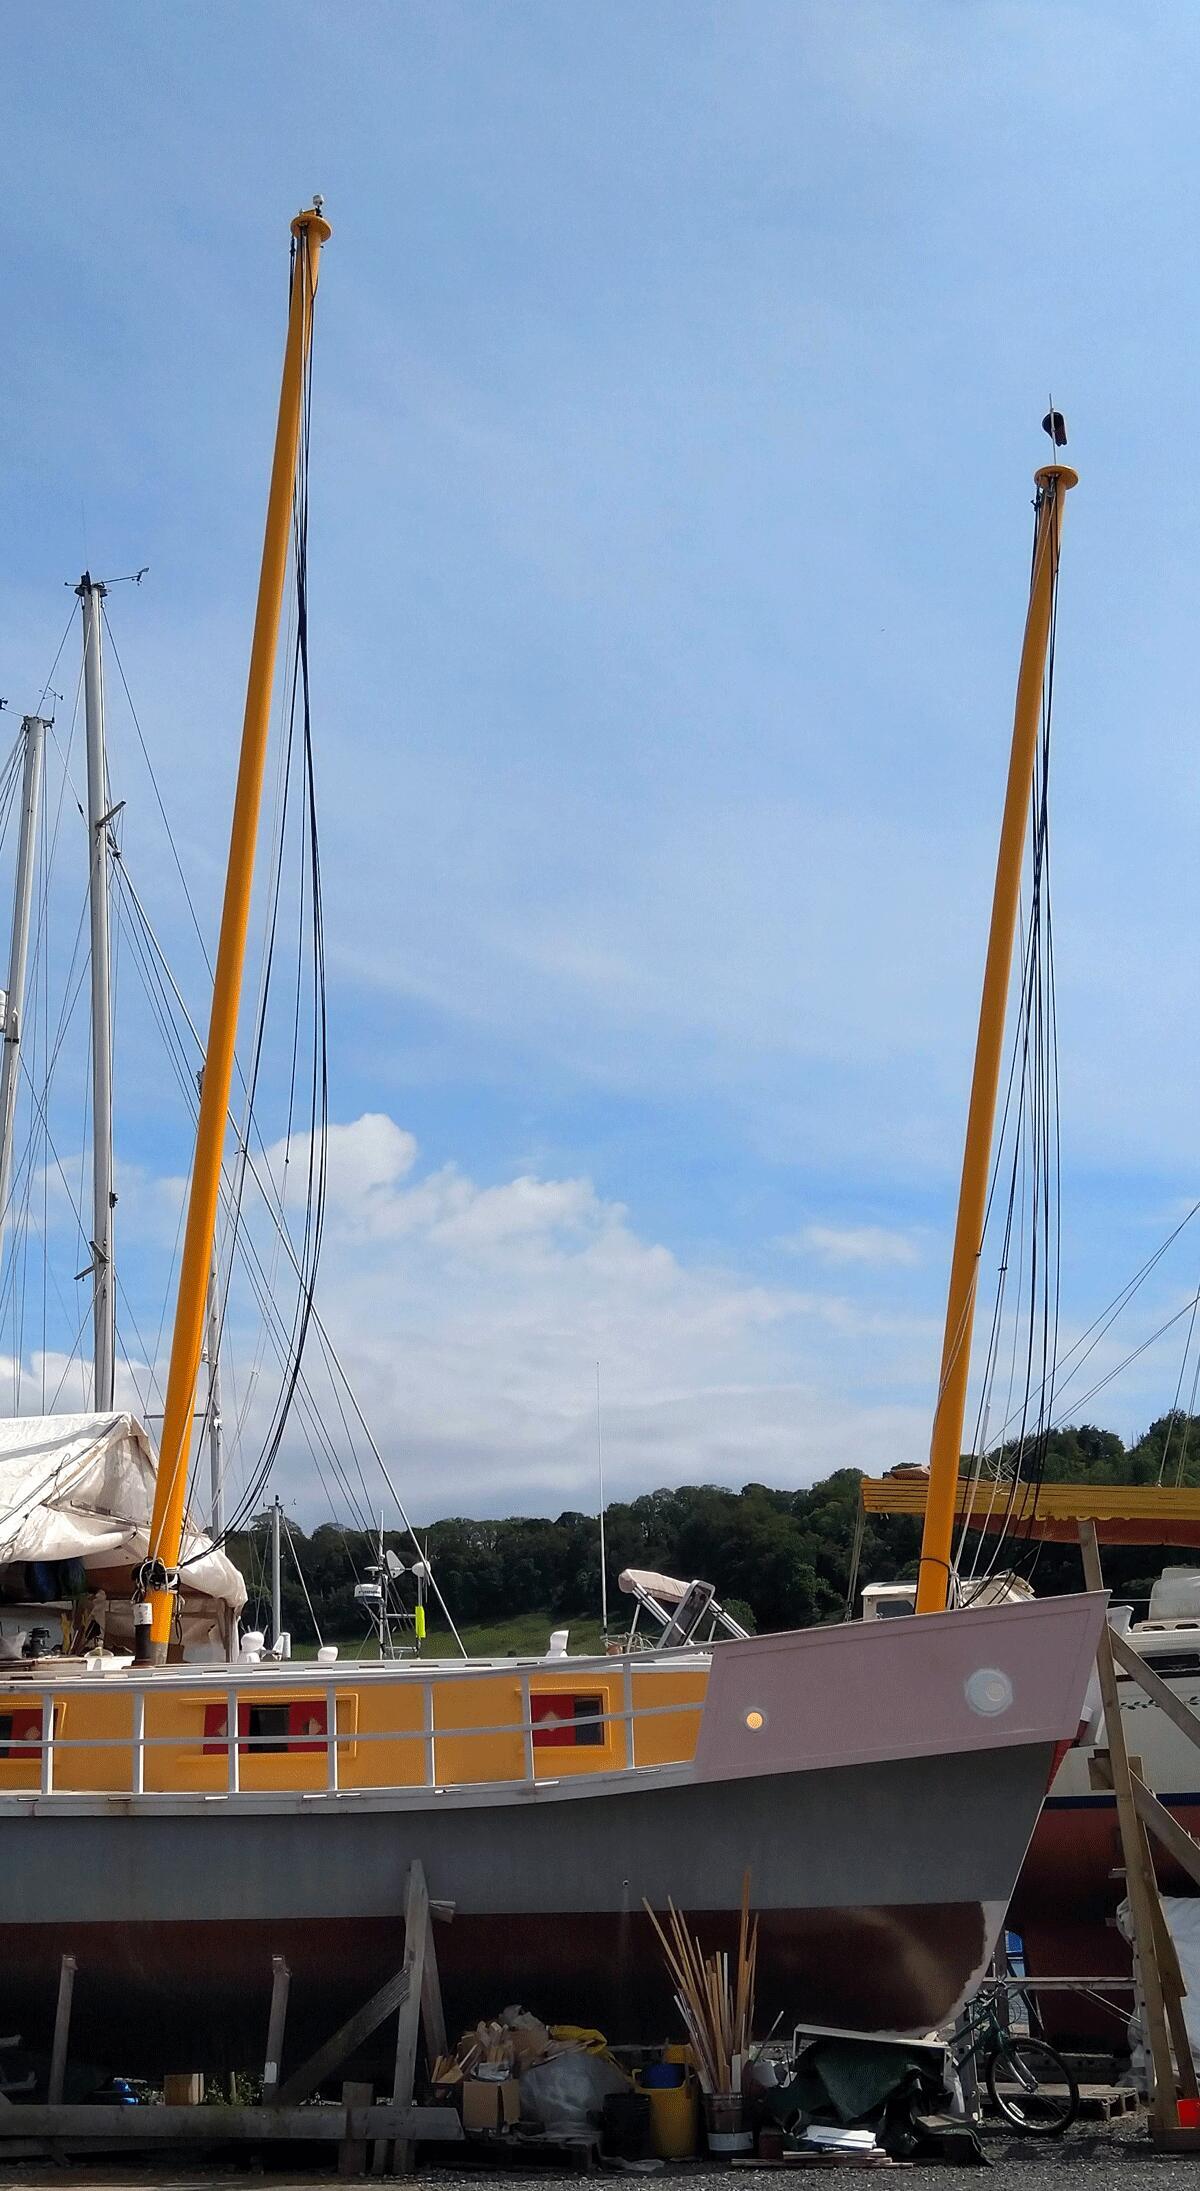
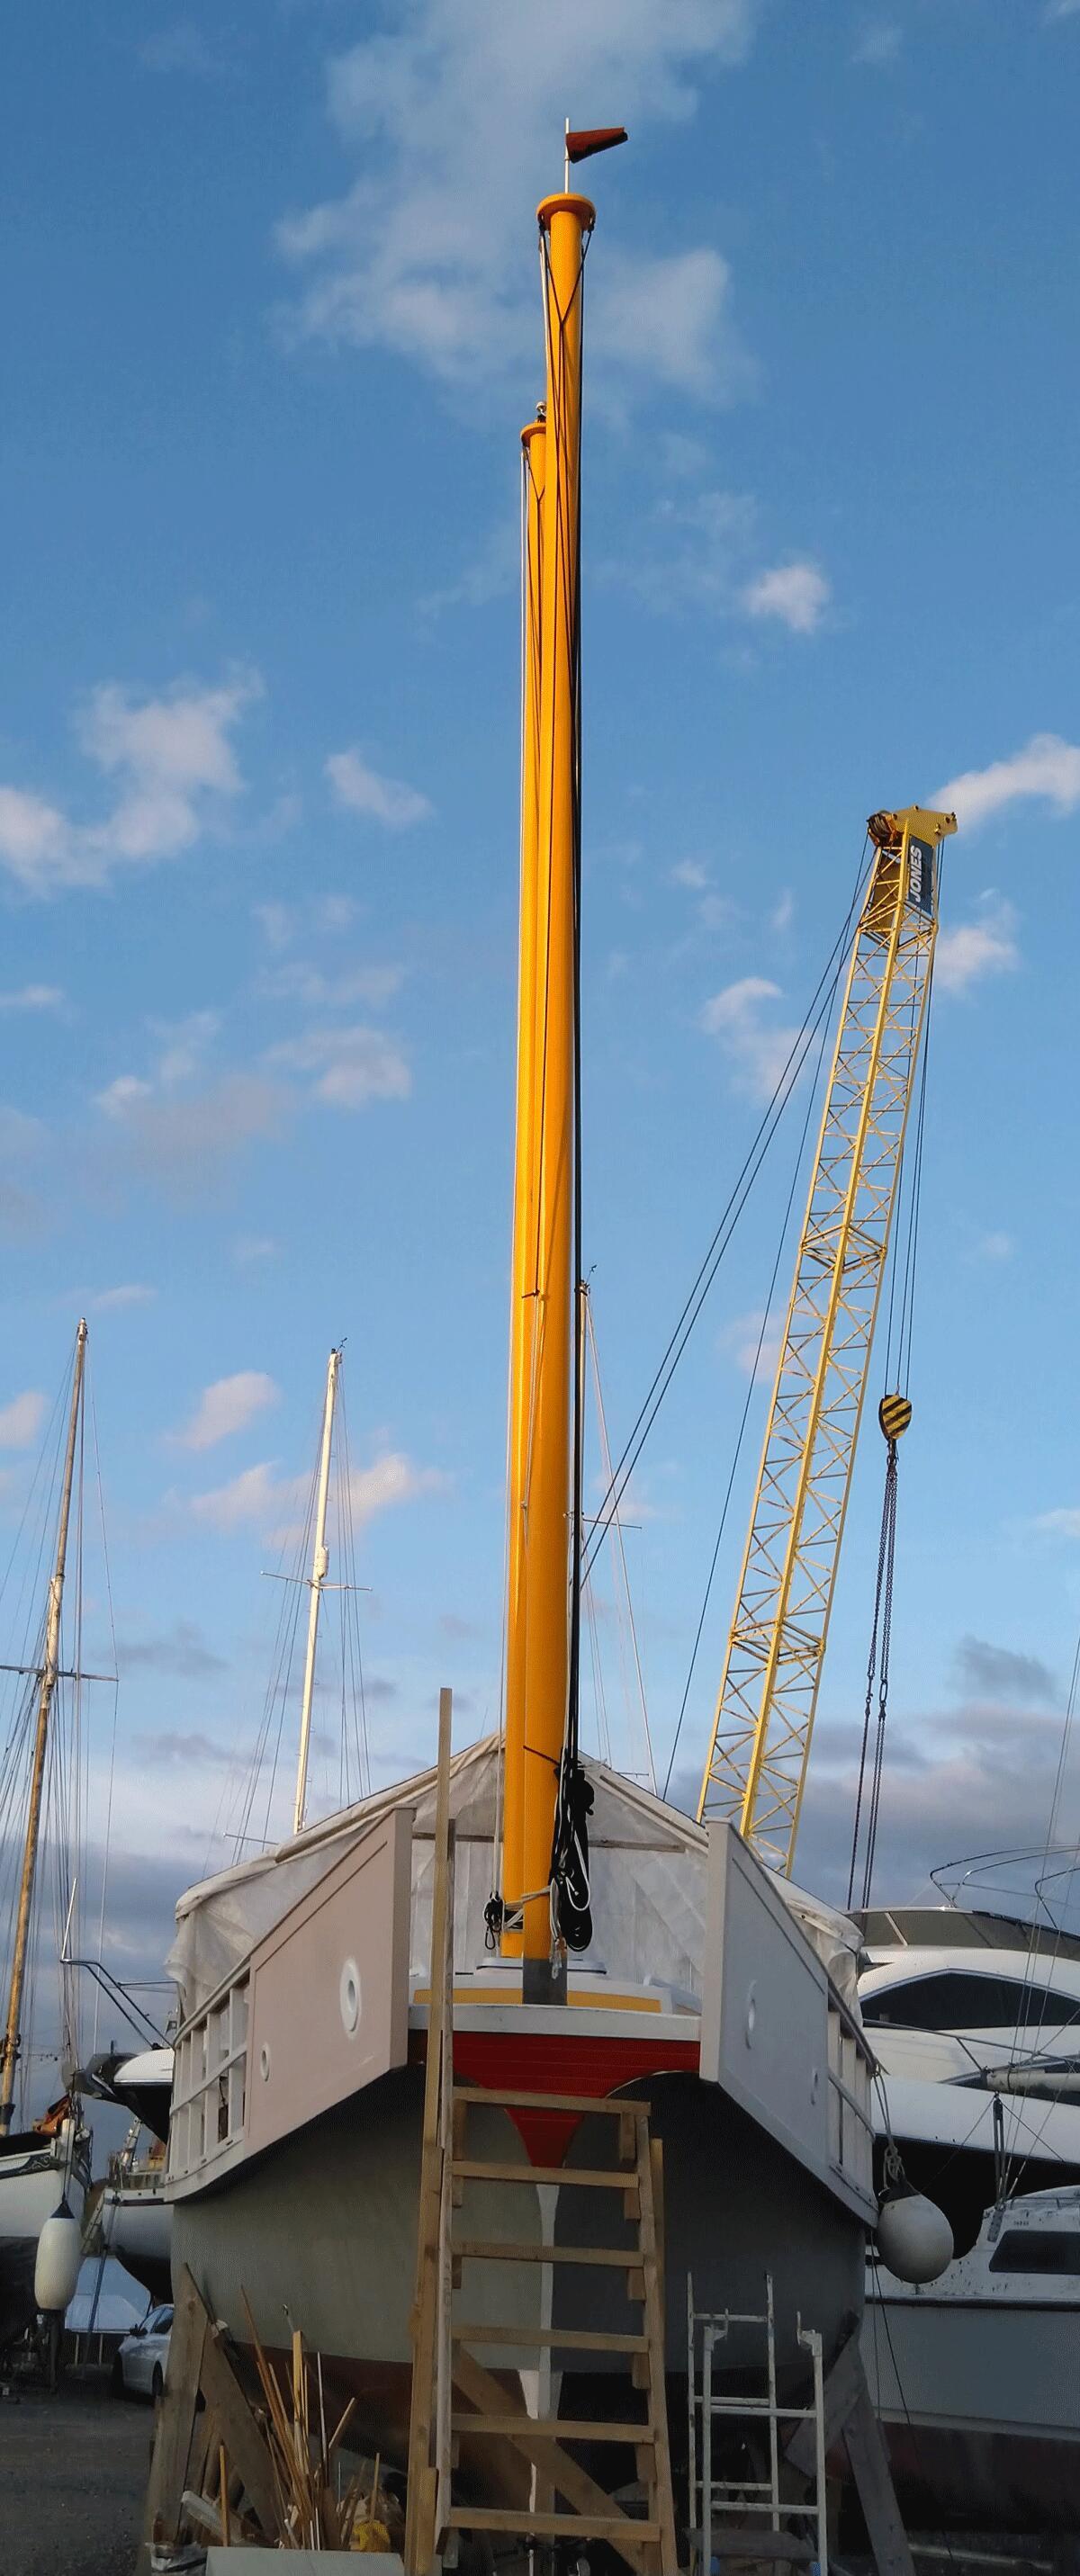
- Foremast: 9.15m height above deck, diameter 180mm at deck level
- Mainmast: 14.10m overall length, 12.38m height above deck, diameter 220mm at deck level
Reinforcement:
- Unidirectional fibreglass — 3 layers, tapered
- Epoxied with aluminium graphite to strengthen
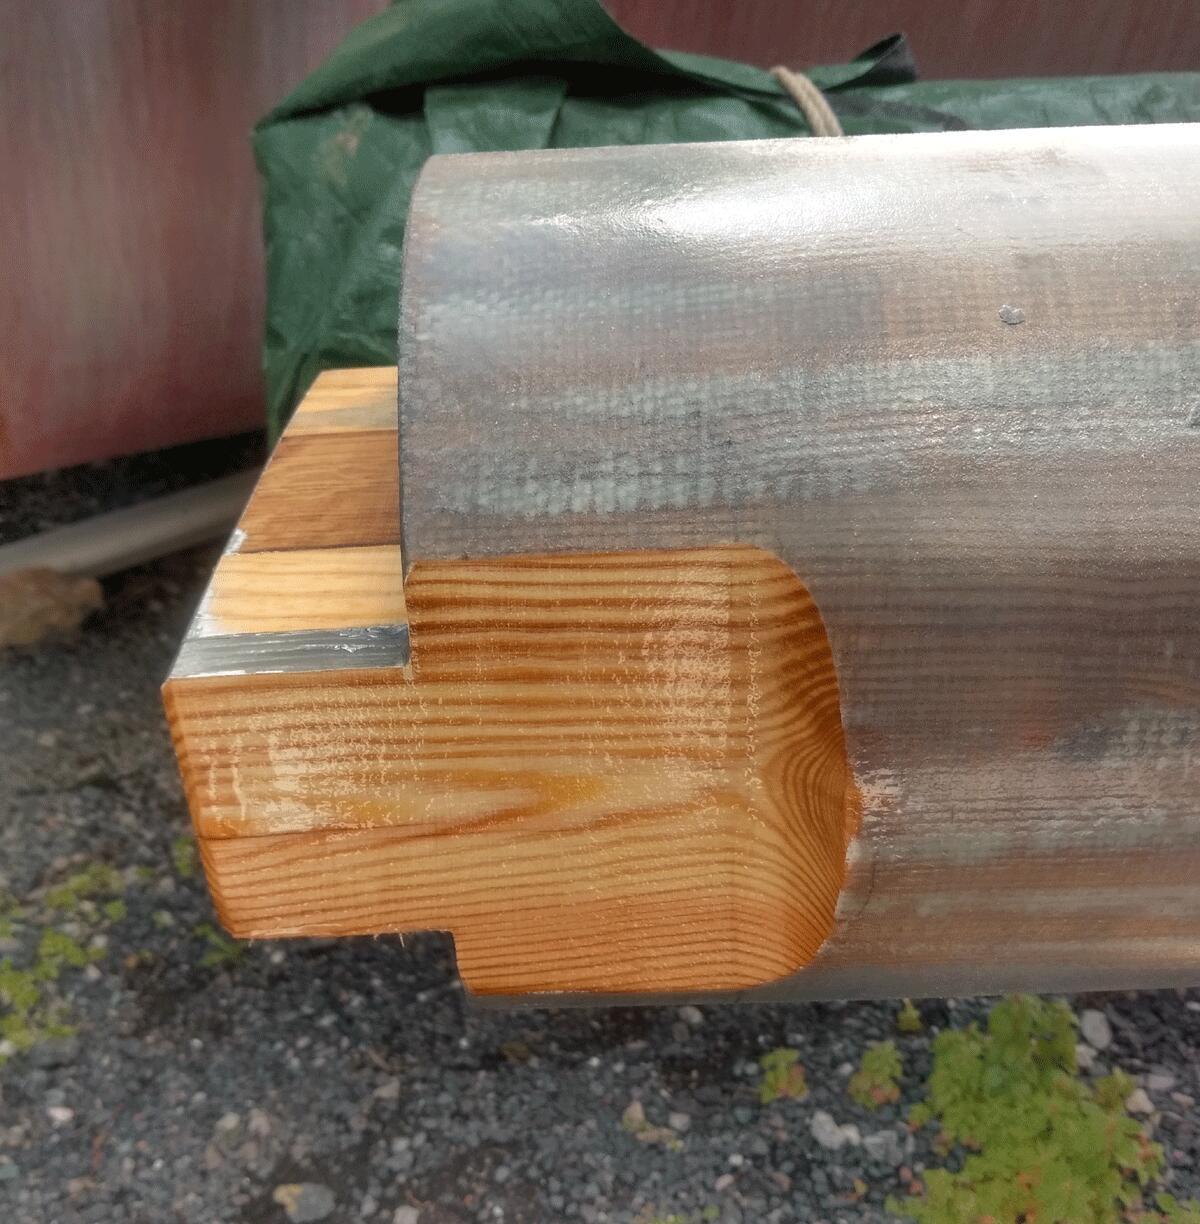
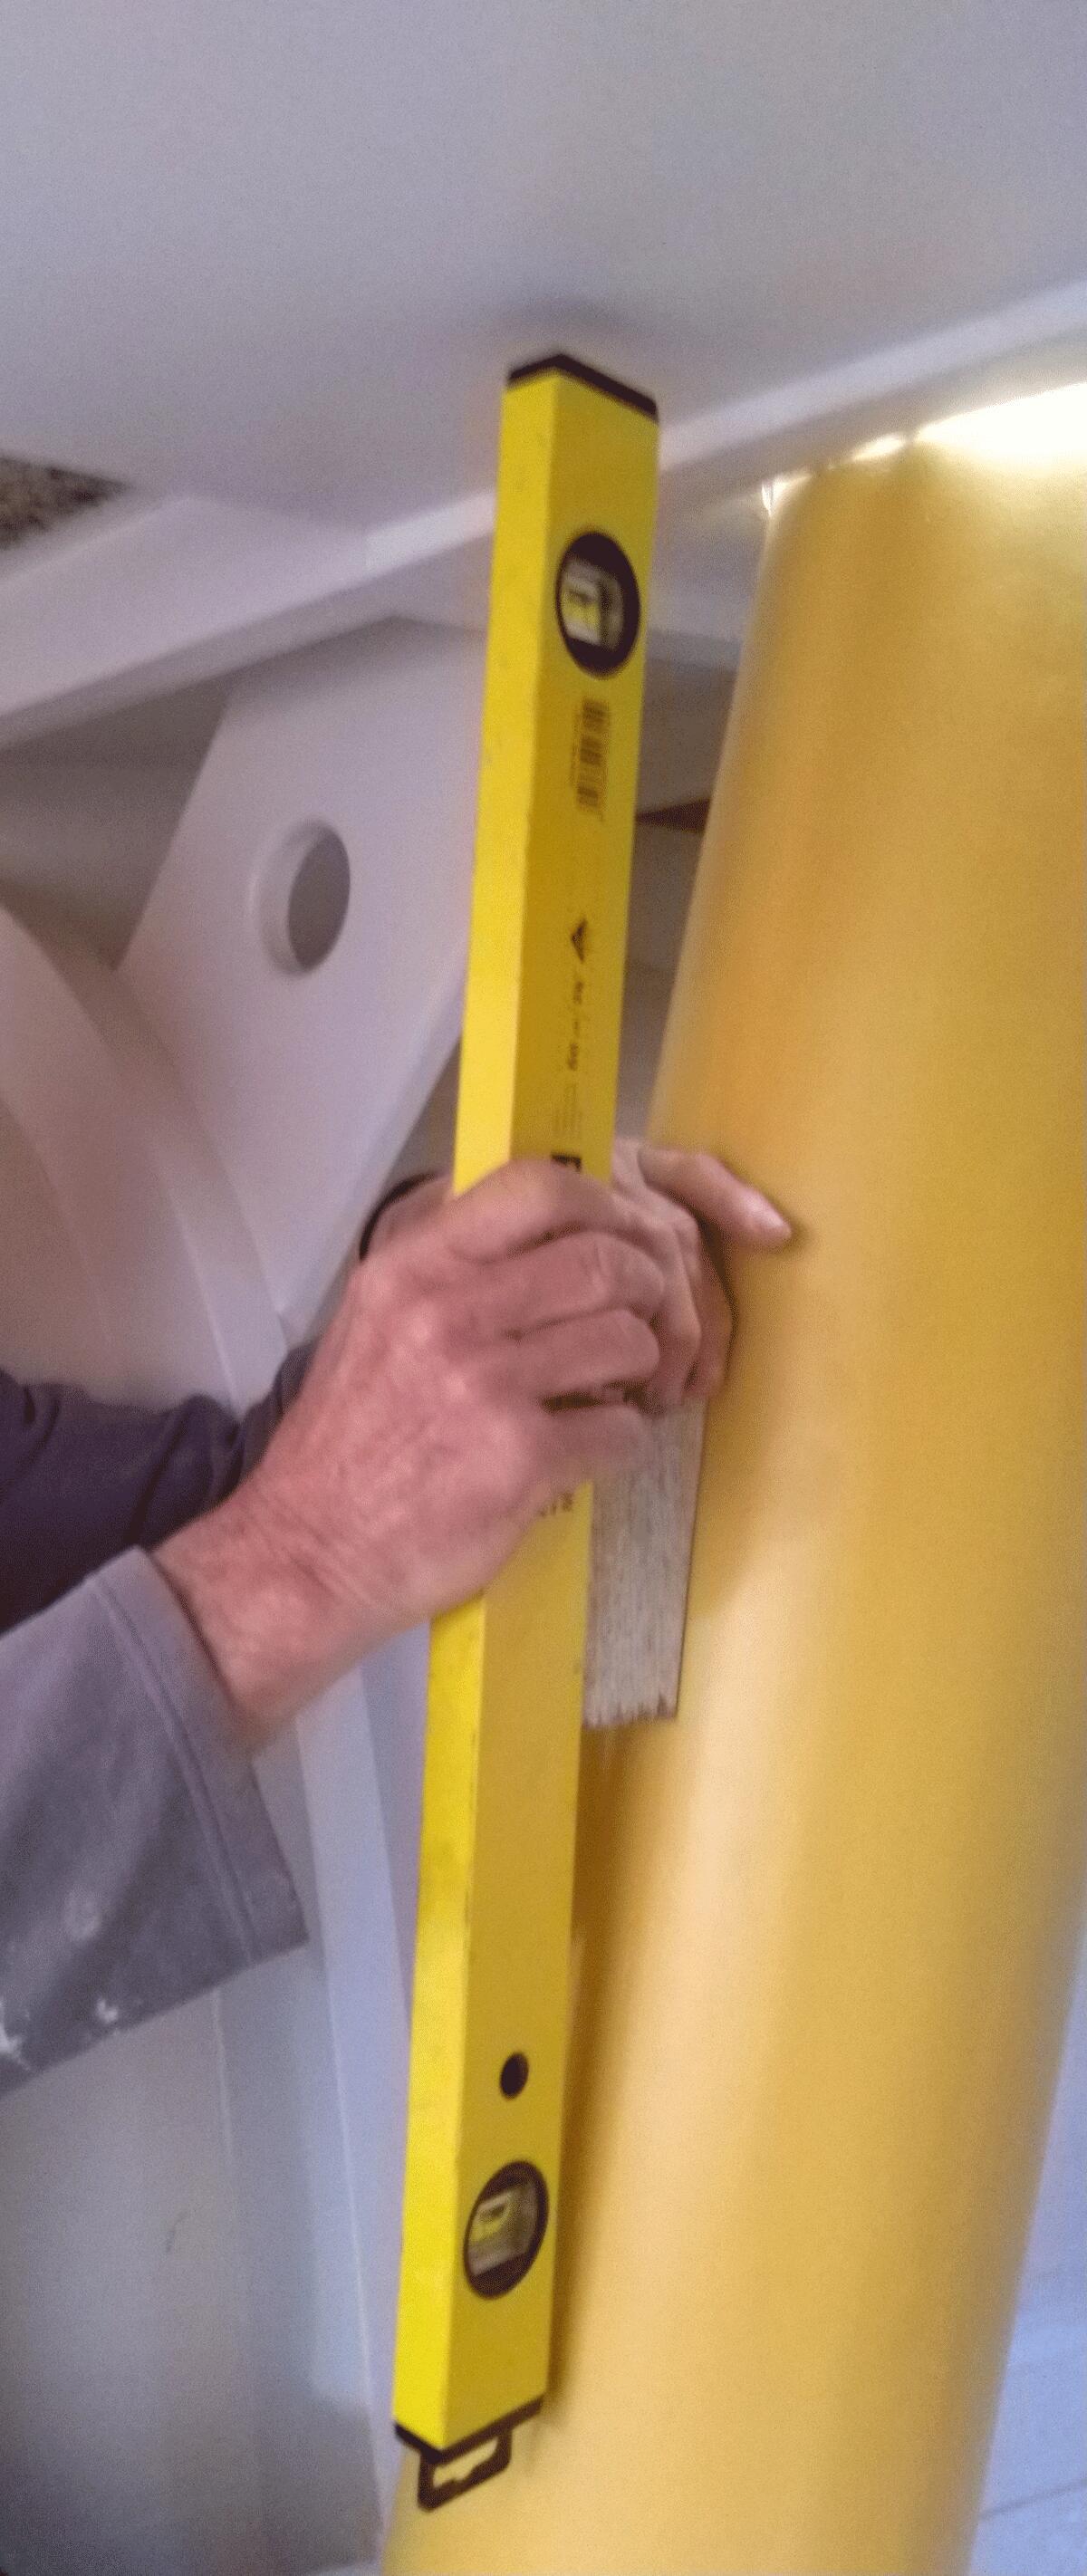
- Fitted heel to mast step (FWD 11 degrees and main 7 degrees)
- Mast heel — epoxied
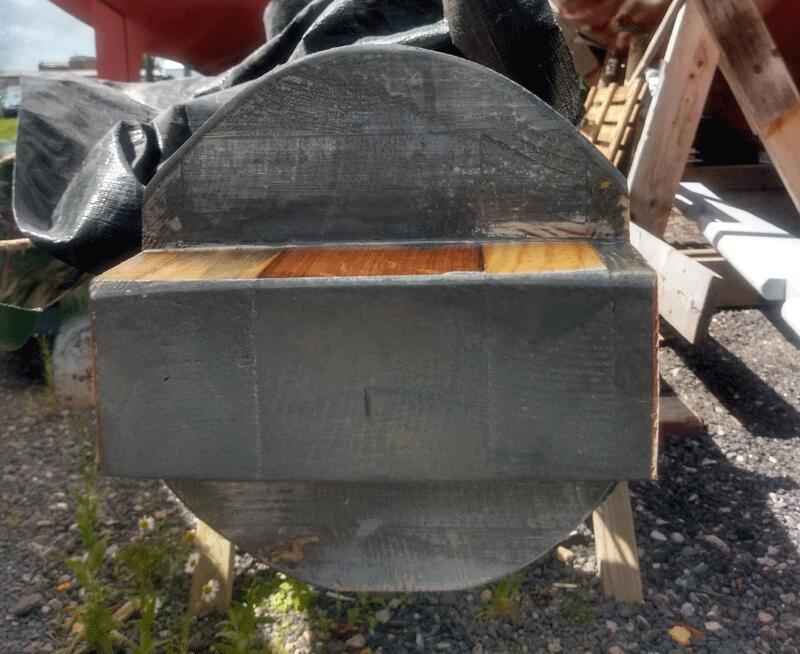
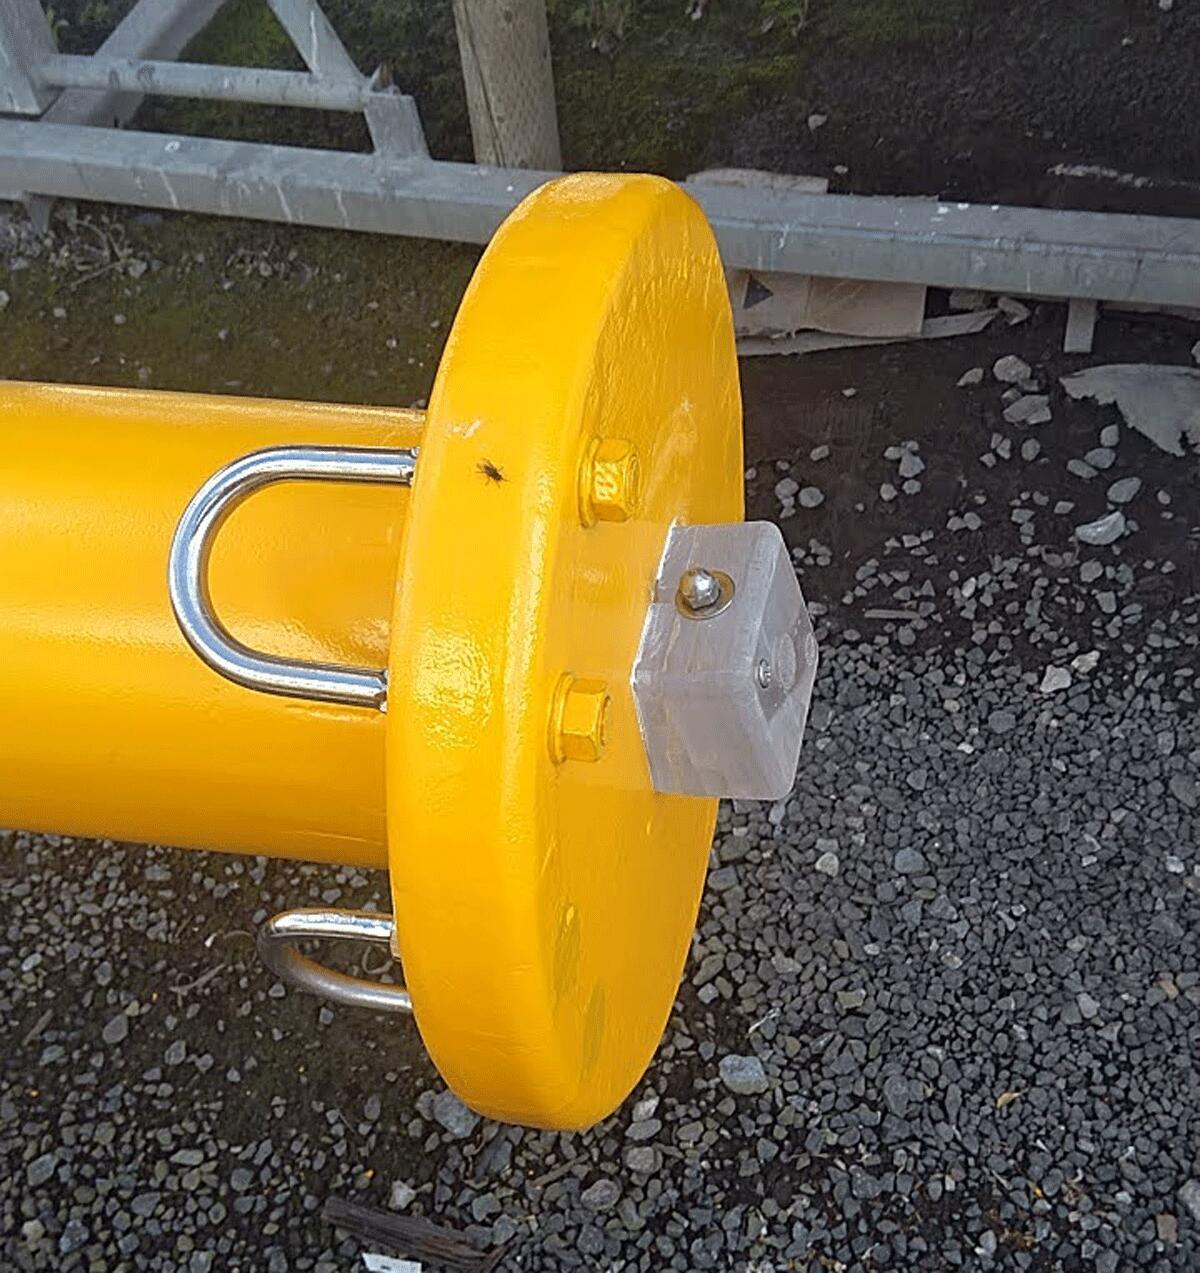
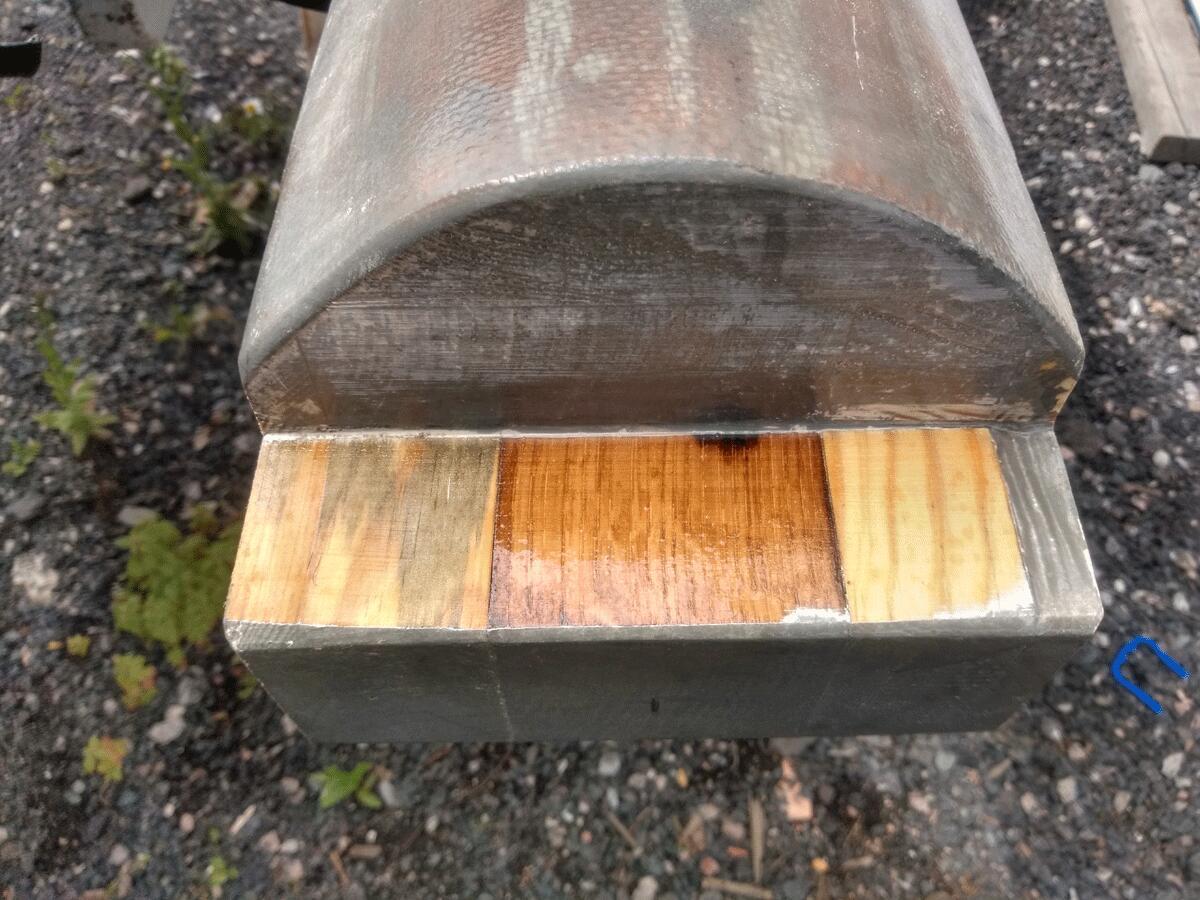
- Mast cap — 18mm plywood, biaxial fibreglass top & bottom, glued and screwed to mast head, filleted & fibreglass under the cap
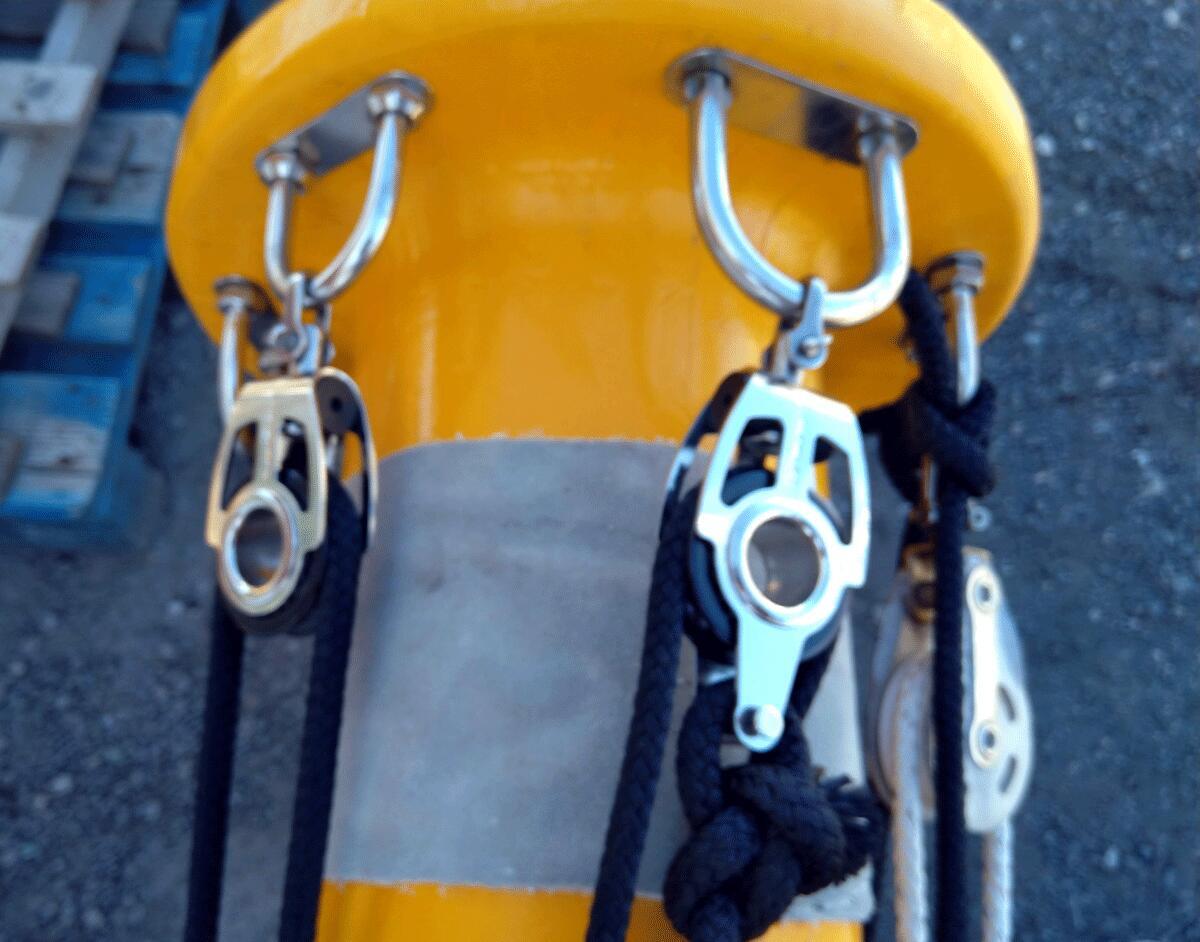
- Mast head U bolts, glued and screwed — 3 for rigging
- Glue leather to protect the wood
Mast tops:
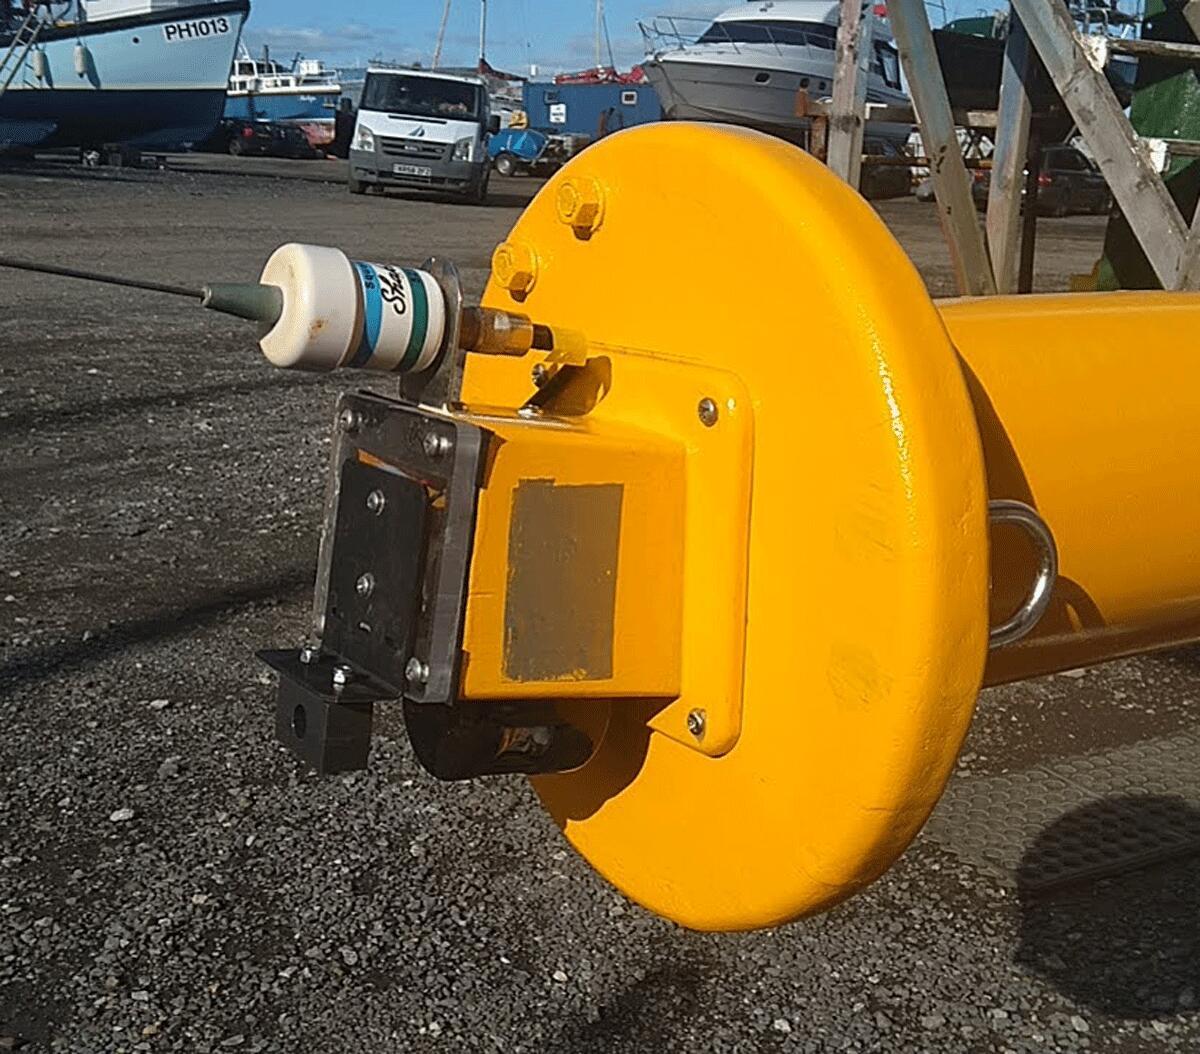
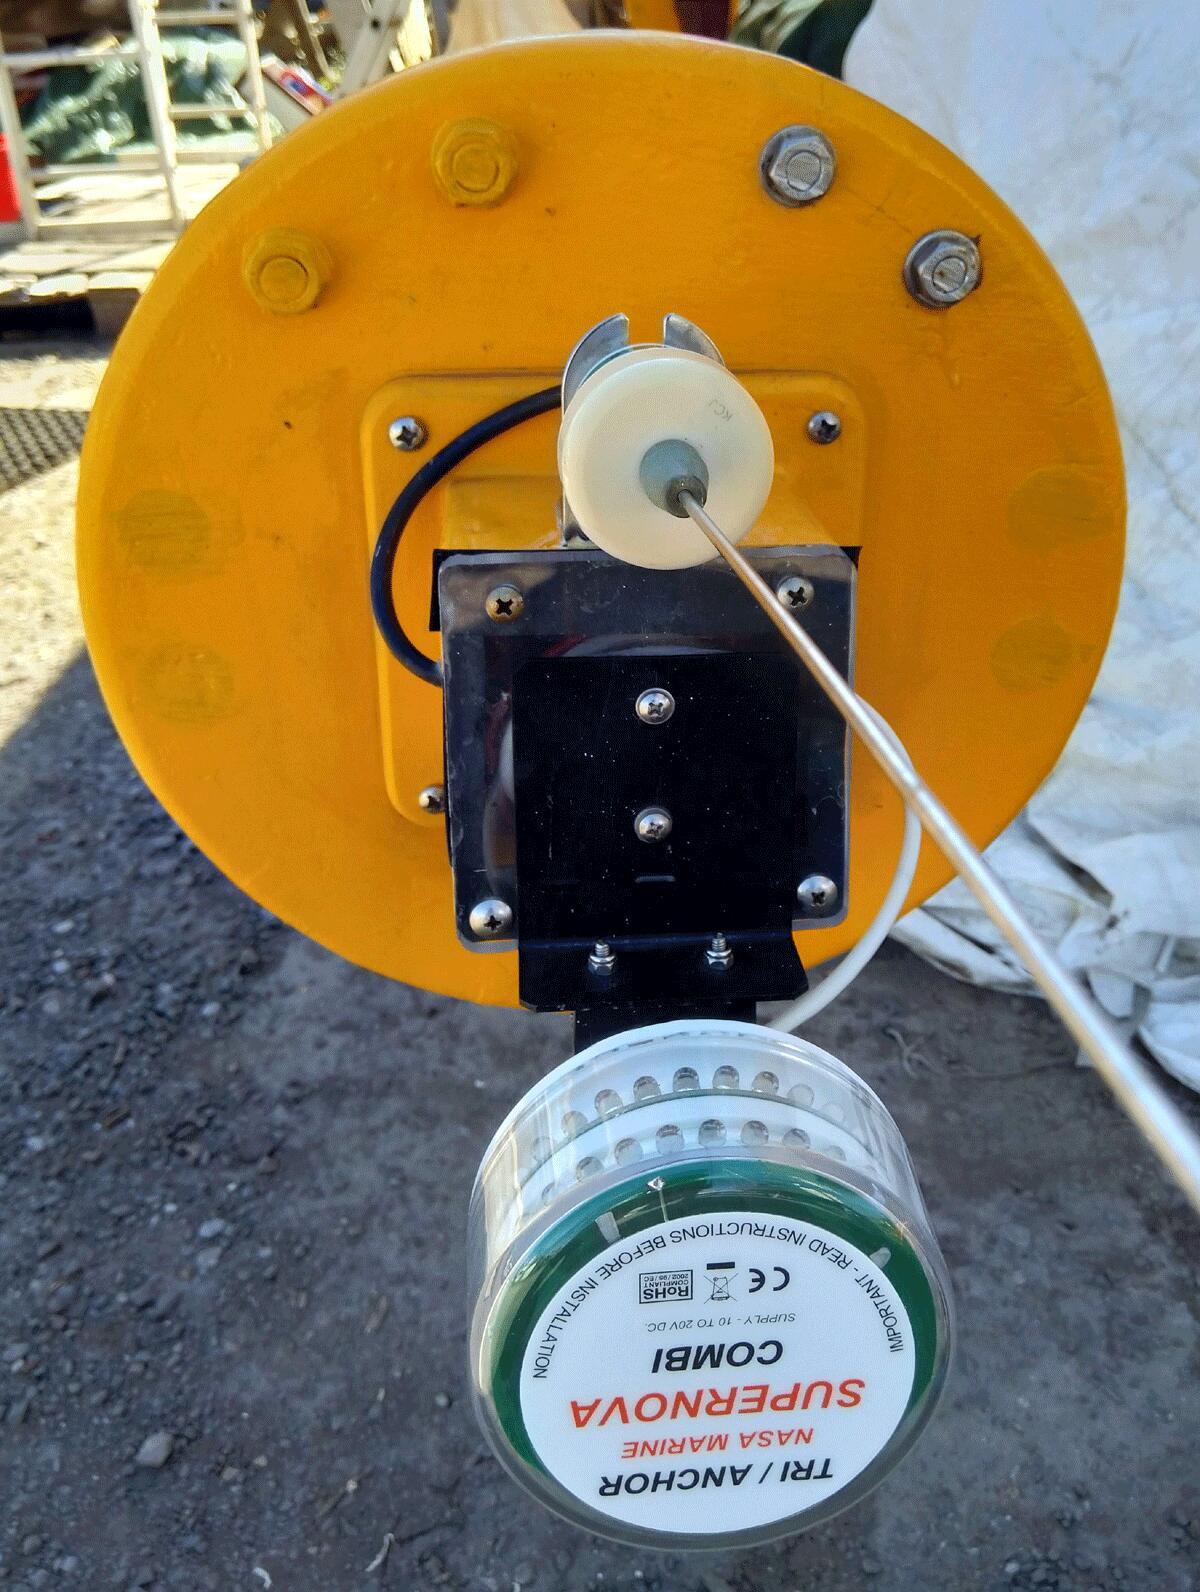
- Main mast — 7 degrees sloping lights base (light must point horizontally)
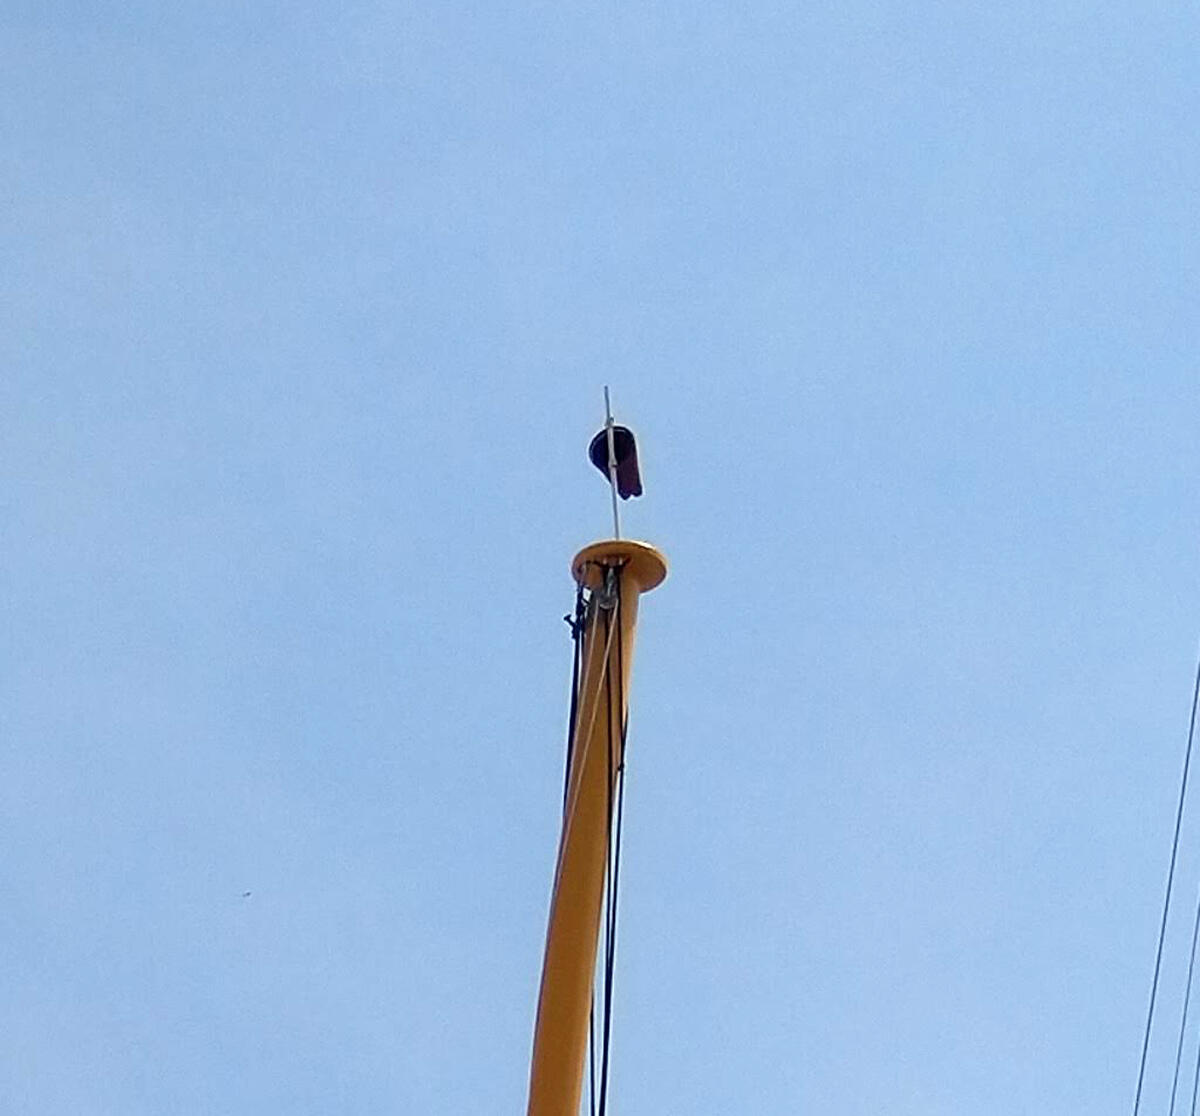
- Forward mast — 11 degrees sloping base for Burgee
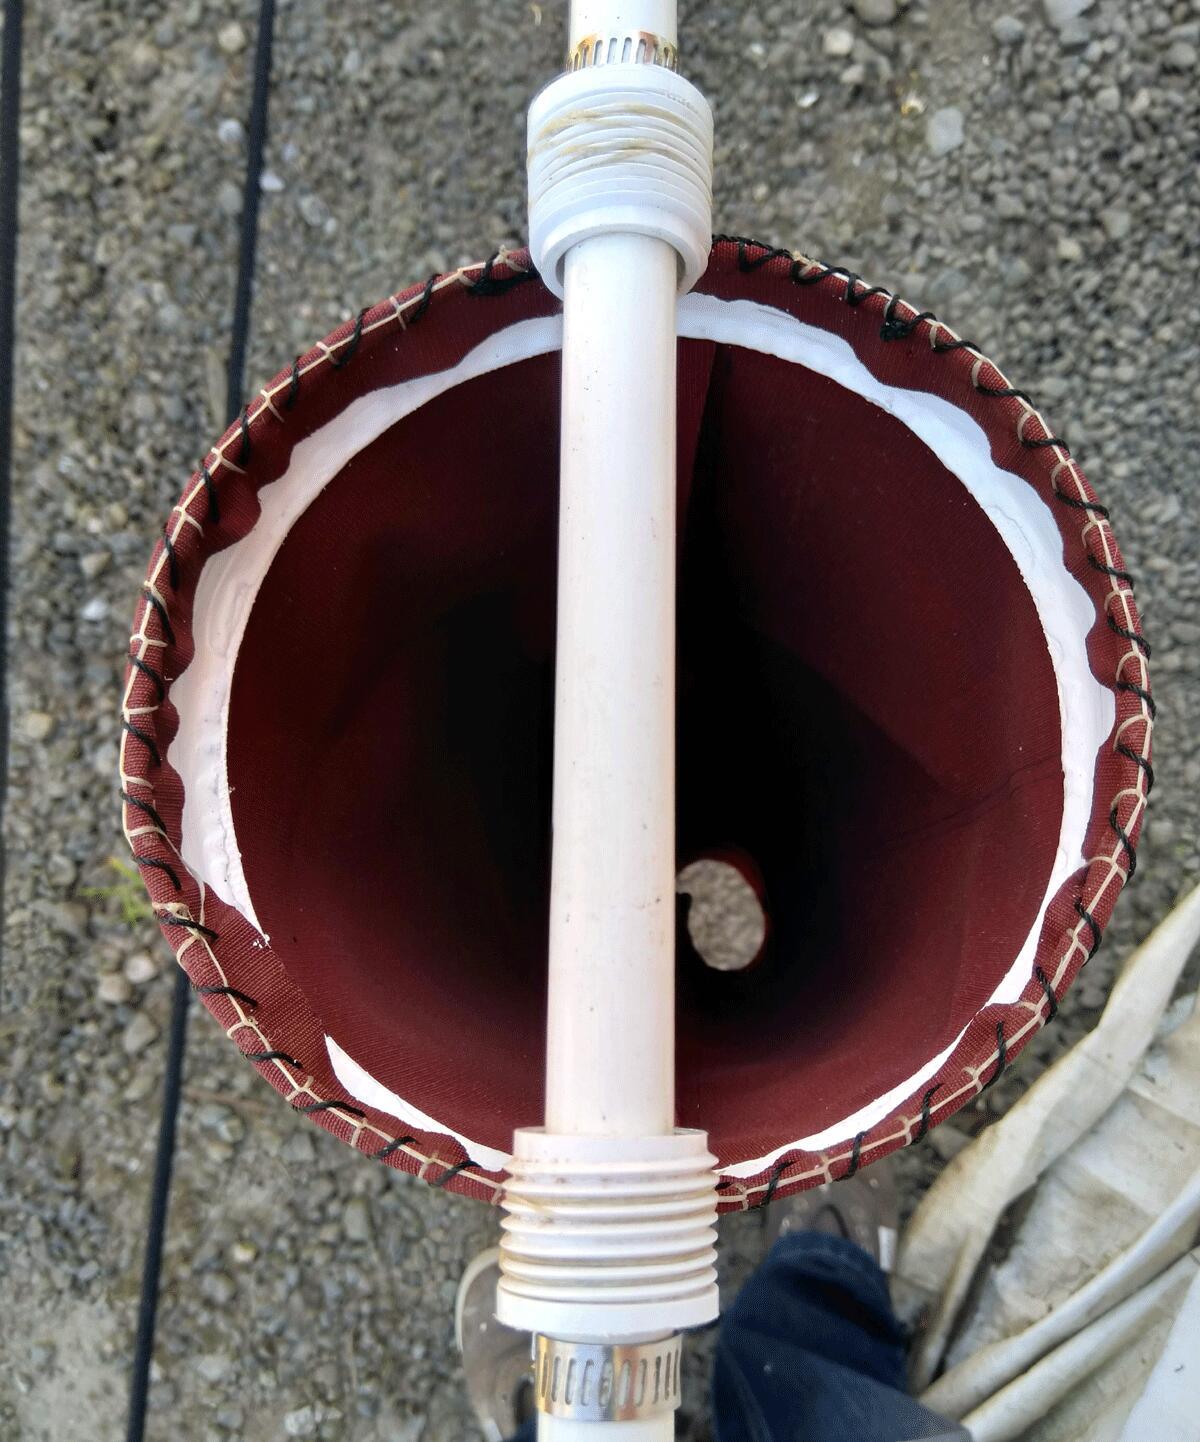
- Burgee made of plastic ring to plastic swivel, fitted onto fibreglass tube
Mast steps:
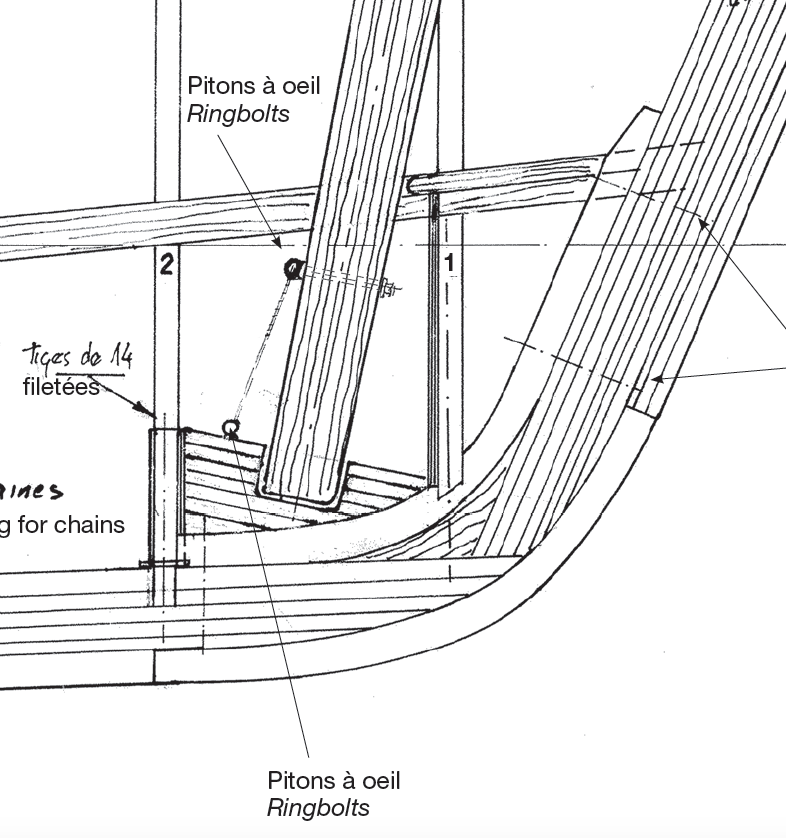
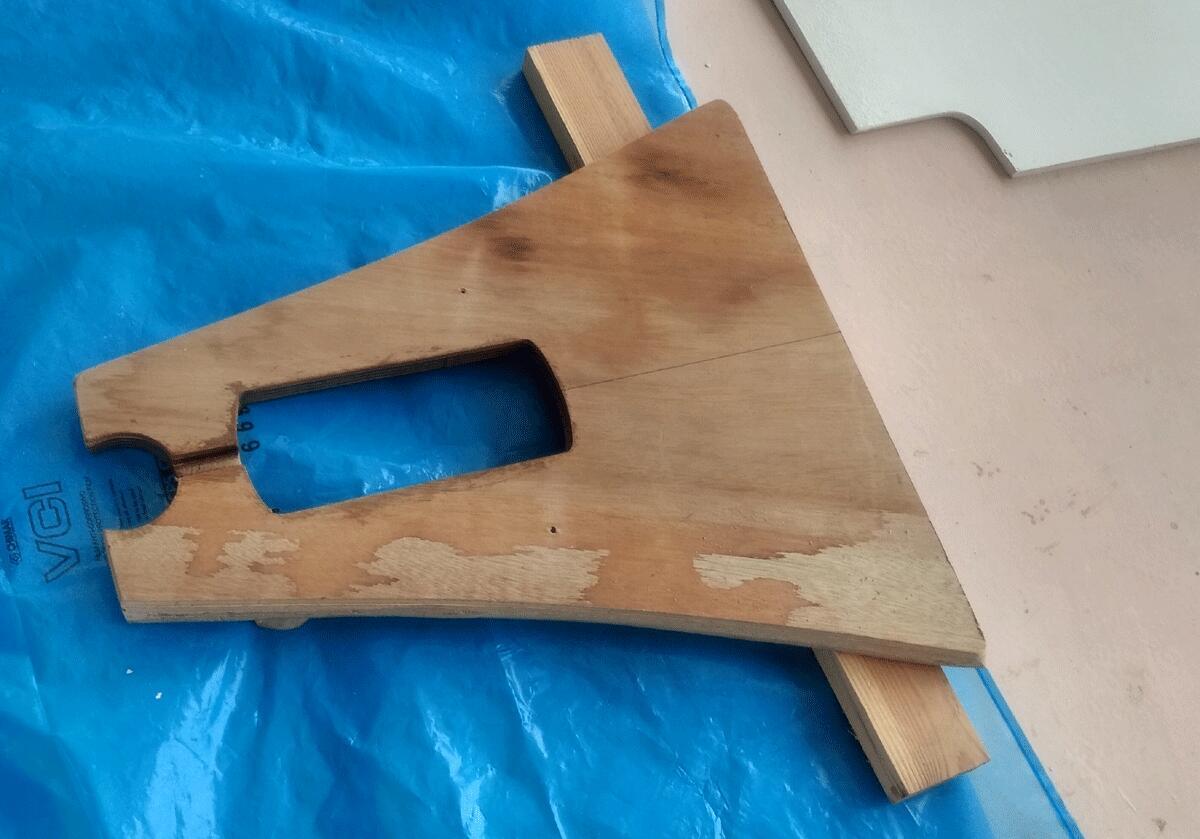
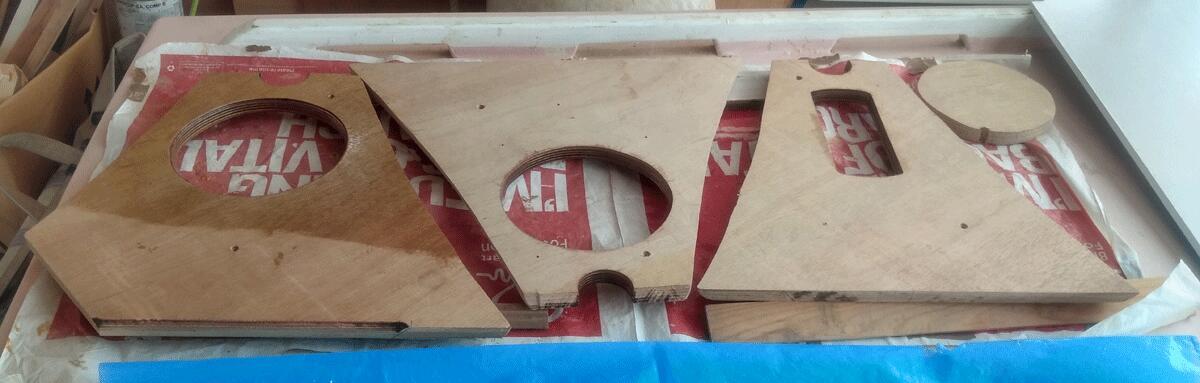
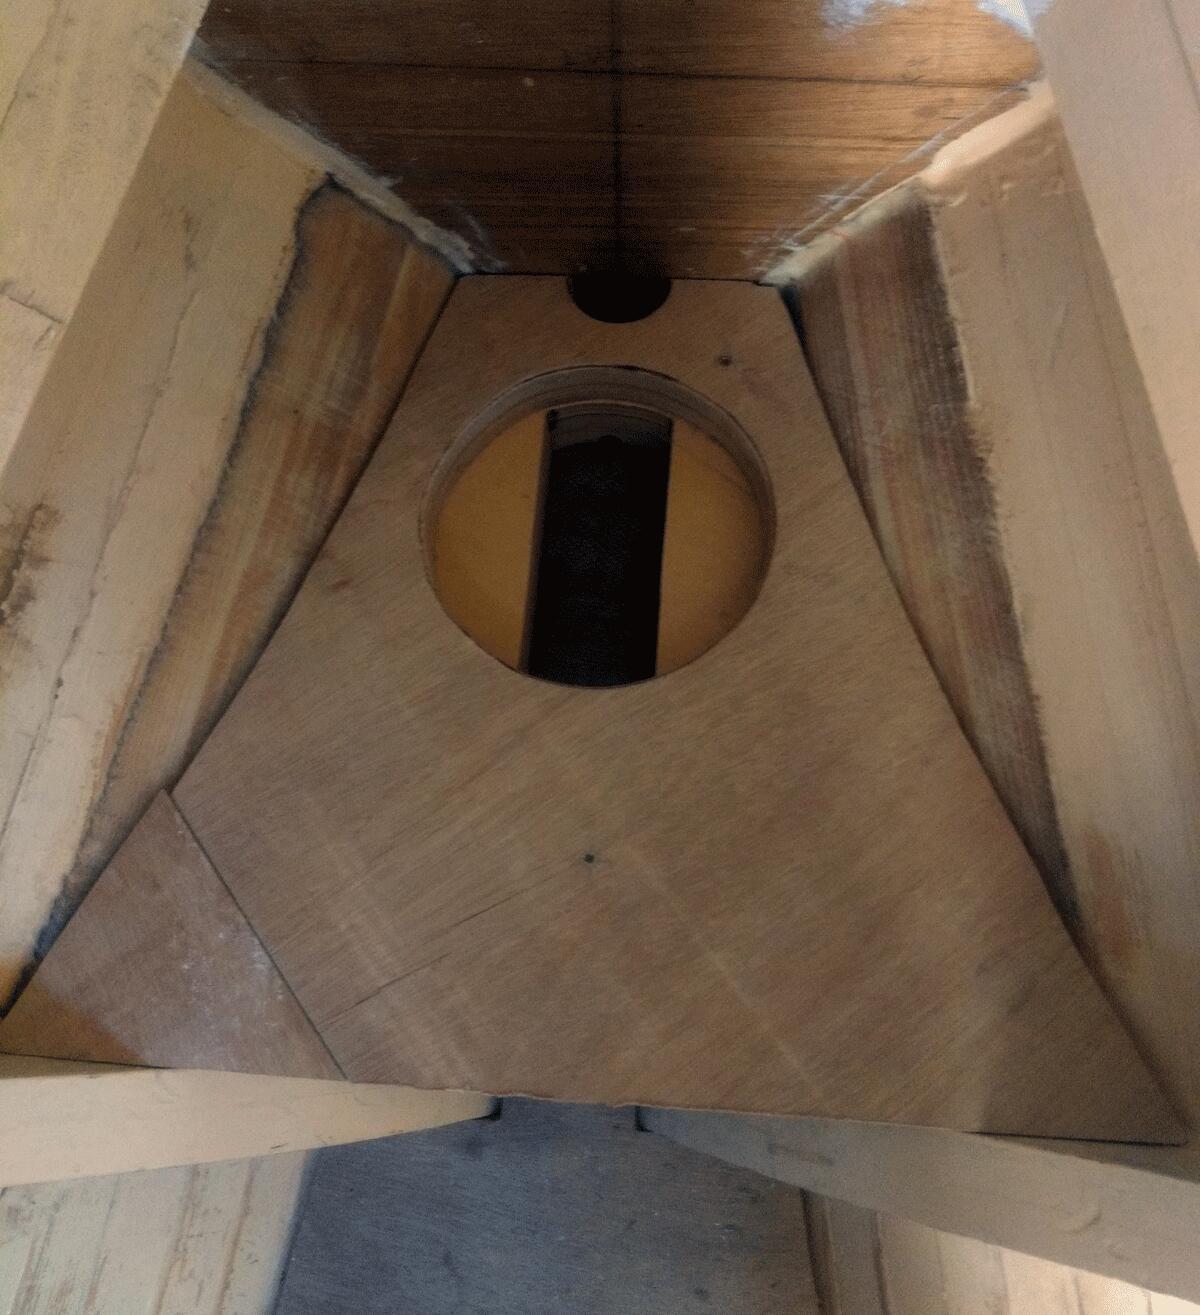
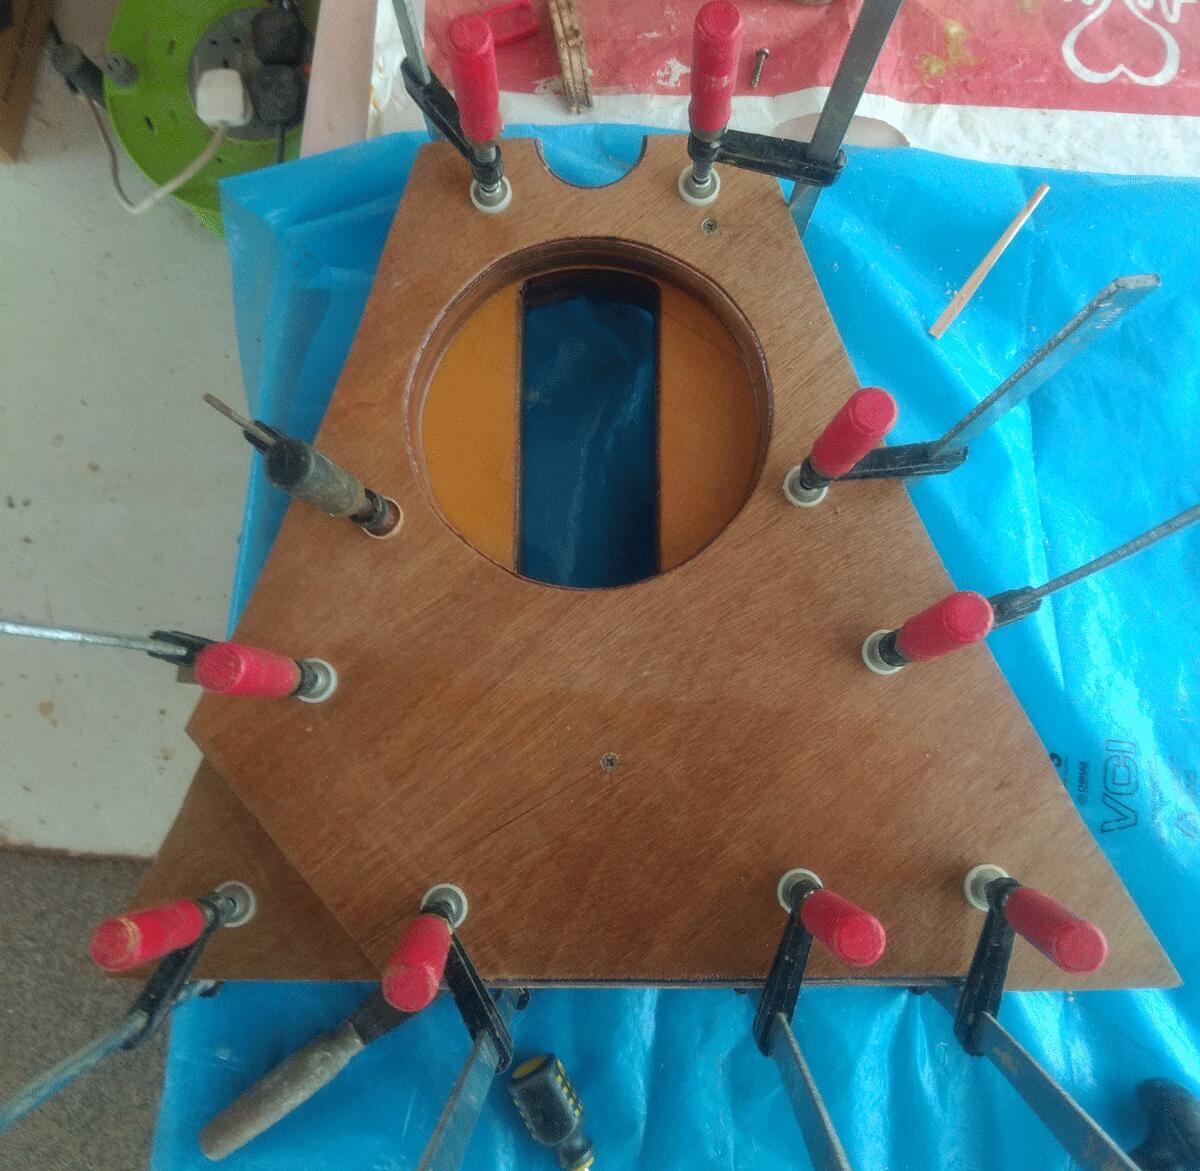
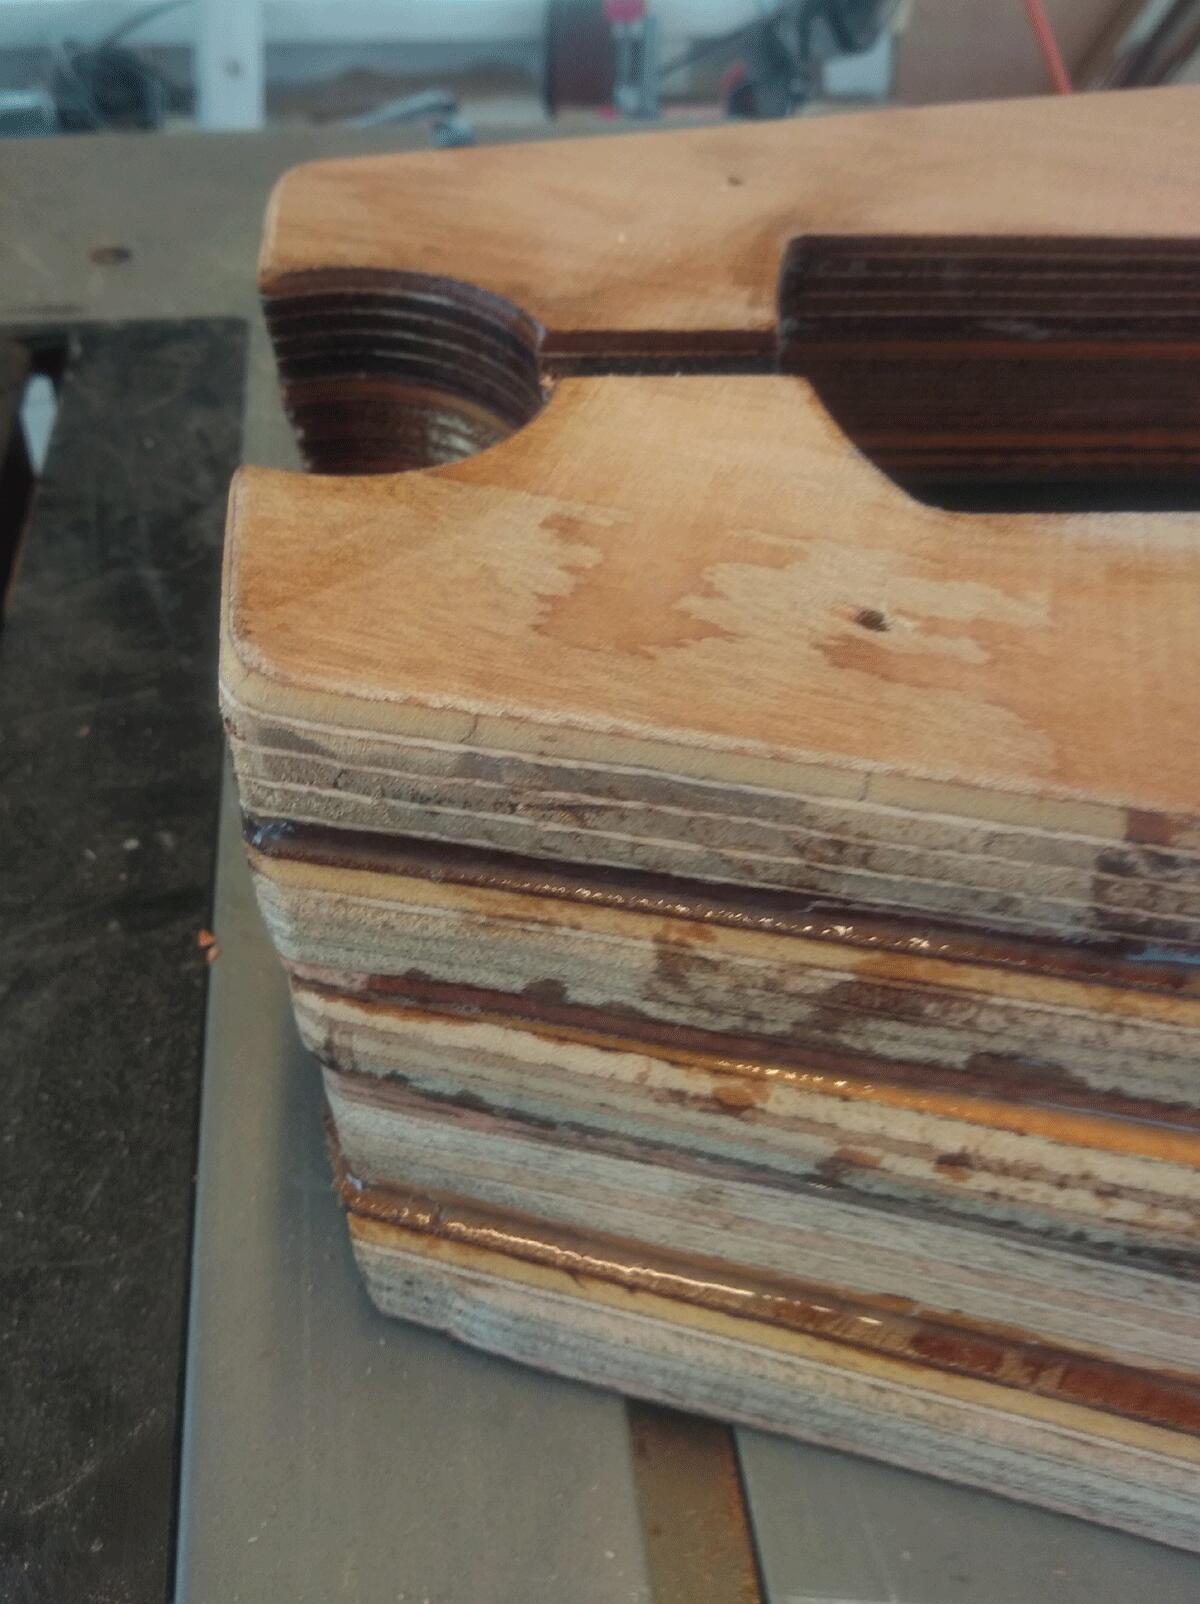
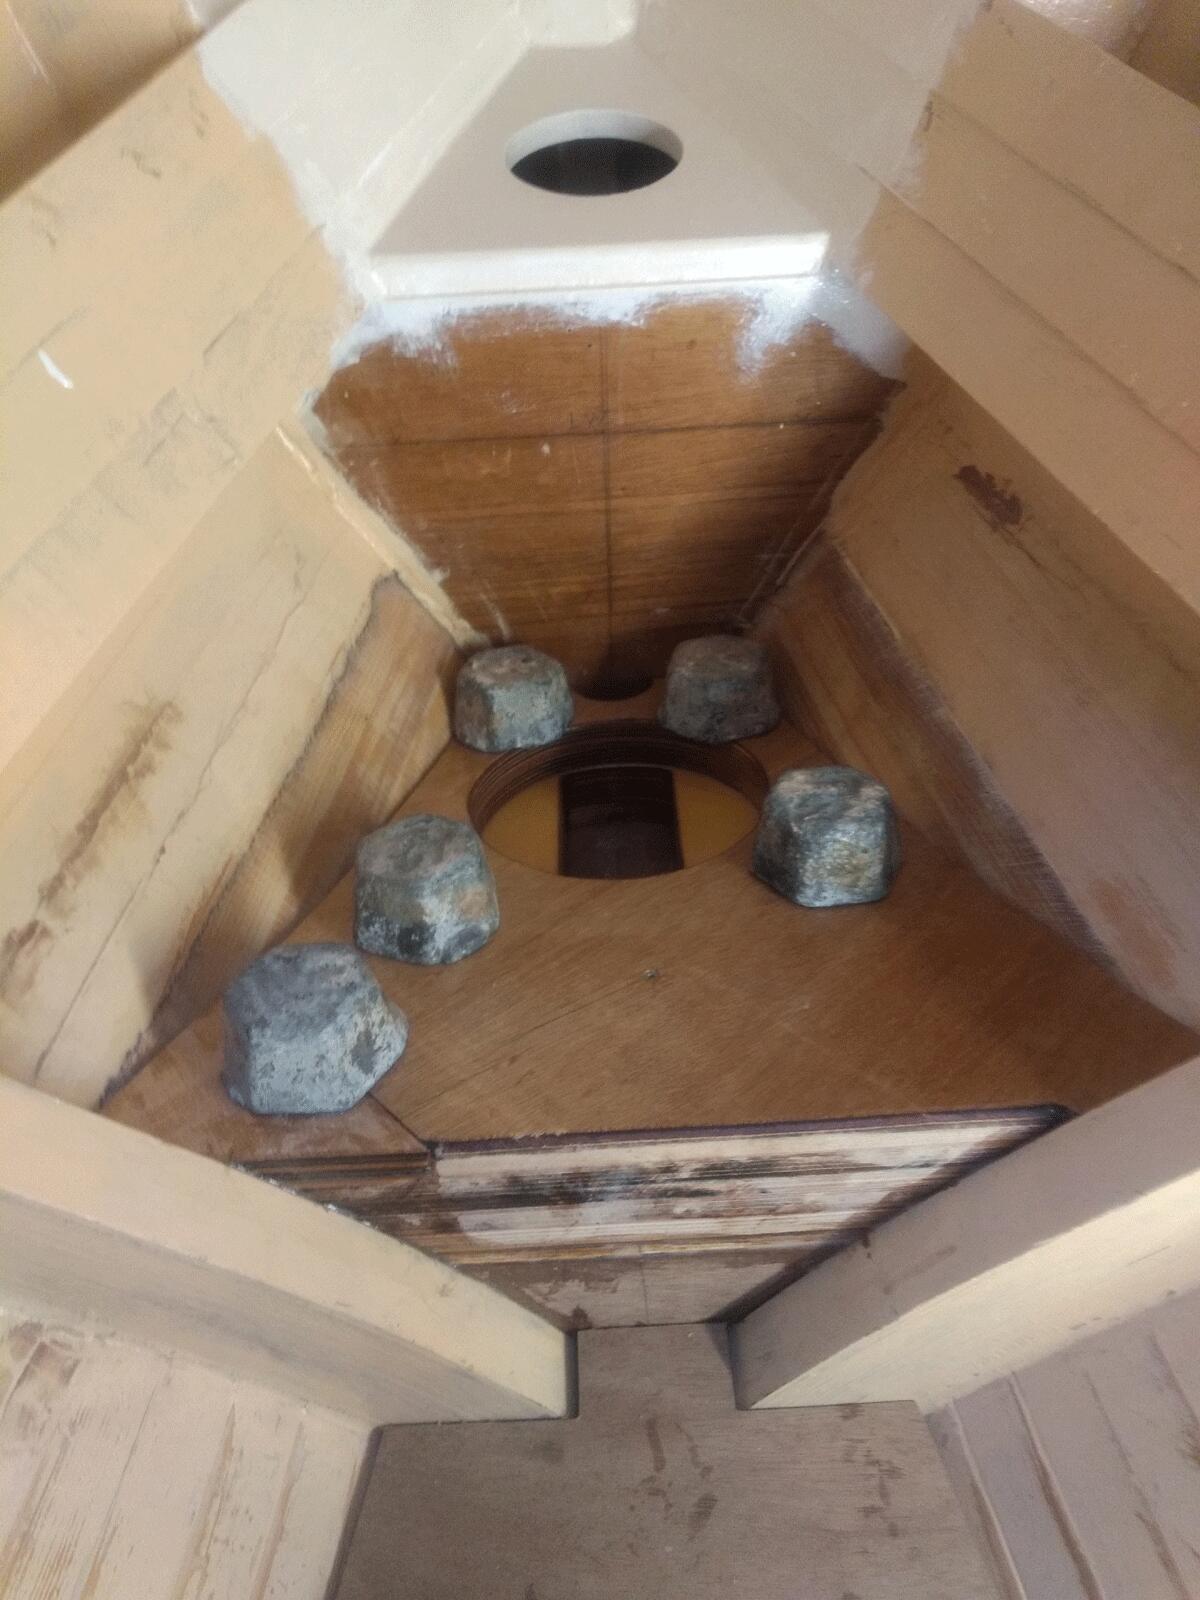
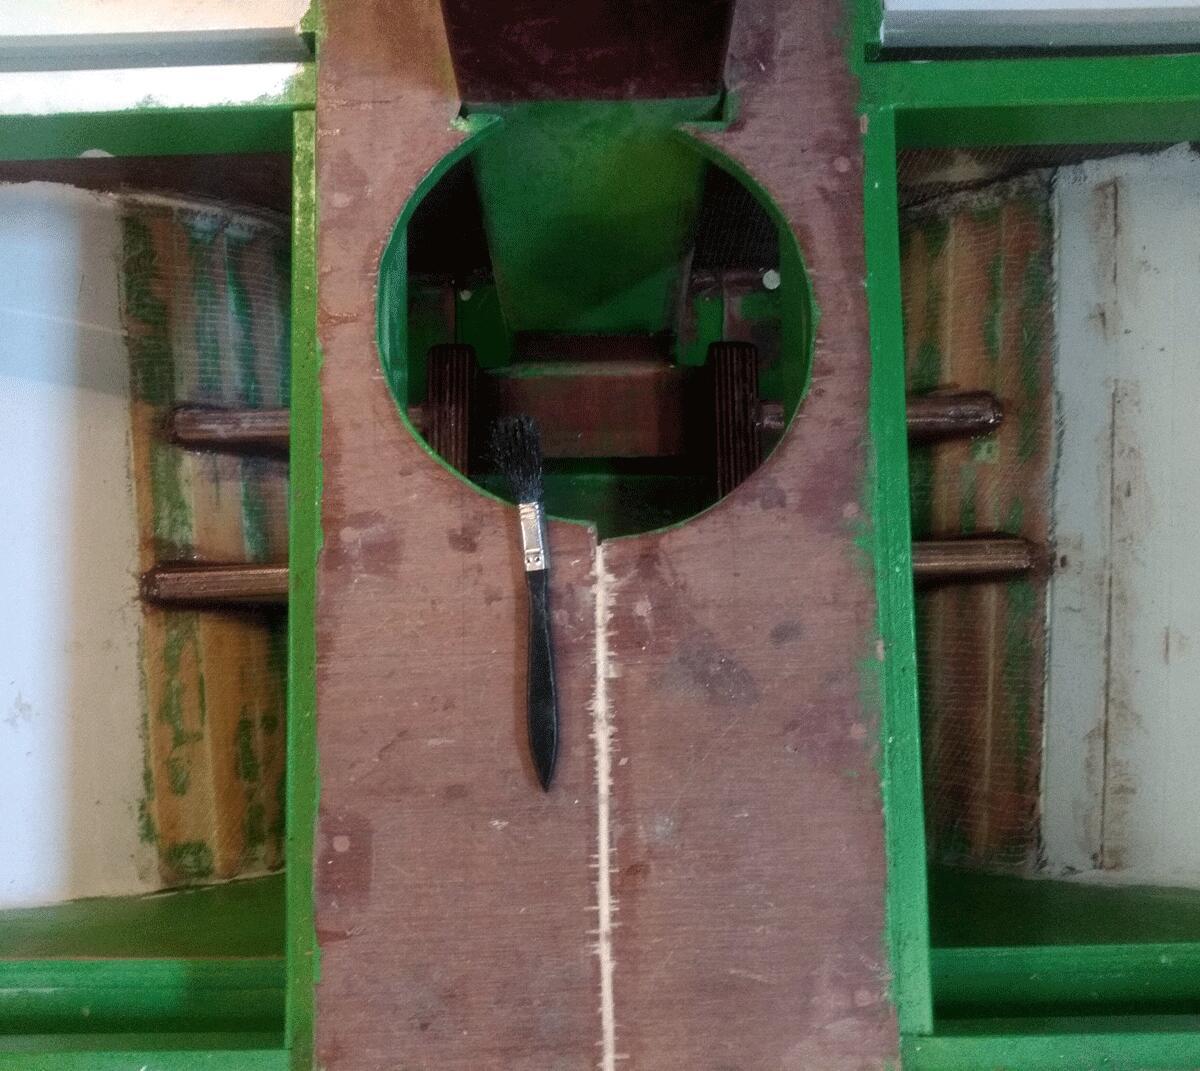
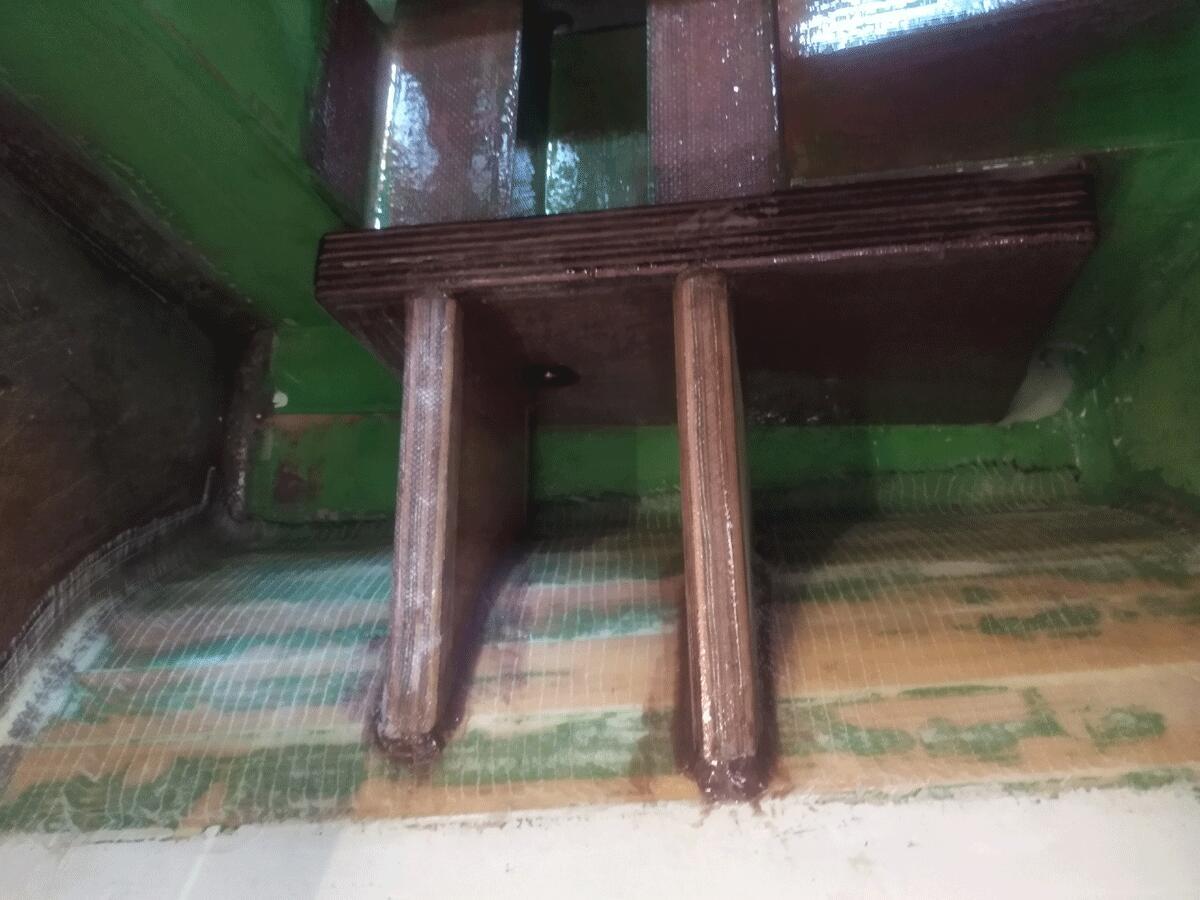
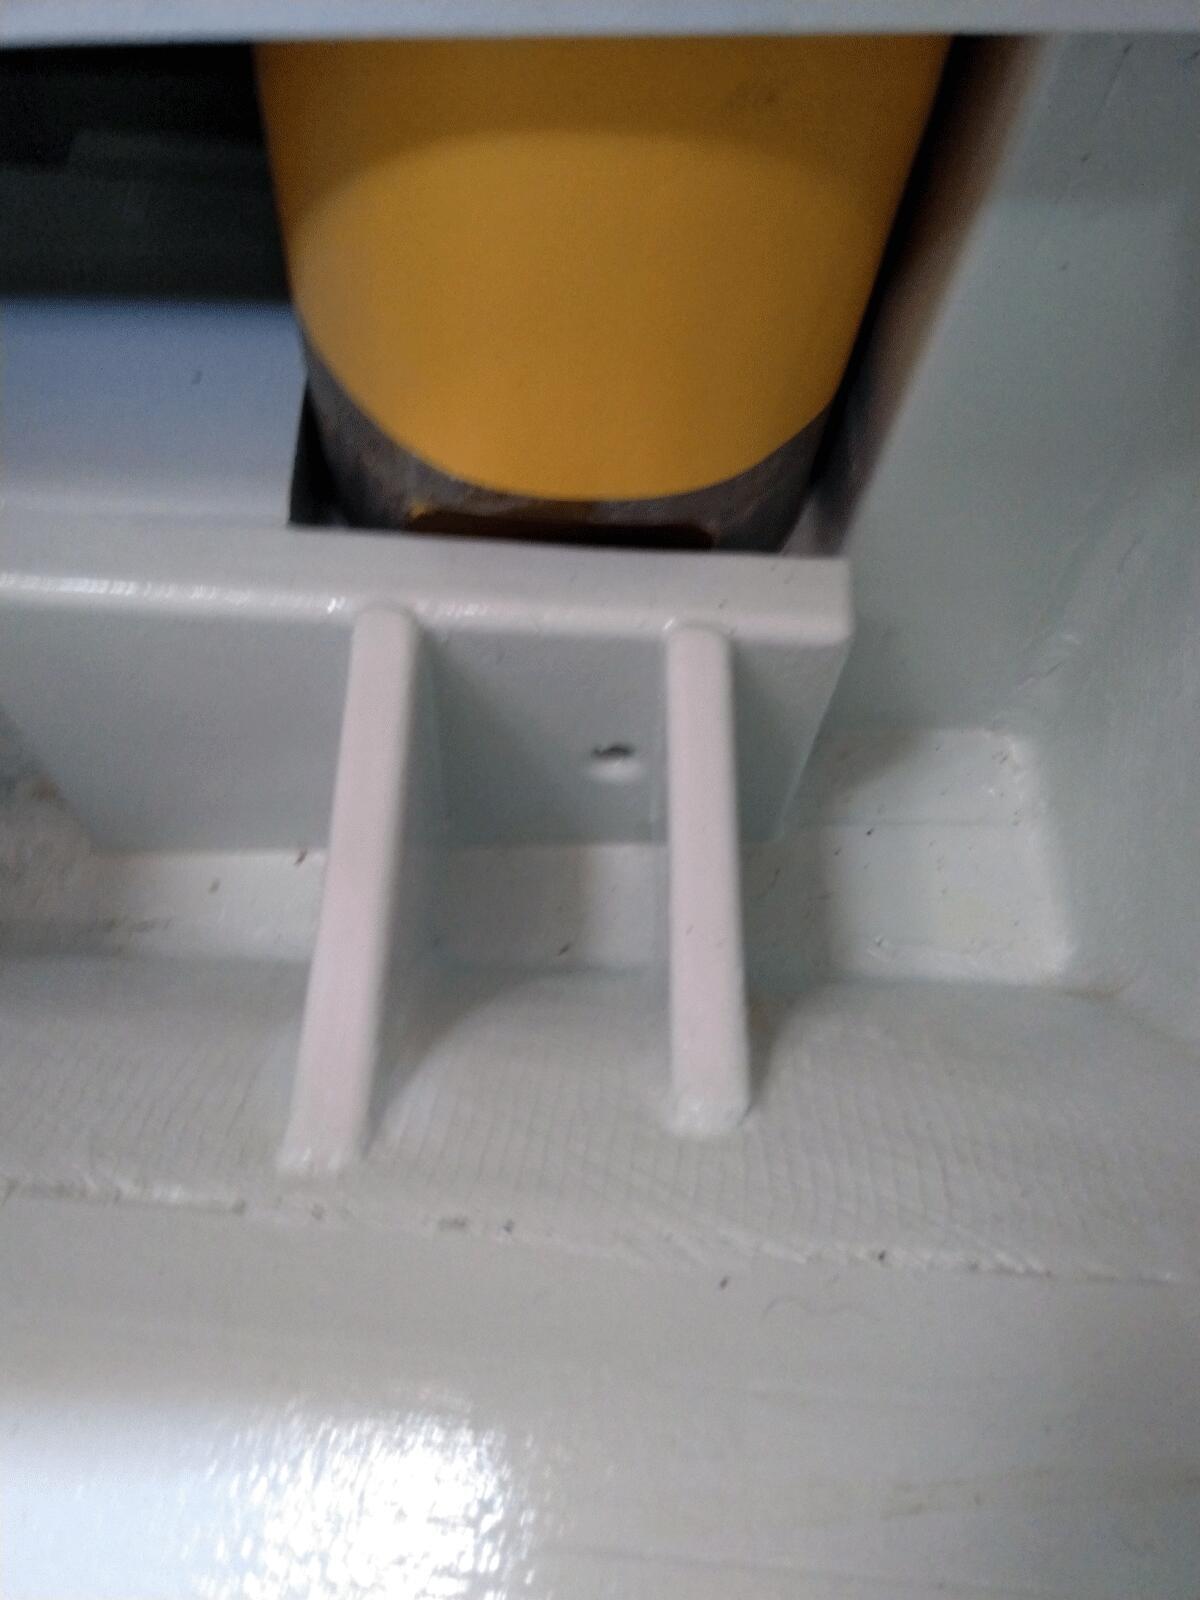
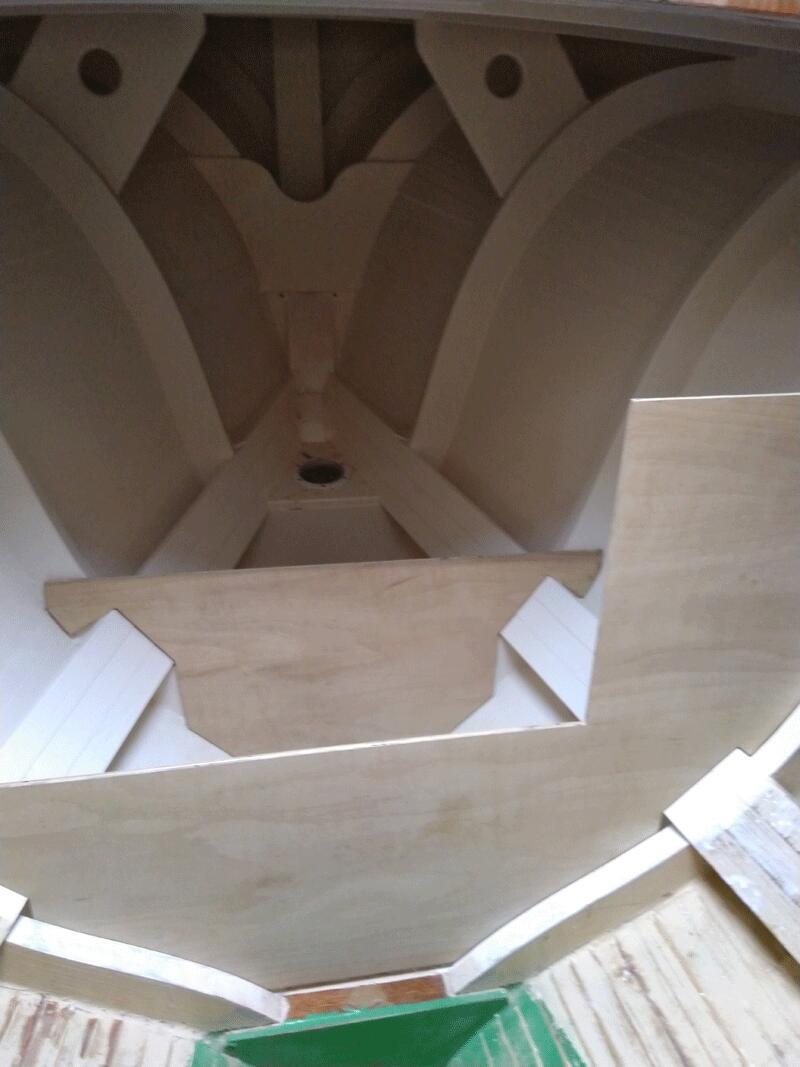
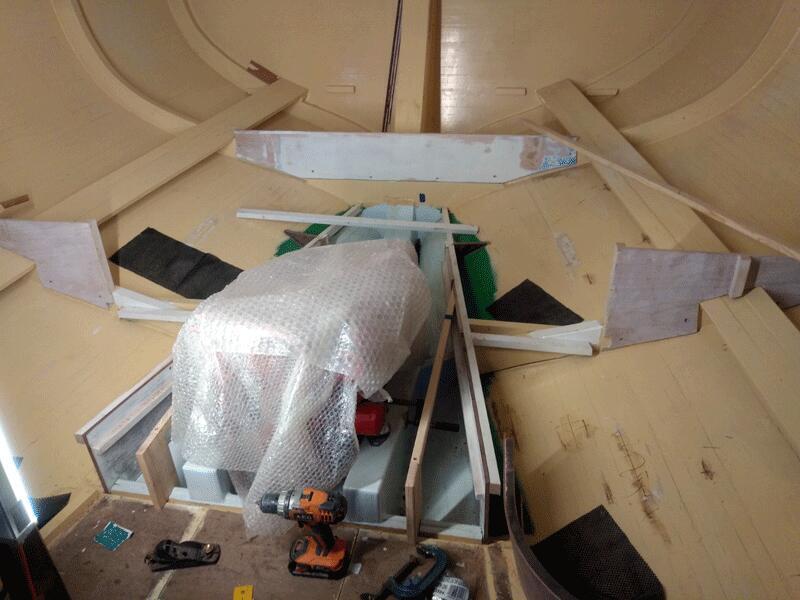
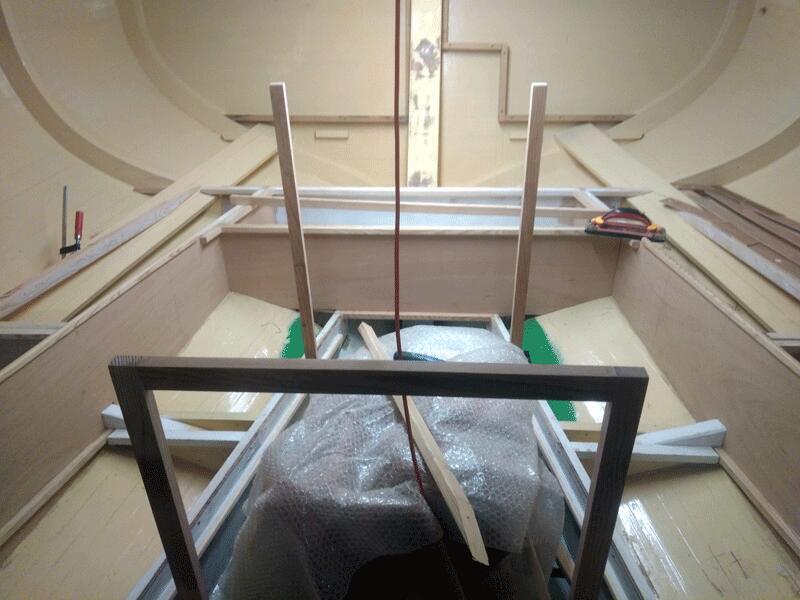
- Forward — base layer with draining hole glued to the hull; 5 different plywood shapes to fit the curve of the hull at the base of the mast
- Main — added 2 blocks, glued fibreglass to the keel; added 2 plywood braces bonded to the hull & keel for lateral support at the base
Mast Collars:
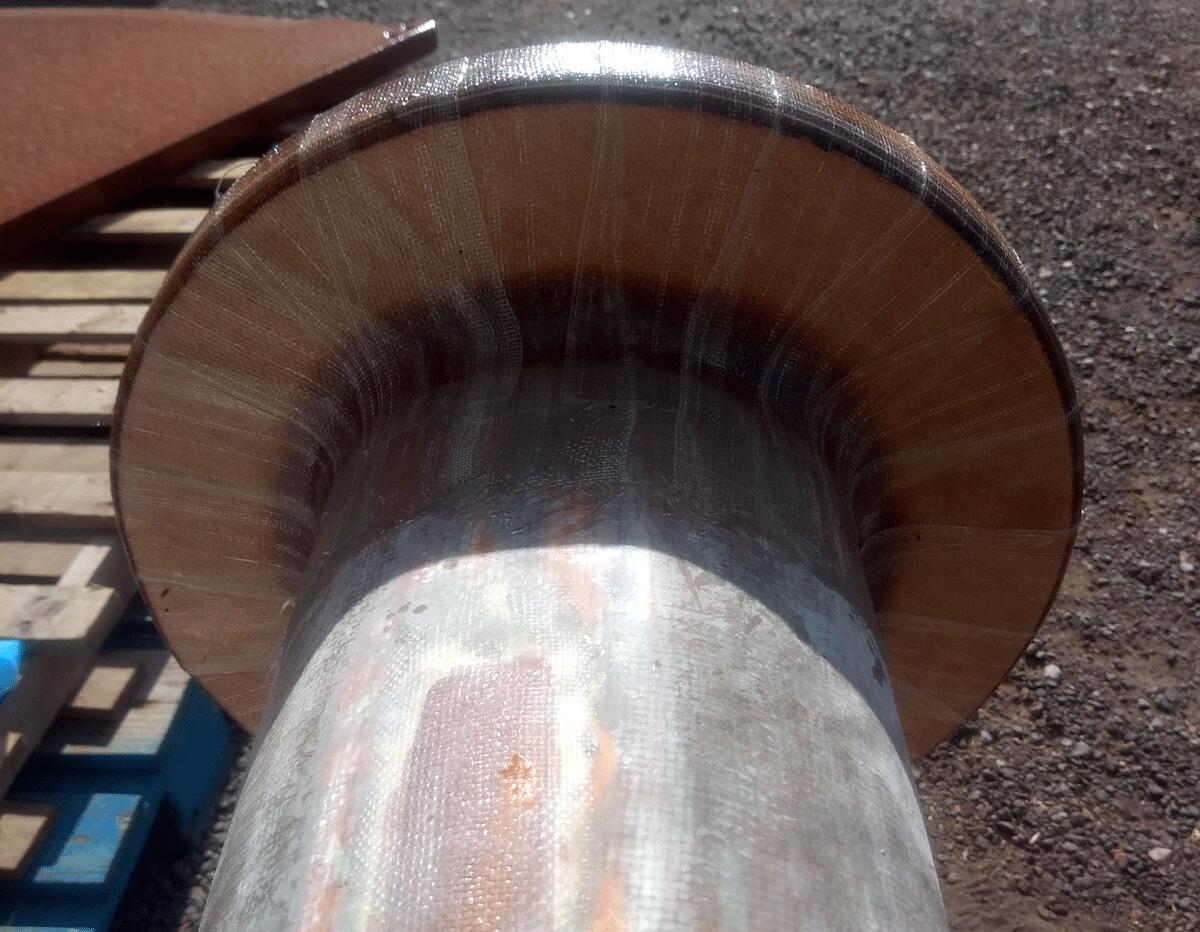
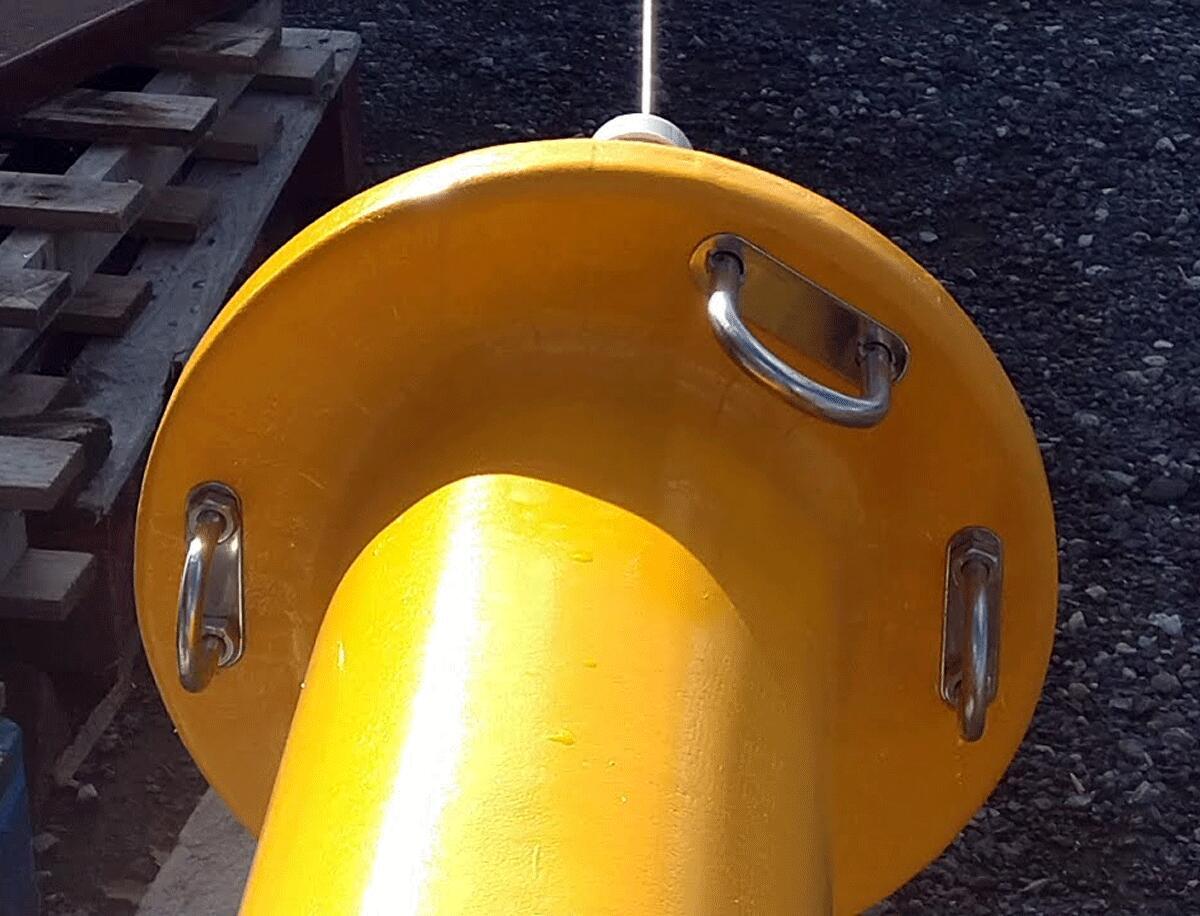
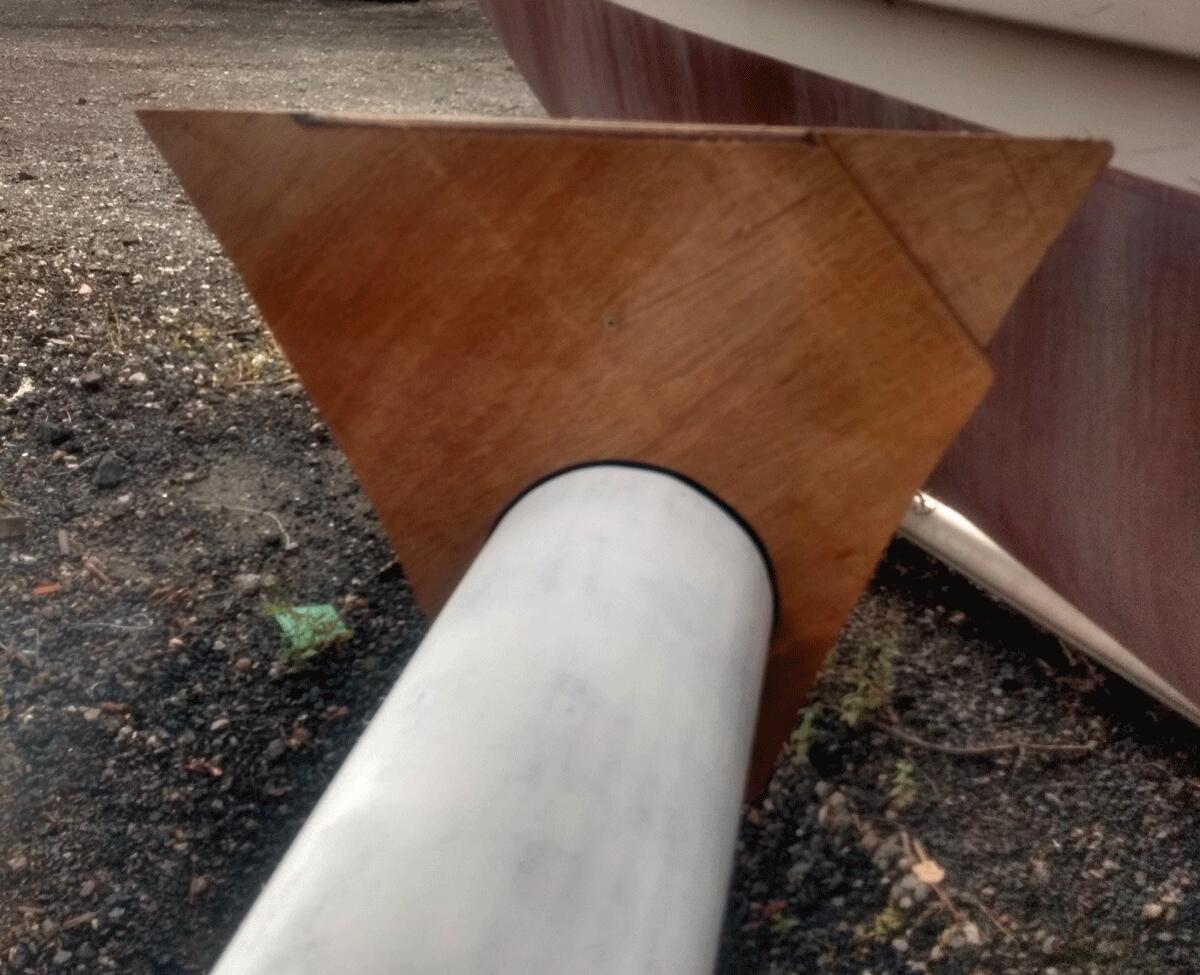
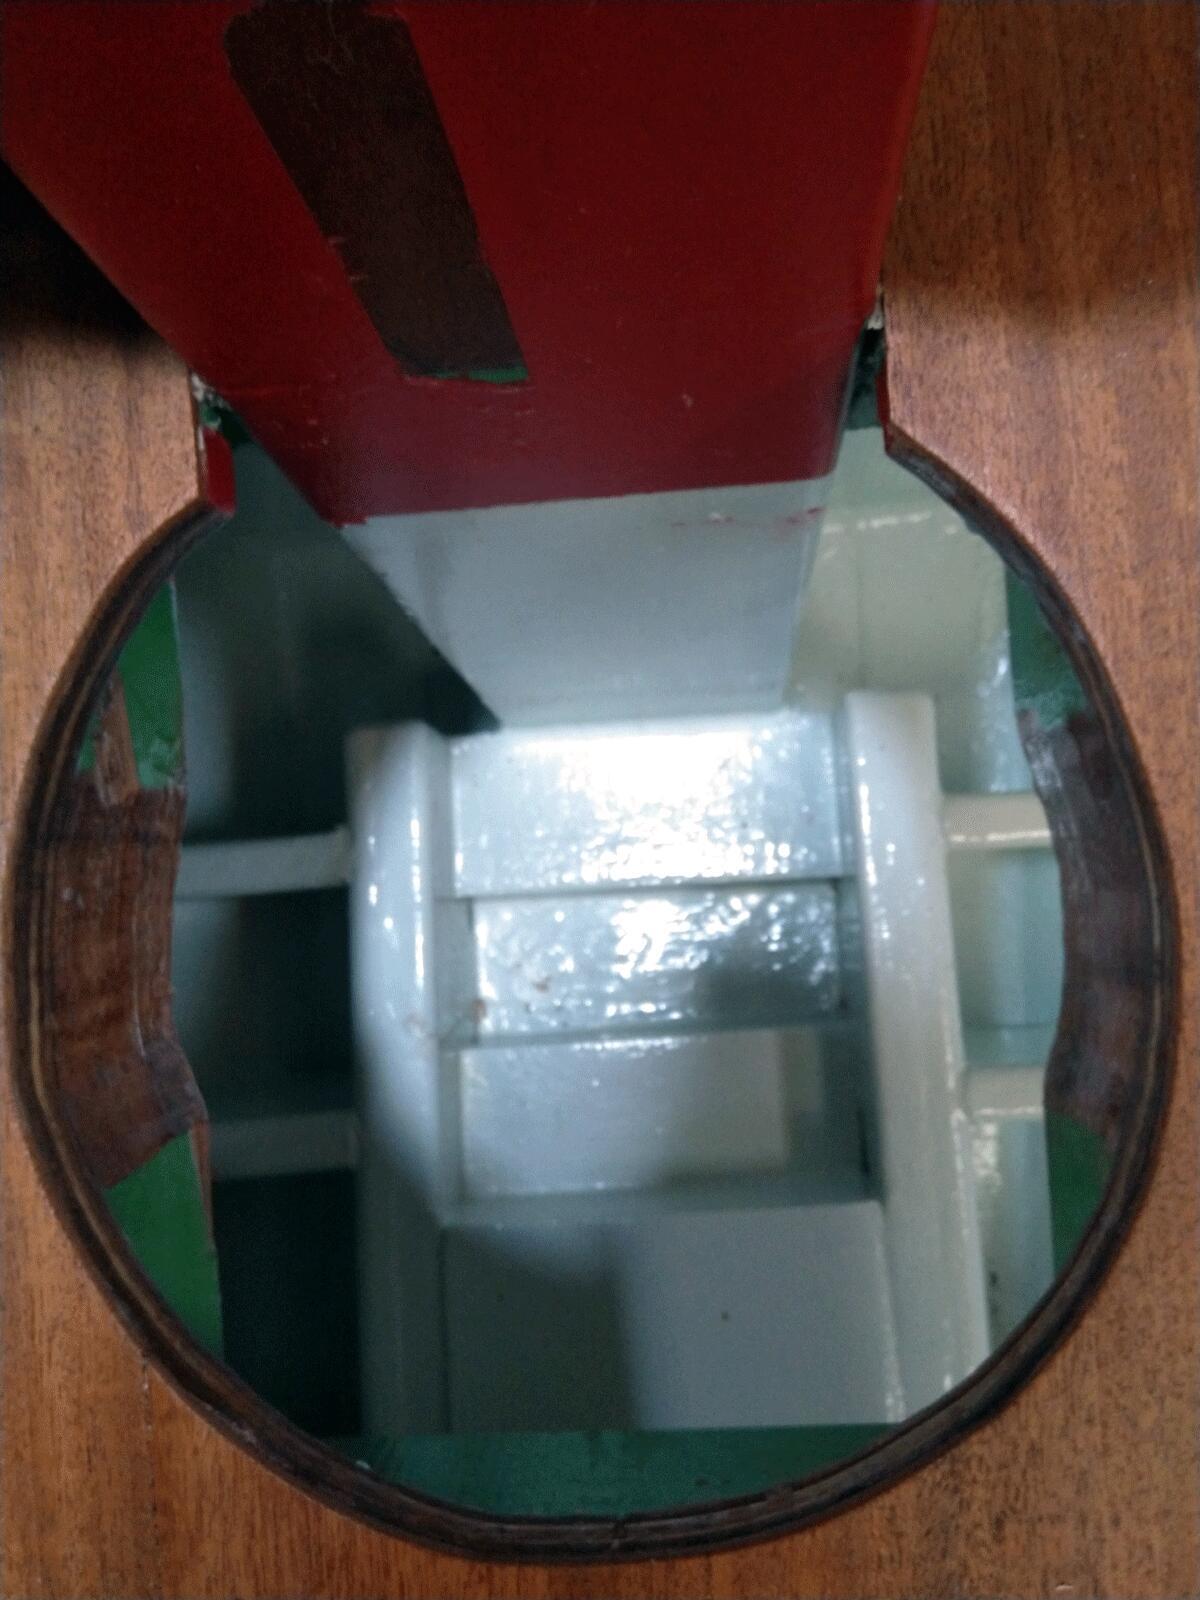
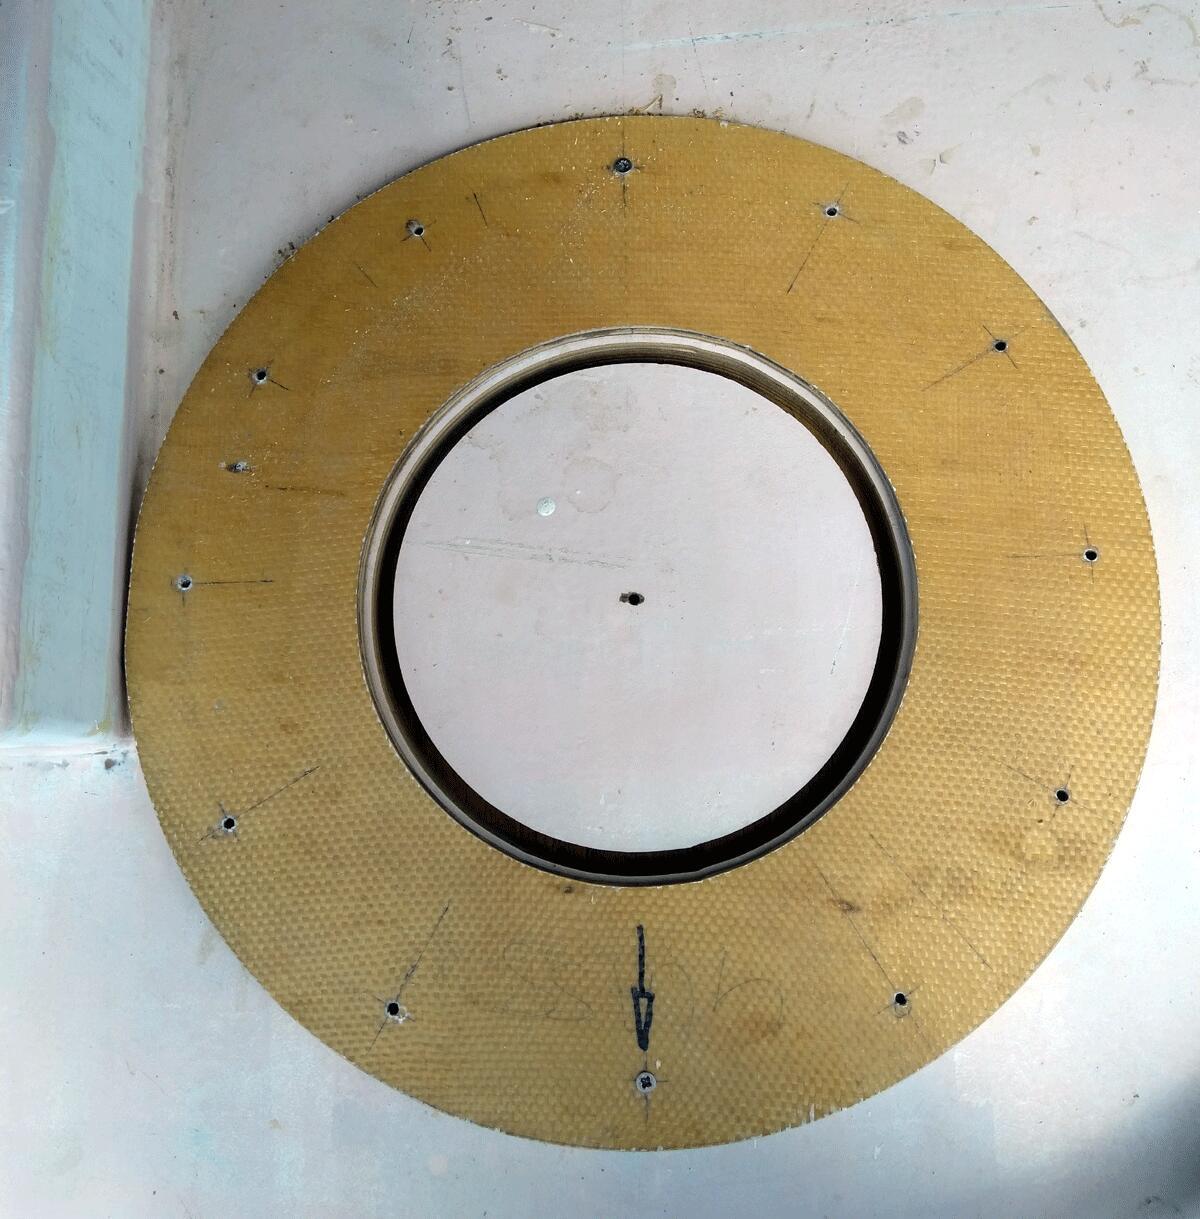
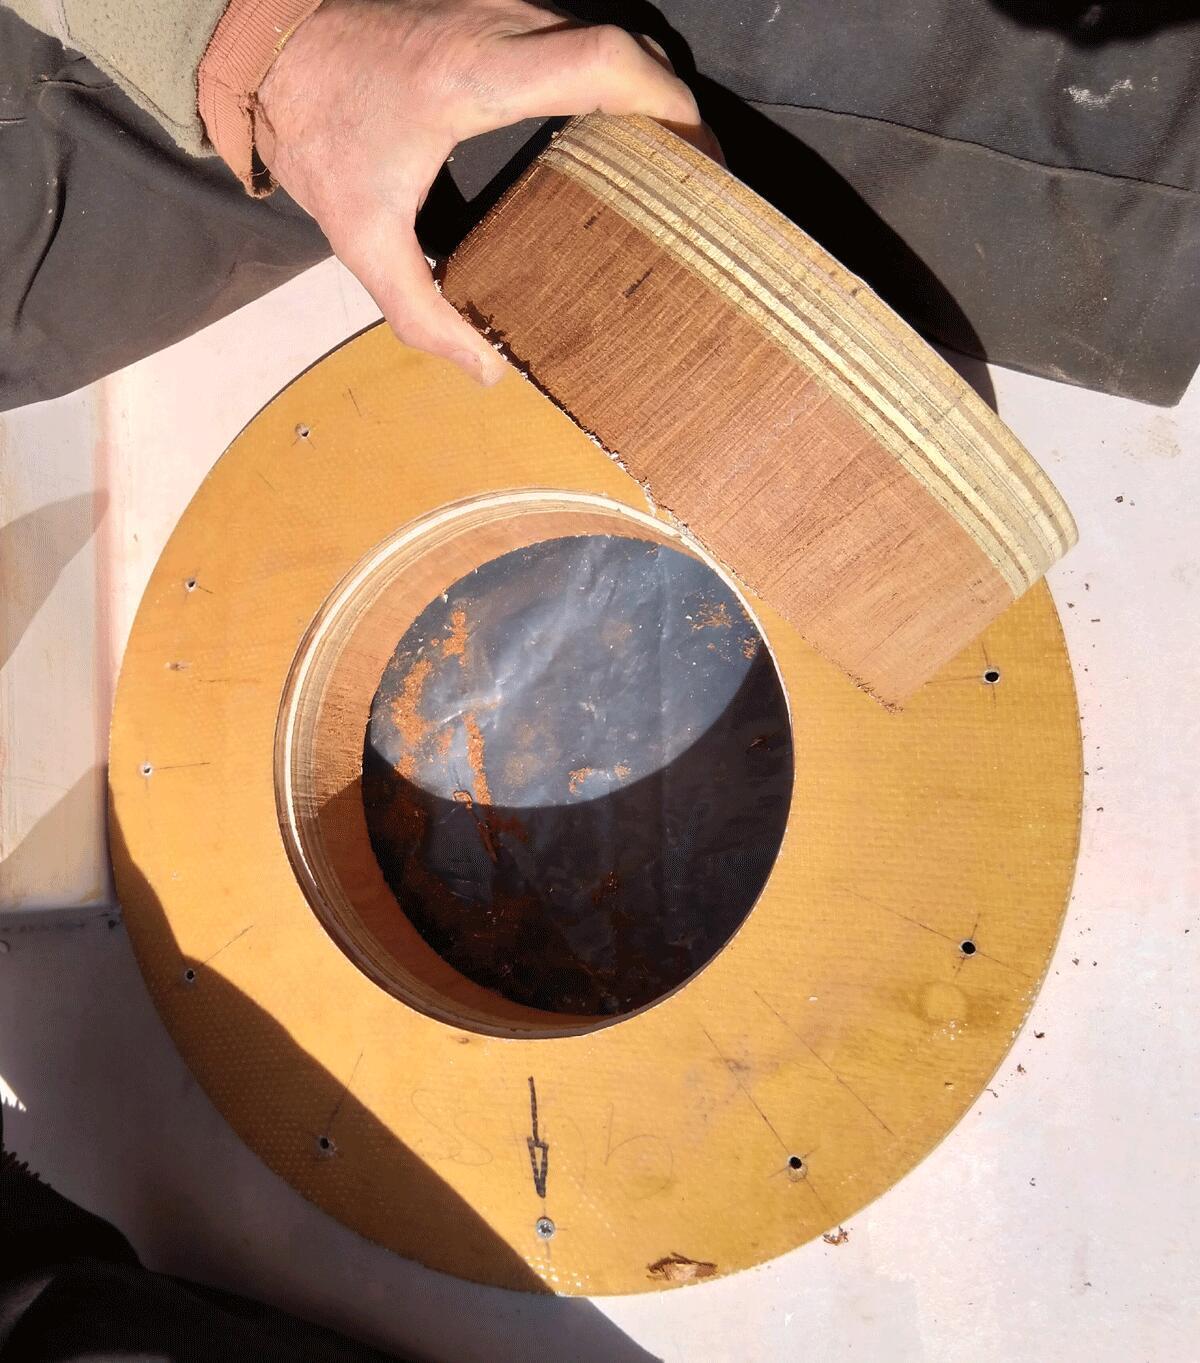
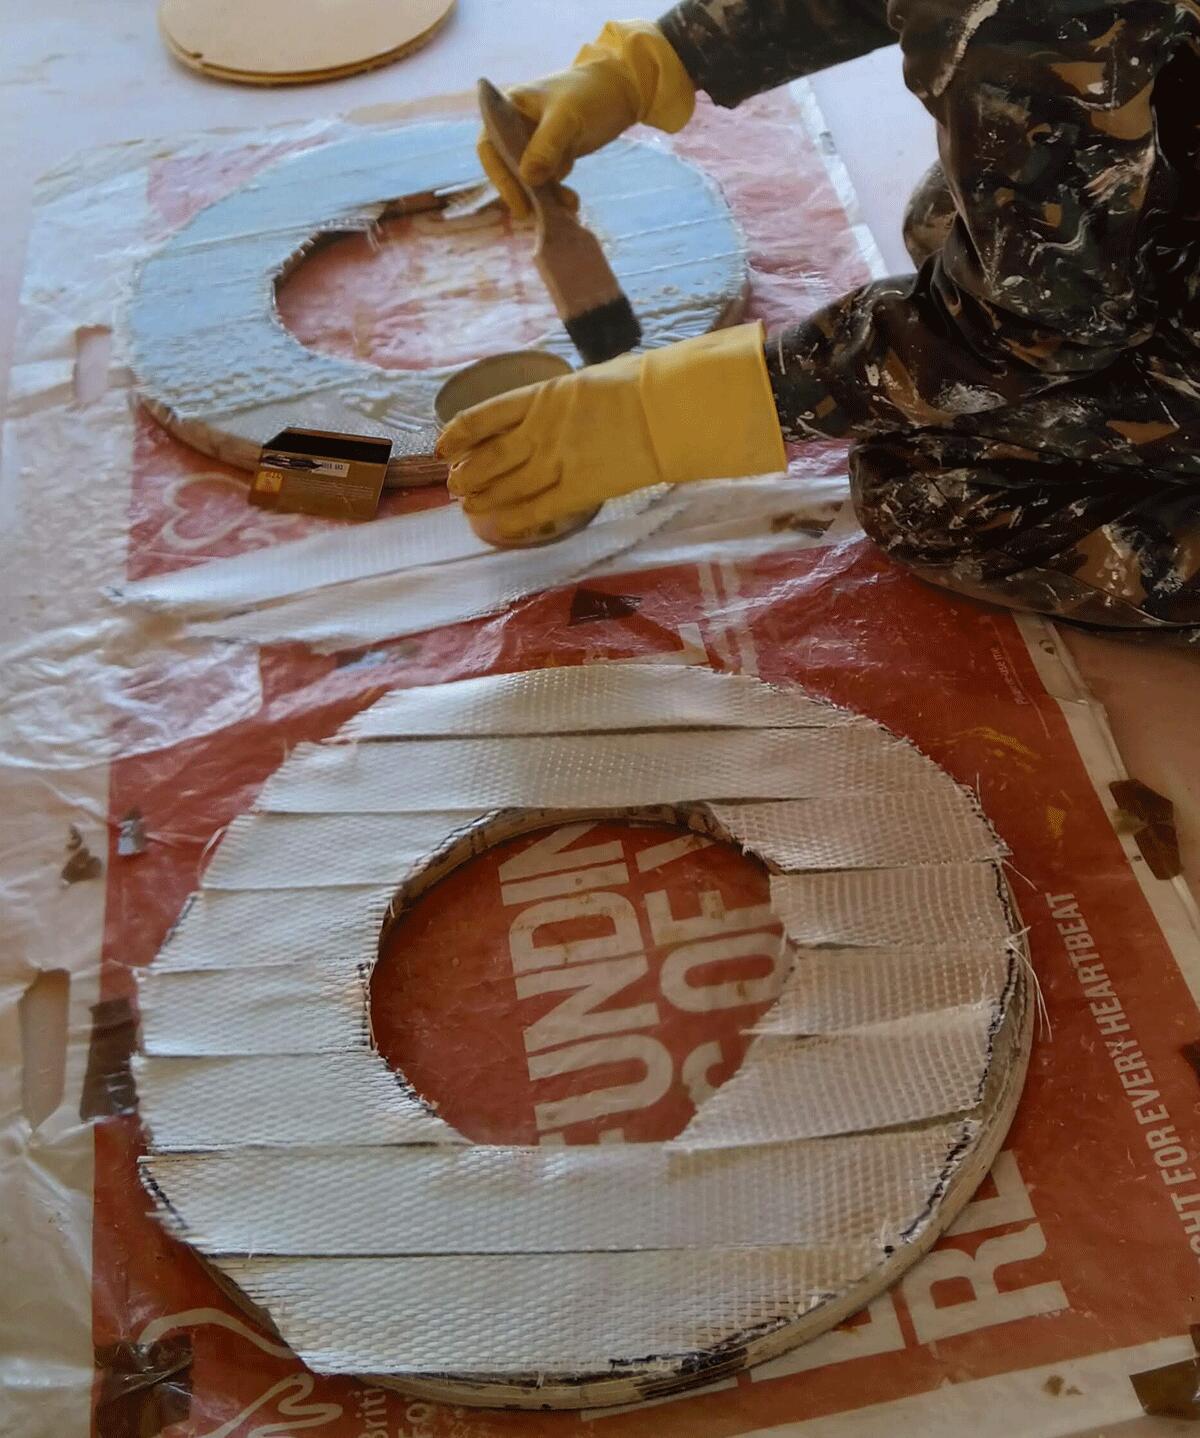
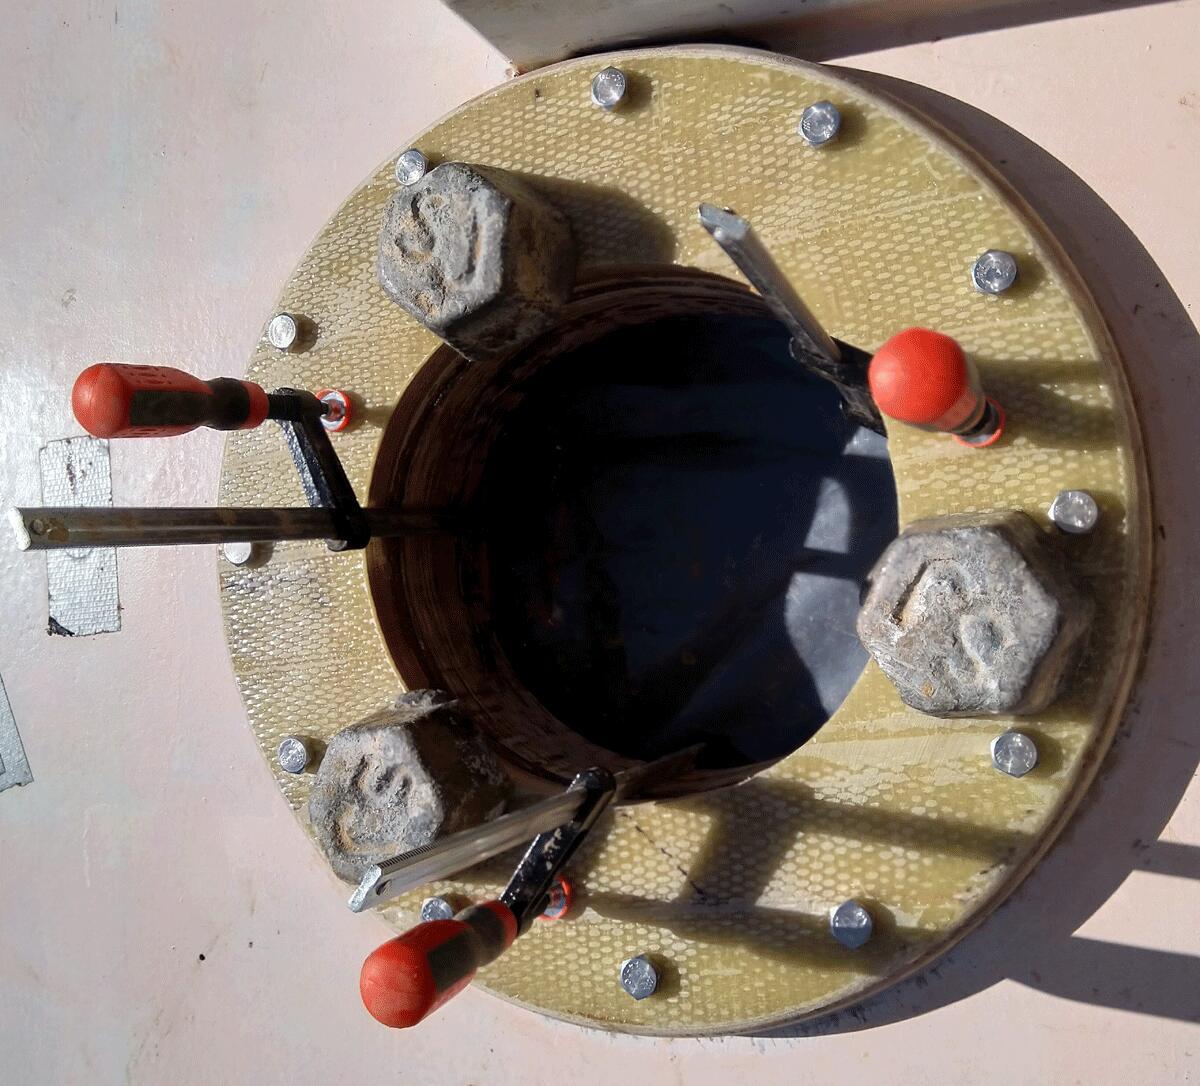
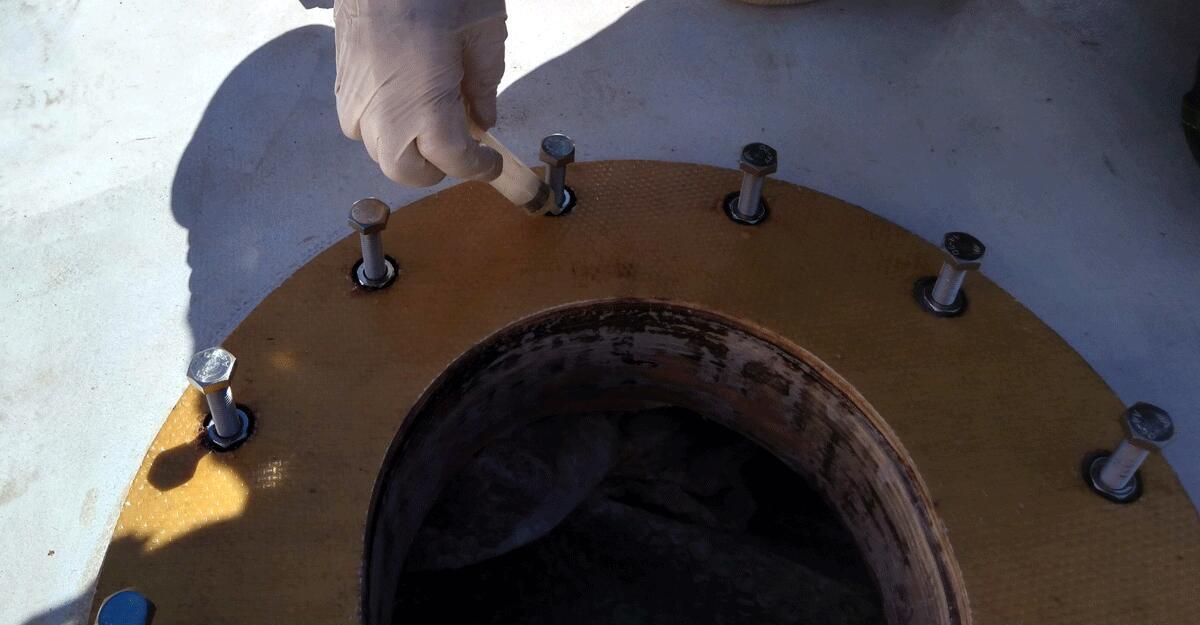
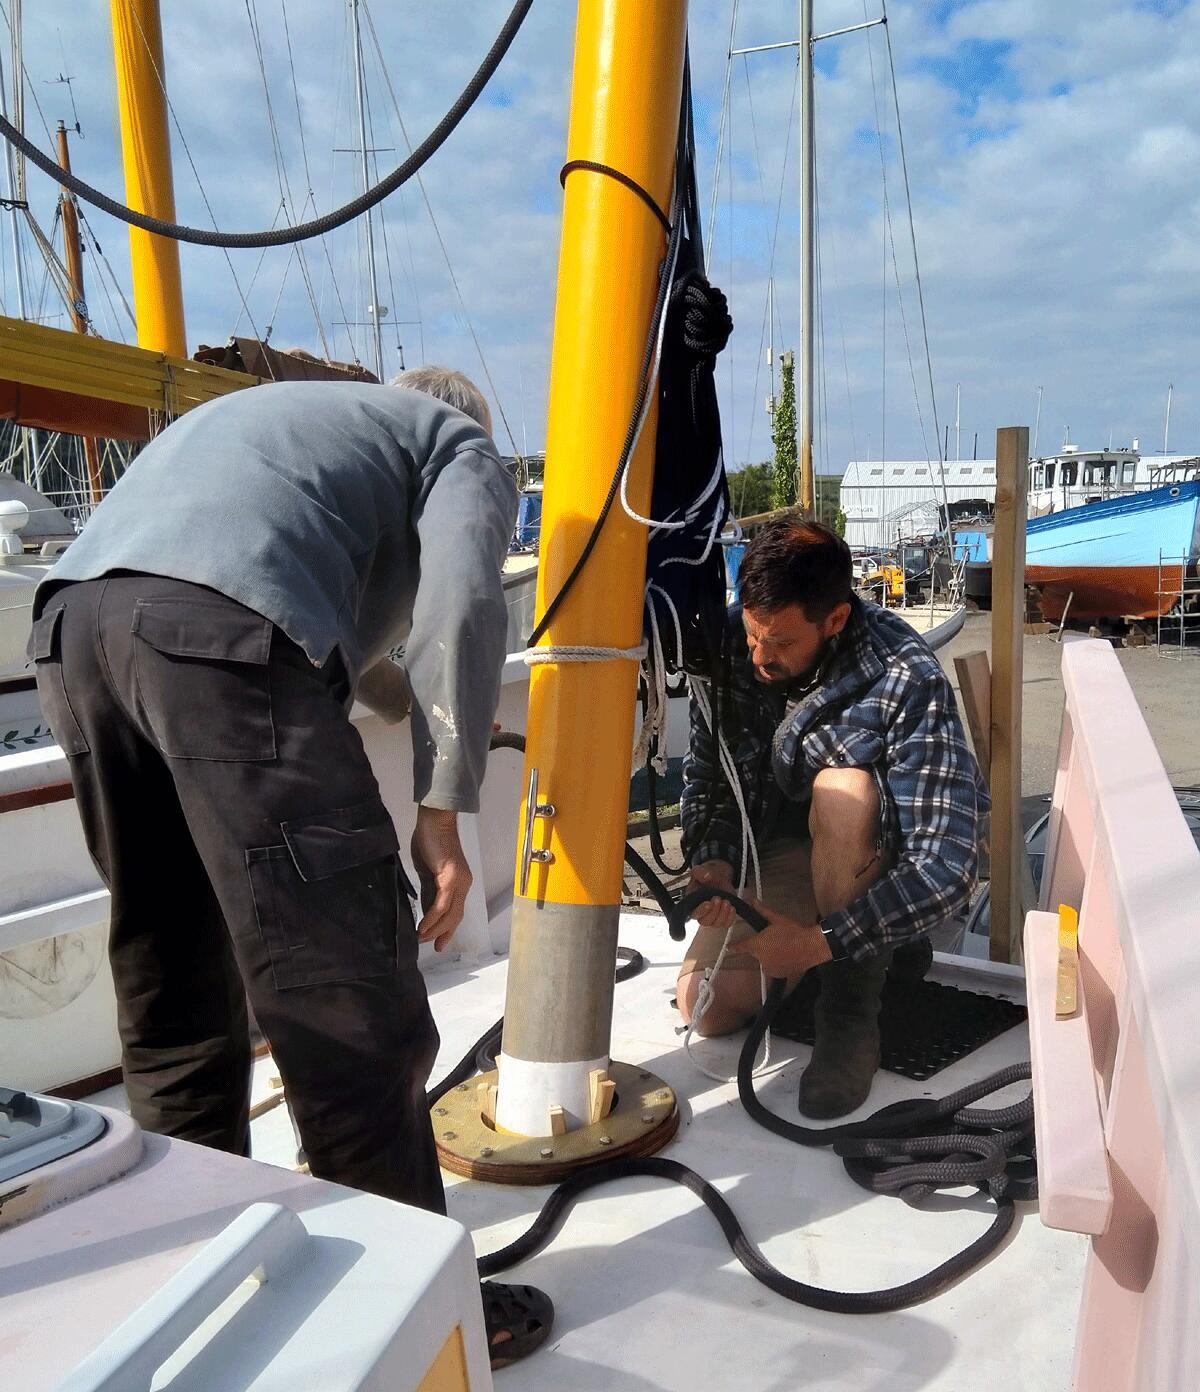
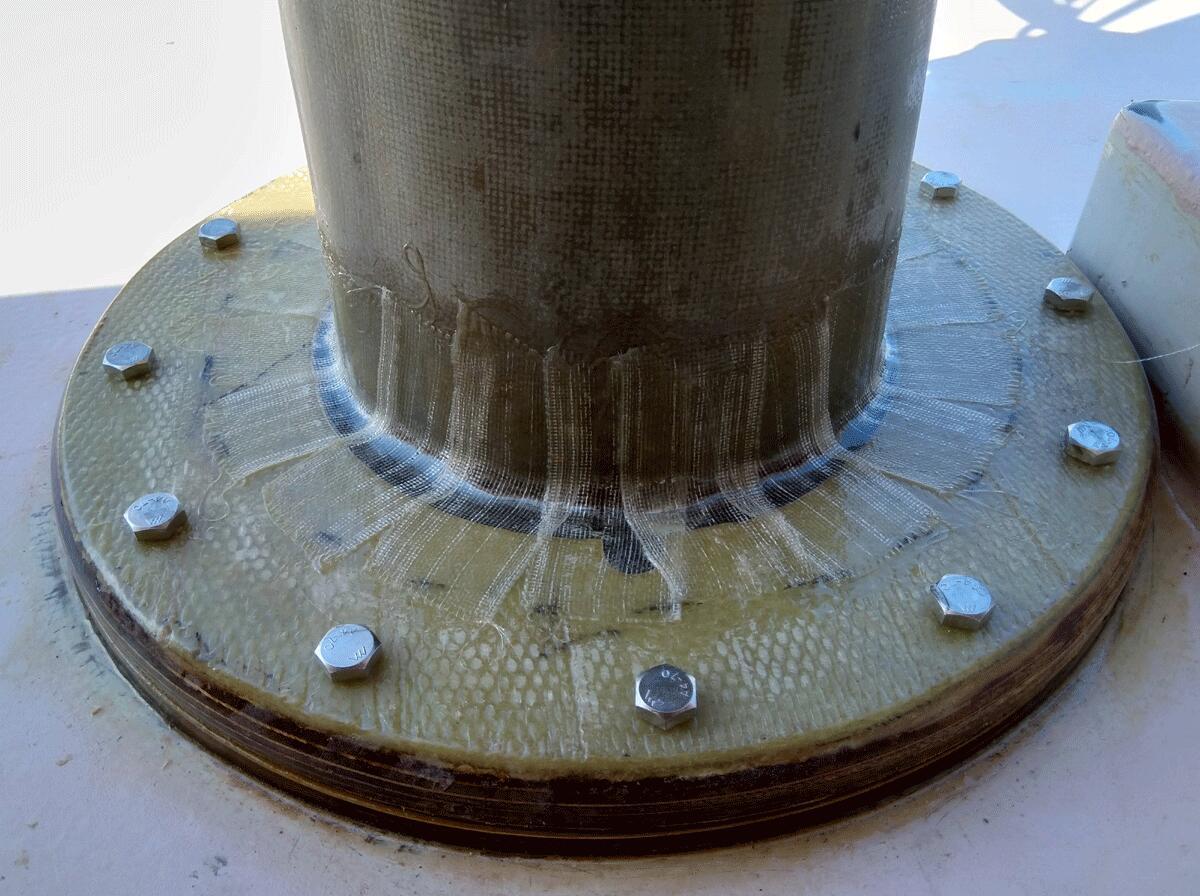
- 2 layers, fibreglass
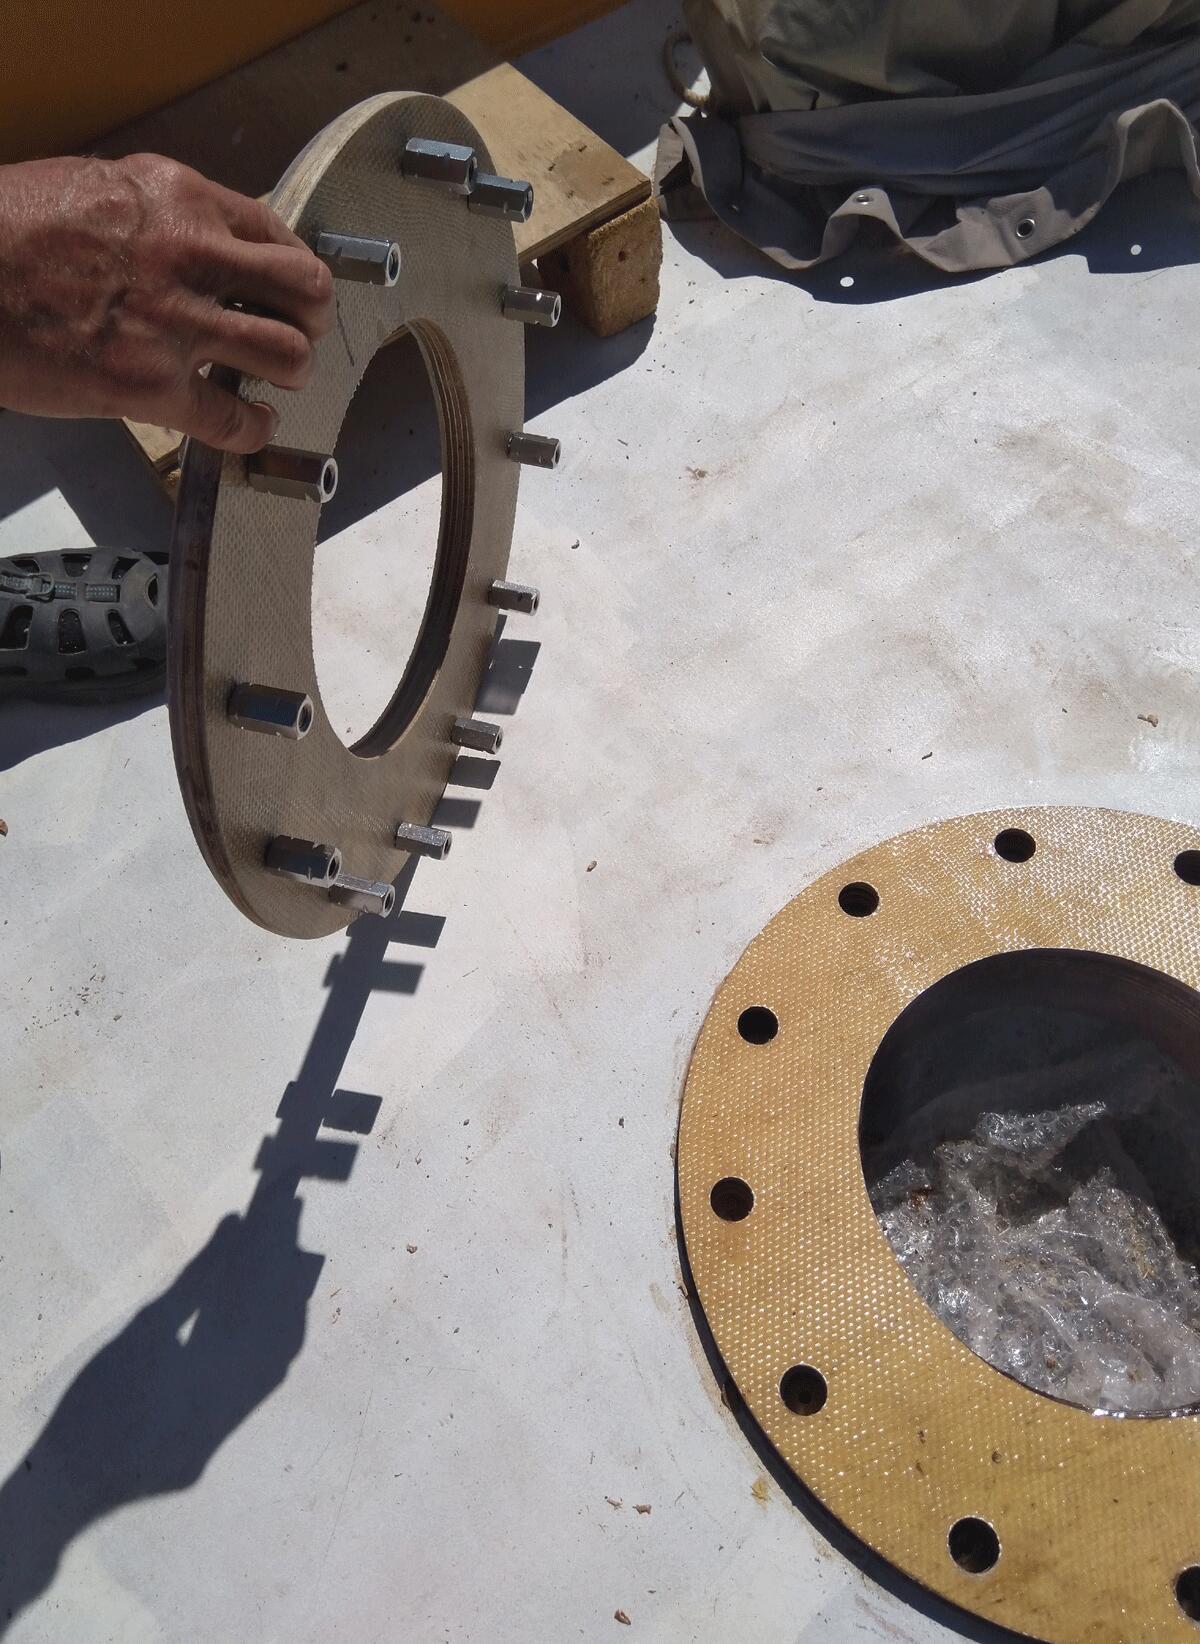
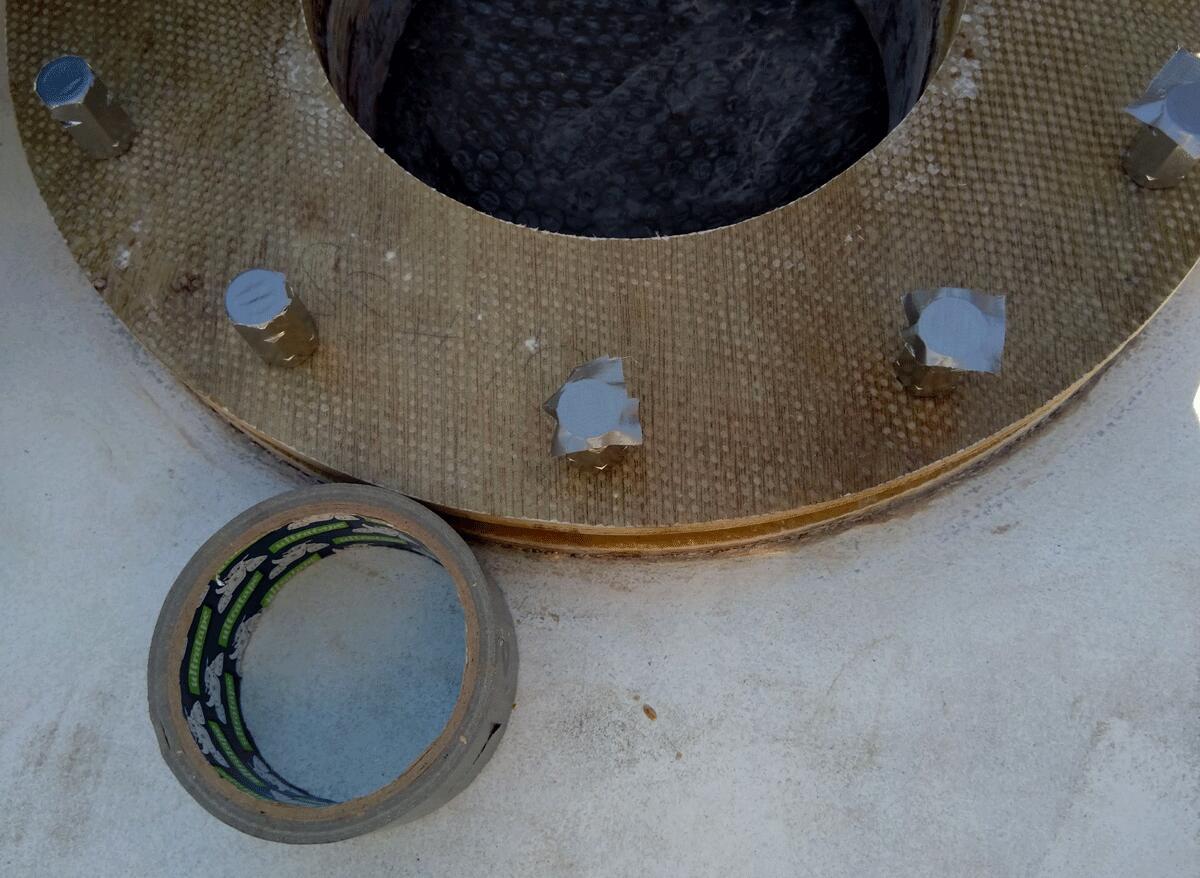
- Threaded SS sockets glued into the deck
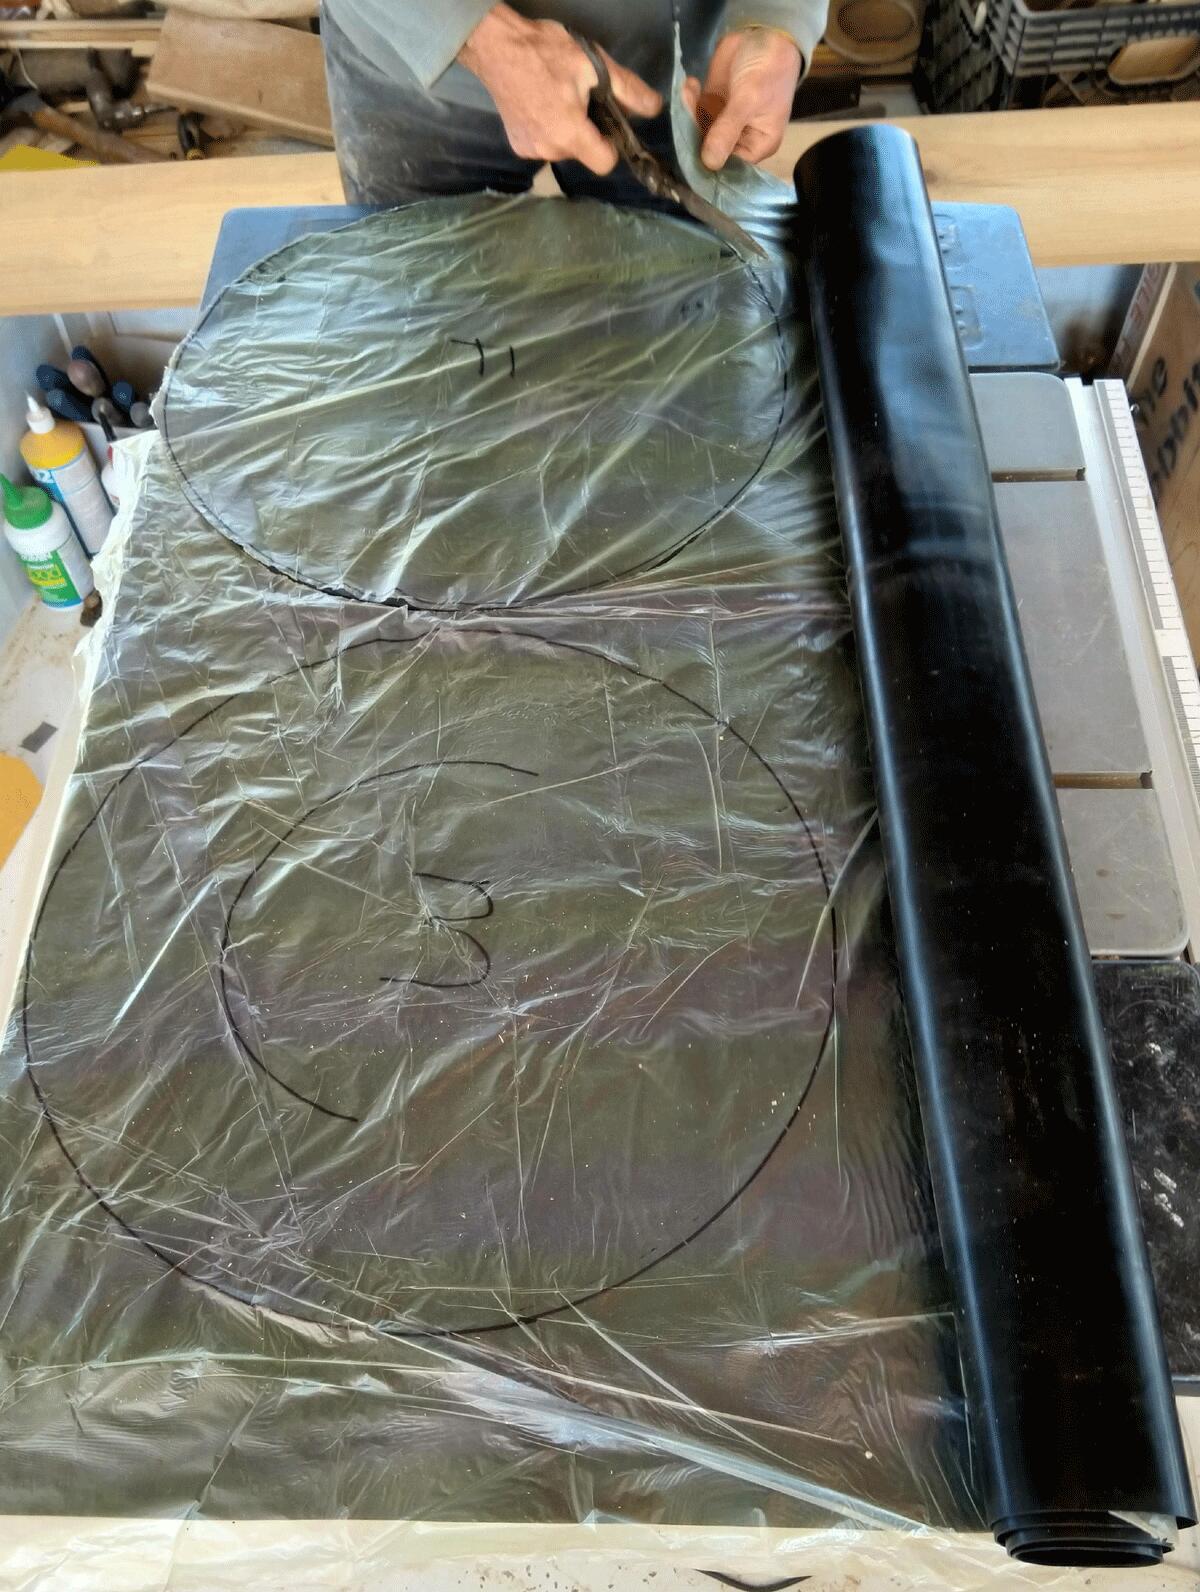
- Plywood bolted down with a thin rubber washer underneath
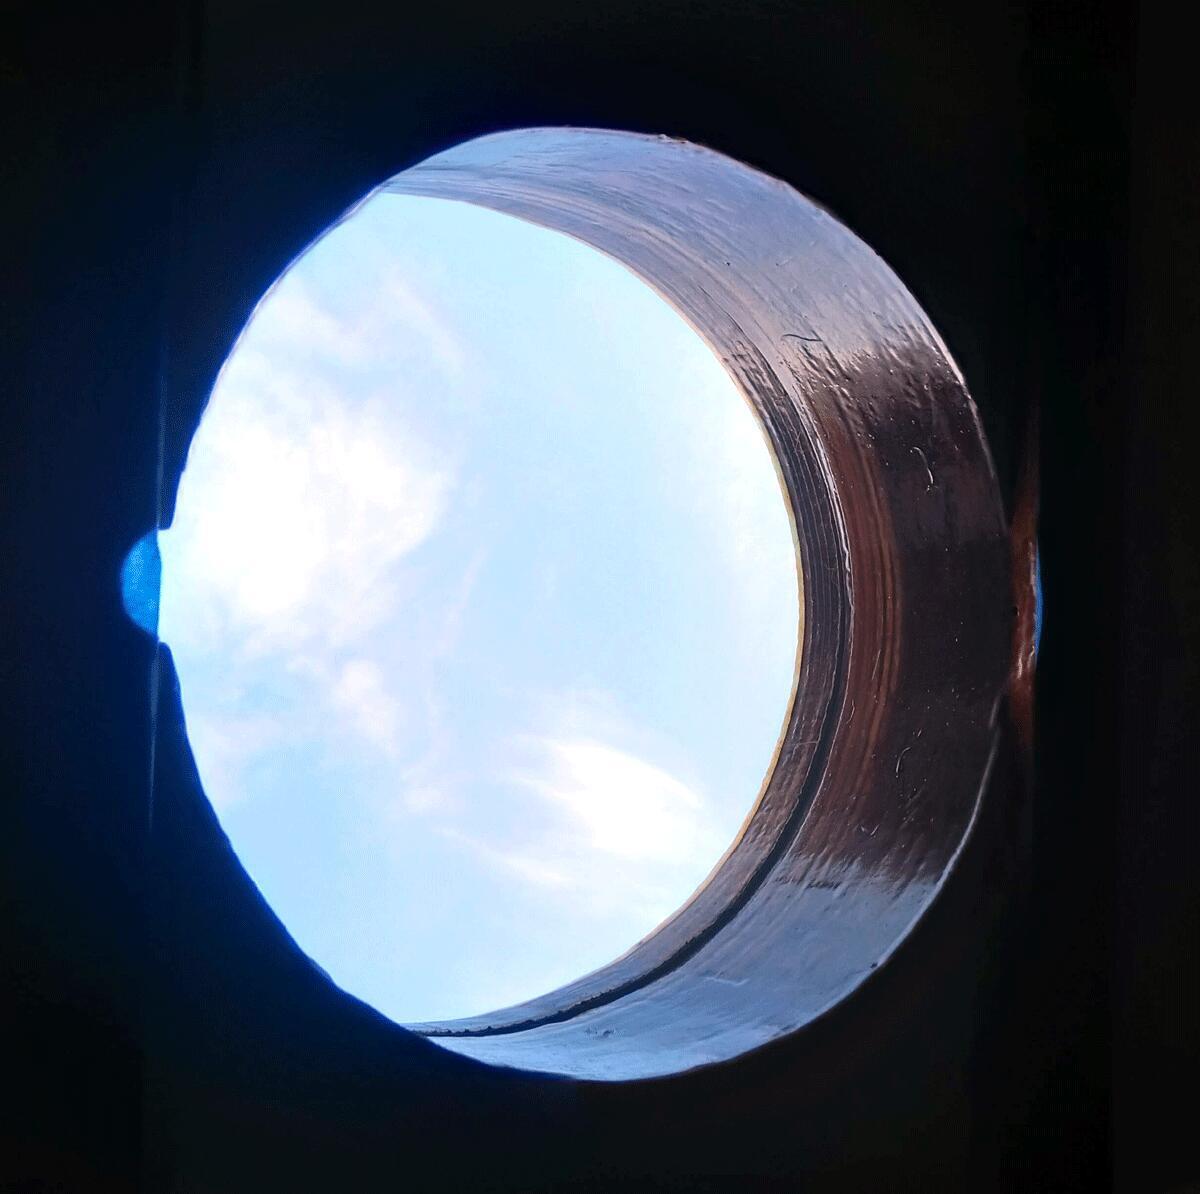
- Mast lowered down through the hole and wedged into correct position
- Ring heavily glassed to the mast — biaxial & unidirectional fibreglass epoxy
- 12 x 10mm bolts
Centreboard
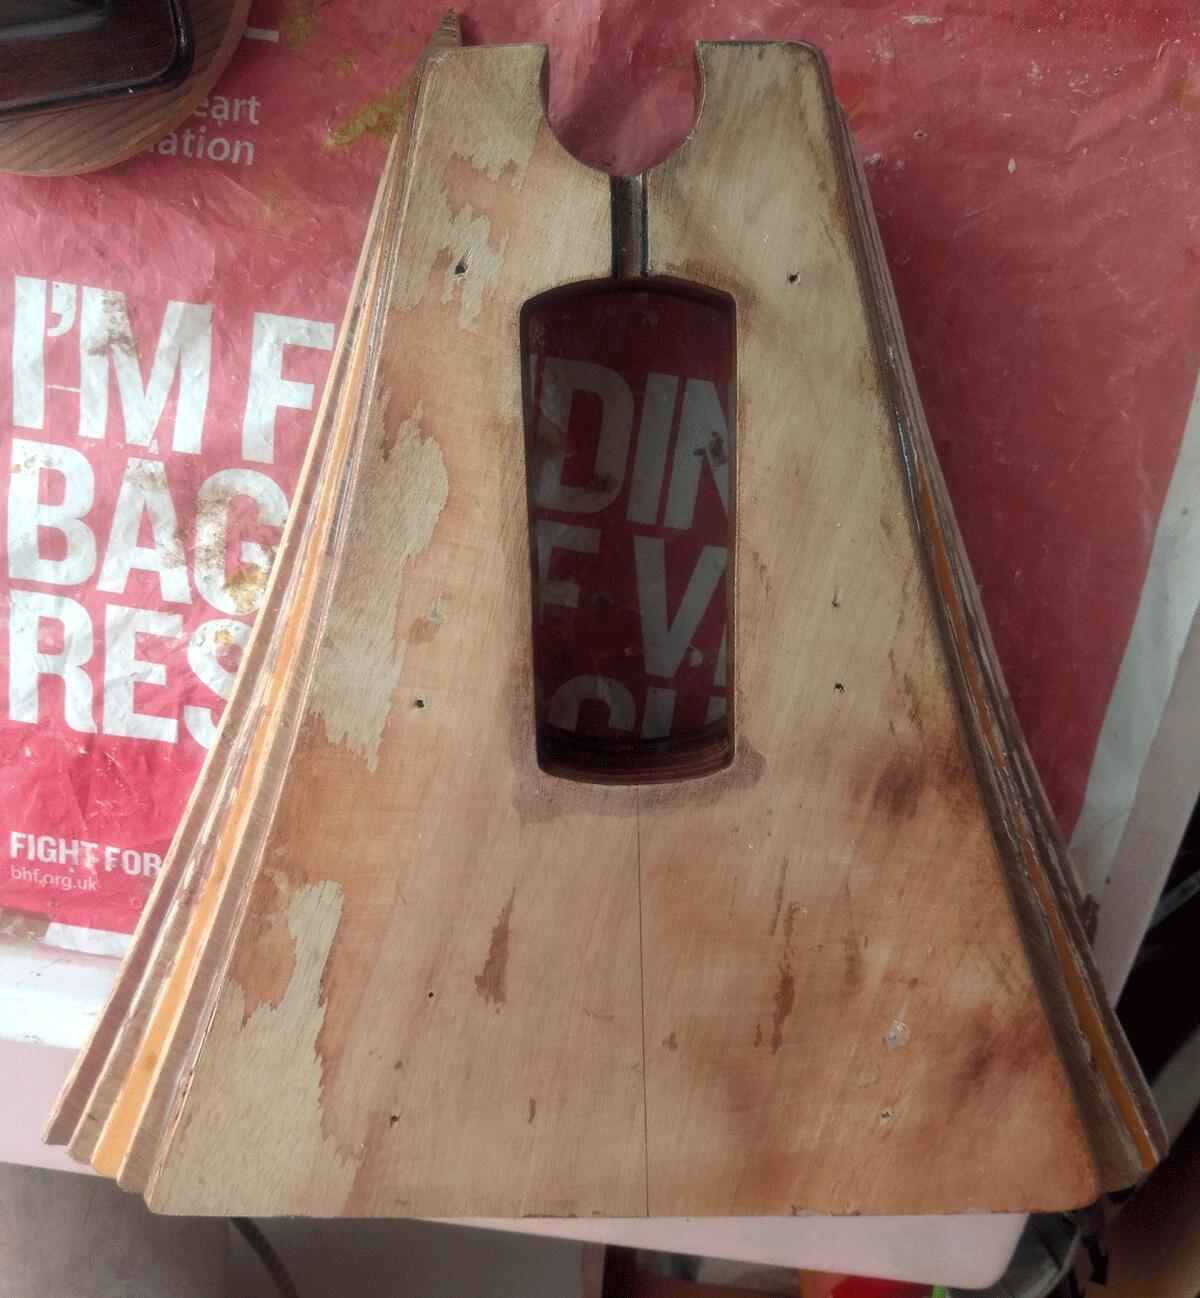
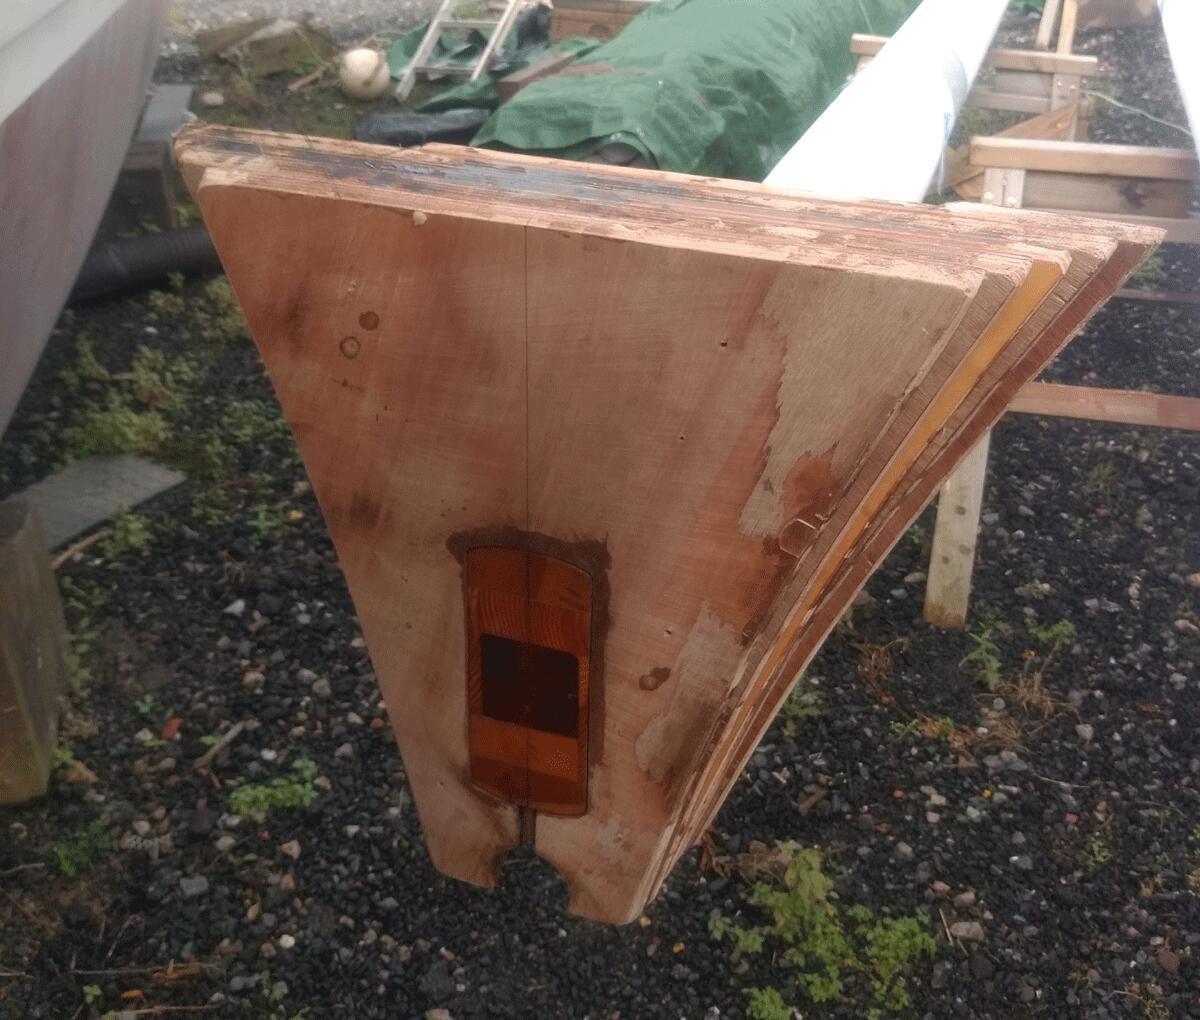
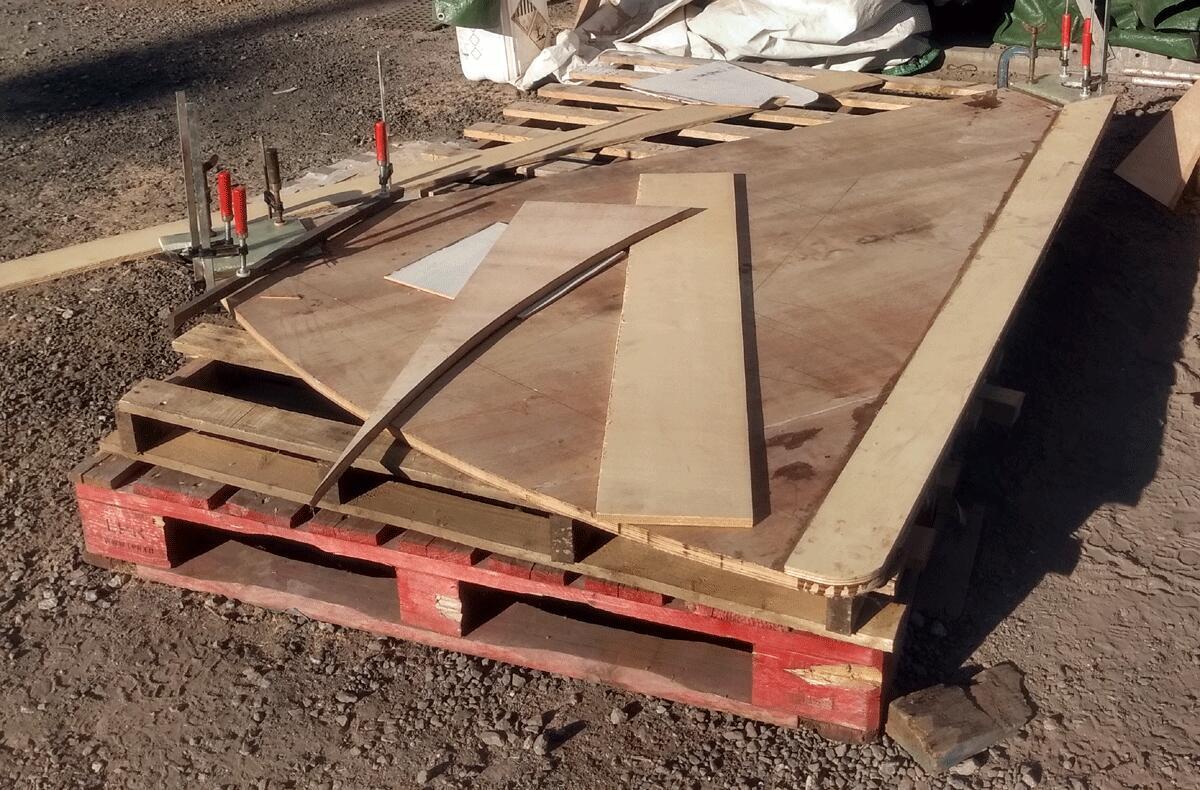
- Studied plans, decided on redesign in terms of material and build
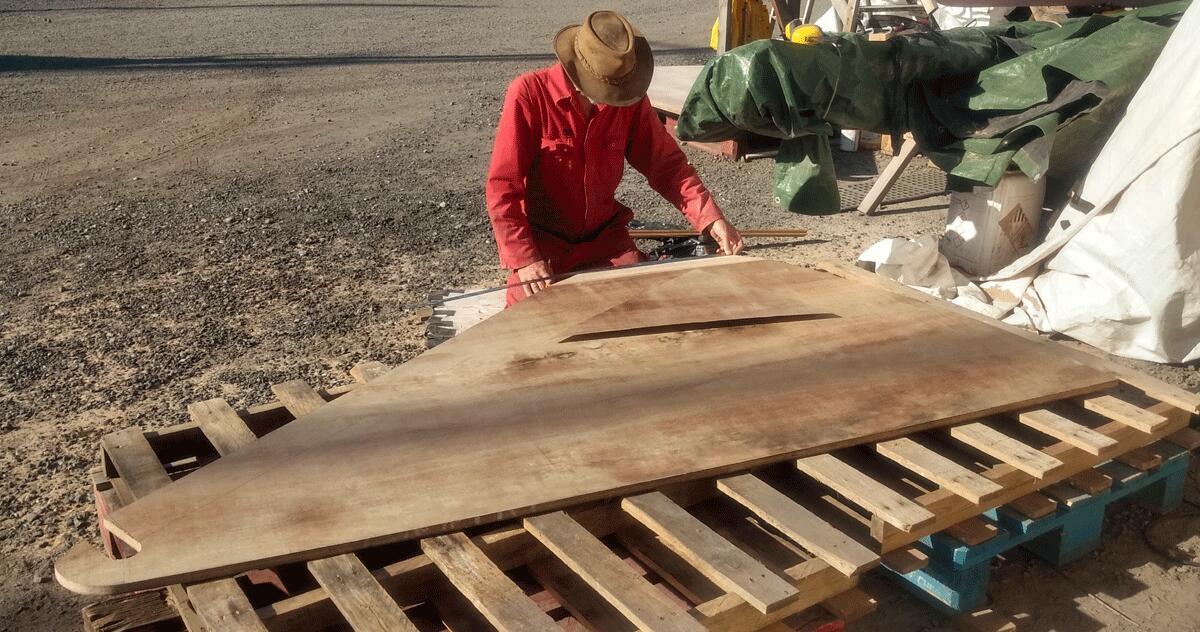
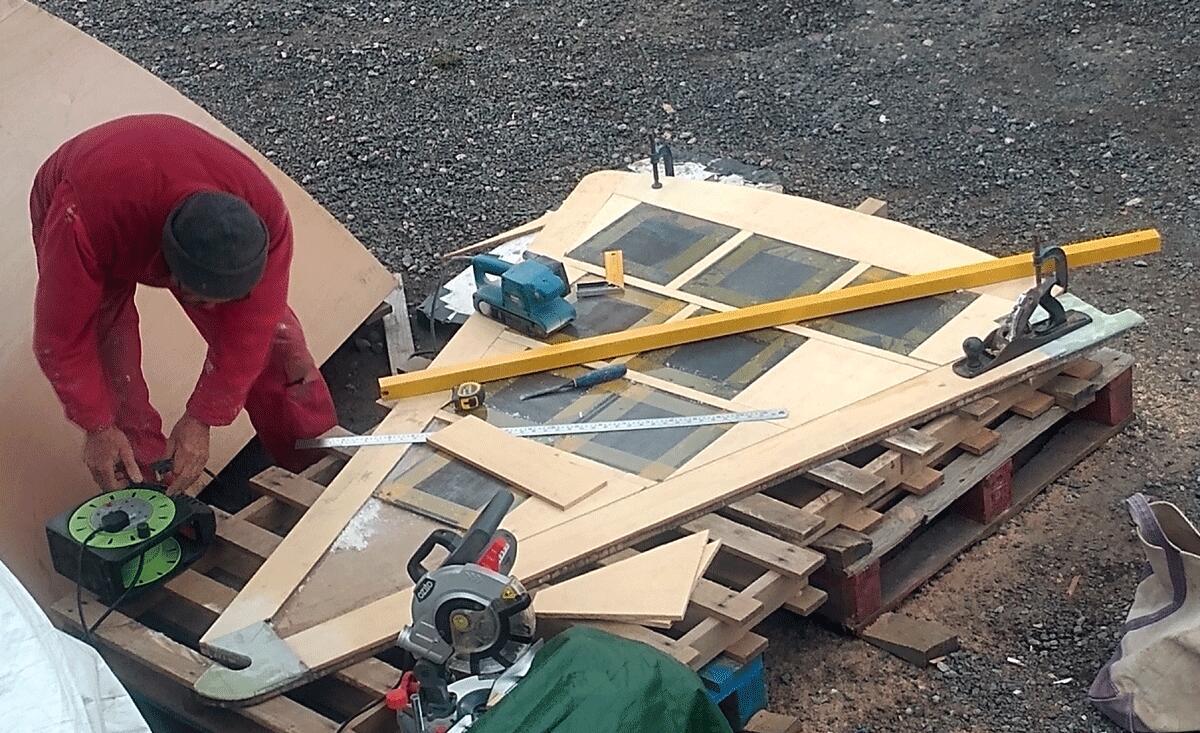
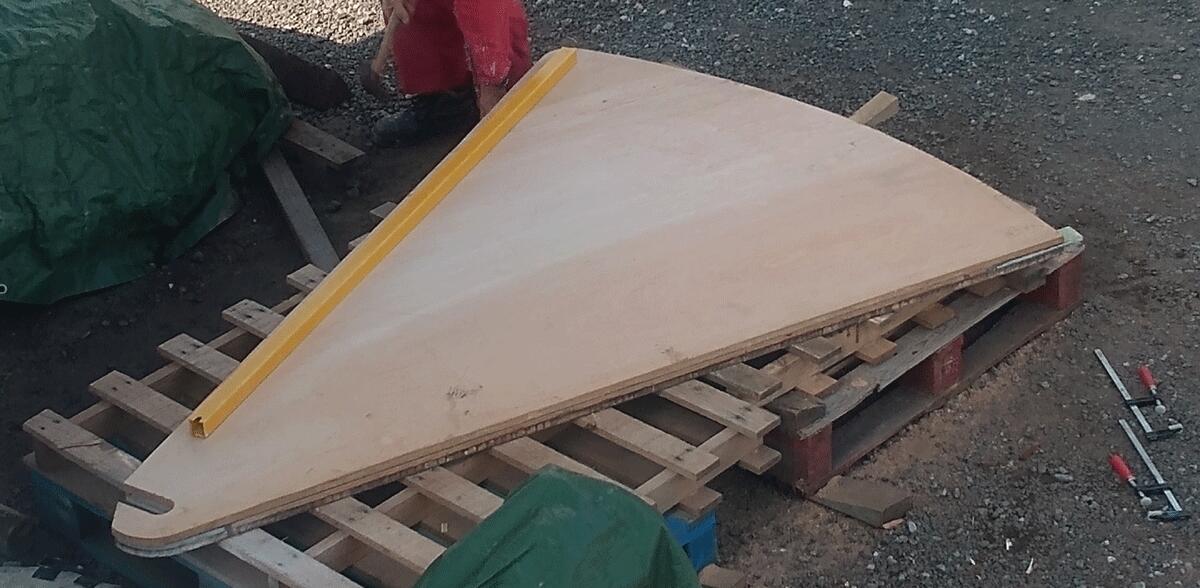
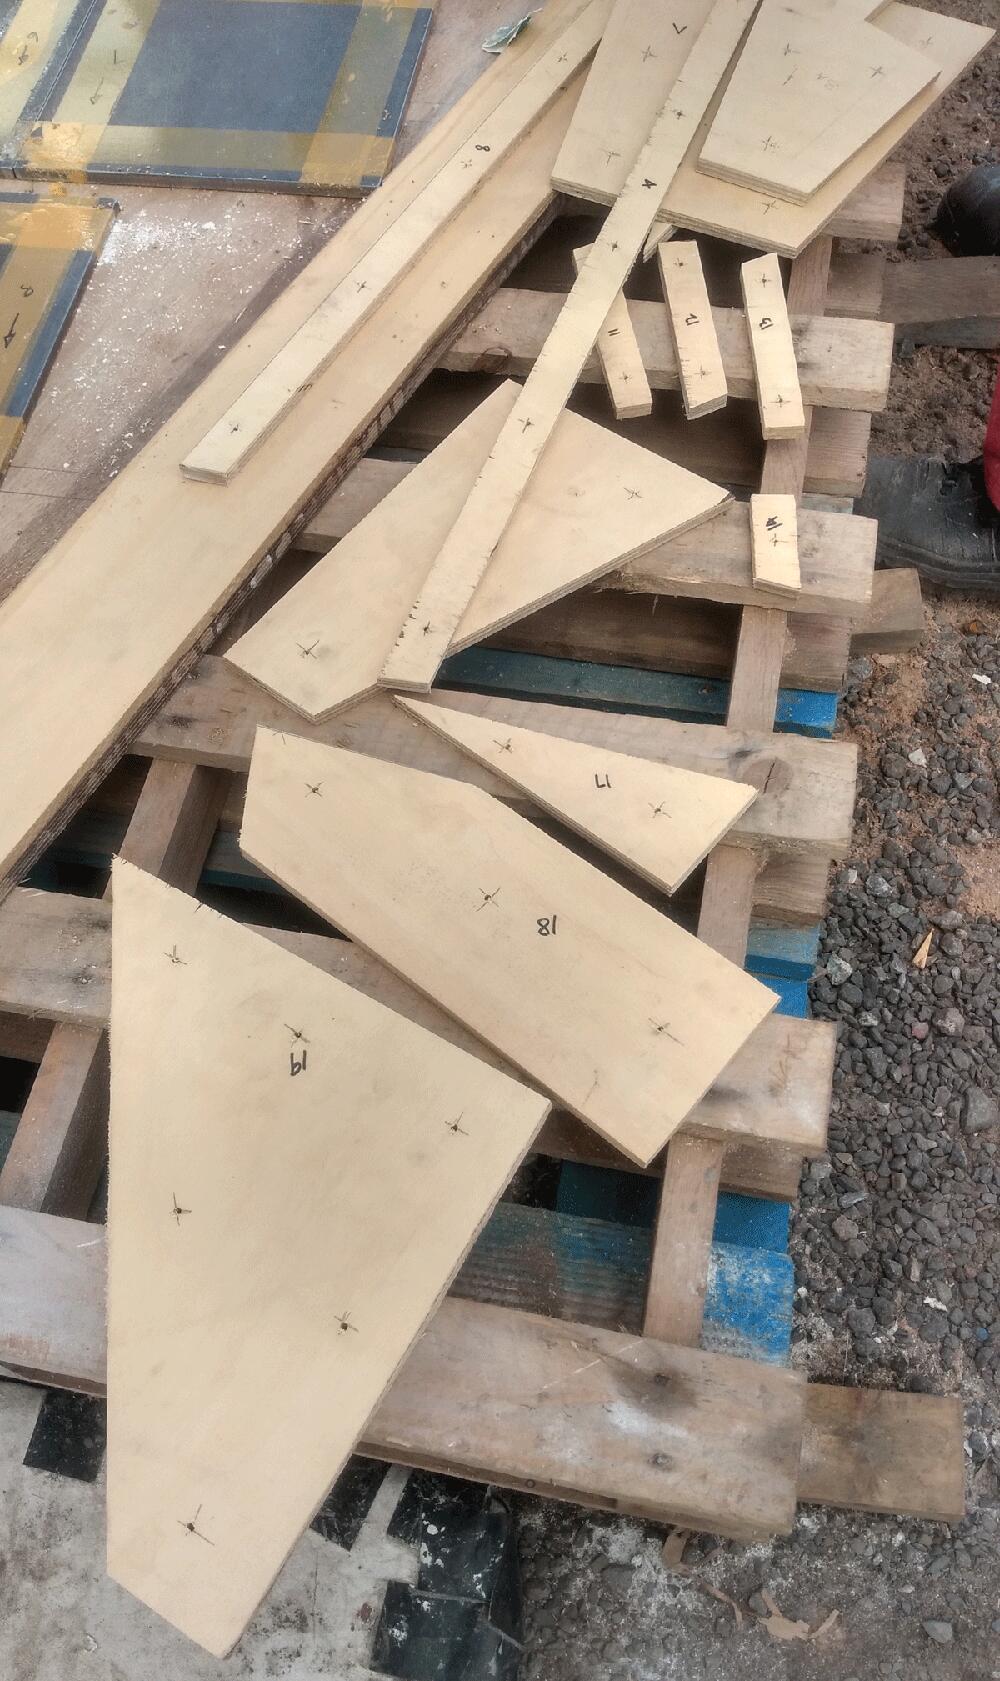
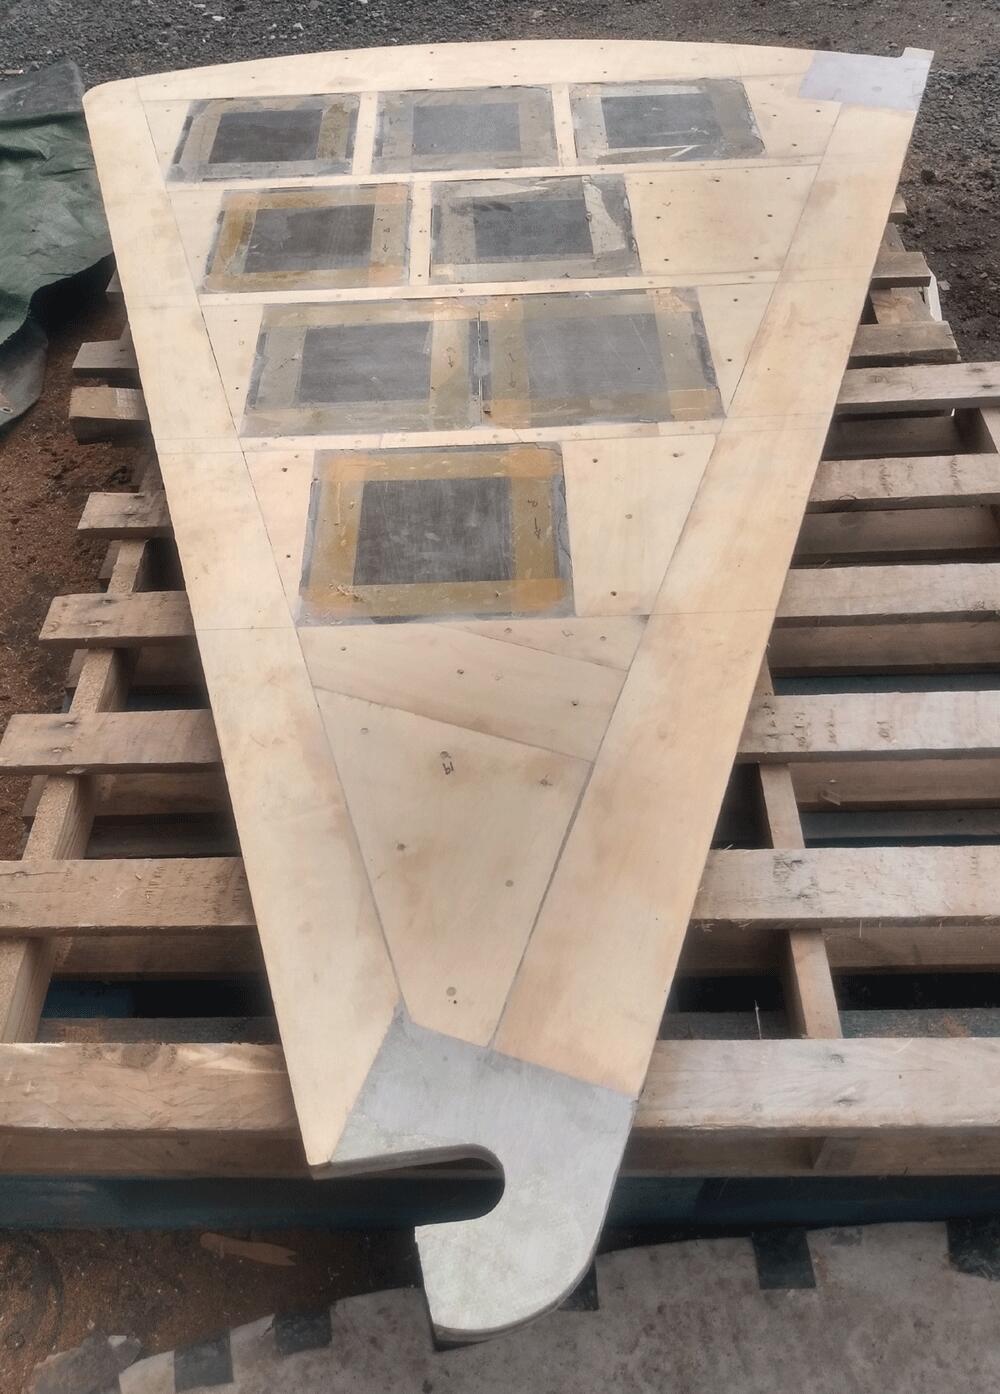
- Cut plywood base, 18mm
- Made solid fibreglass hook to fit in the mid layer
- Made solid fibreglass to fit the control rope
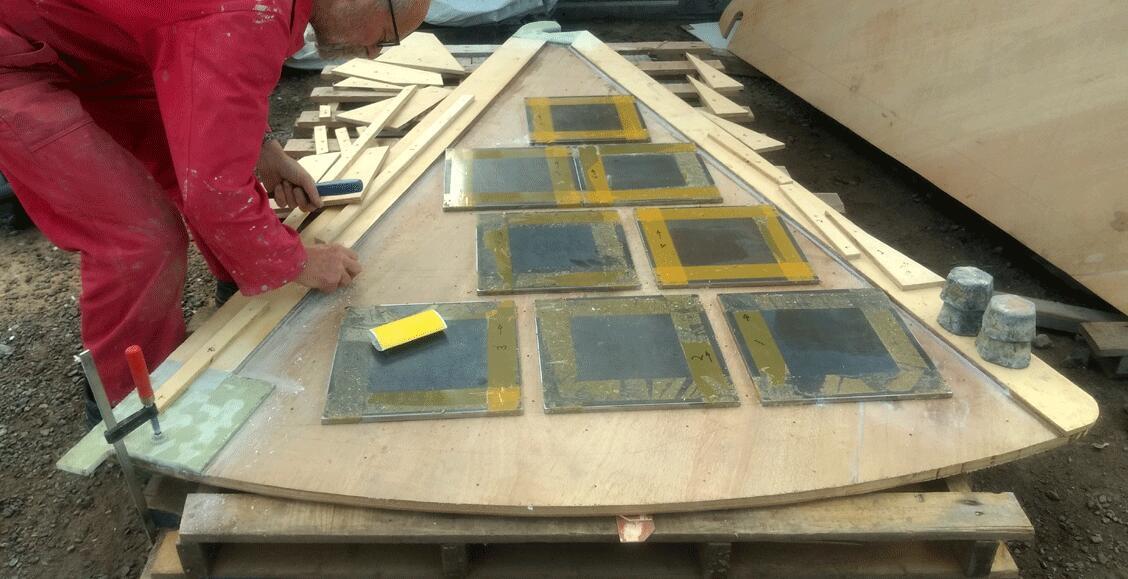
- Mid layer 12mm plywood glued with gaps for the steel ballast weights
- Solid fibreglass fitted at this stage
- Third layer — cut and fit 18mm plywood to cover the mid layer with metal plates
- Added fibreglass to the fibreglass plates made
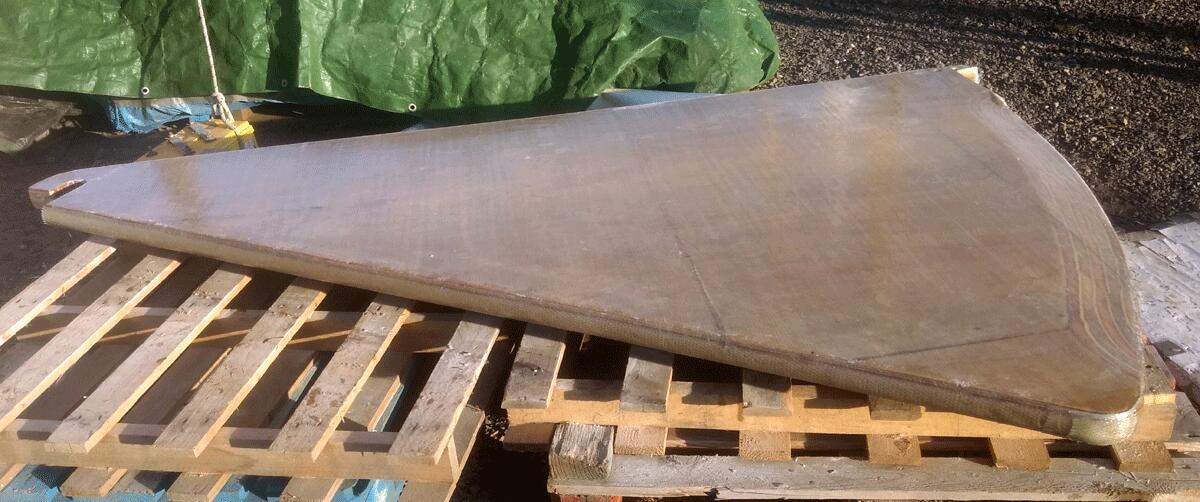
- Shaped the leading and trailing edges
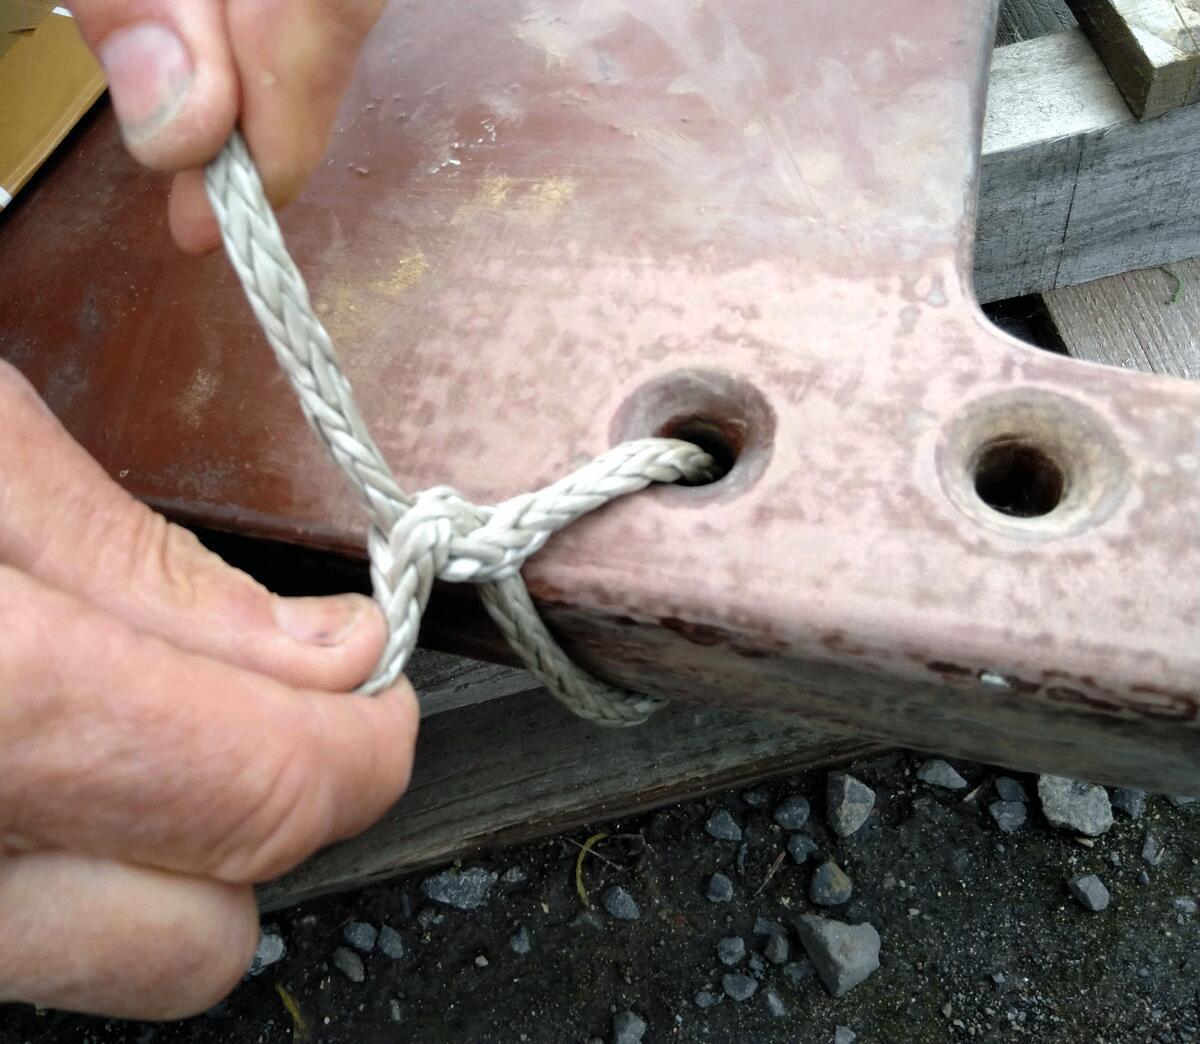
- Drilled holes for the ropes, lined with kevlar, added kevlar to the bottom corner
- Fibreglass 300 gsm cloth and epoxy
- Filled the weave with thickened epoxy — sanded
- 5 coats of epoxy and copper powder
- Turn over 200 kg a couple of times to fibreglass and epoxy
- Spliced dyneema — main and spare line
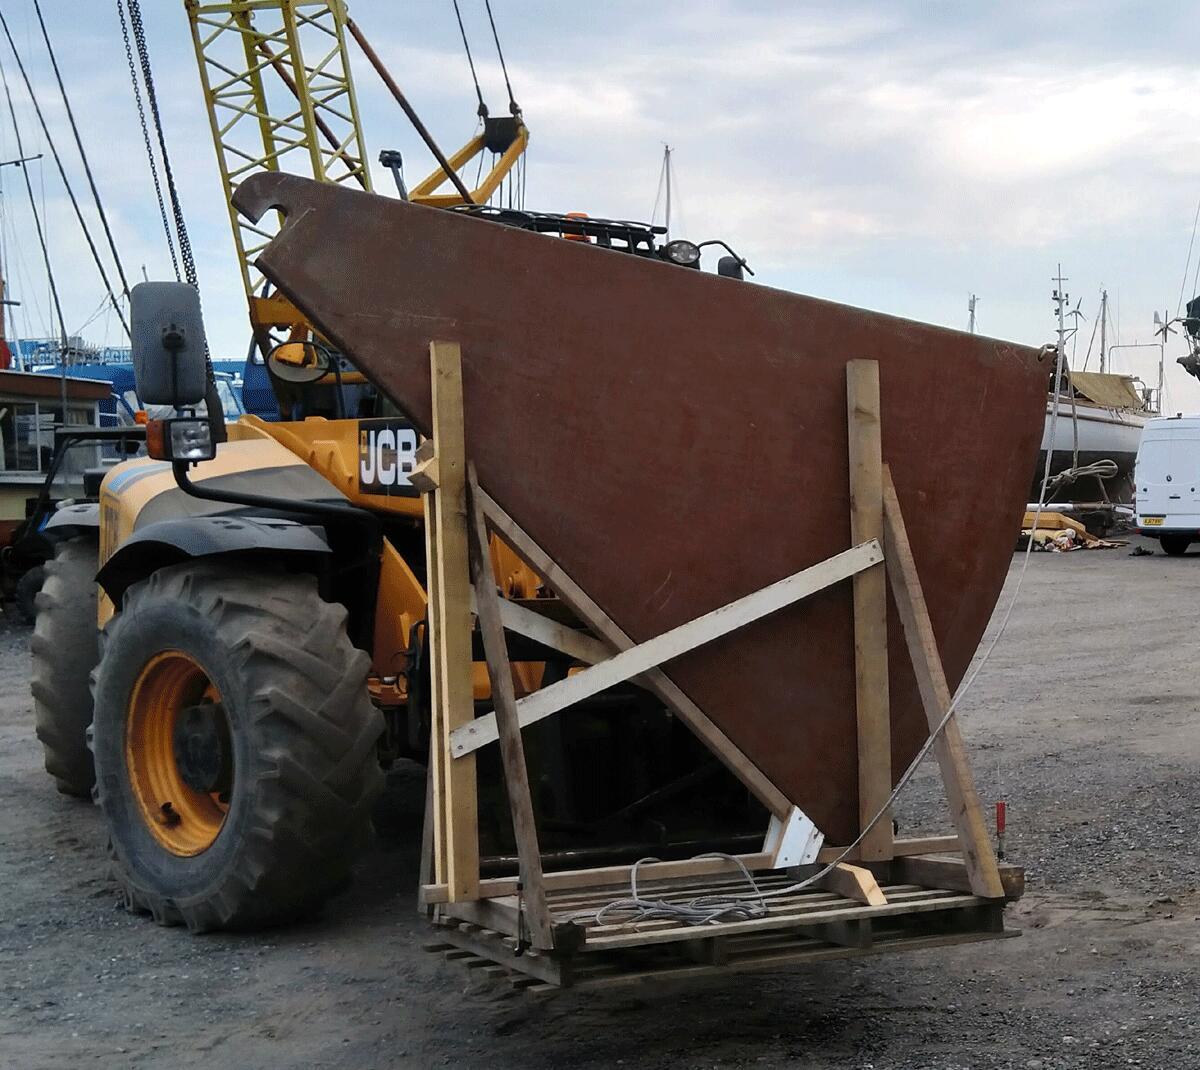
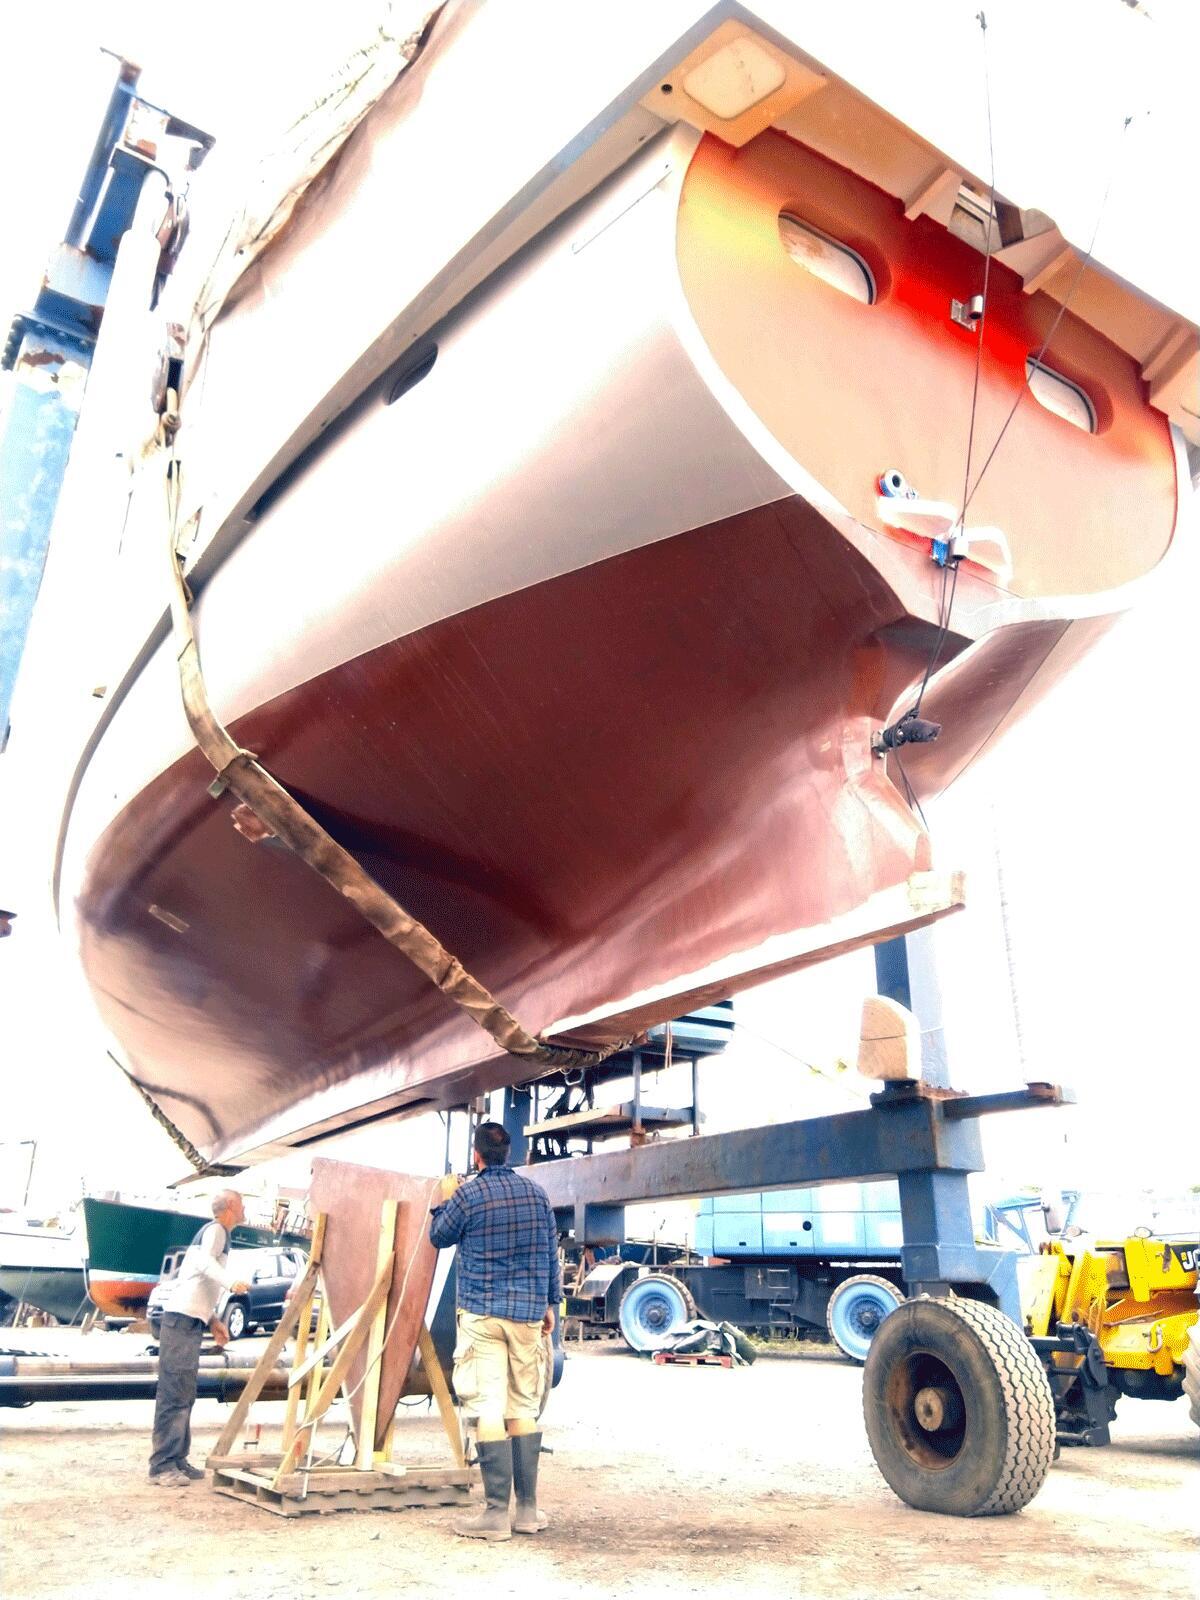
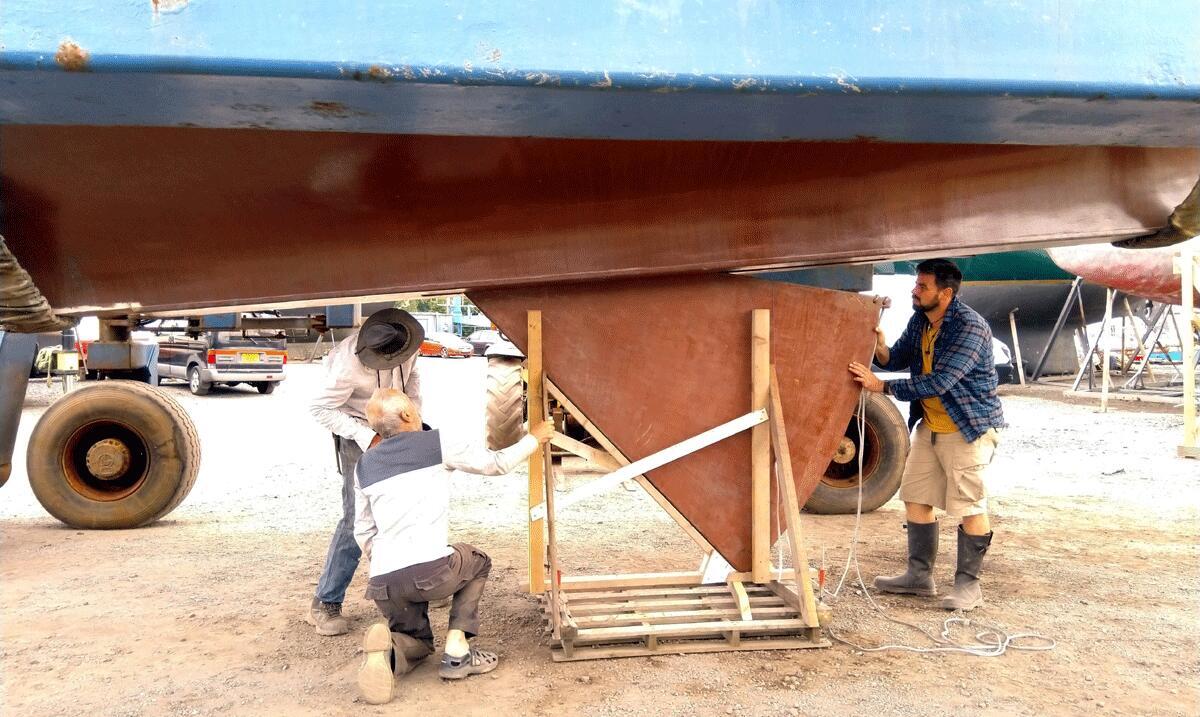
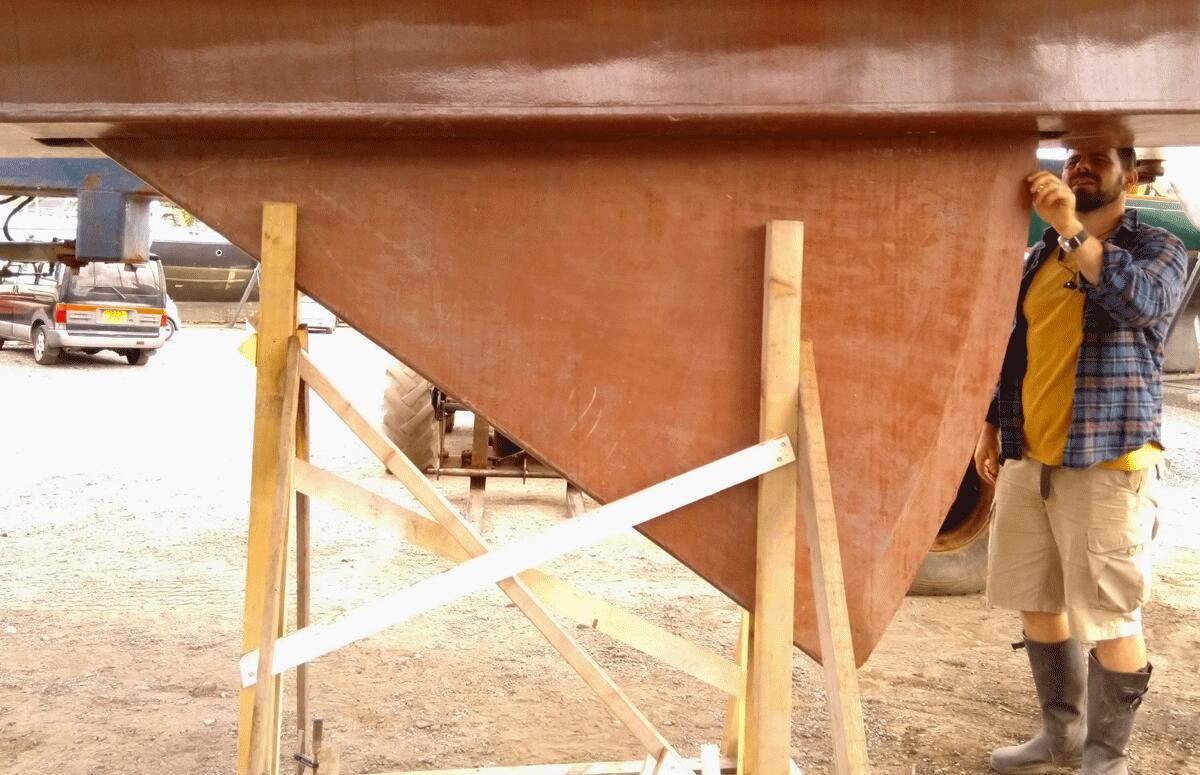
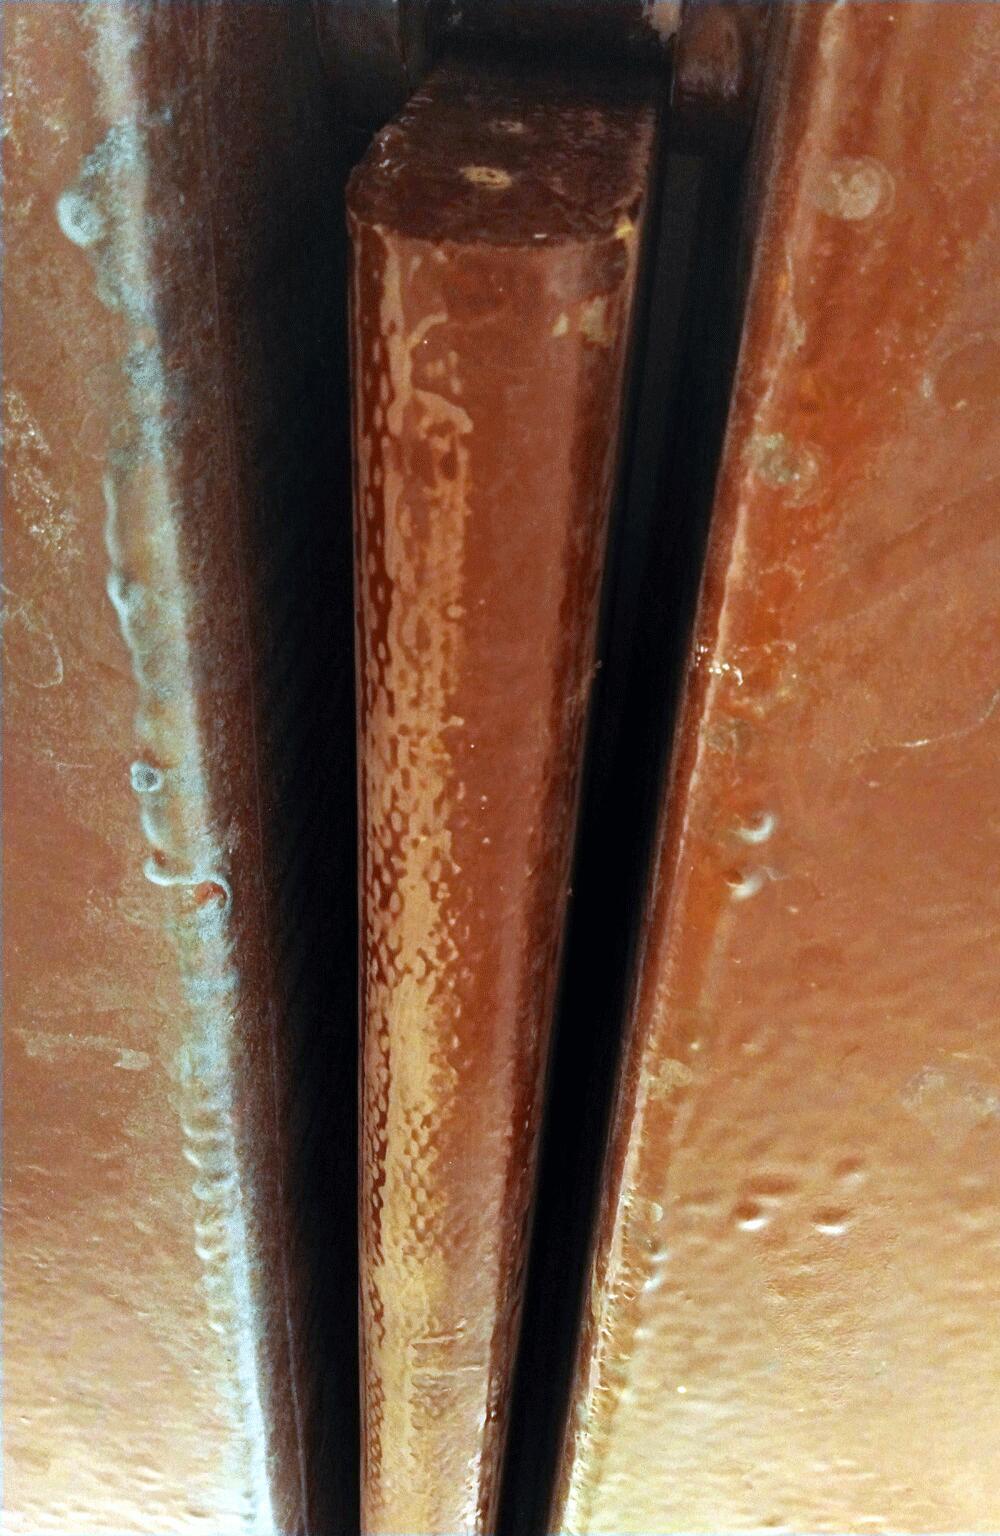
- Made a frame to support the centreboard for moving
- Lifted the boat and moved the centreboard with JCB to fit into the hole
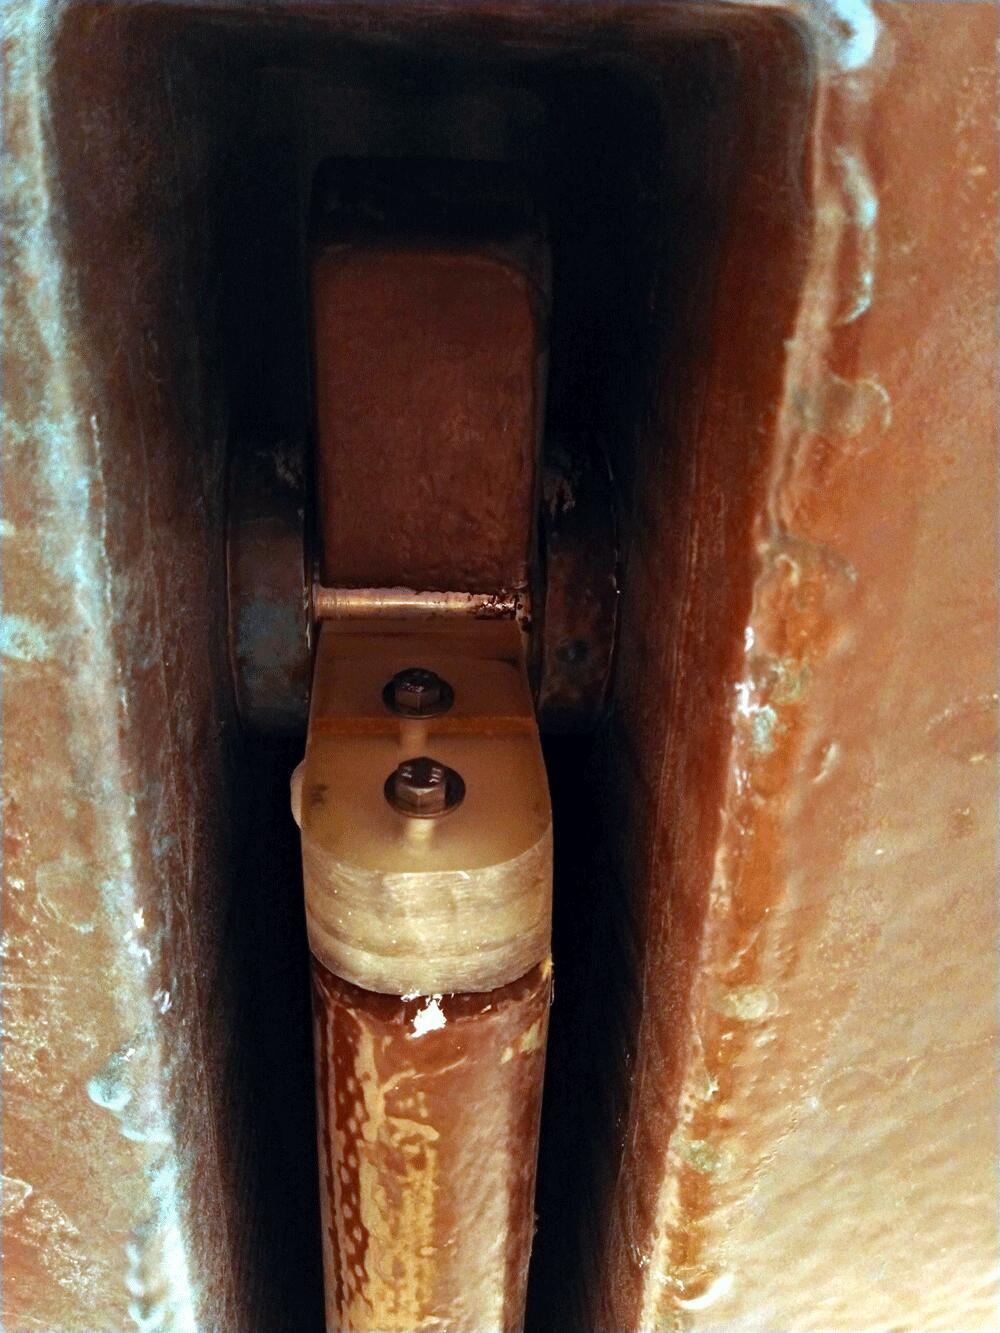
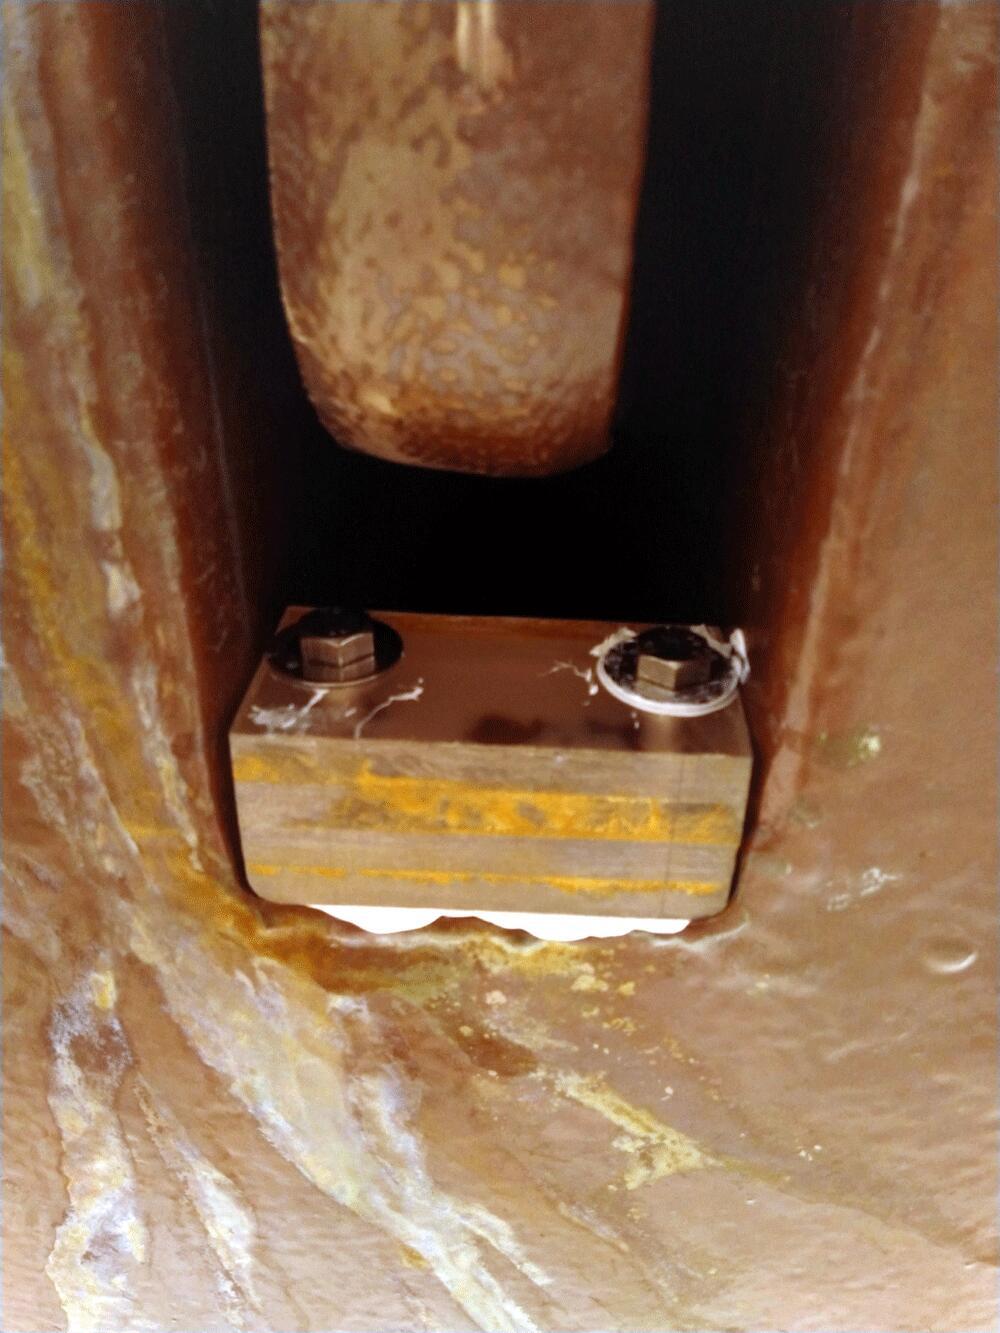
Case:
- Sand — epoxy — paint inside
- Fit centreboard stopper inside the centreboard case
- Installed blocks to stop centreboard jumping off hinge
- Added safety block at aft end
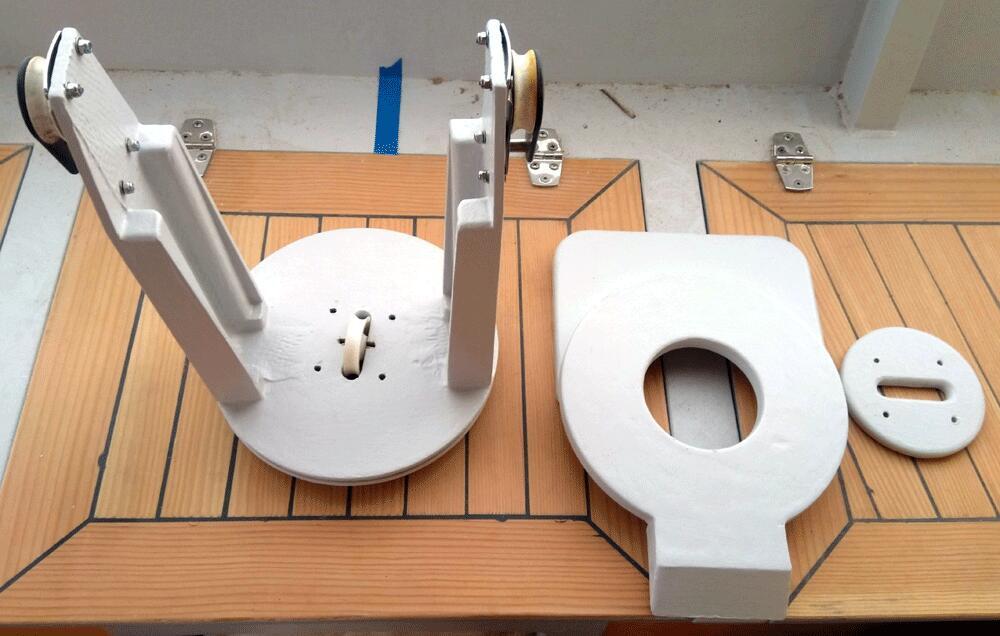
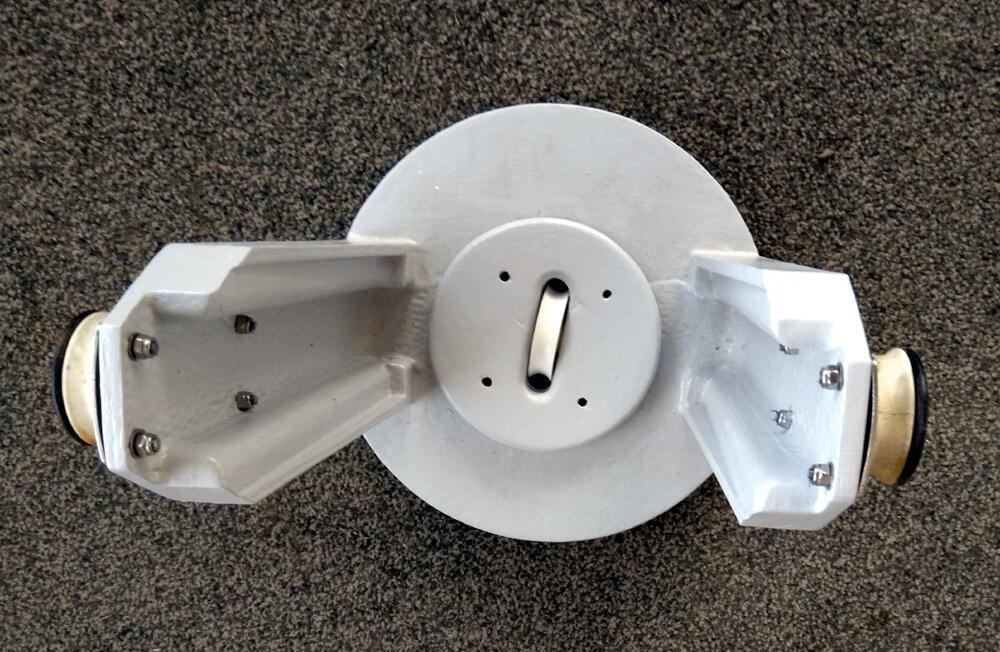
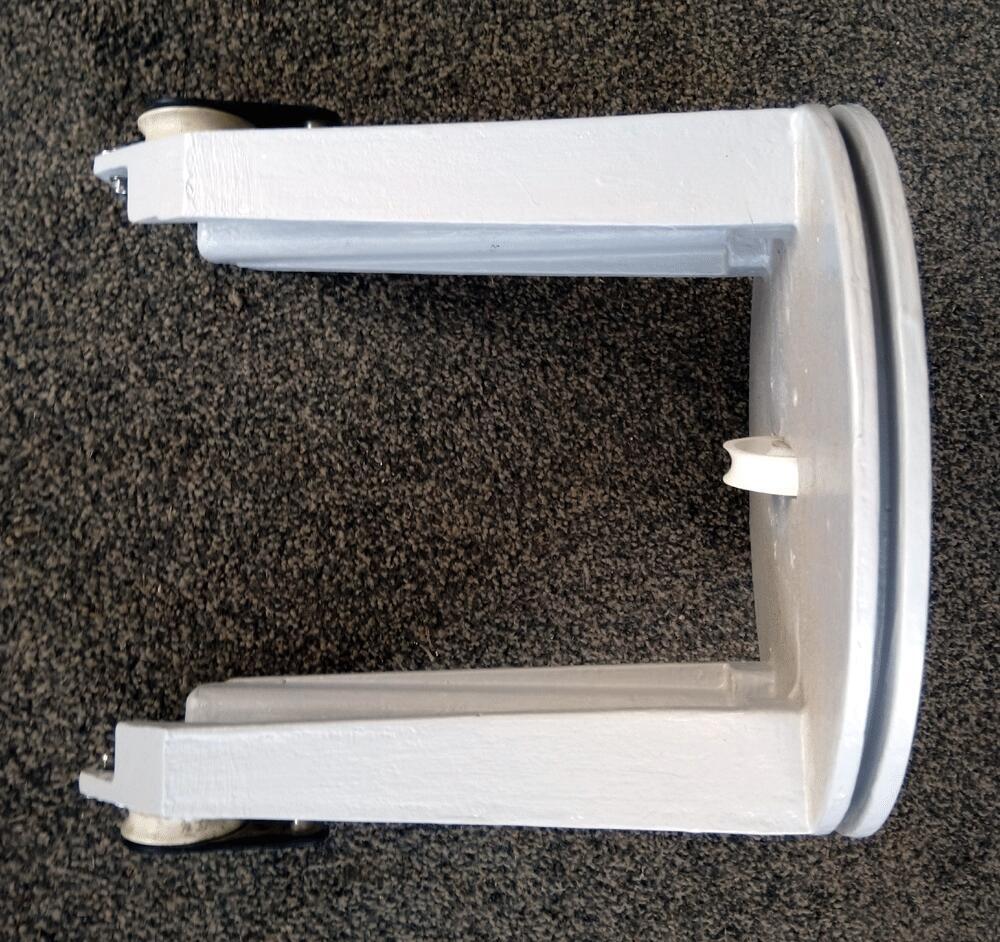
- Cut rope slot and made a winch base, installed a winch and turning blocks
Ballast and Bilges
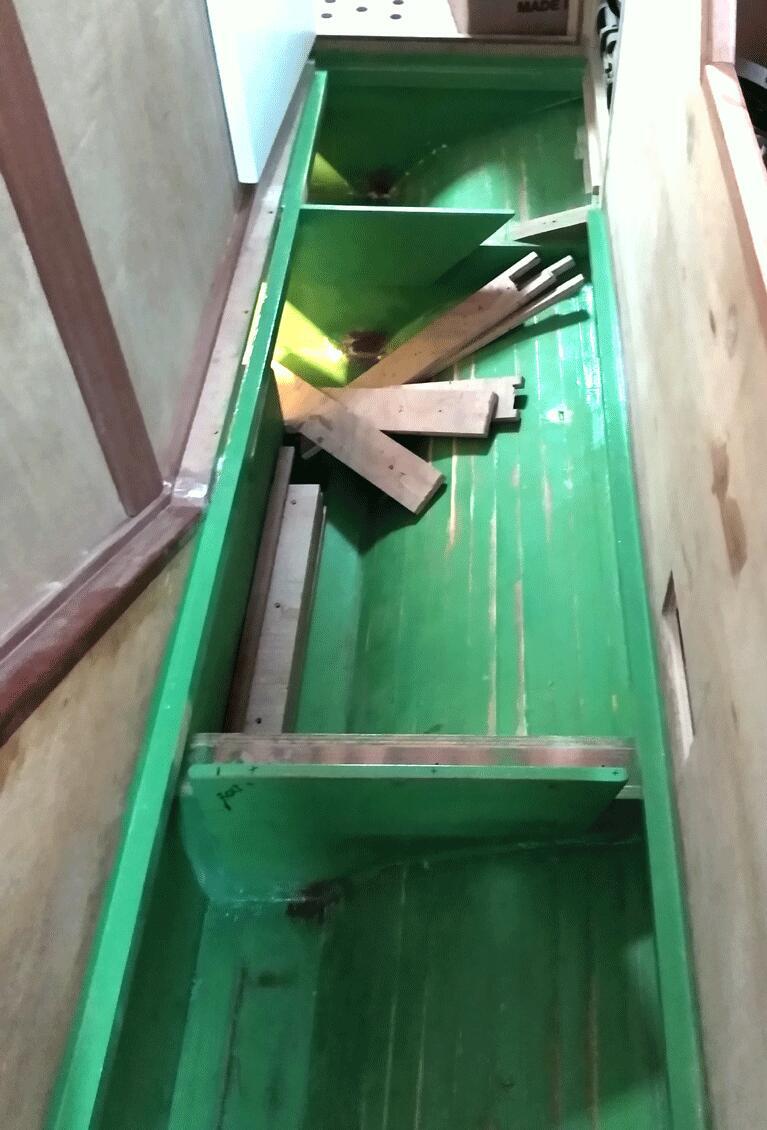
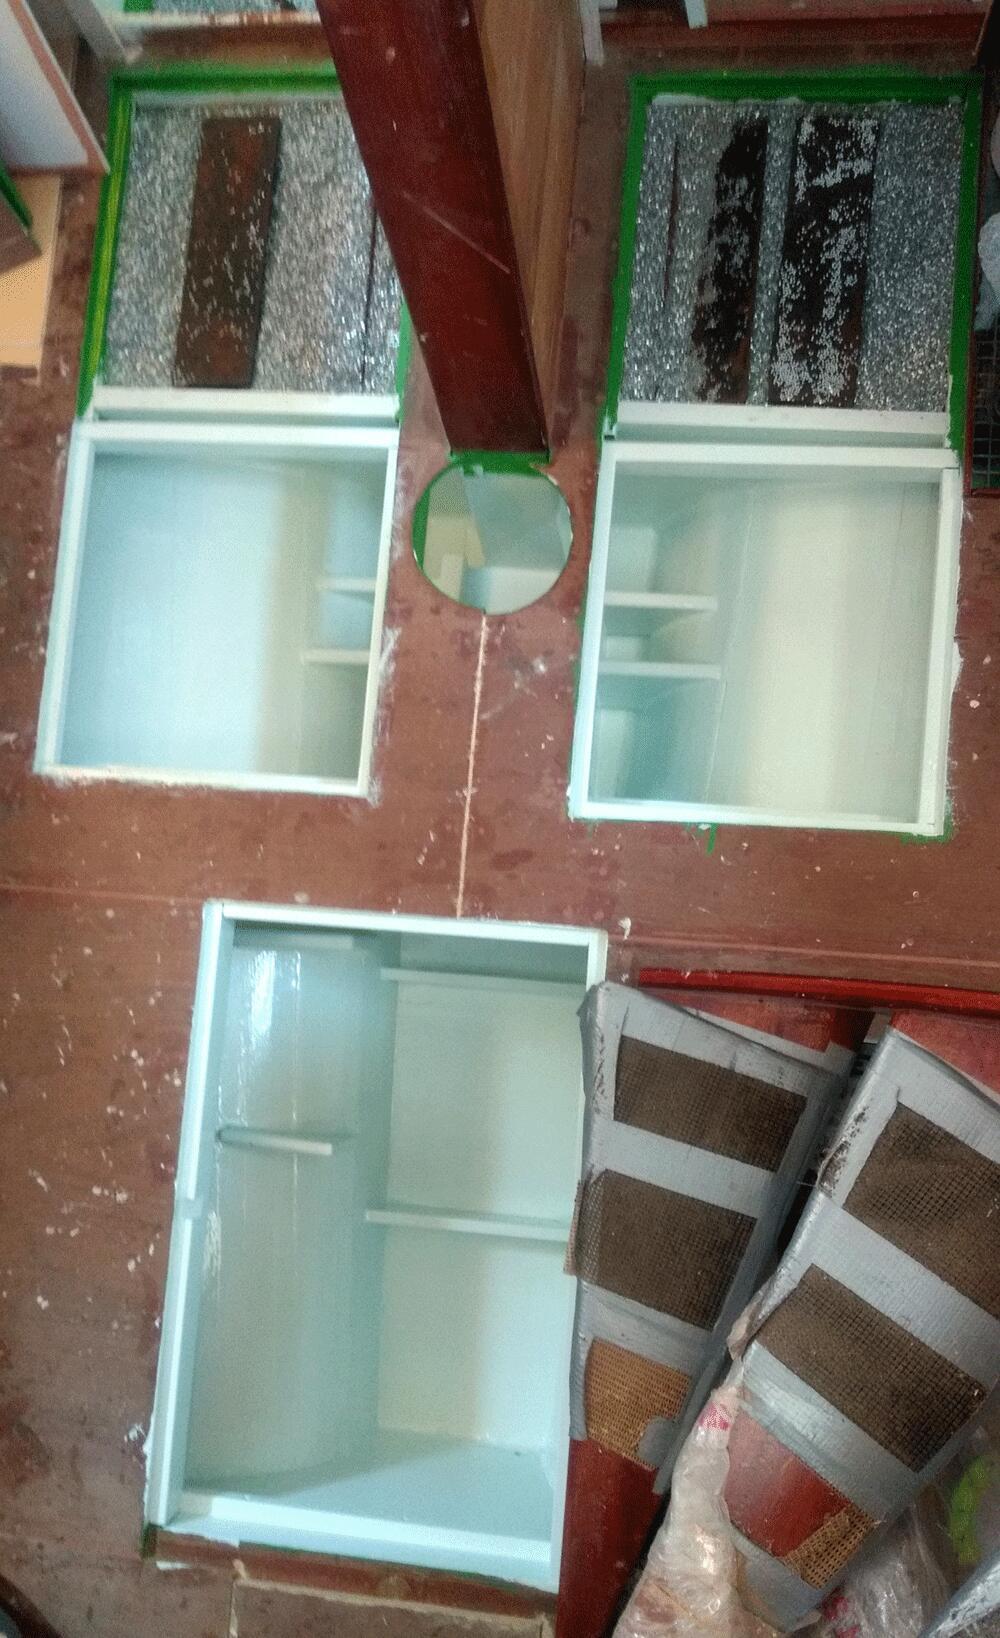
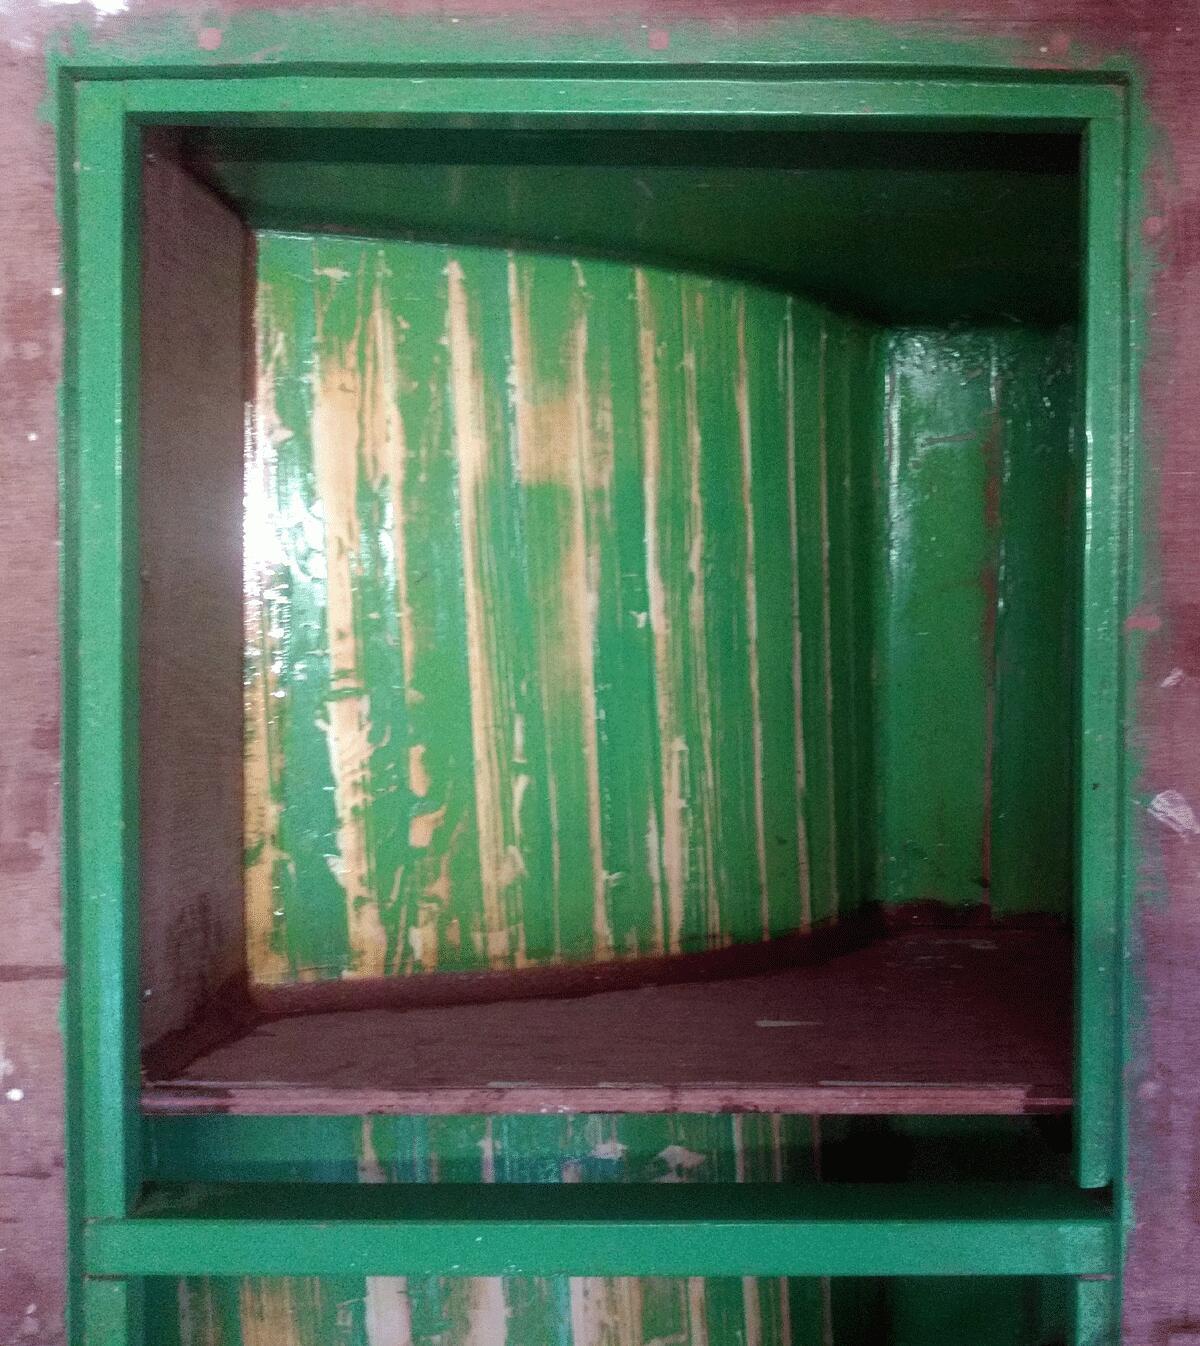
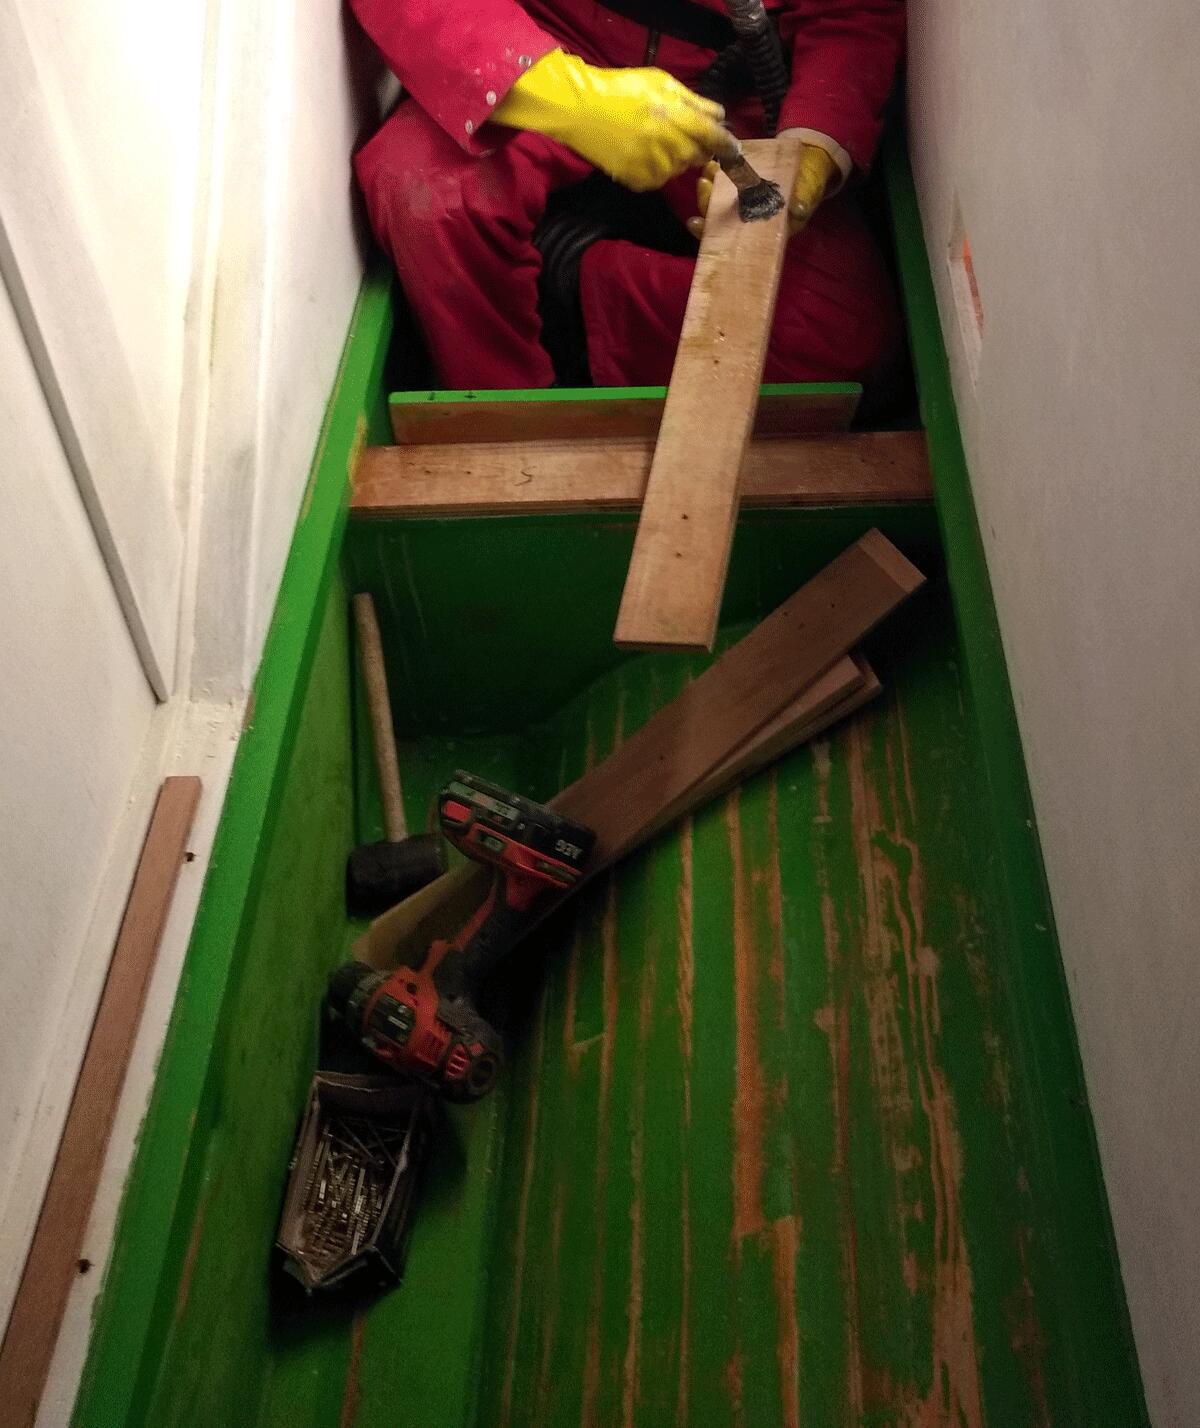
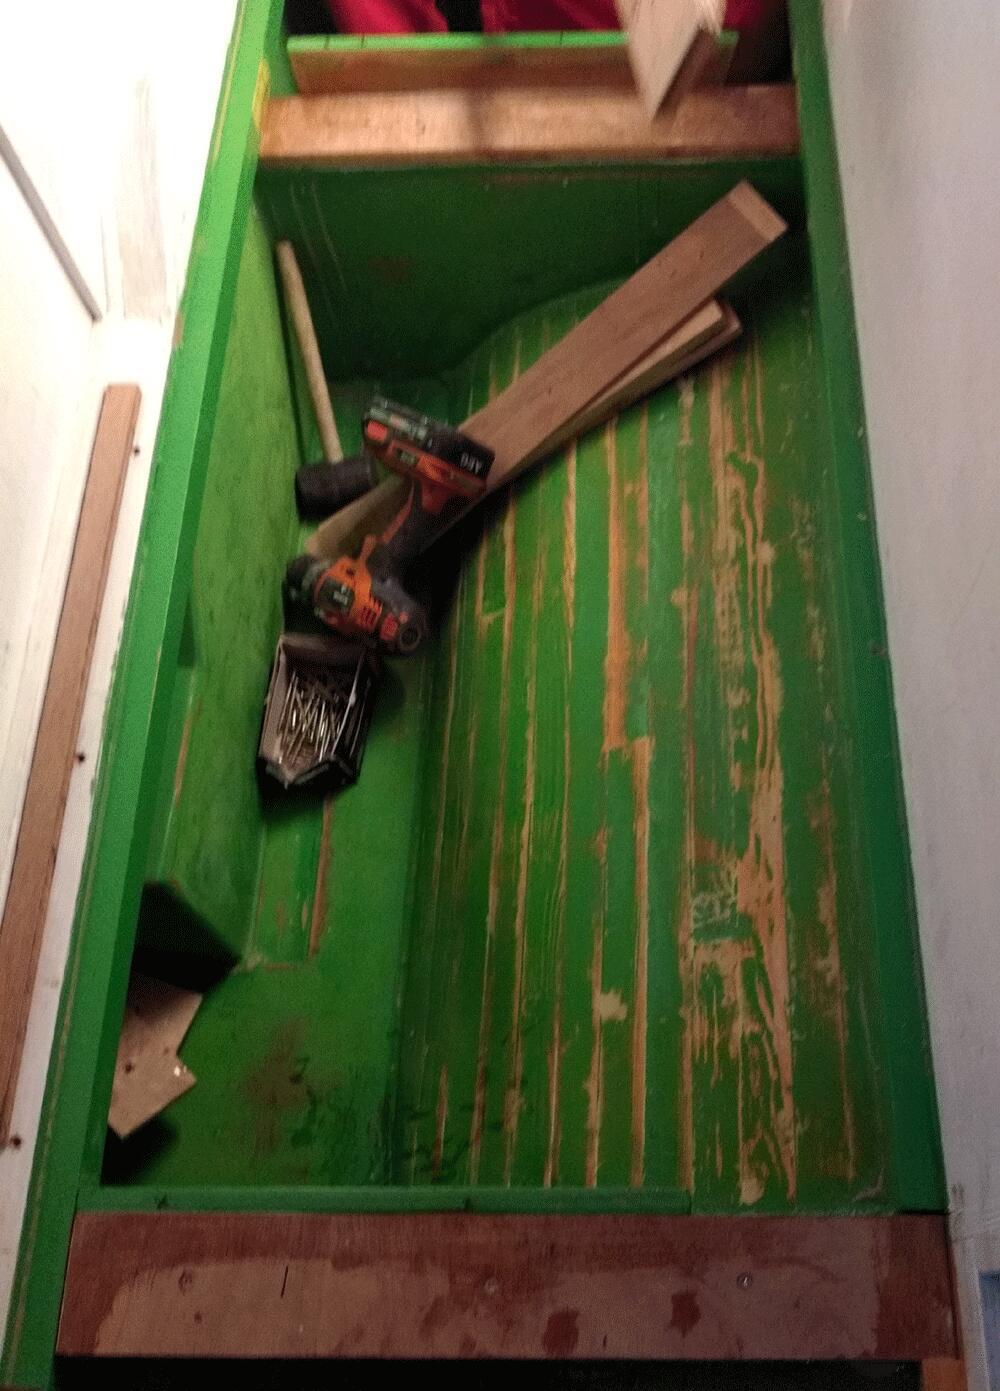
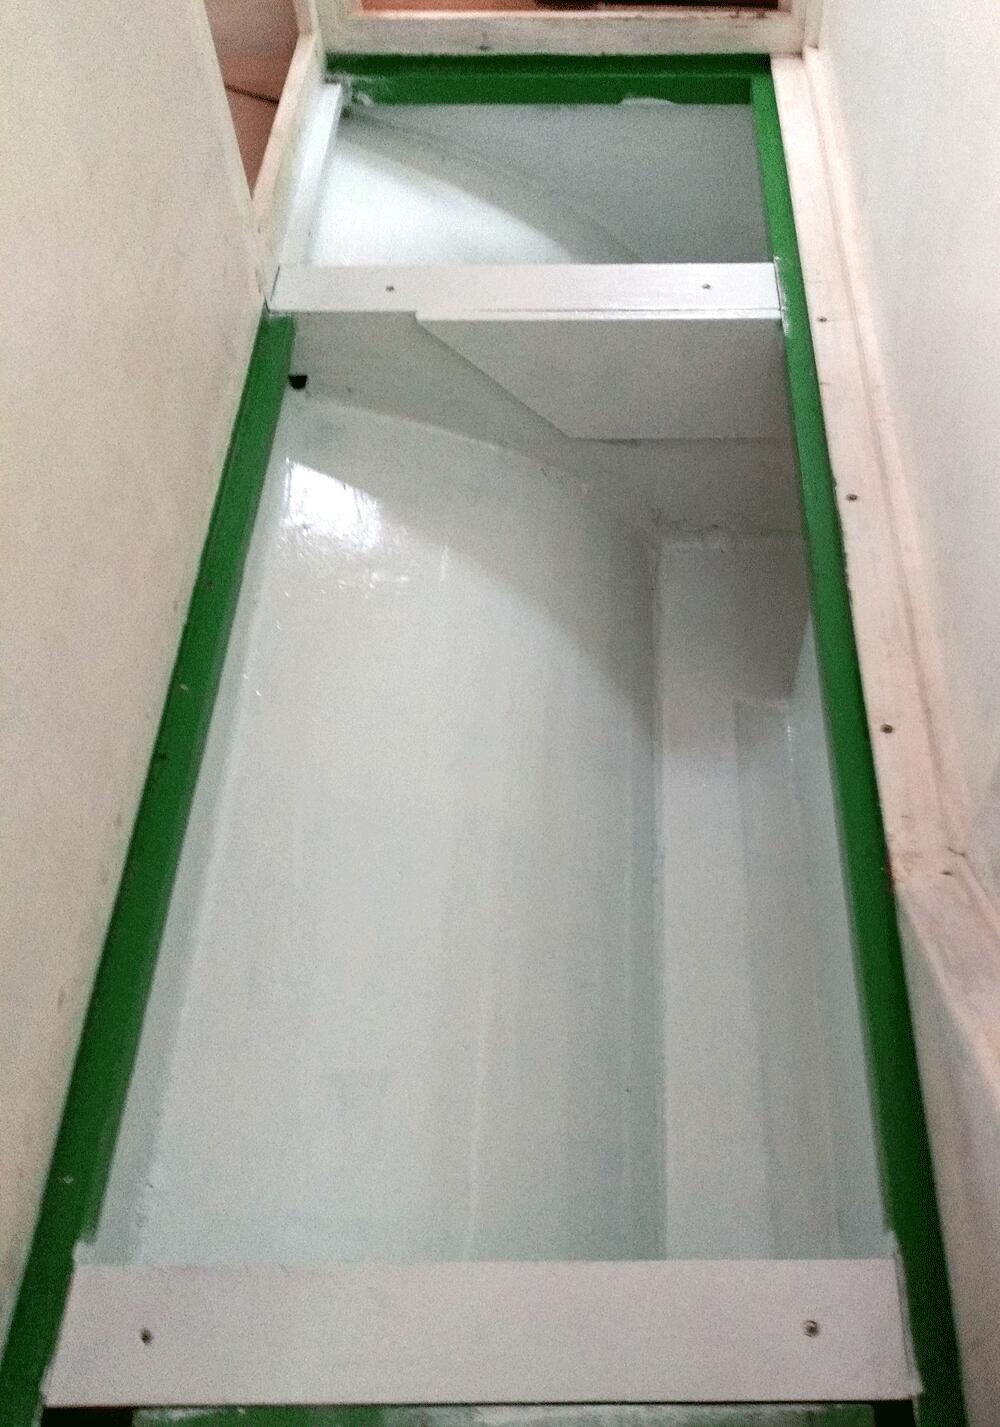
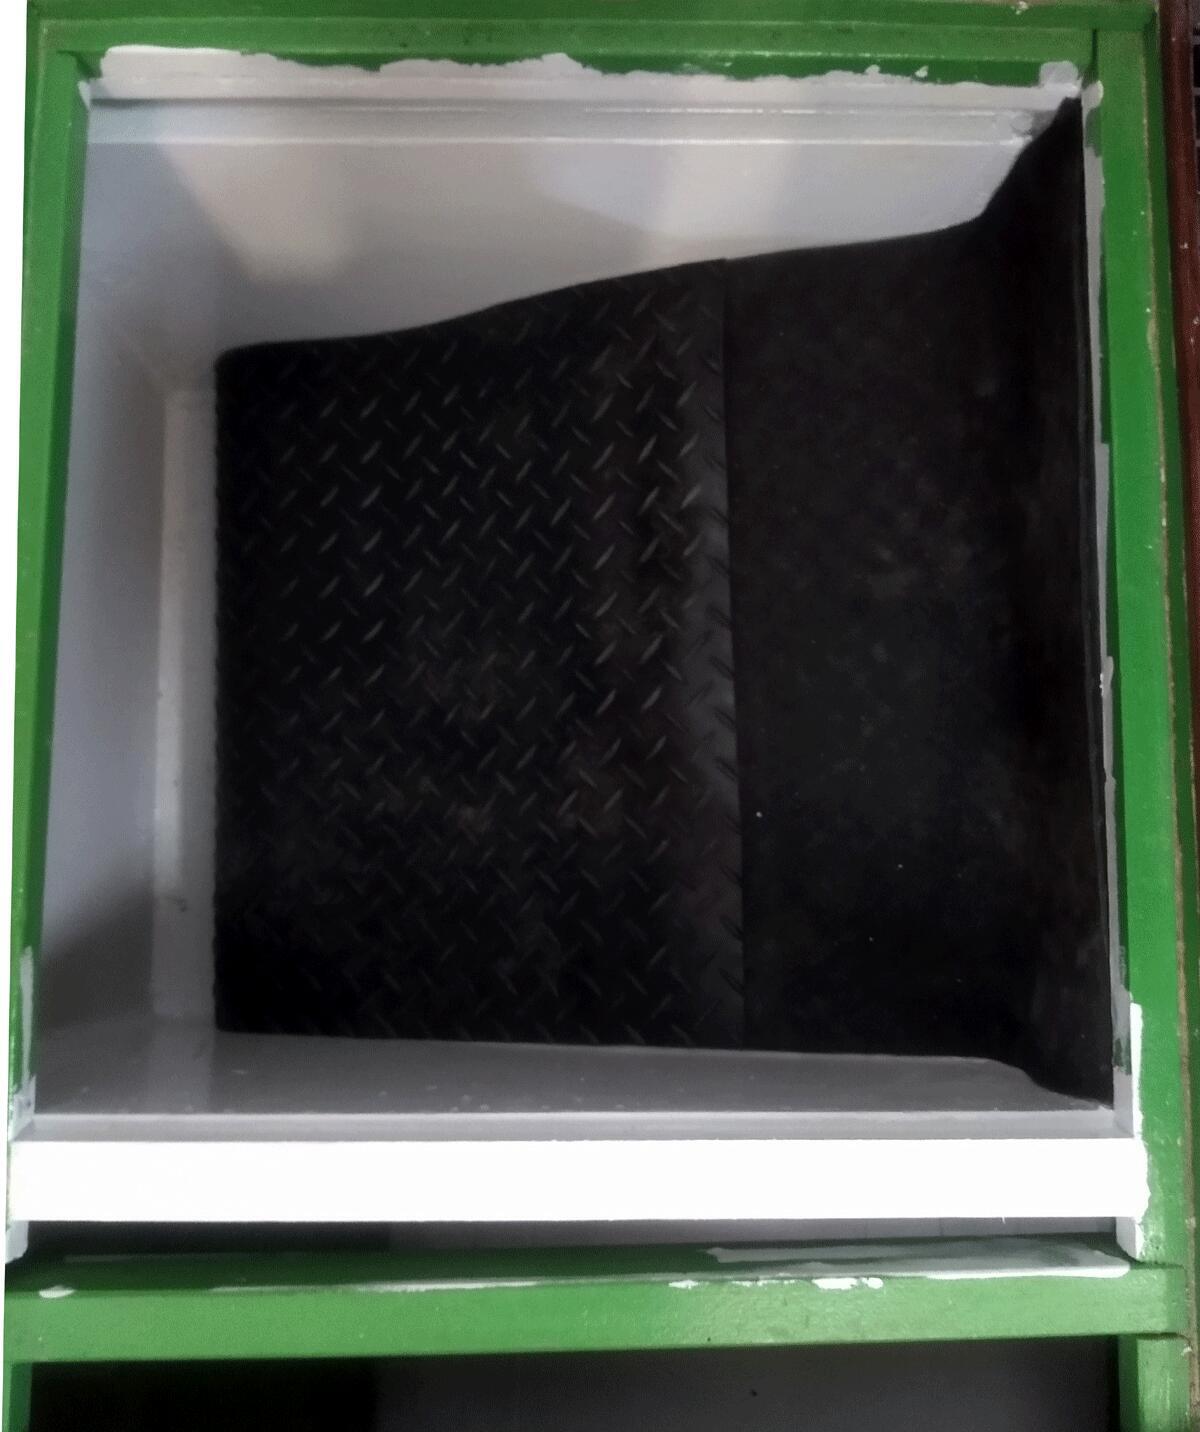
- Removed drain pipe already in place, fit wooden bung and epoxy to make ballast sections watertight
- Built up the floors to screw down the cabin sole over the ballast
- Built ballast bulkhead aft to retain ballast and to raise the floor support
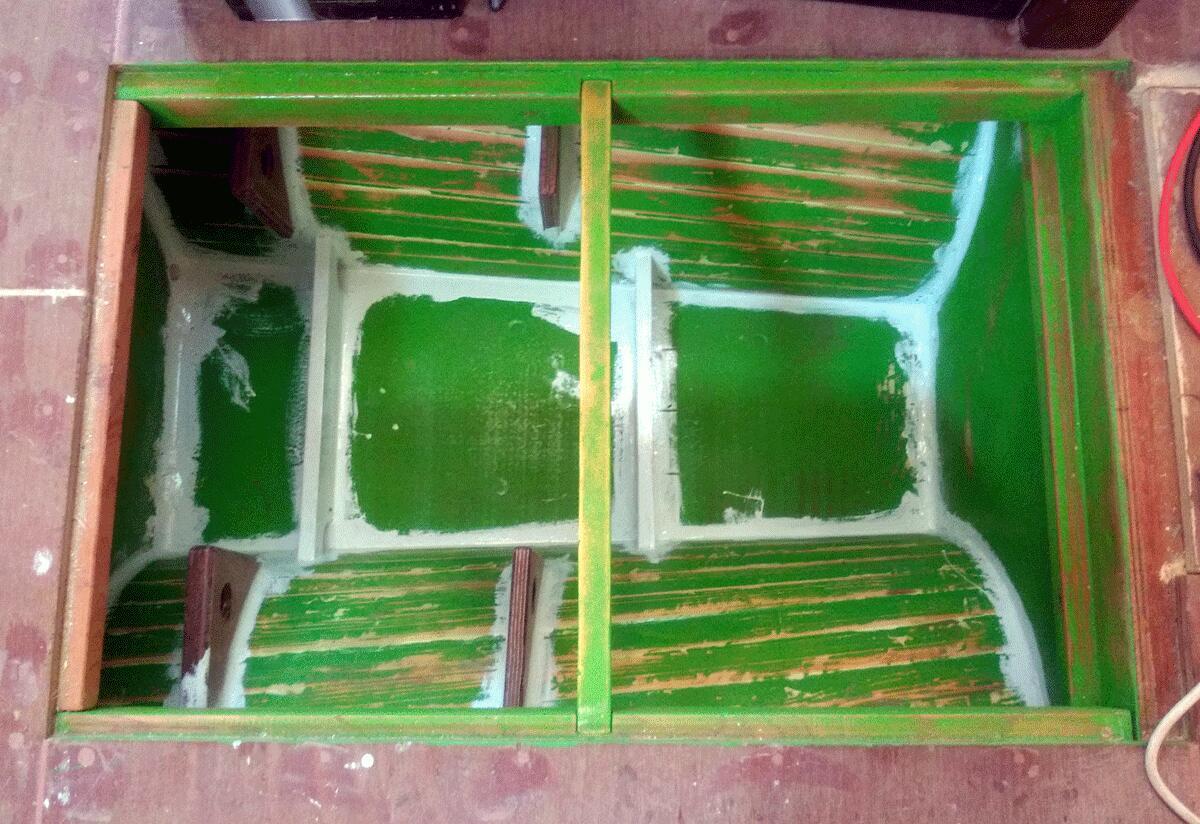
- Sand — epoxy — paint — sand — undercoat — paint
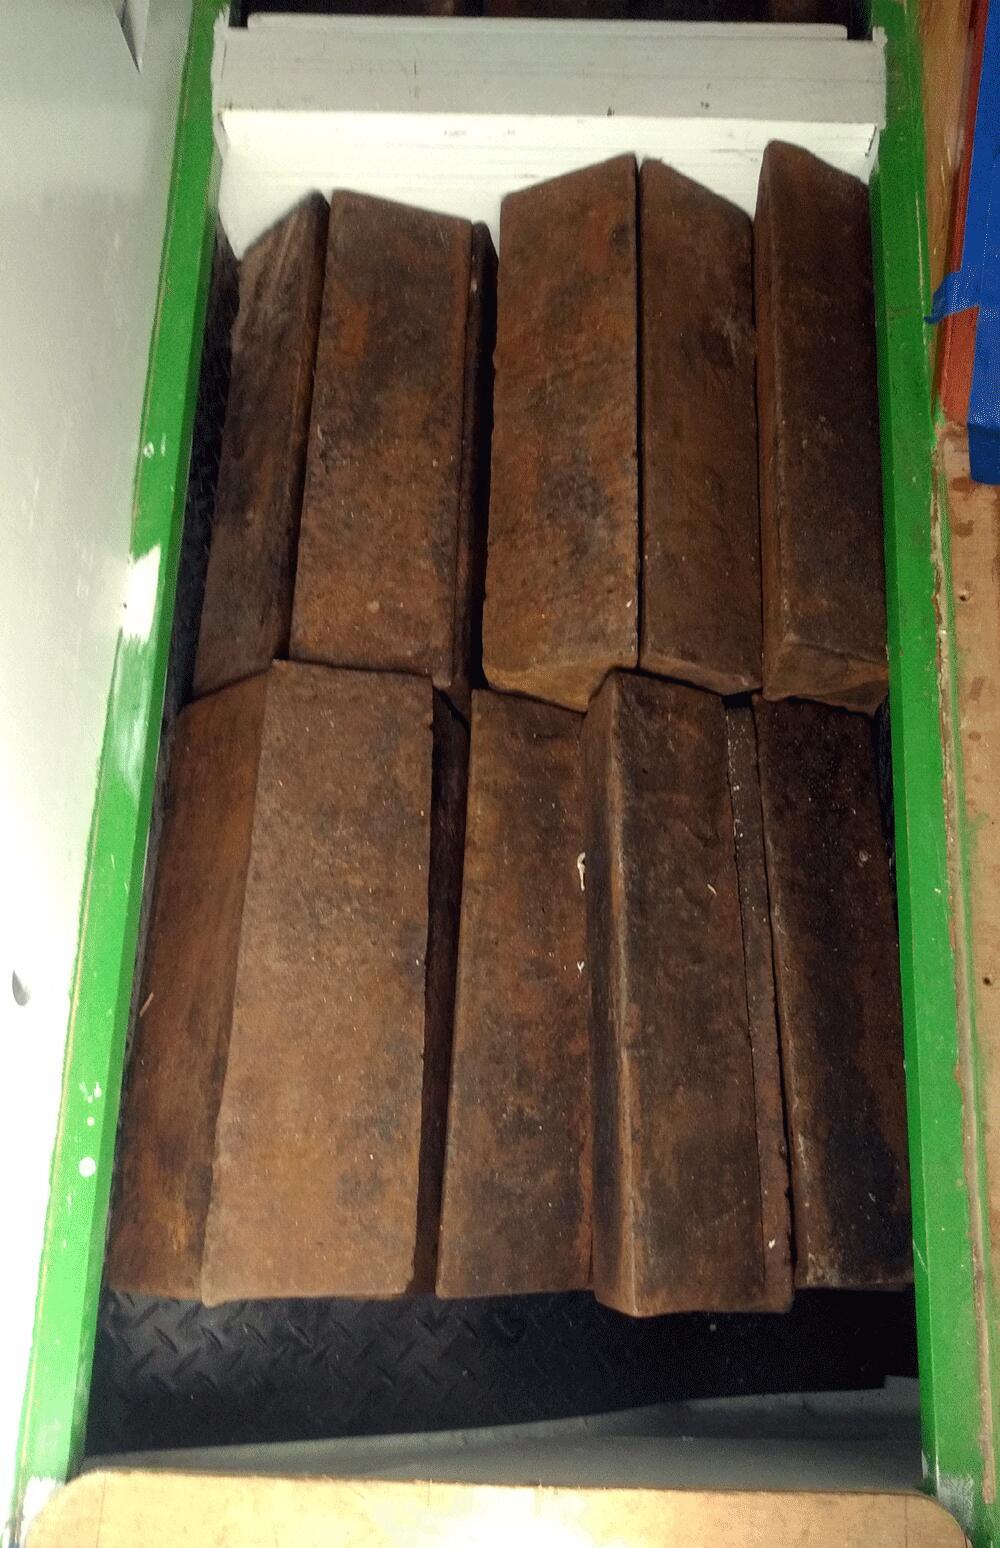
- Put rubber matting to protect the hull
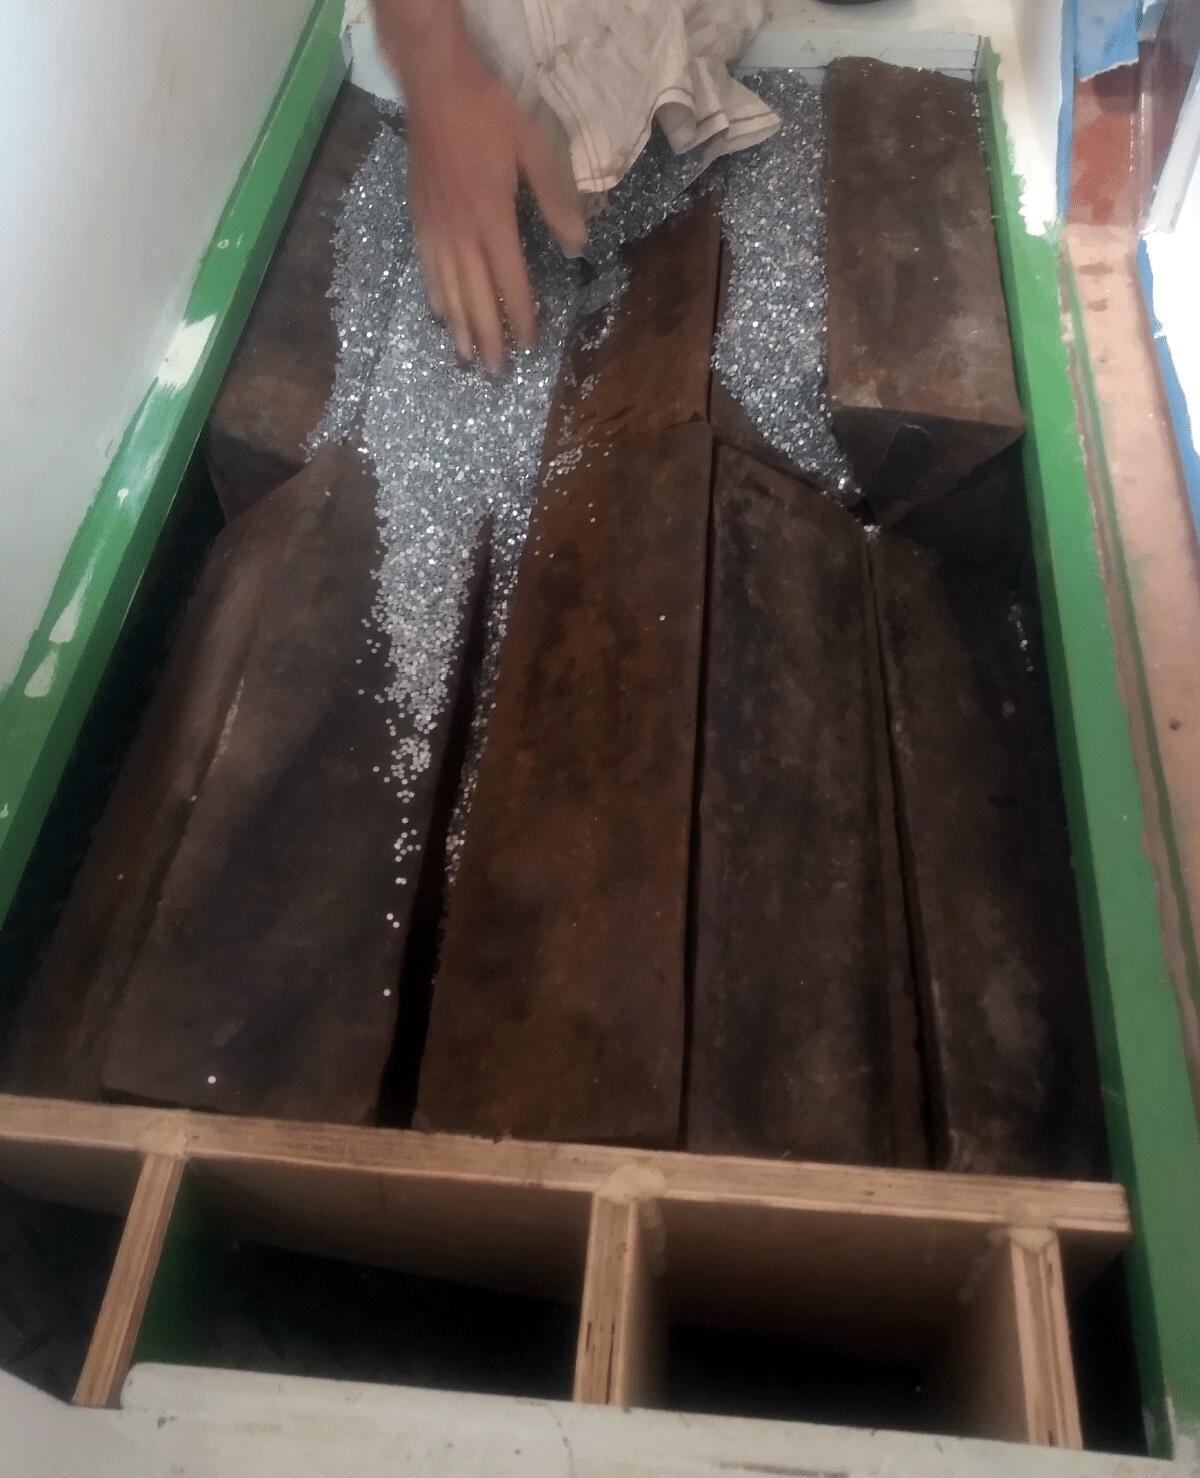
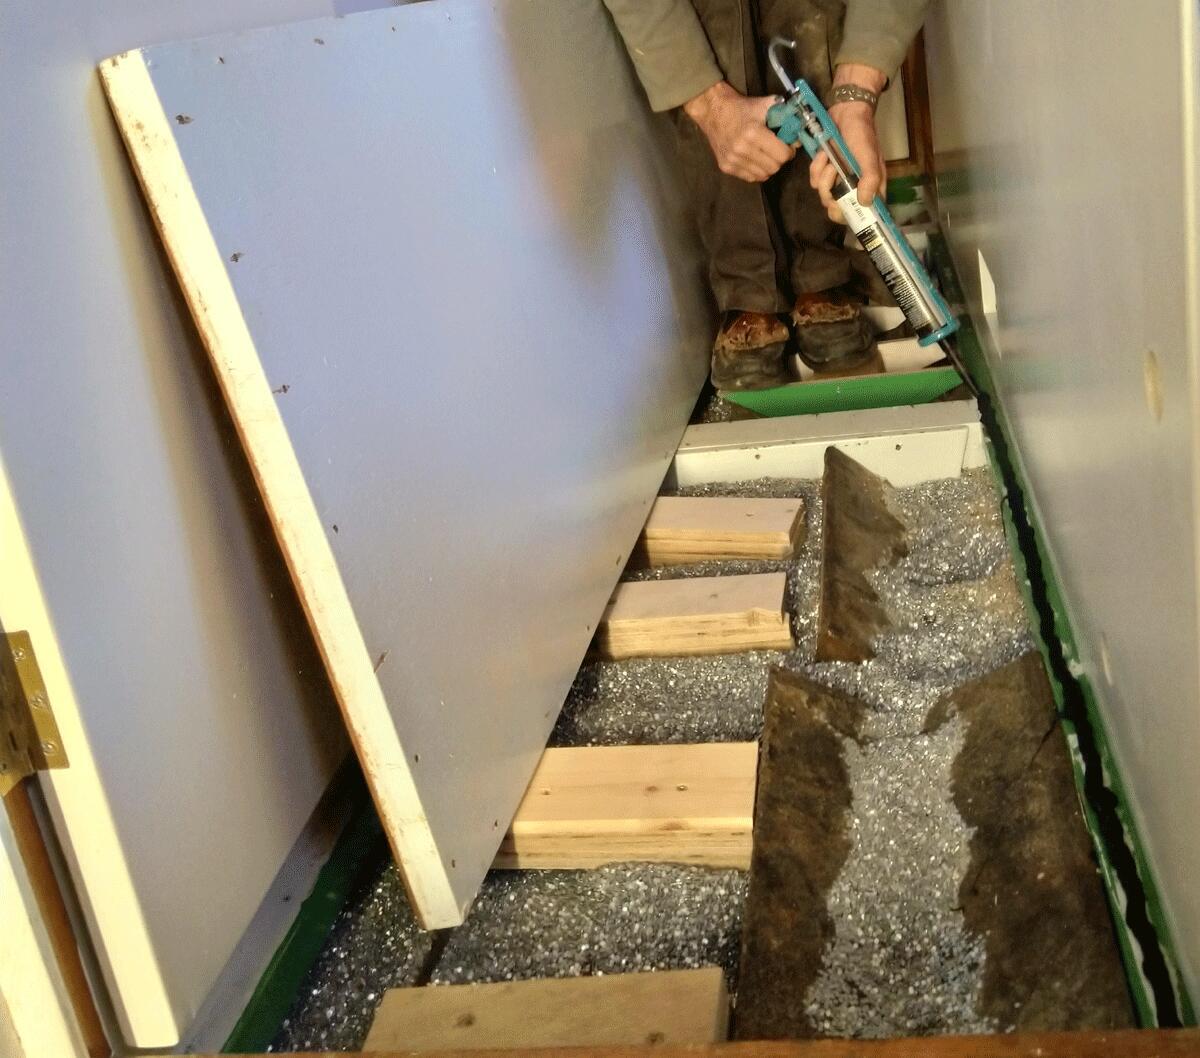
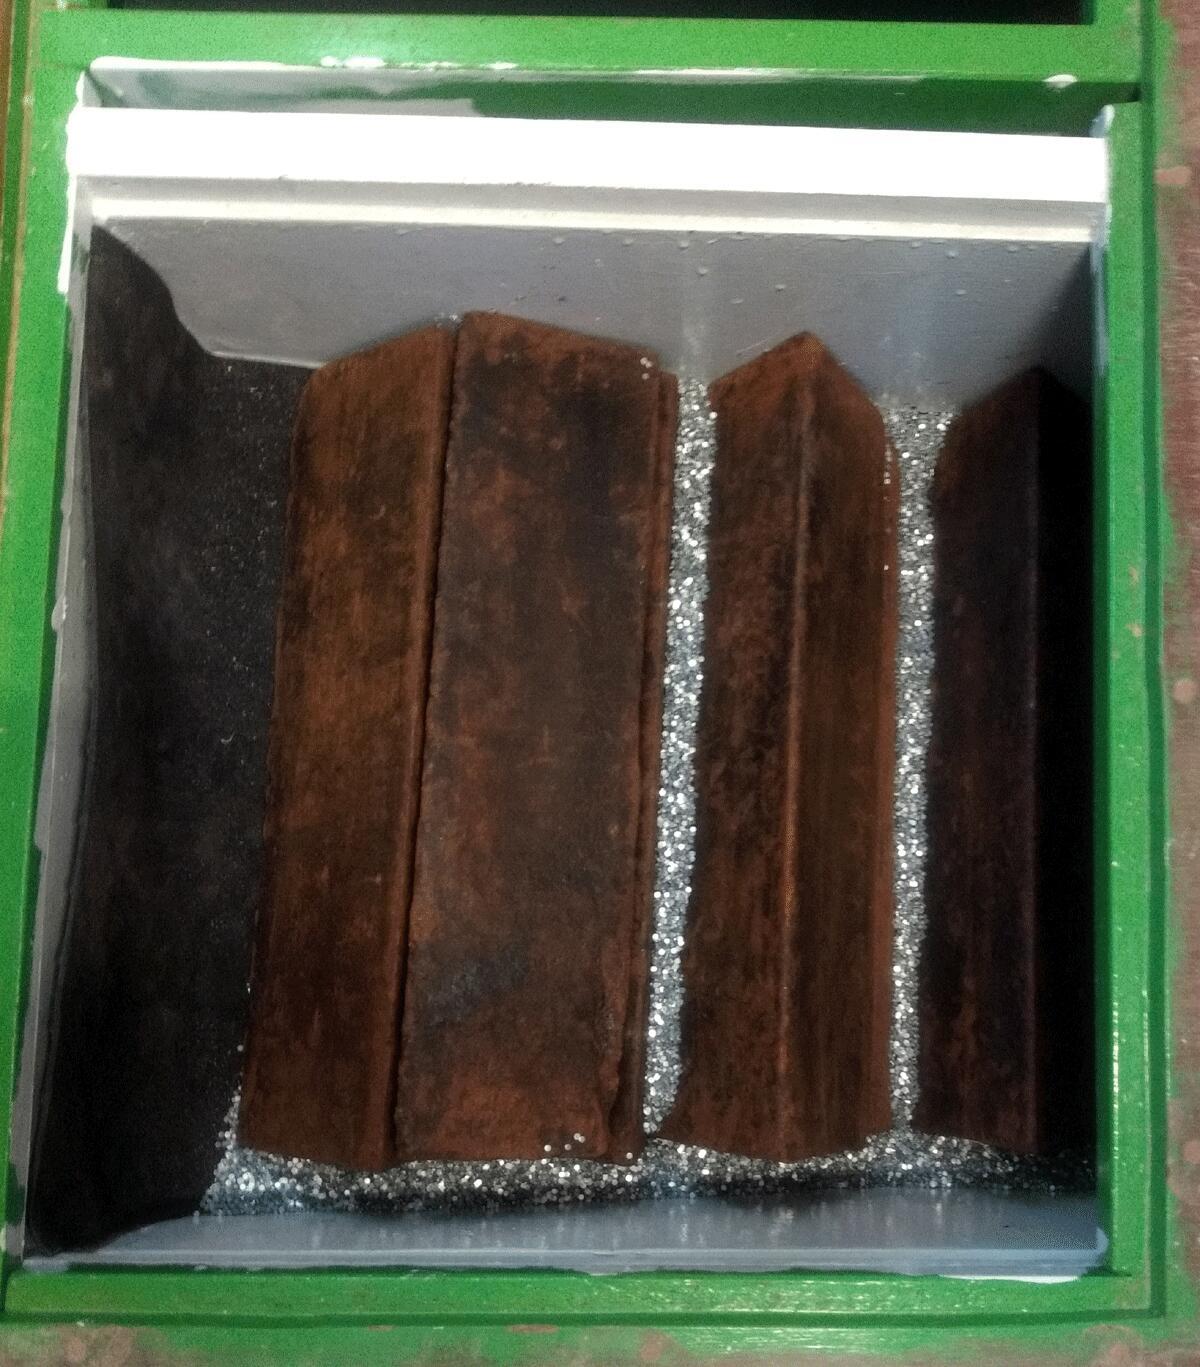
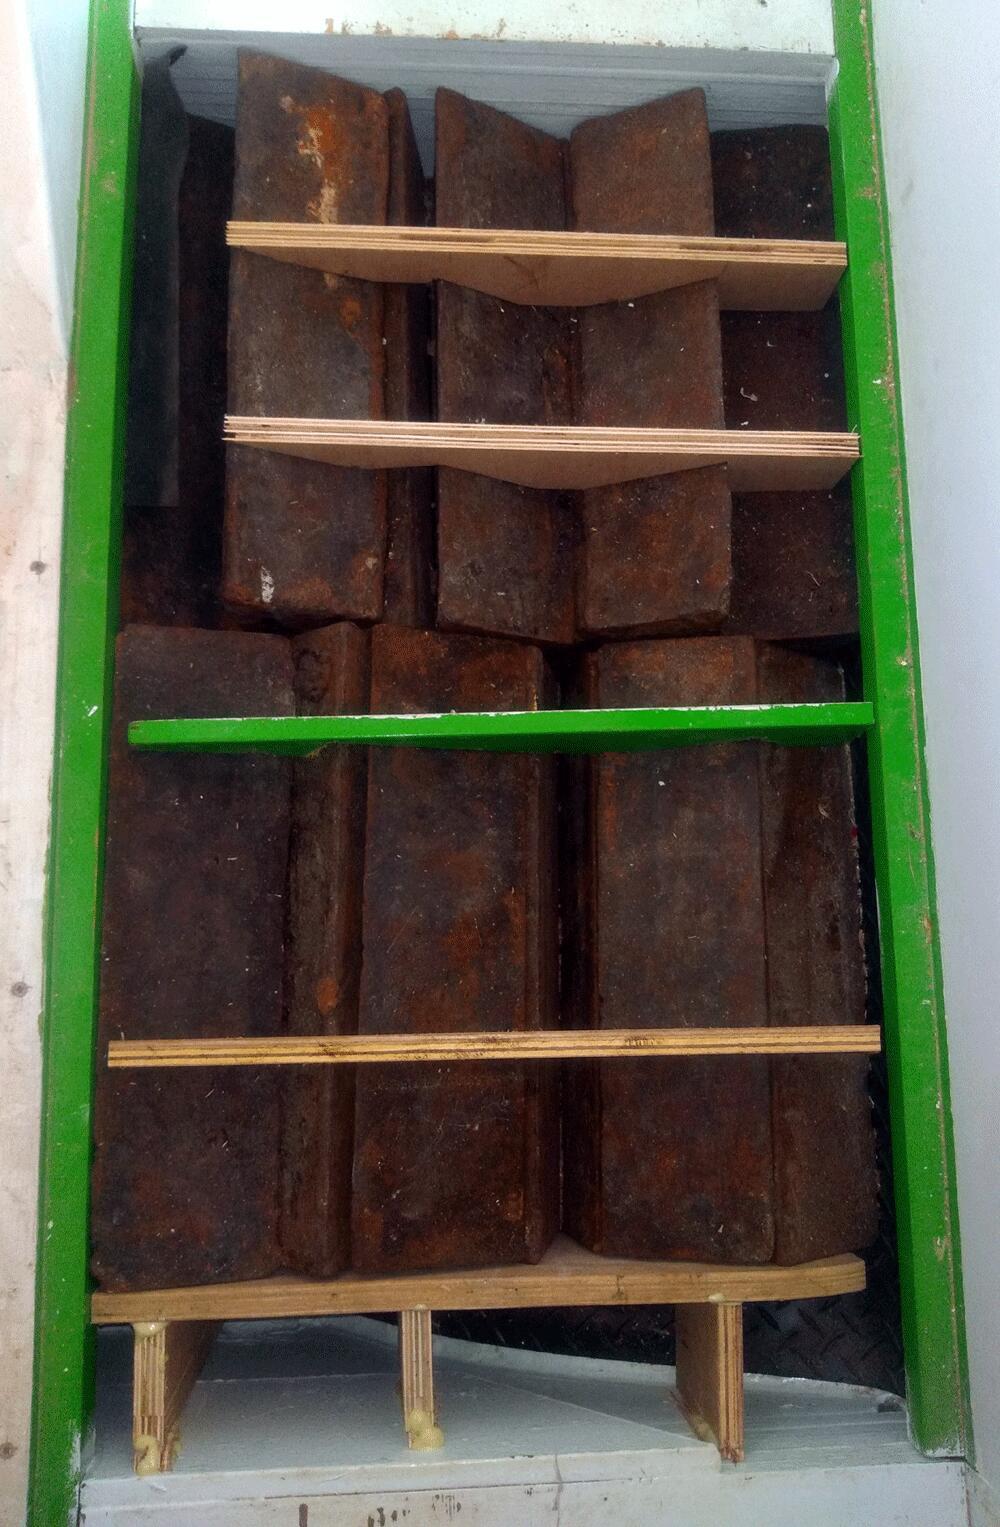
- Brought in 3.3 tons of ballast ingots and fit into position
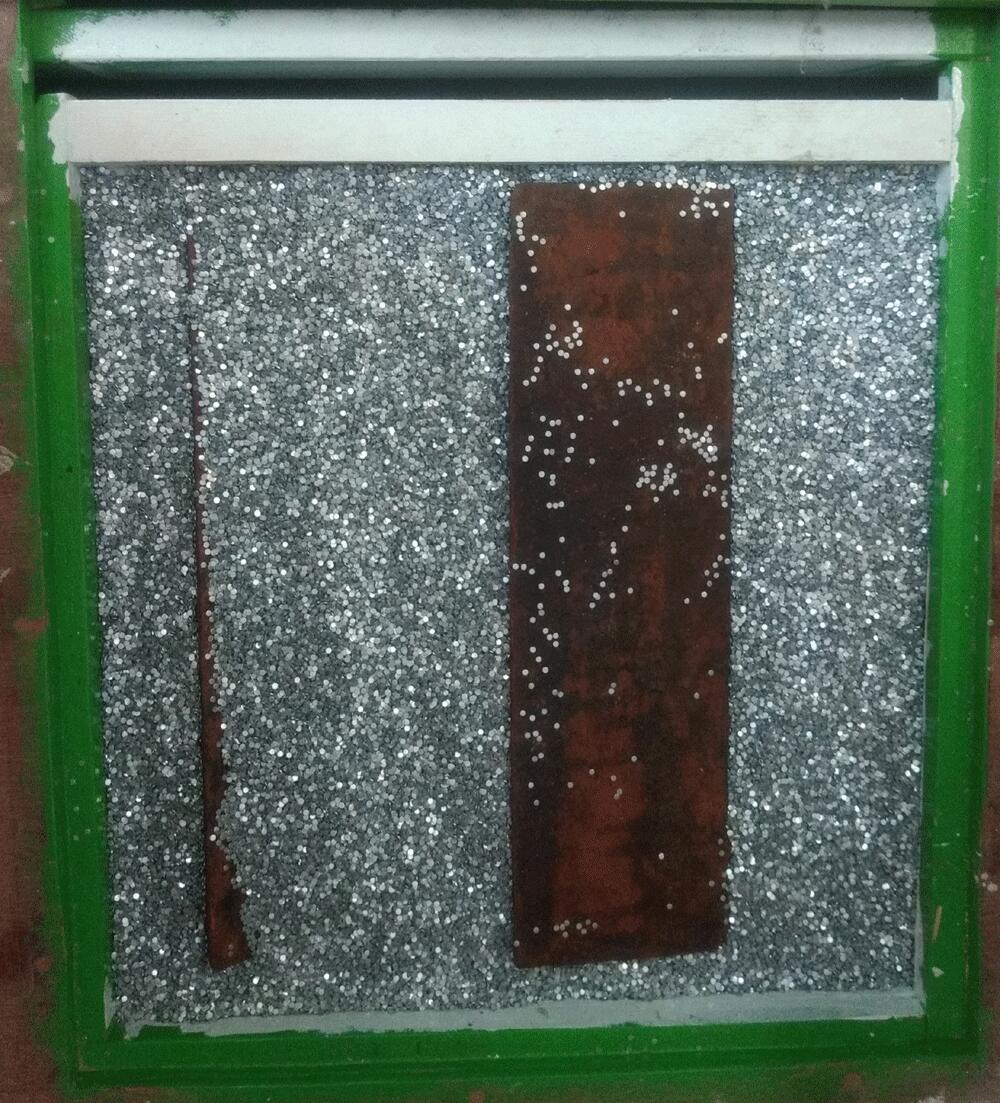
- Added 200 kg of galvanised steel punching to fill the gaps and make up the weight
- Made plywood blocking to stop ballast moving
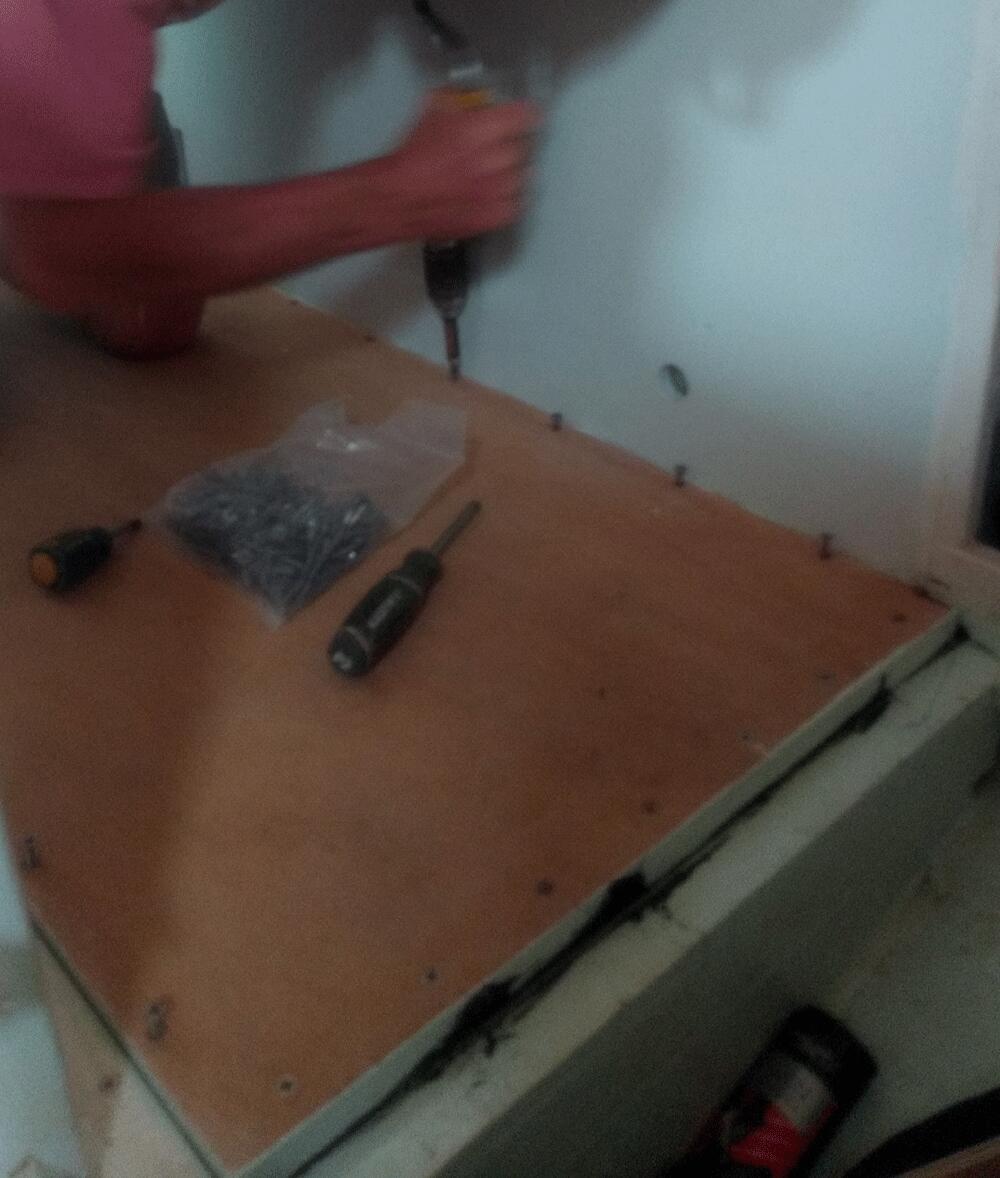
- Screwed down cabin sole on bitumen rubber sealant
Bilges:
- Built engine bearers
- Built diesel tanks support
Interior
We needed a comfortable and warm boat that met our liveaboard cruising needs. That meant:
- Comfortable and reasonably sized bunks and wardrobe
- Inclined backrest with a right seating height
- Spacious galley with good storage lockers
- Chart table and wet locker
- Heads
- A spare bunk
- Warm space with sea views
Although most of the time it would be just the two of us, we also wanted to be able to invite the occasional guests to join us and spend time with us in reasonable comfort. To meet our needs much of the boat interior needed to be rebuilt. With the exception of the main bulkheads, the two bunks, and the spiral staircase, which came with the boat, everything else was built new.
The process: Remove most of the existing interior, apart from bulkheads. Sand — epoxy x 2 — sand. Undercoat x 2 — sand — paint x 2. Build cupboards, wardrobes, insulation structural support. Insulate and finish off with plywood / tongue and groove / carpet / cork.
Forepeak
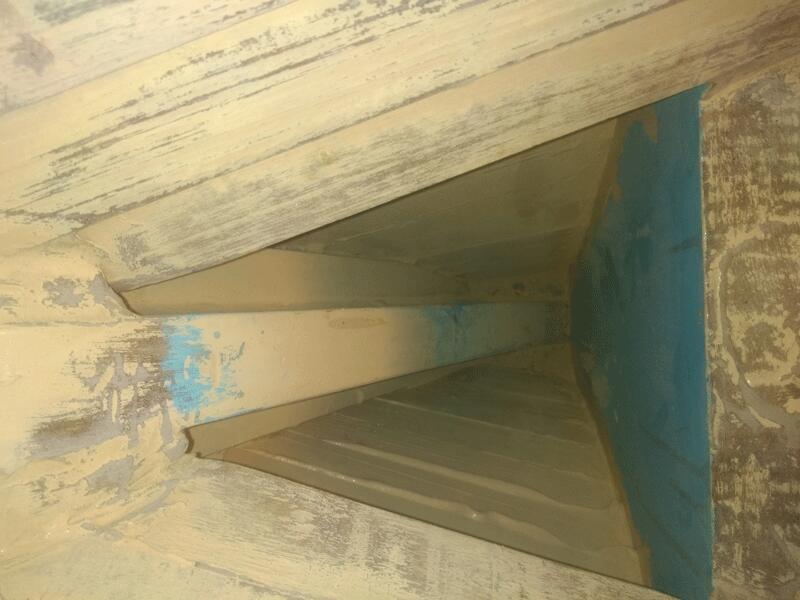
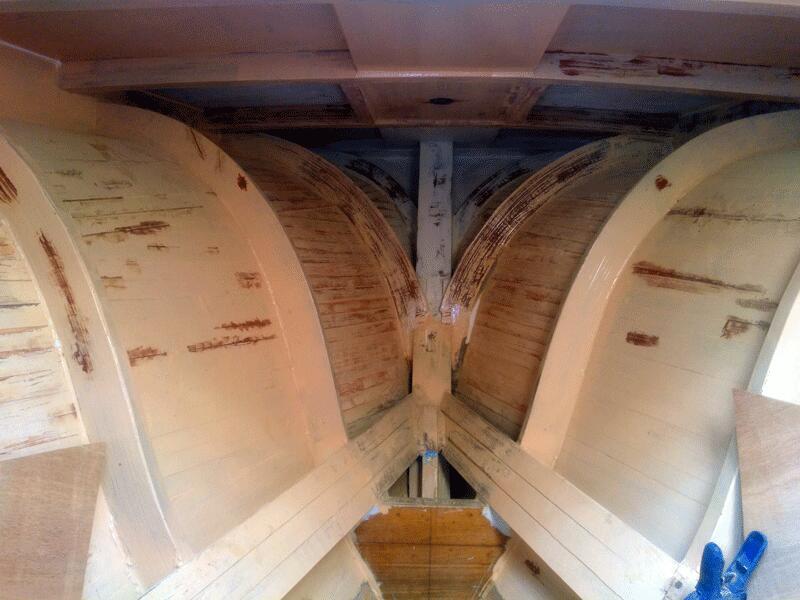
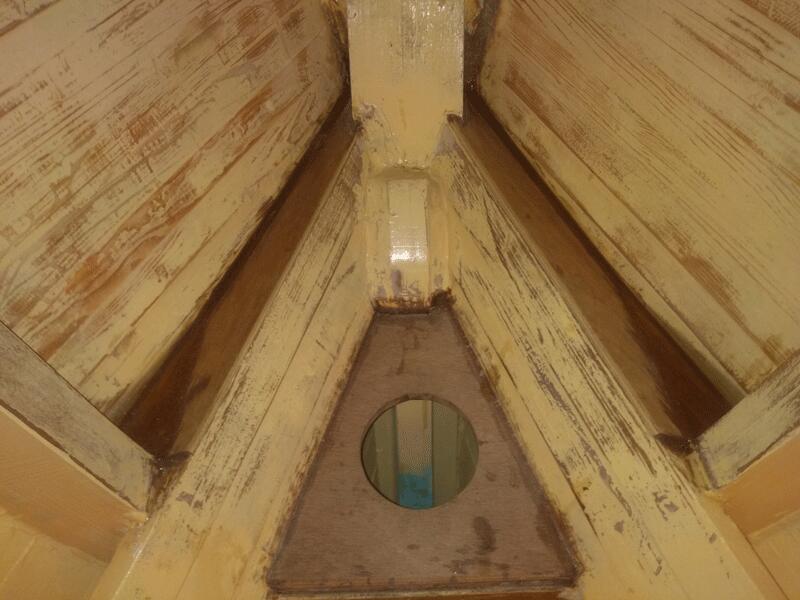
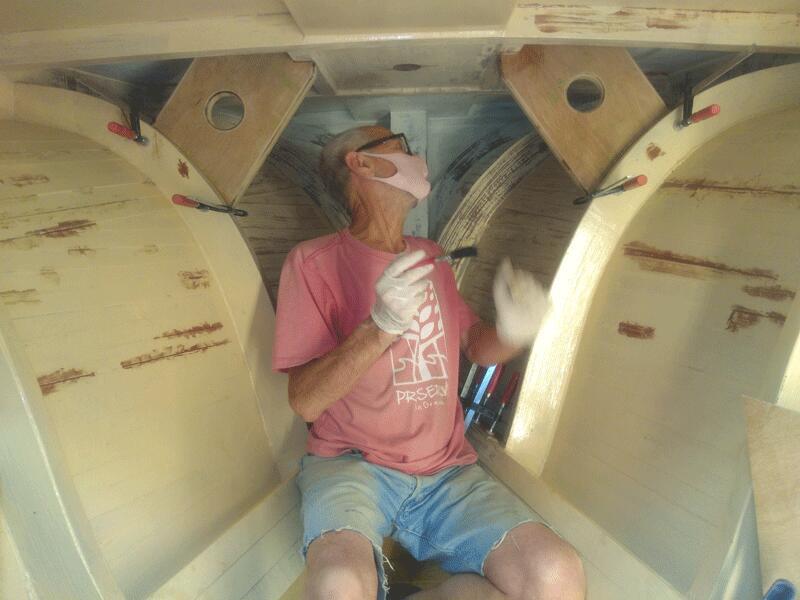
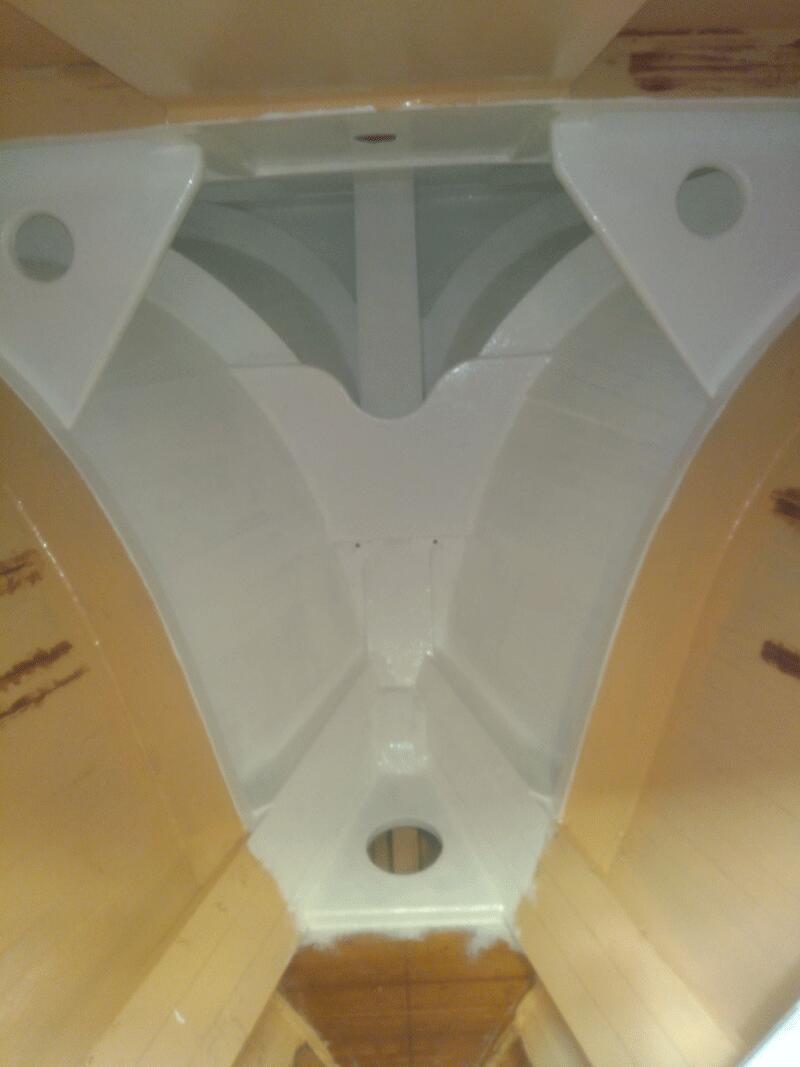
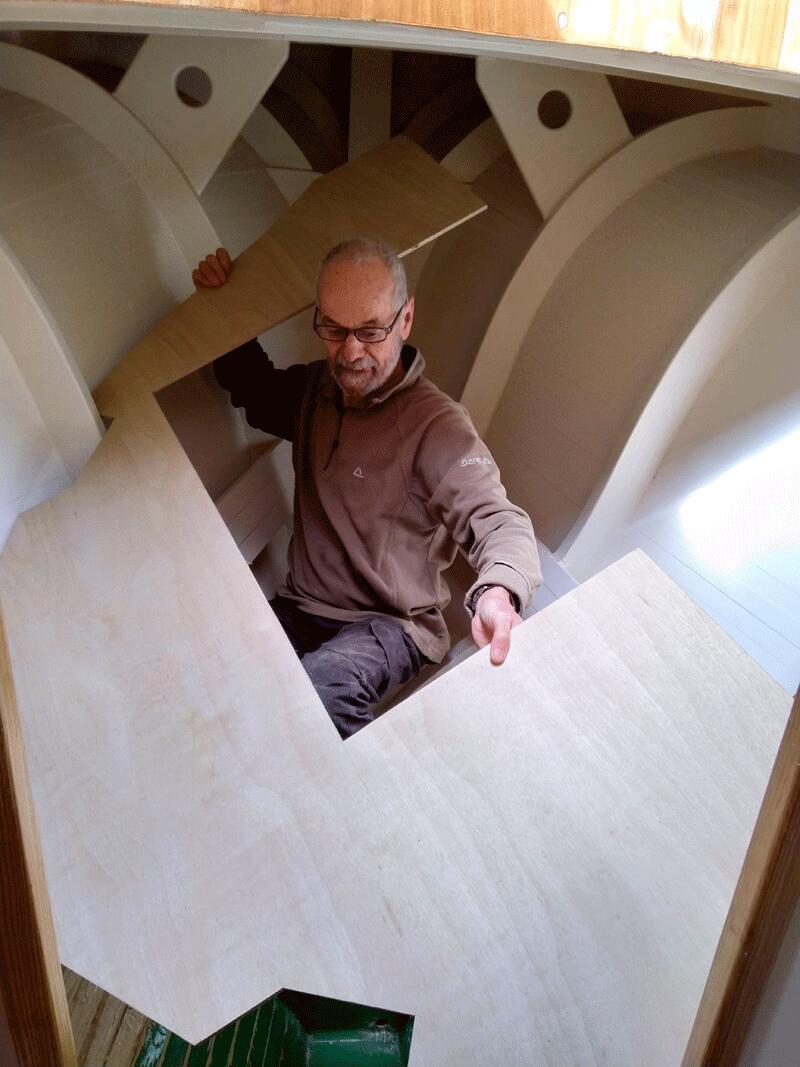
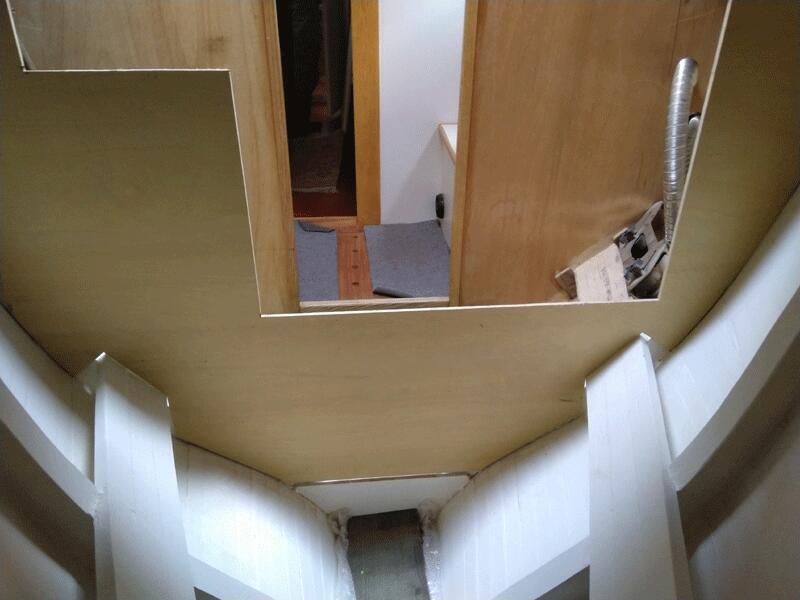
- Installed plywood hanging knees to reinforce deck — port & starboard of the mast
- Reinforced windlass support under deck
- Reinforced frame support on 2nd frame — forward of mast
- Forward frames epoxy filled and drain holes drilled to stop water collection
- Built covers and draining system with inspection hatch to prevent water log and rot
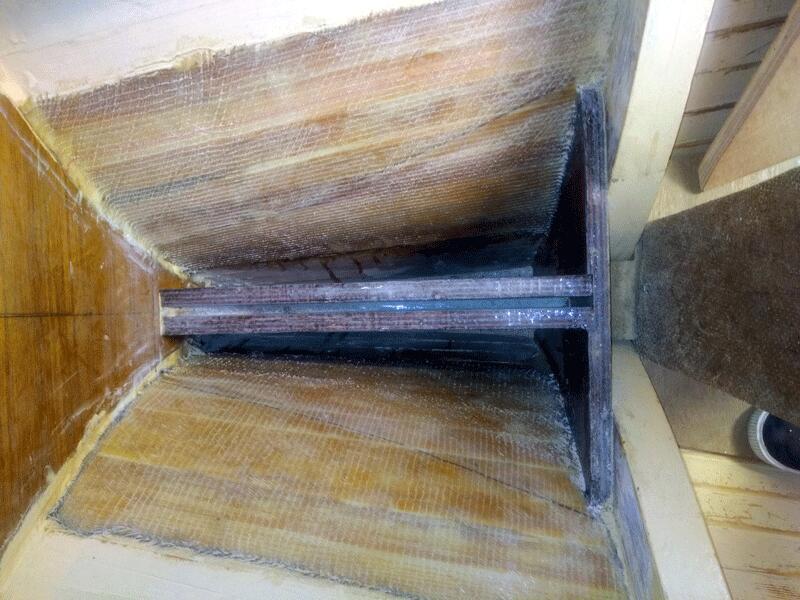
- Built mast step support, fibreglass hull and built up base with drain hole
- Drilled mast hole in the deck
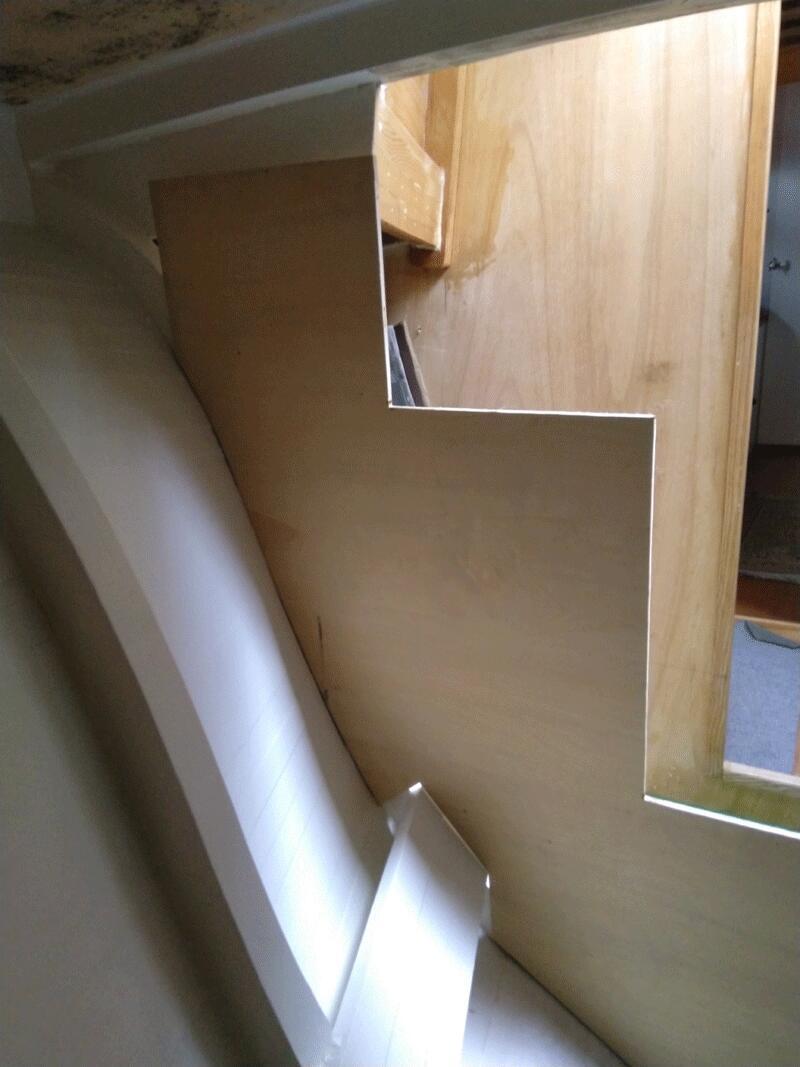
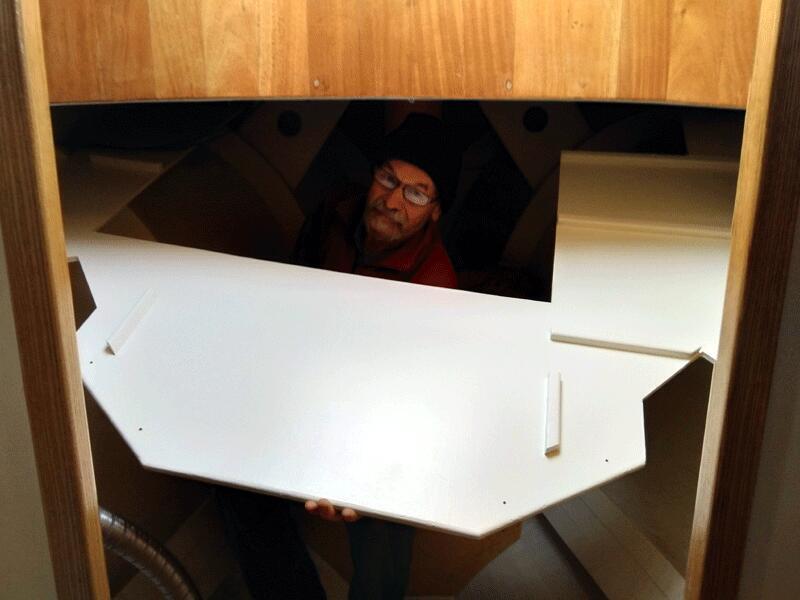
- Built 2 bulkheads for chain lockers & chain chute
- Built shelves and workbench
- Watertight barn door
- Exhaust outlet for Wallas heater
- Installed foot pump to drain anchor chain well
Heads
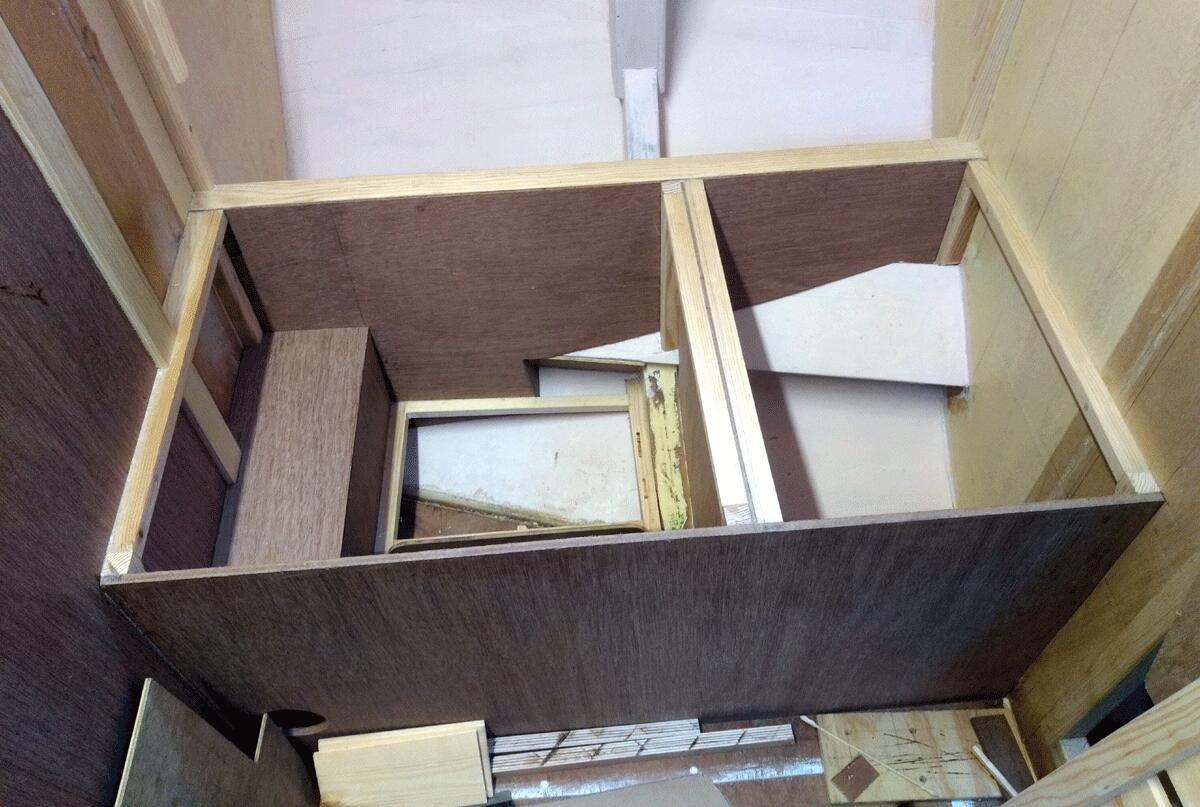
- Removed existing cabinets
- Built barn-door to forepeak
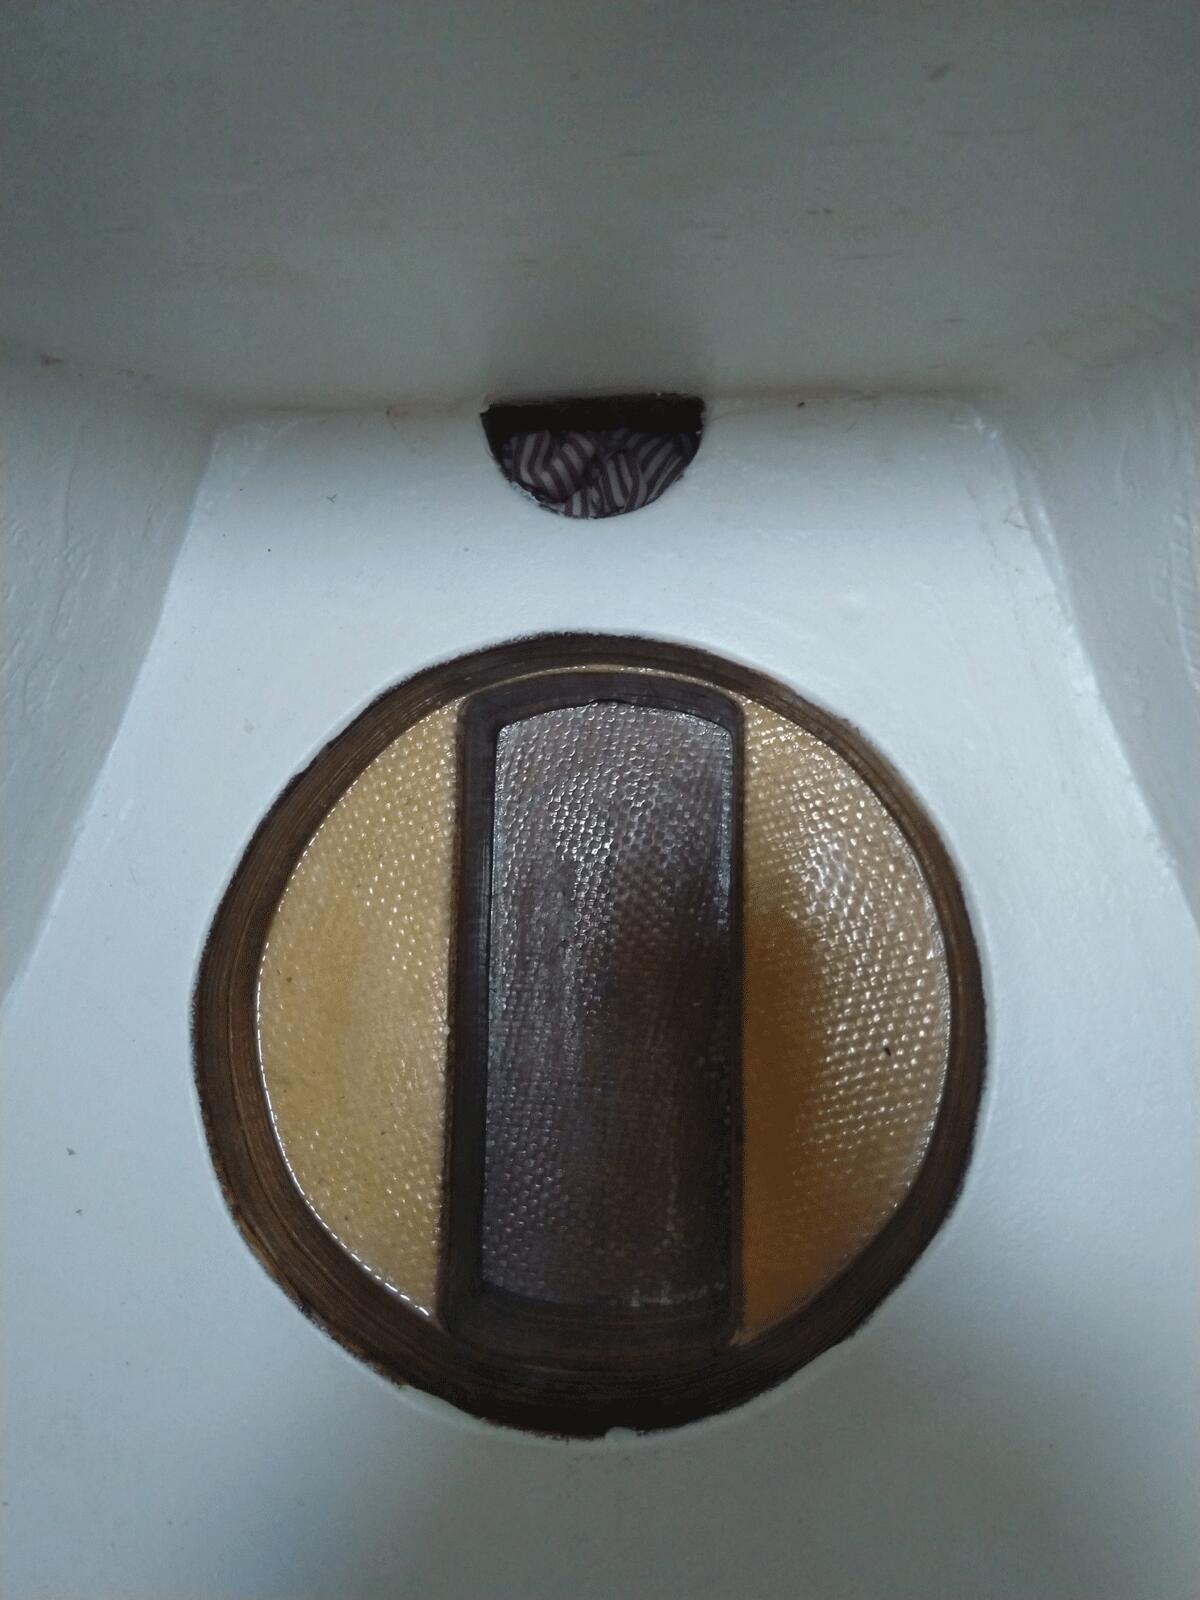
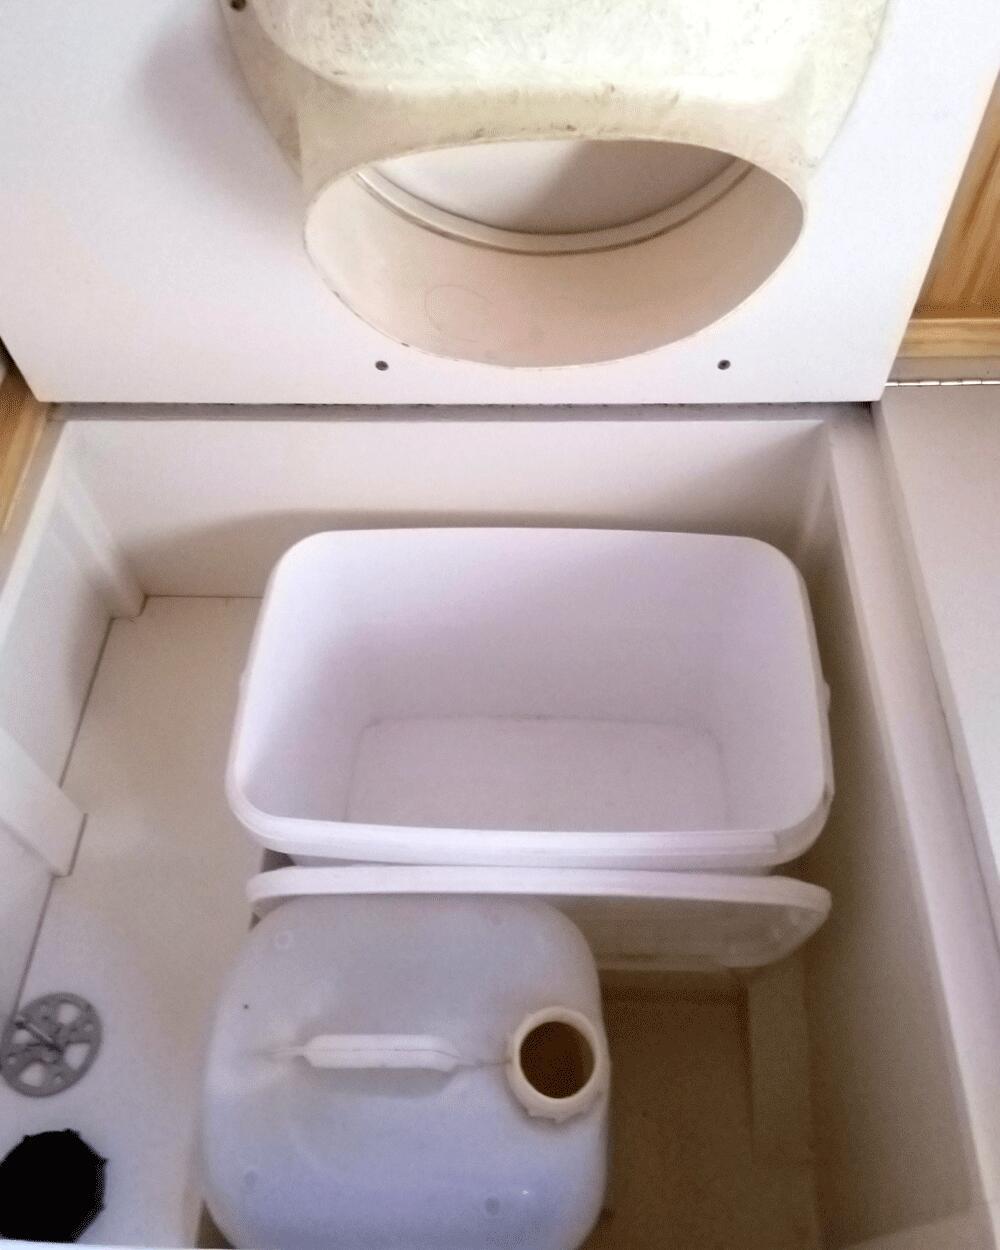
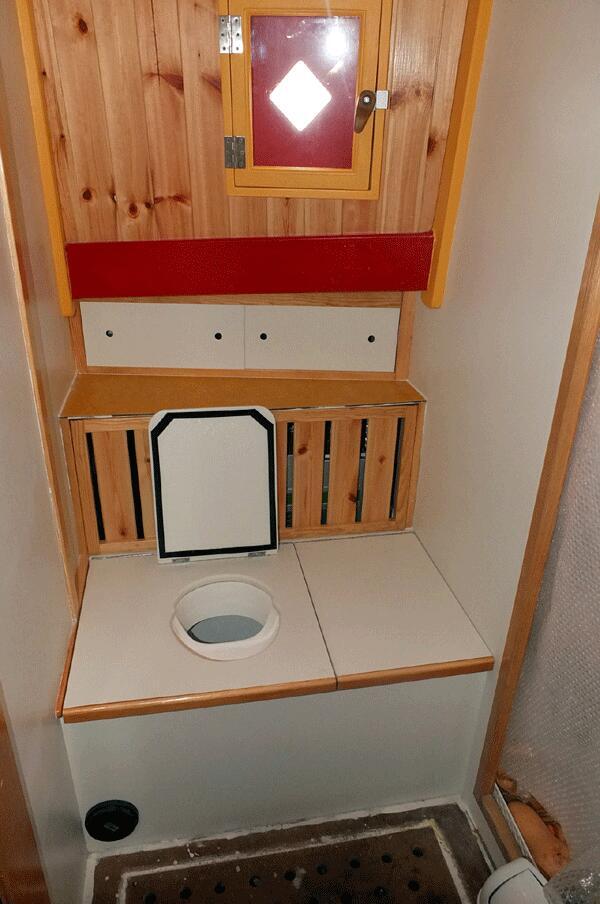
- Built composting toilet
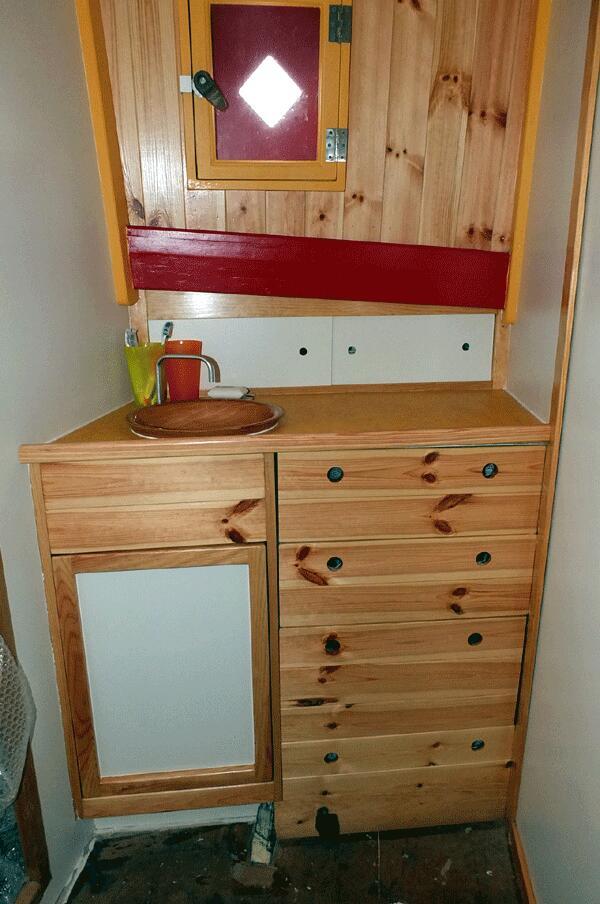
- Built sink and draws, sliding doors
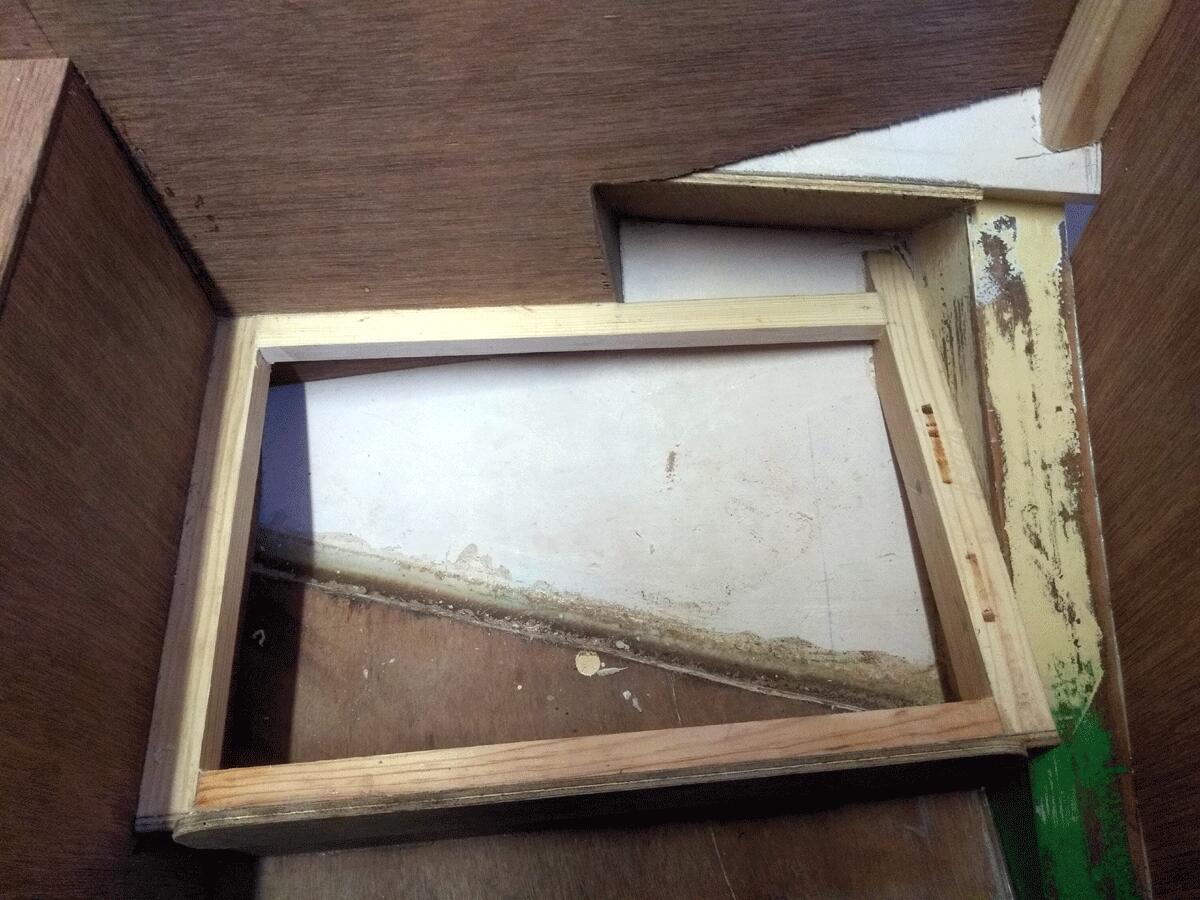
- Blocked bilge draining holes & stringers on bulkhead holes (making it watertight)
- Installed Wallas hot air oil heater
- Drilled through the hull a sink drain hole (above waterline)
- Drilled shower tray holes in the floor
Cabins
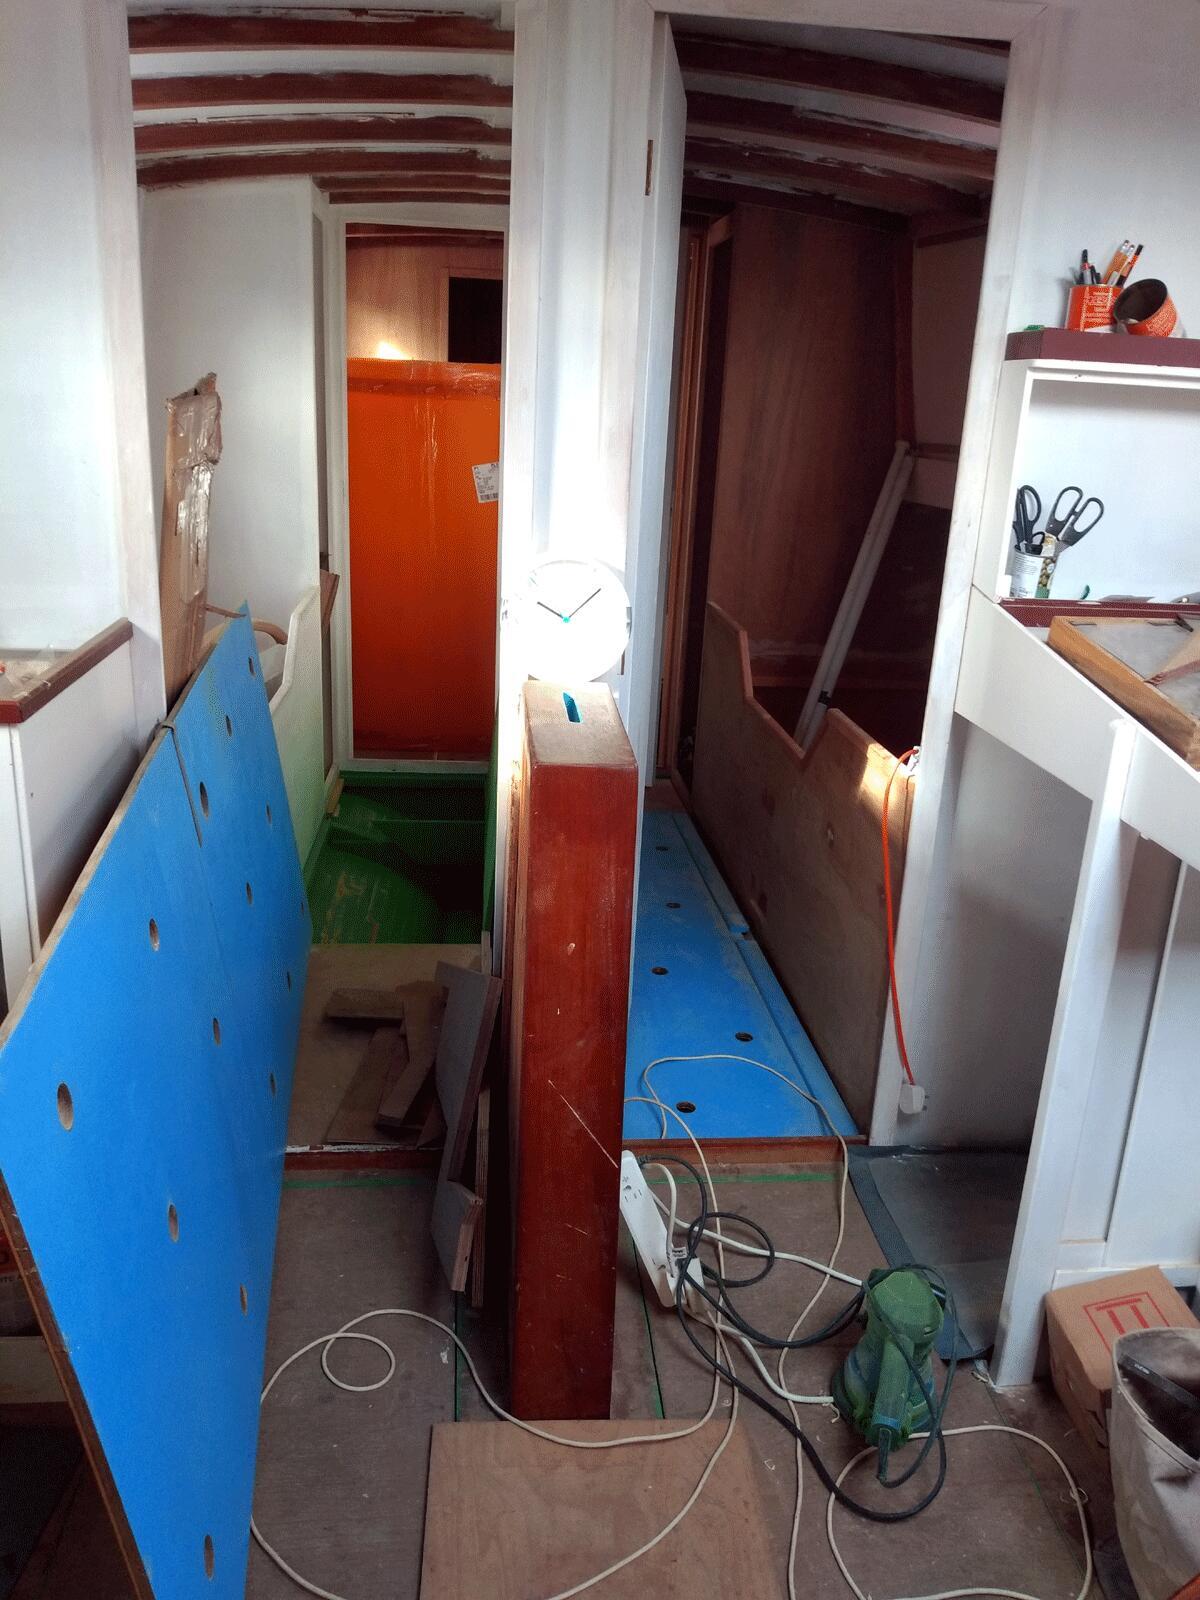
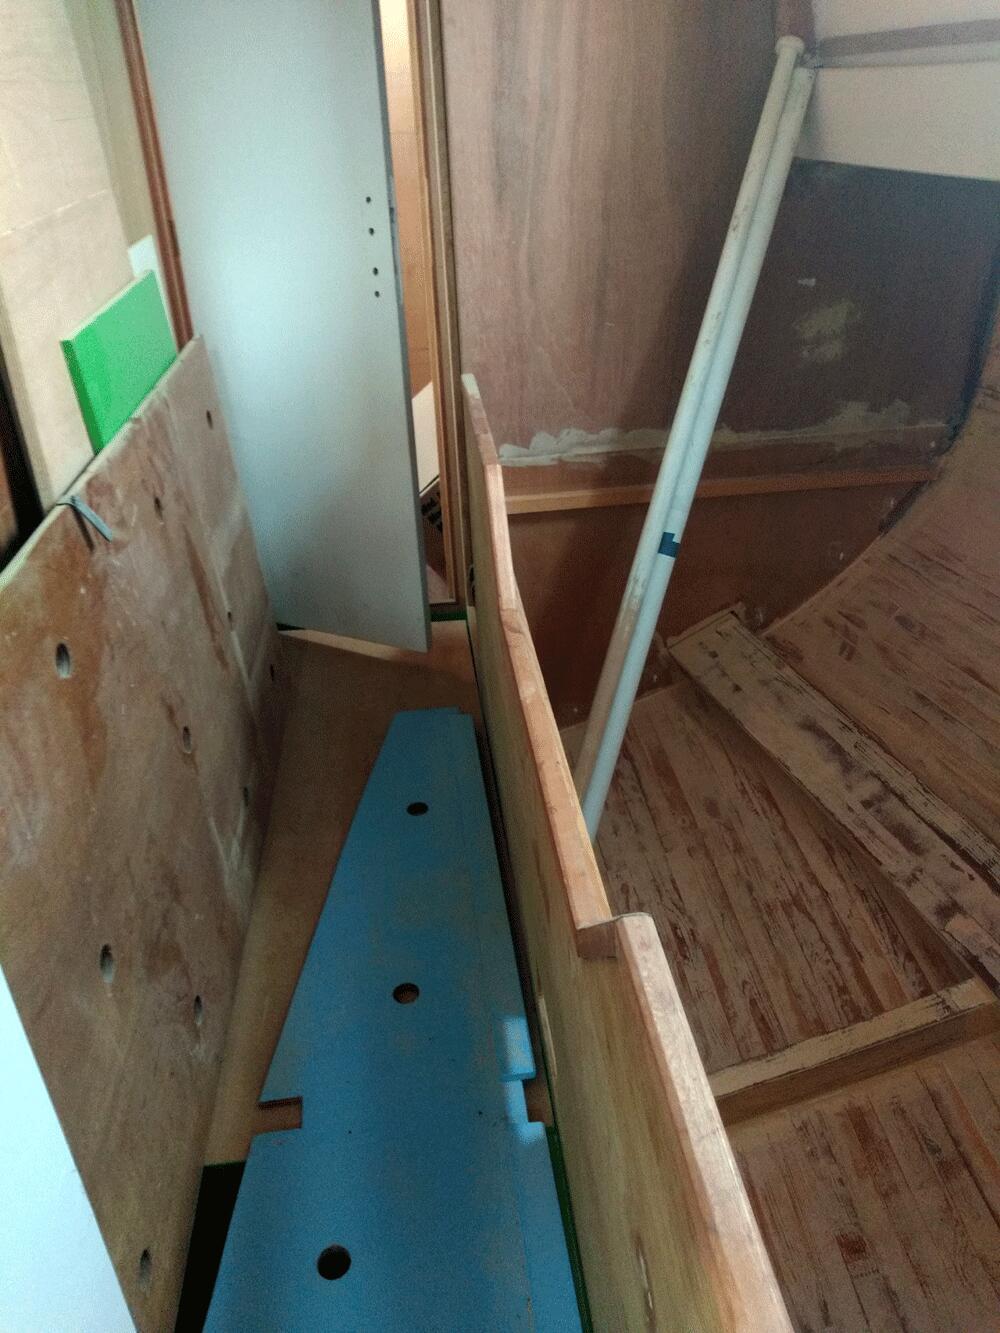
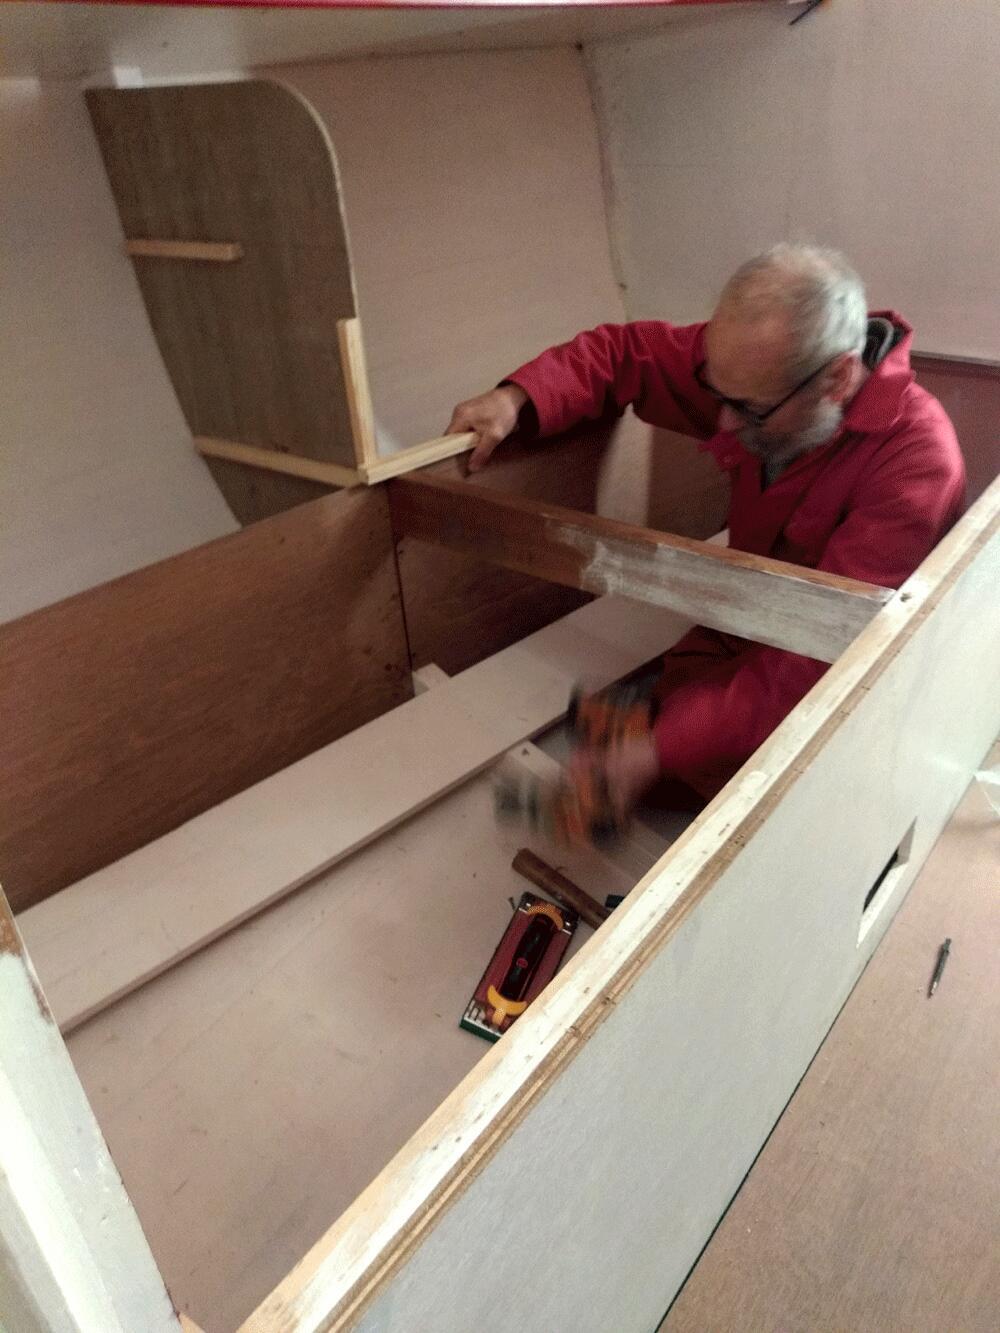
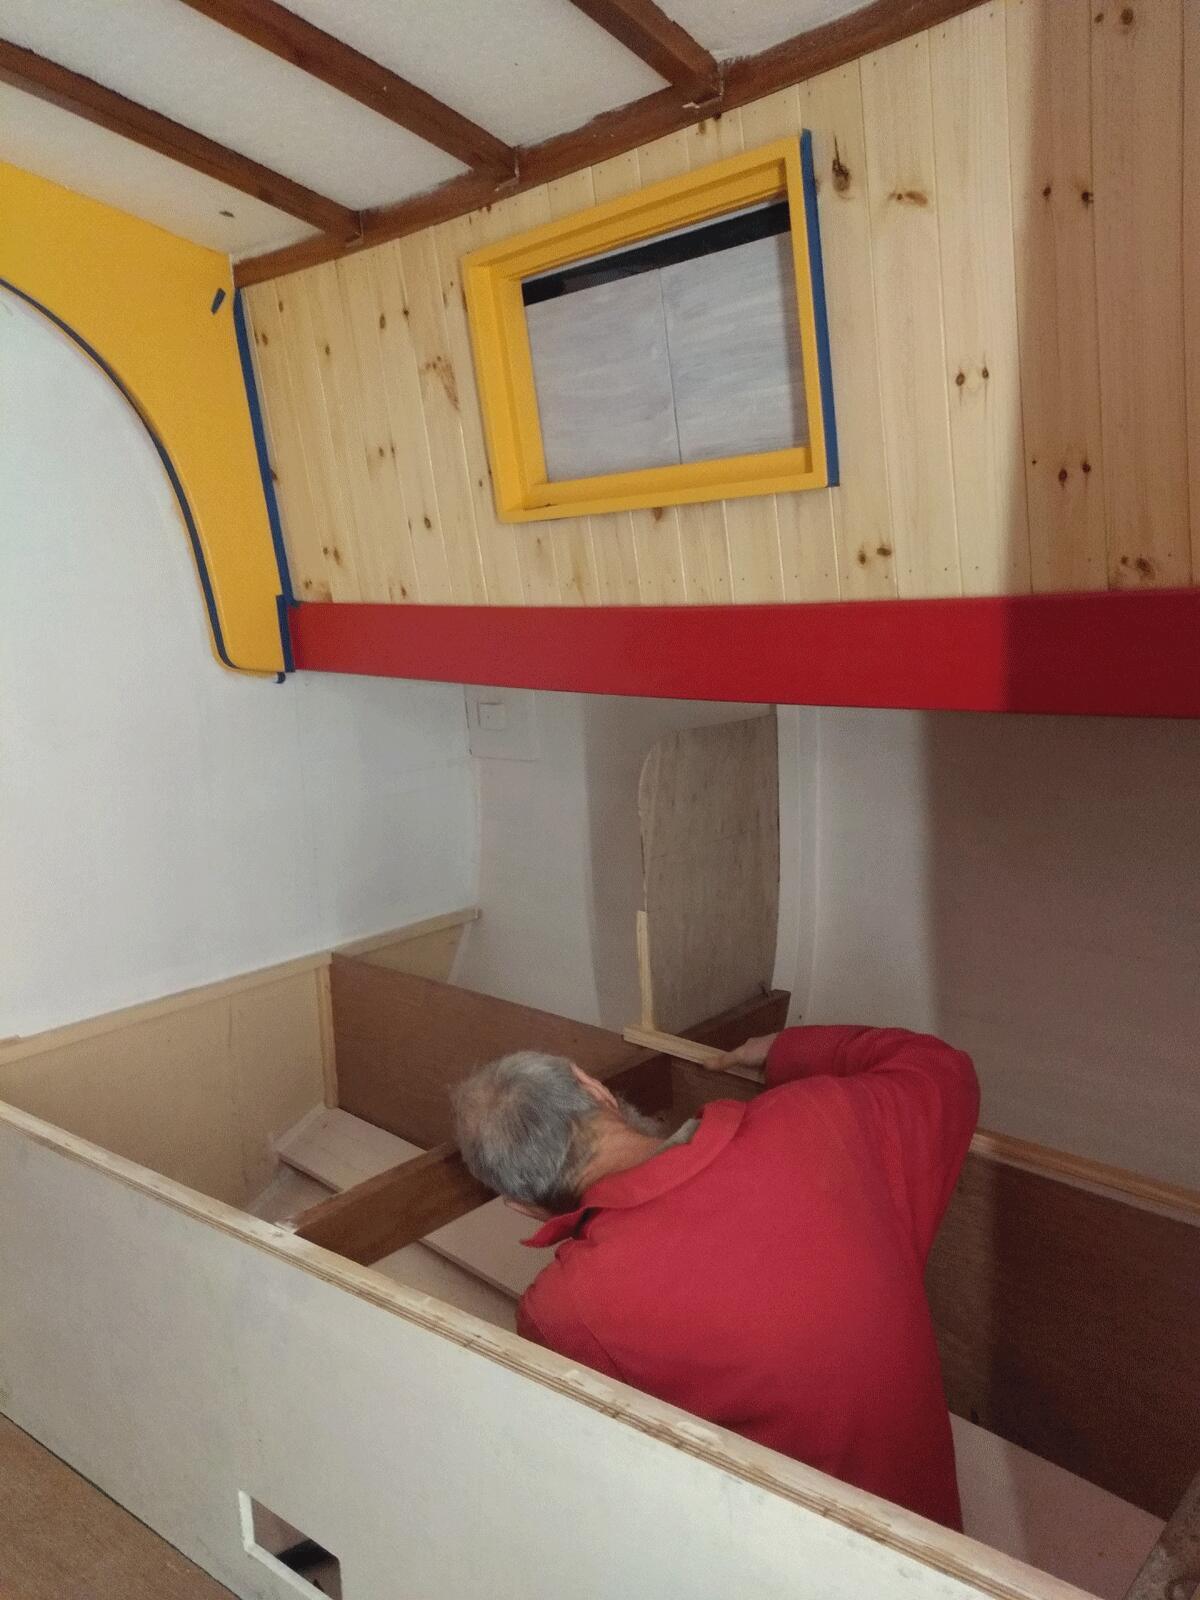
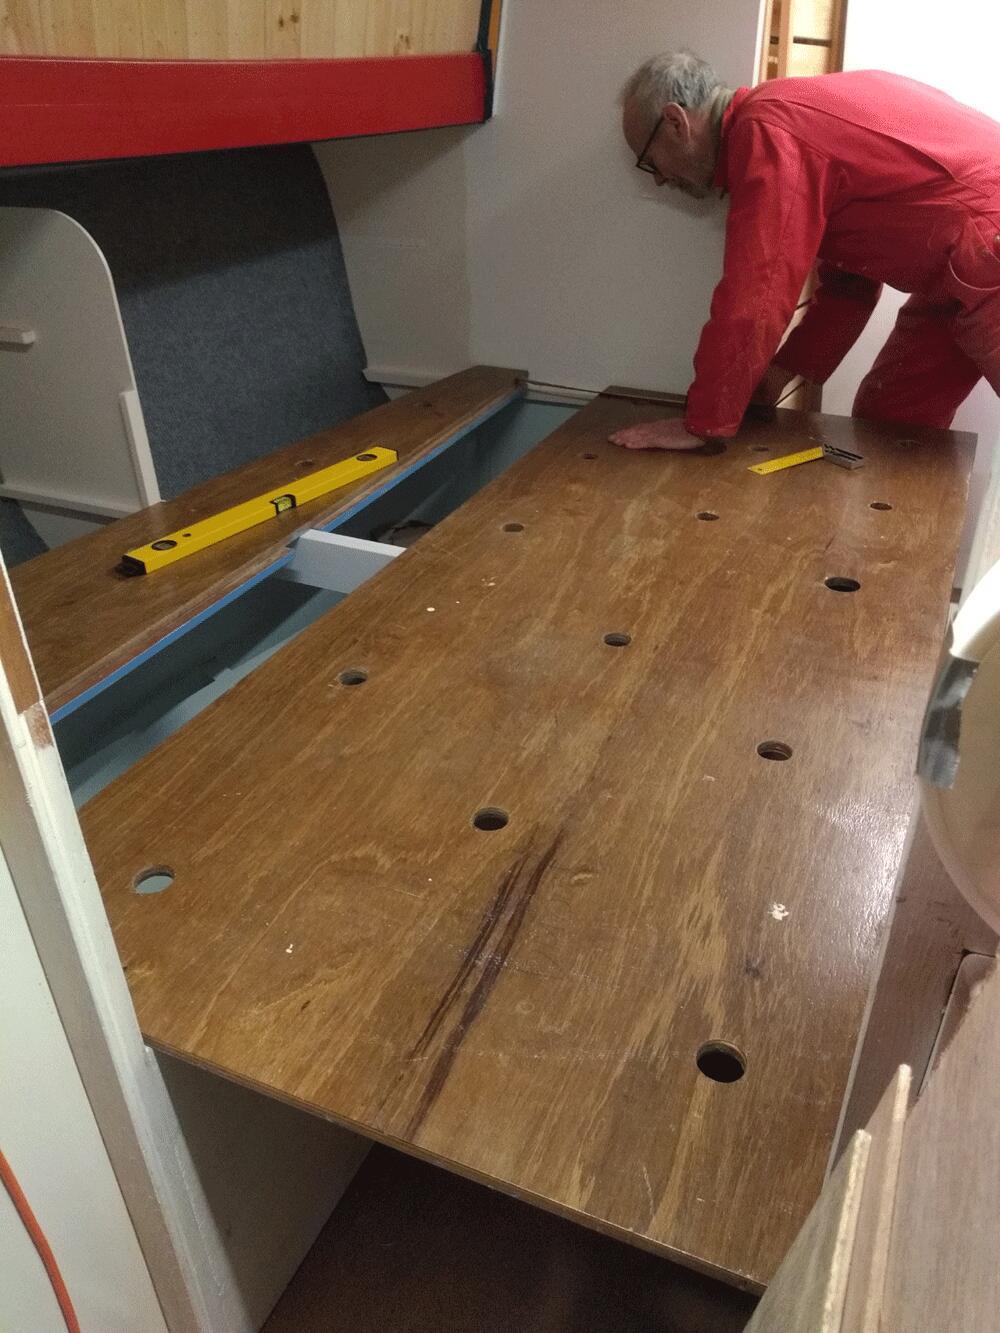
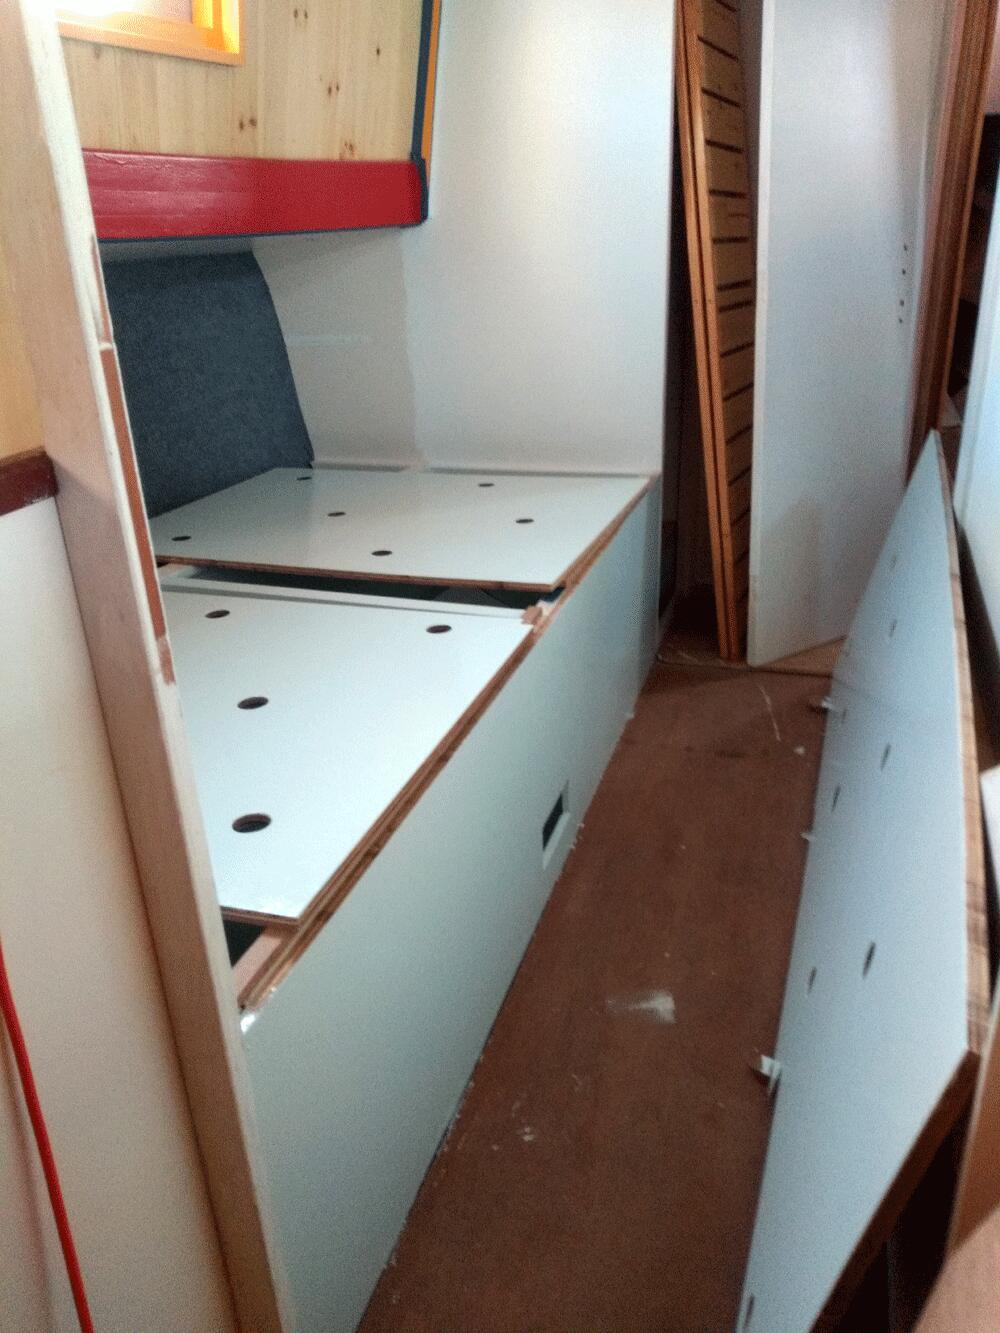
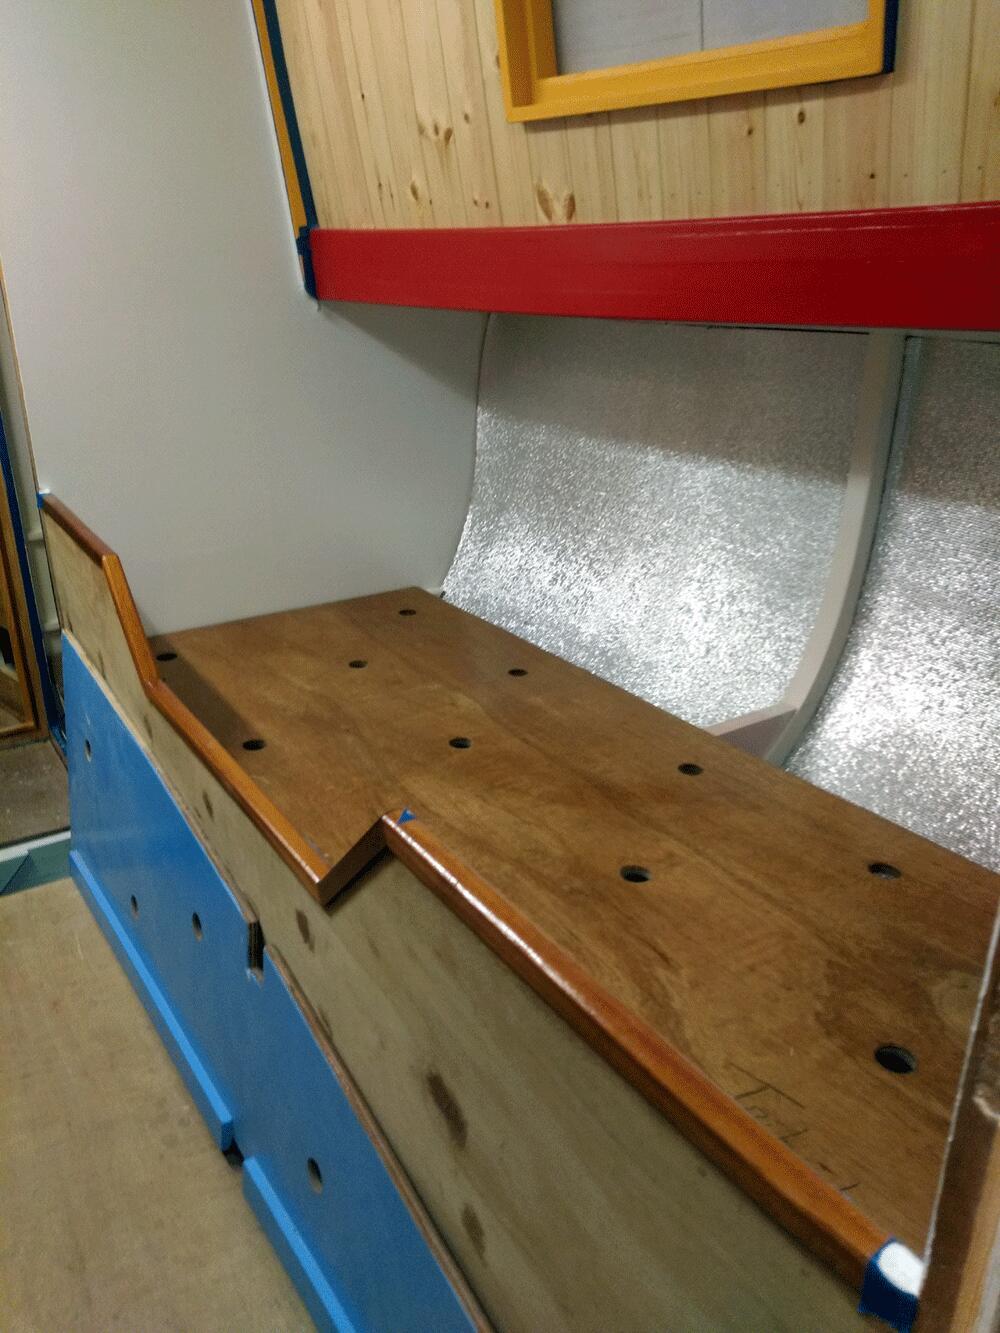
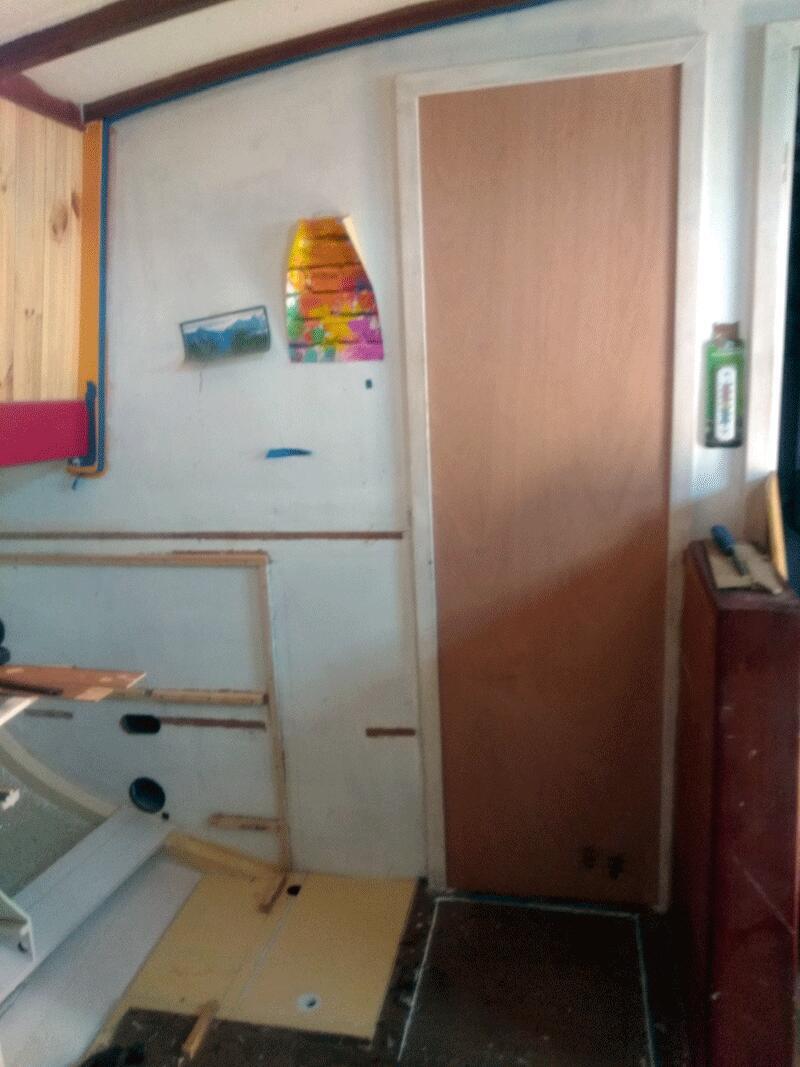
- Blocked two doors that served a corridor on the port side to create a master cabin
- Lowered bunk level on both bunks
- Built shelves and lockers on the port side
- Added diesel tanks supports for 2 tanks (oil cooker and heater)
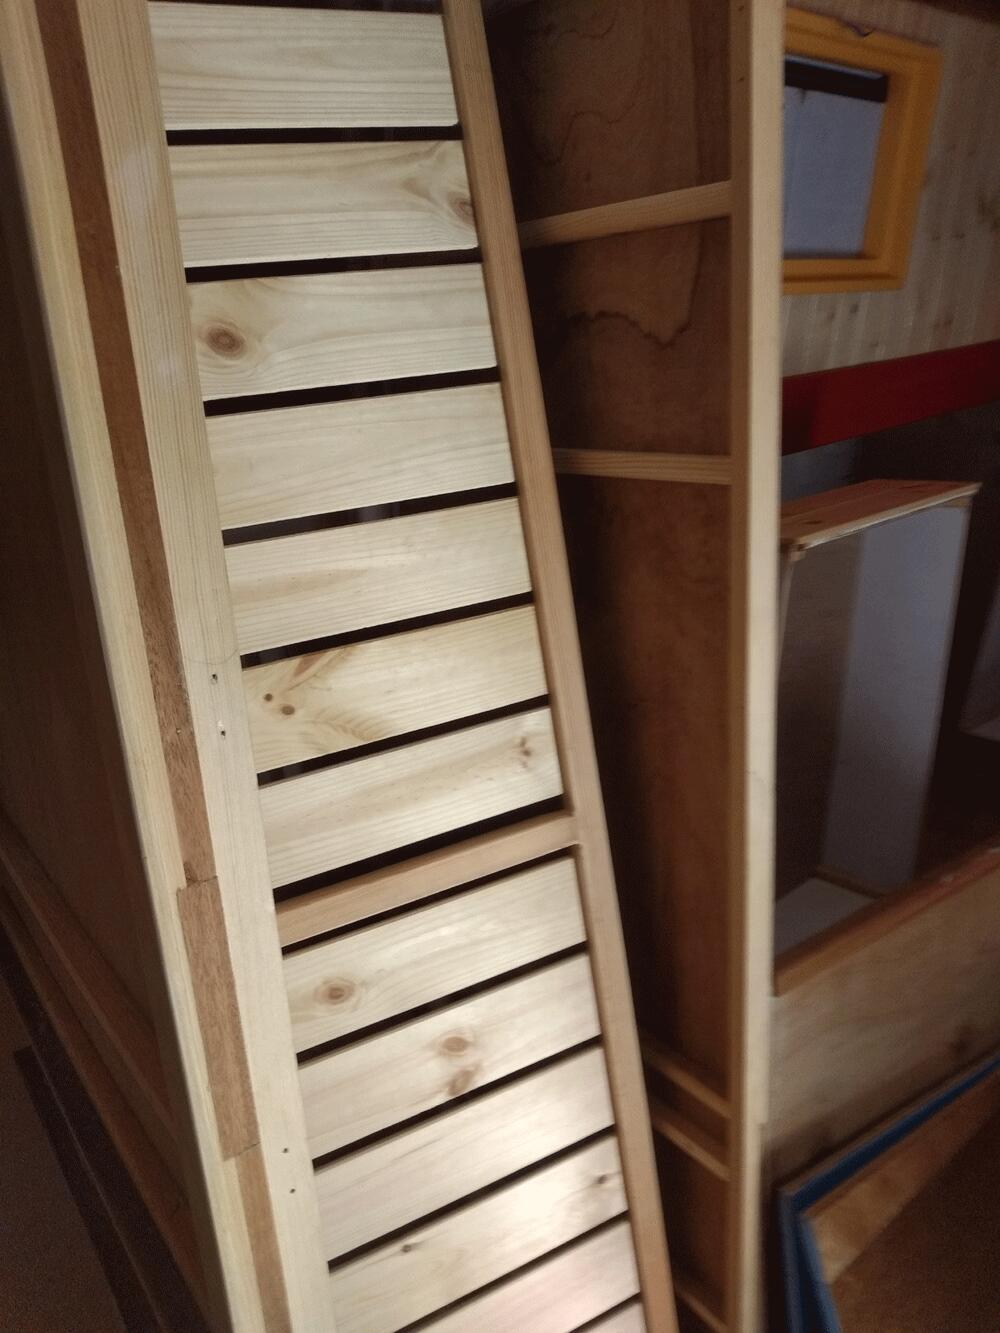
- Wardrobe shelves and doors
- Sand — undercoat — paint — insulation
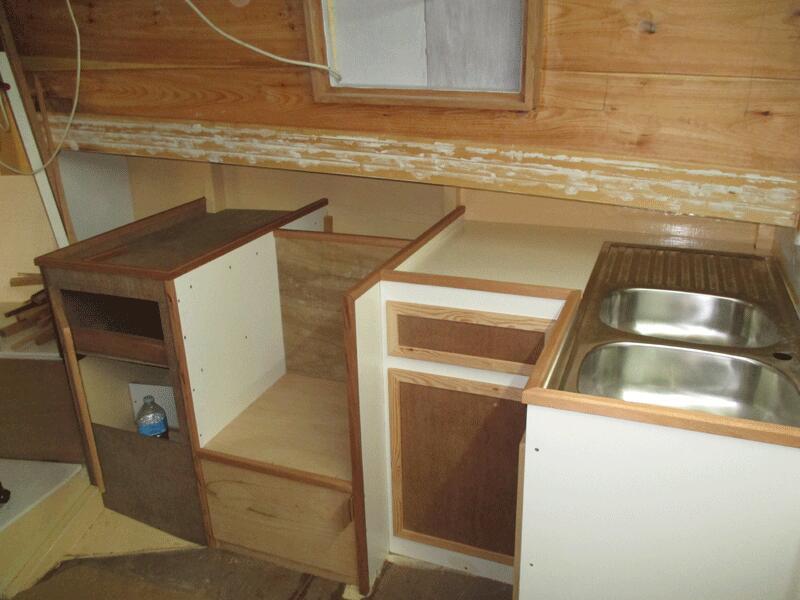
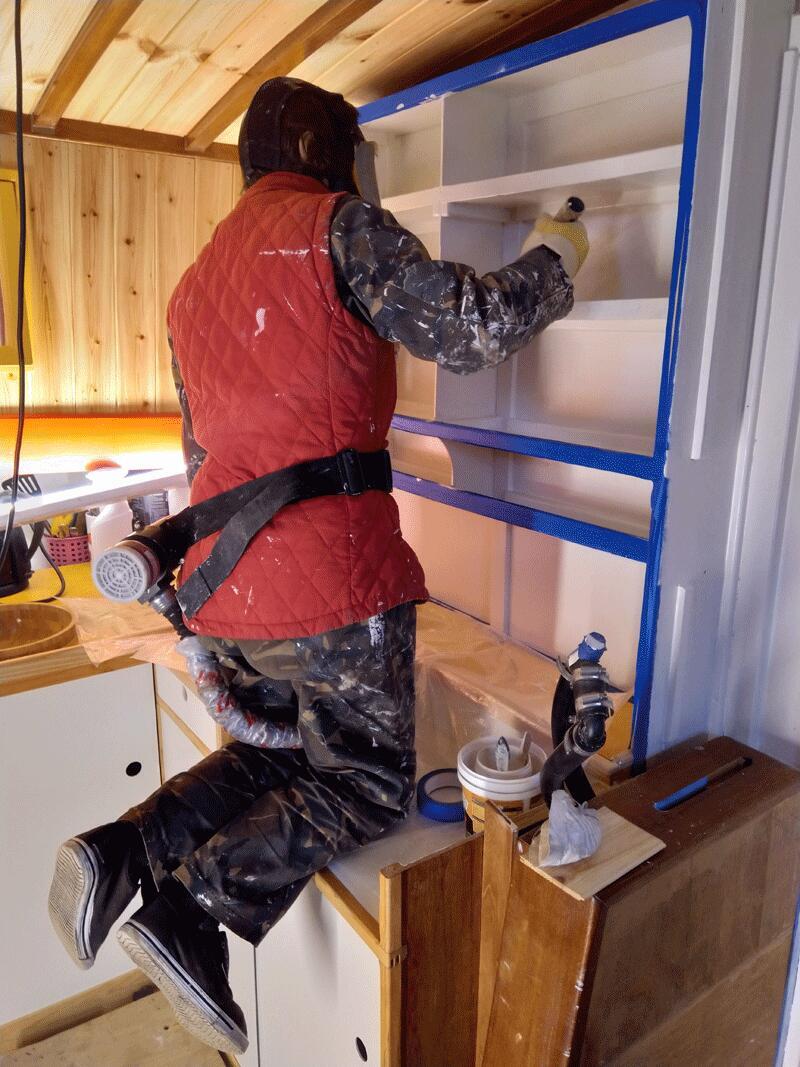
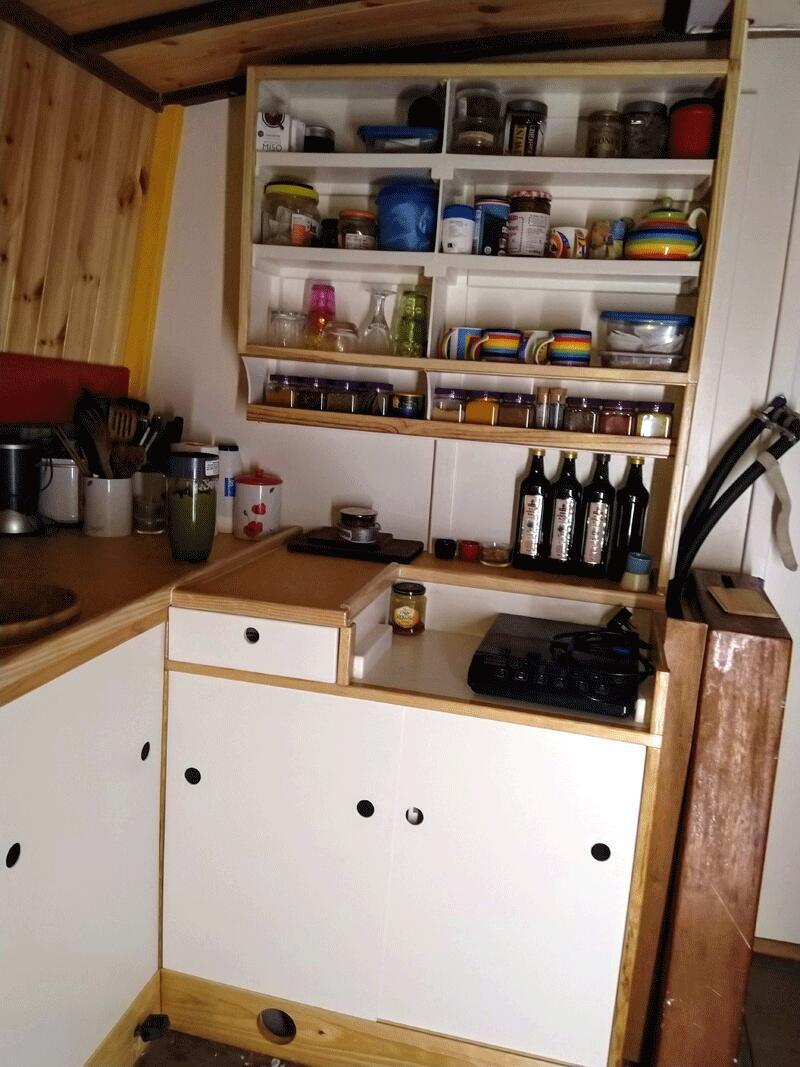
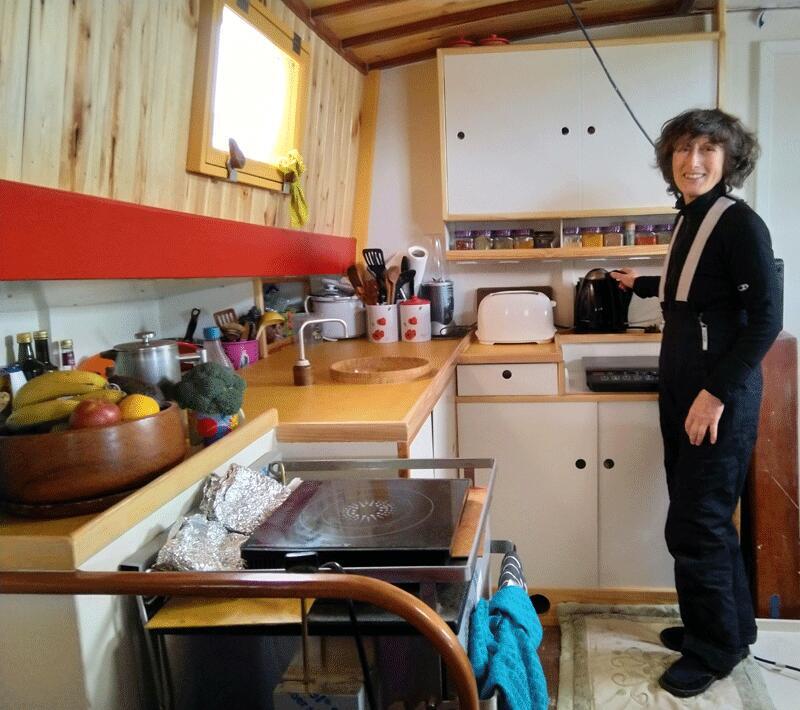
Galley
- Removed existing galley
- Blocked the door
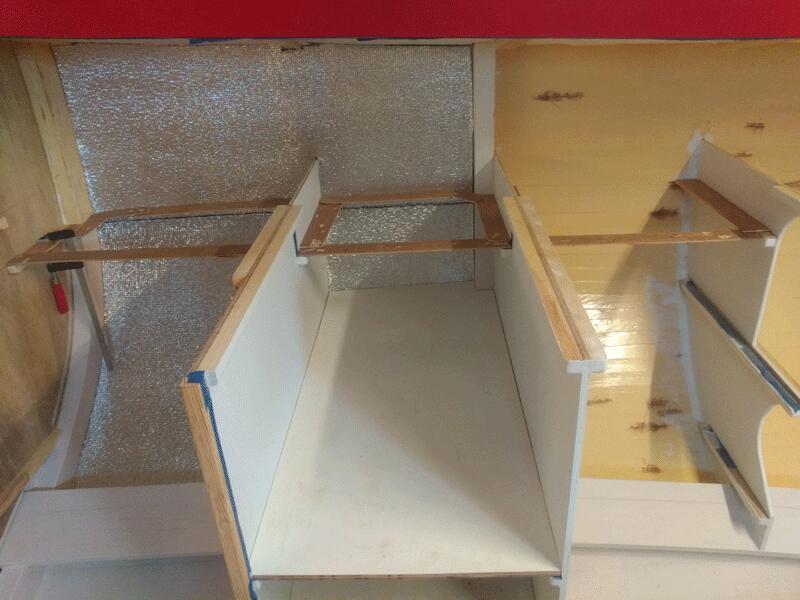
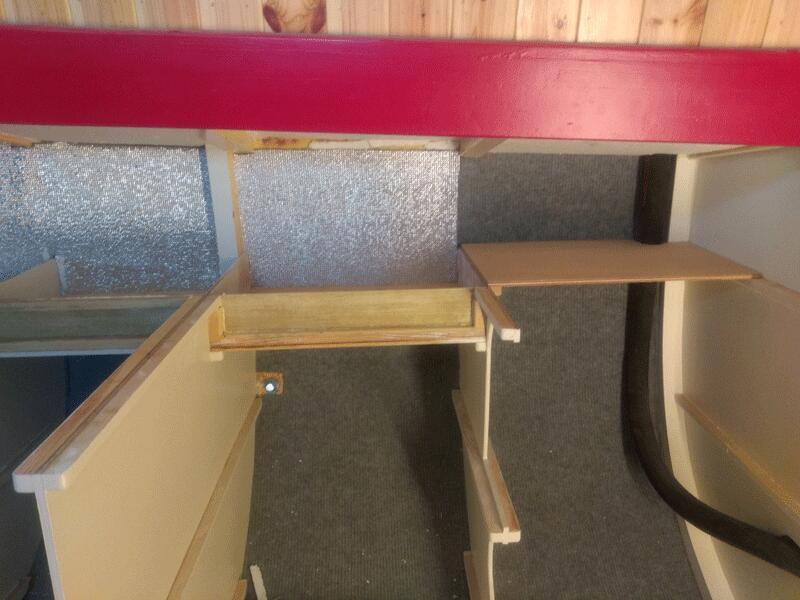
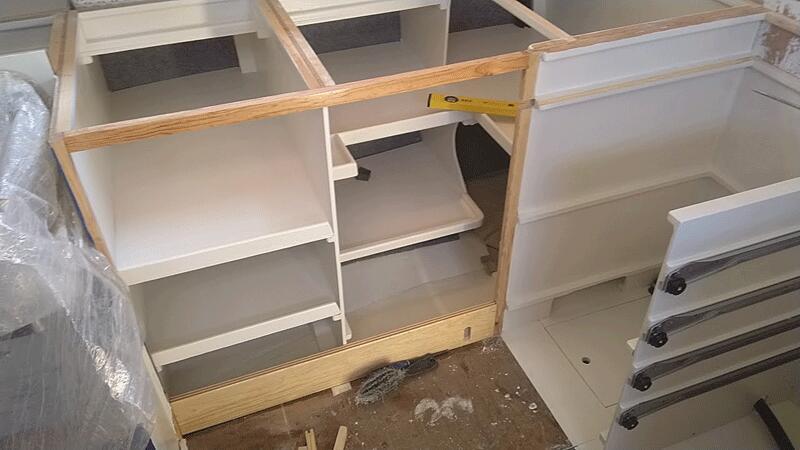
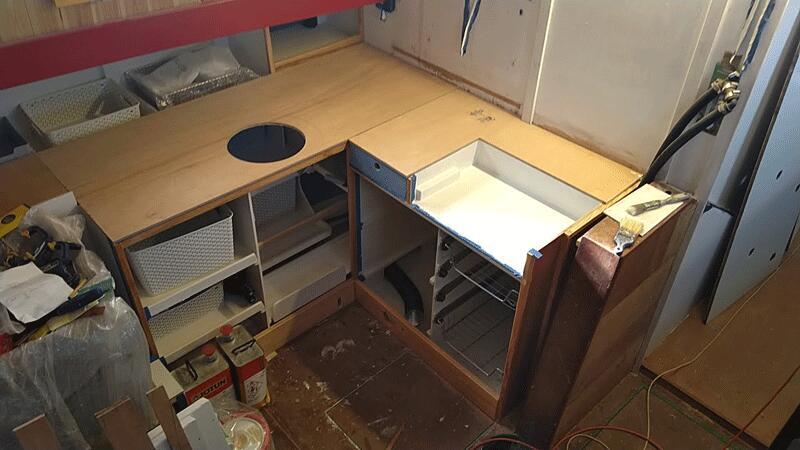
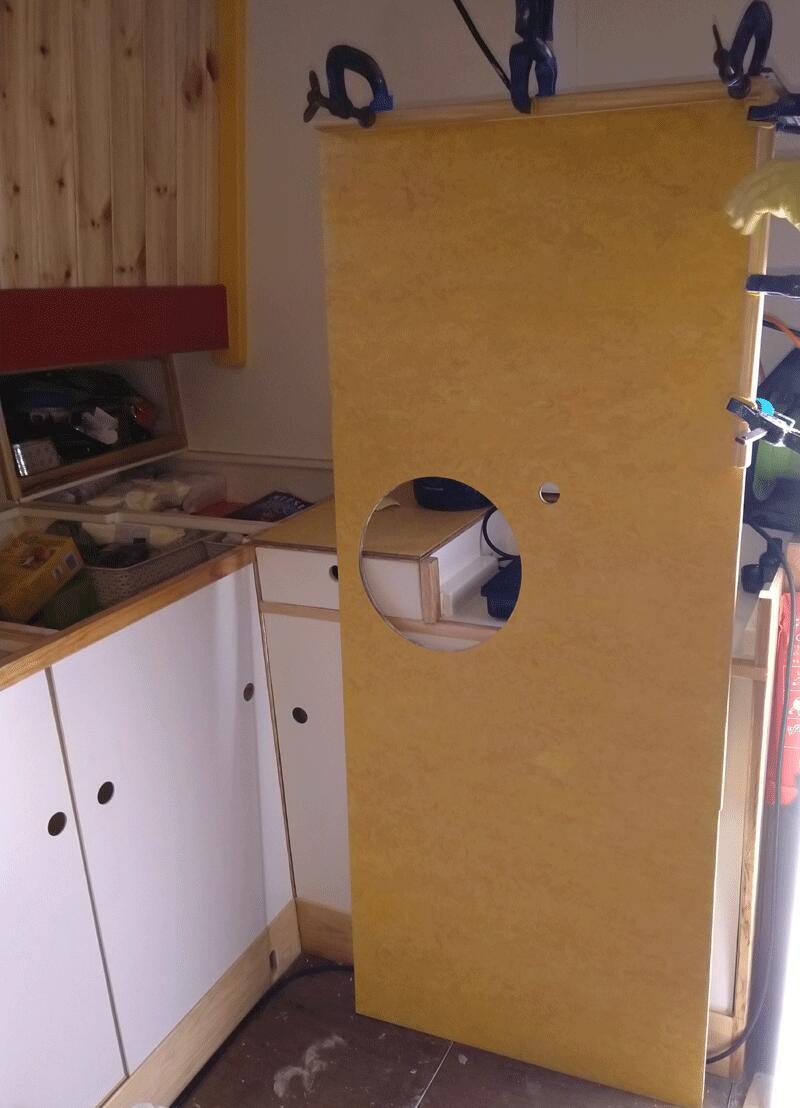
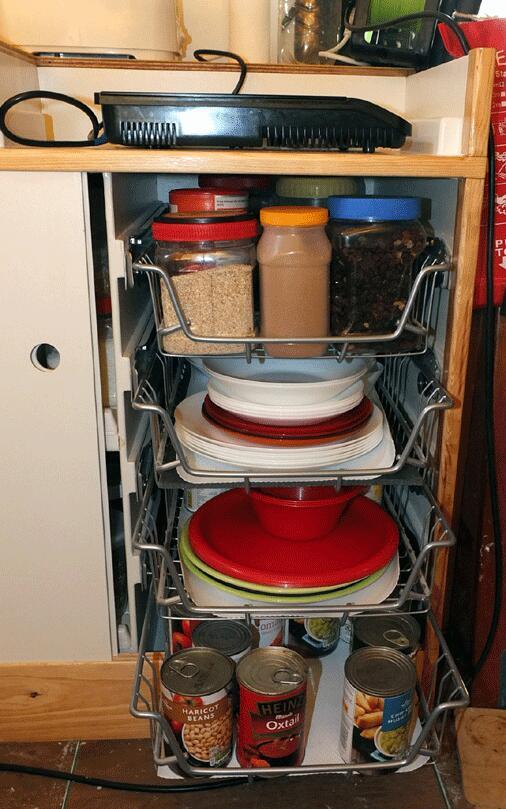
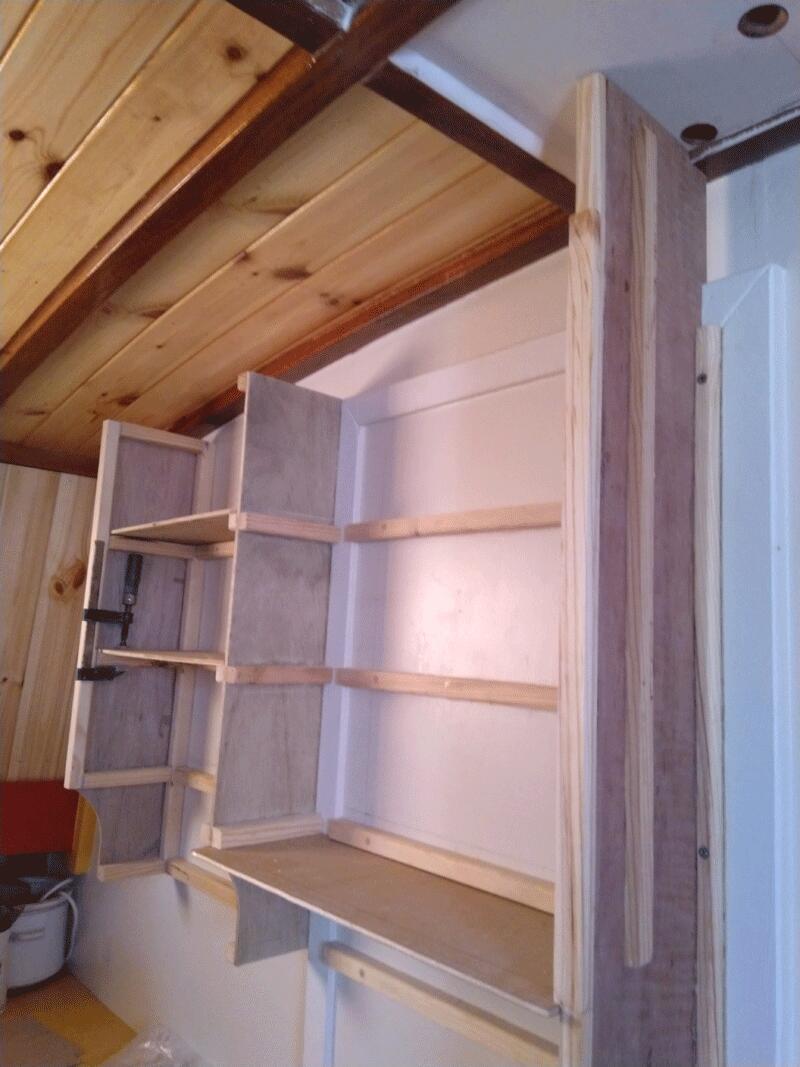
- Built kitchen lockers, shelves and cupboard above
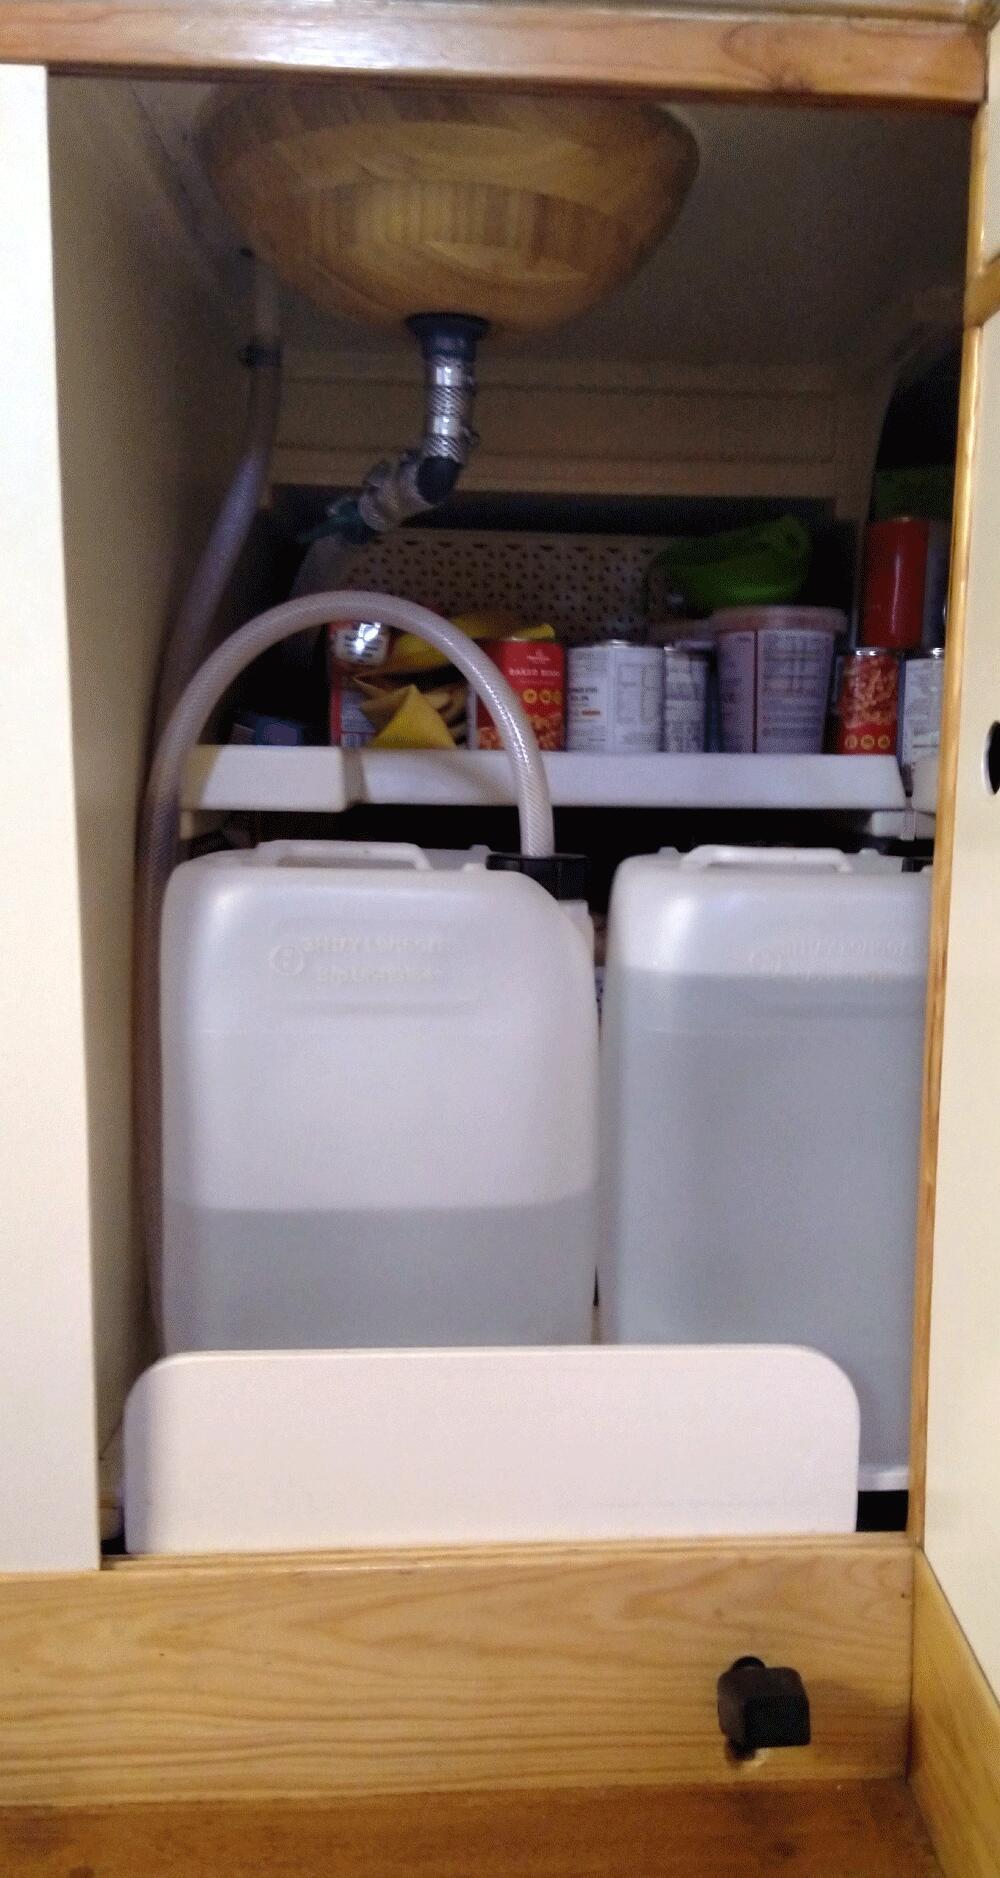
- Through the hull sink drain
- Installed Dickinson Bristol diesel cooker — with foot pump and day tank
- Installed wood burning stove
- Water base for water jerry cans
- Heating outlet for Wallas hot air heater
- Diesel day tank and foot pump for Dickinson stove
Saloon
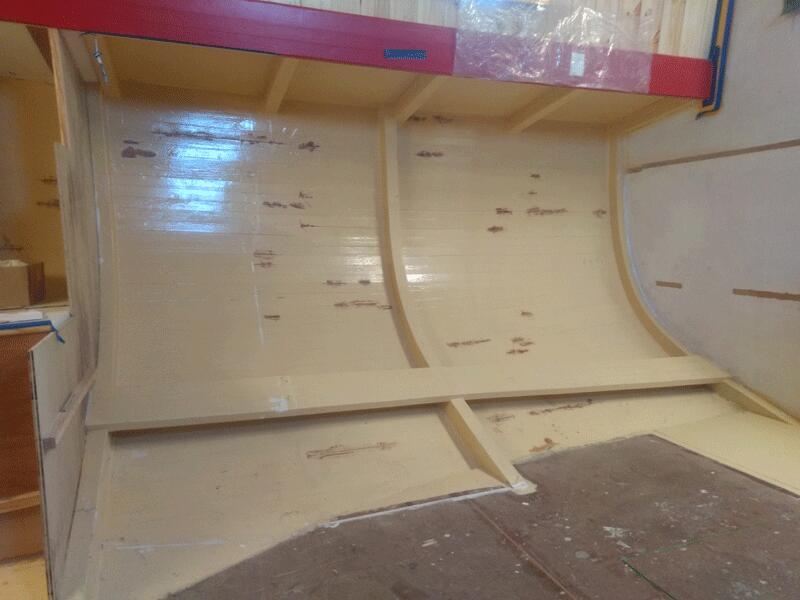
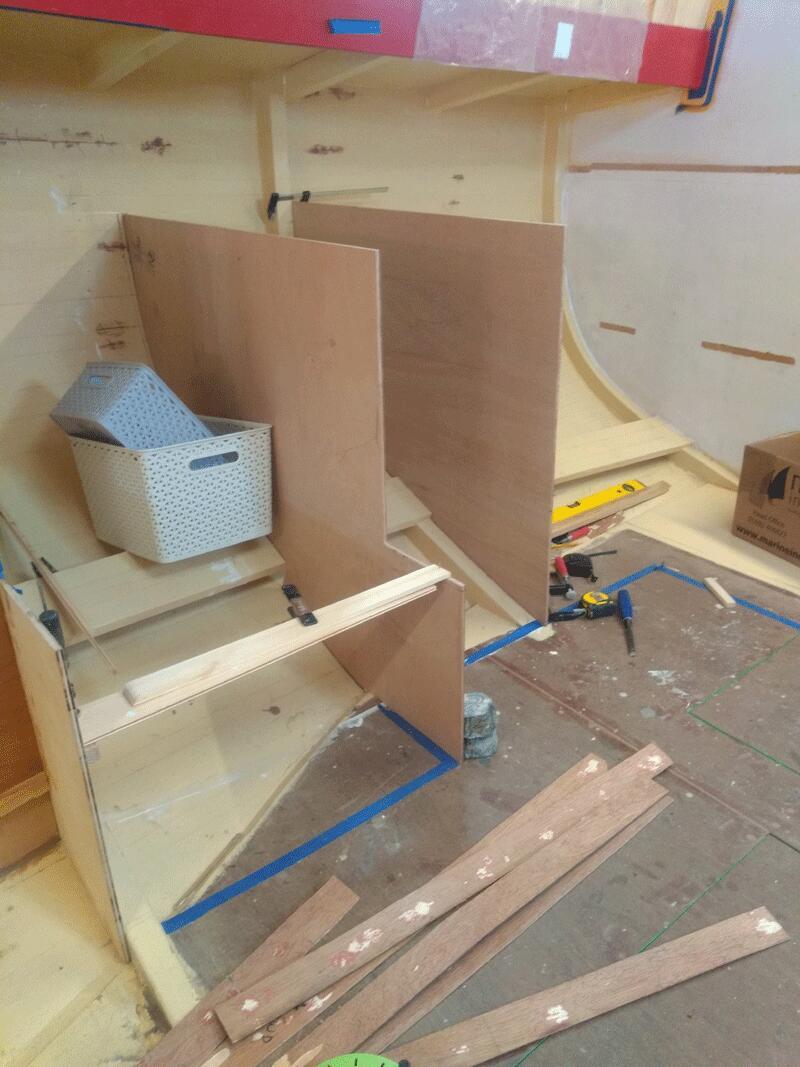
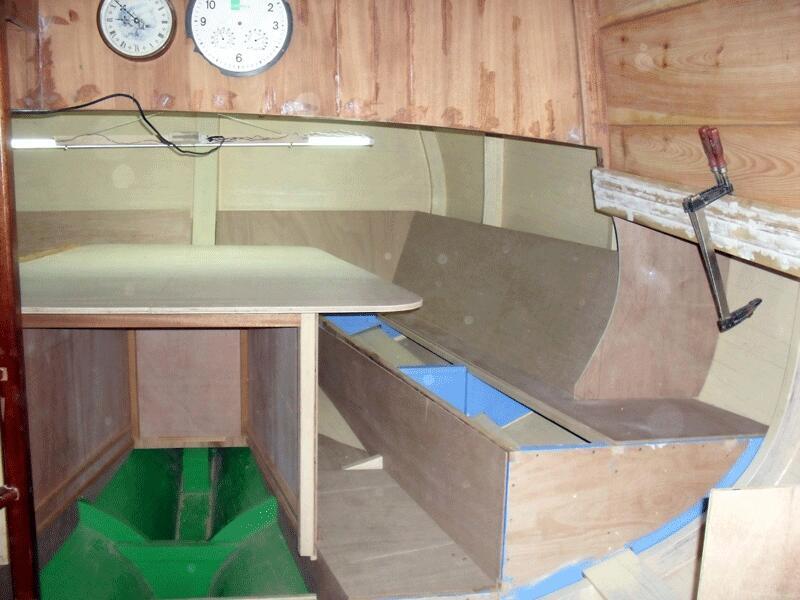
The biggest and most complex, time consuming carpentry work.
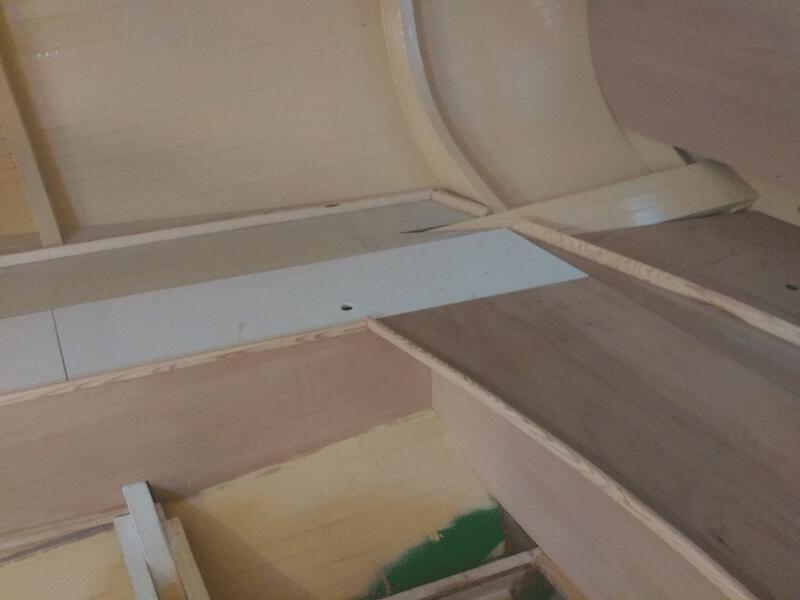
- Removed existing saloon
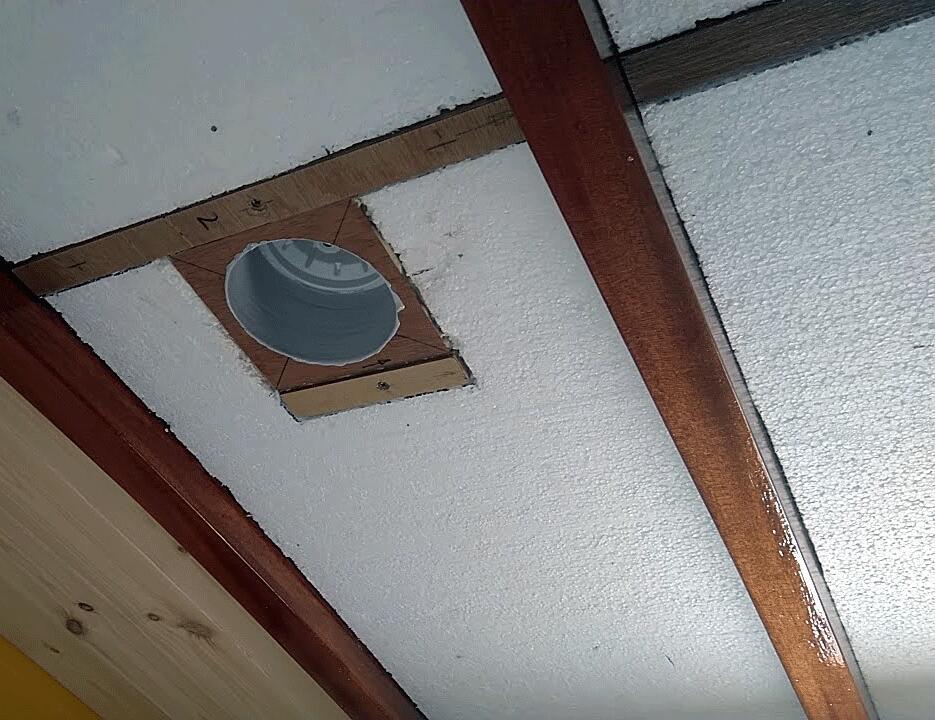
- Added two windows aft and two on each side, 2 in ceiling / cockpit
- Added two vents — located inside cockpit locker
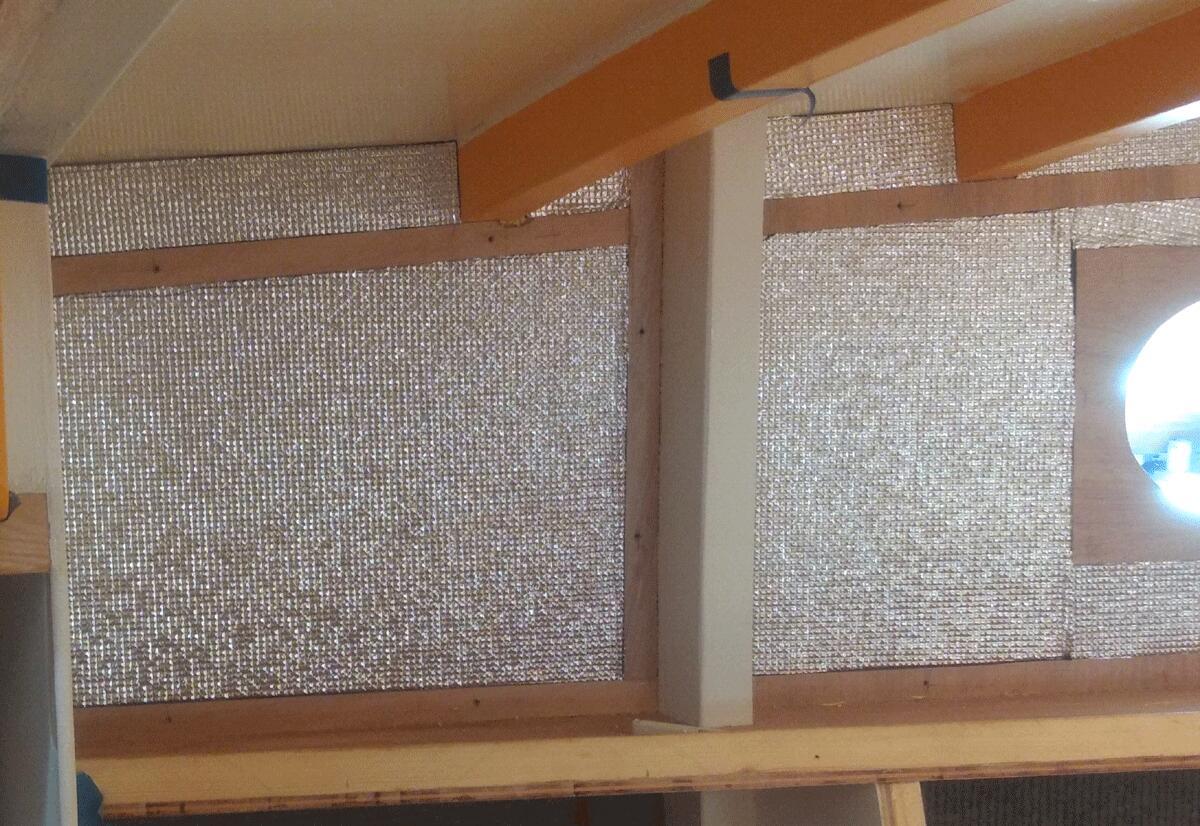
- Frames around side windows
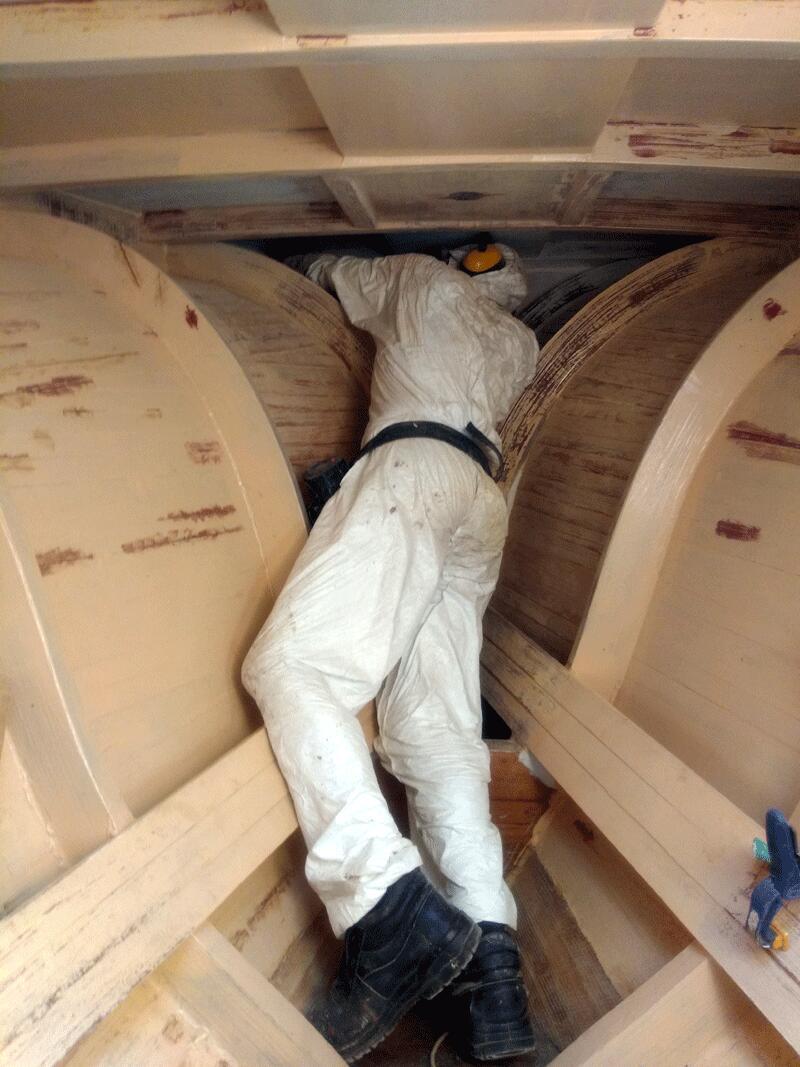
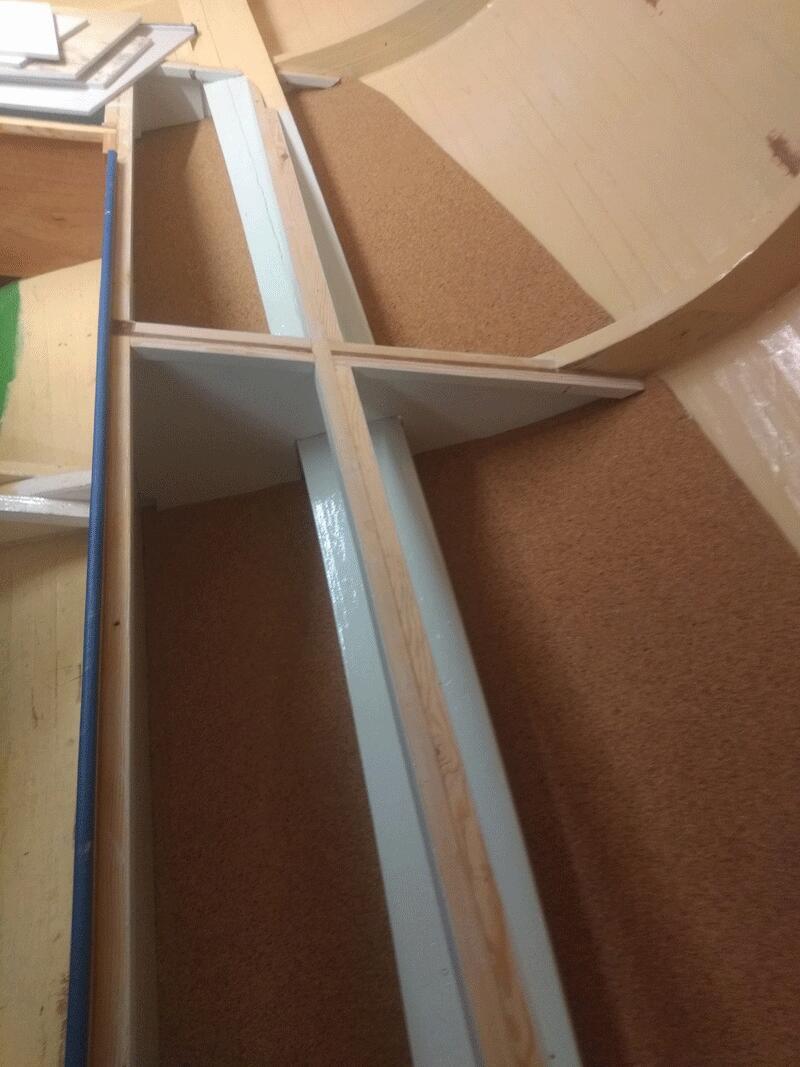
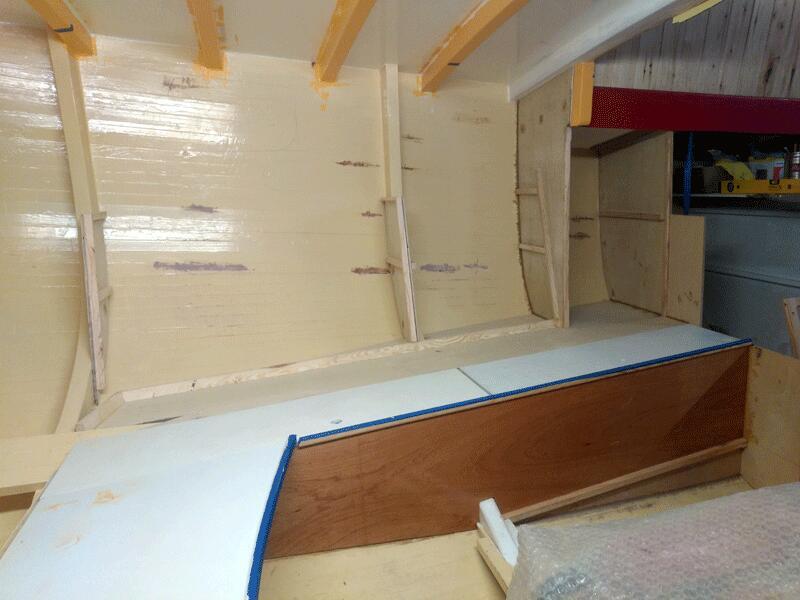
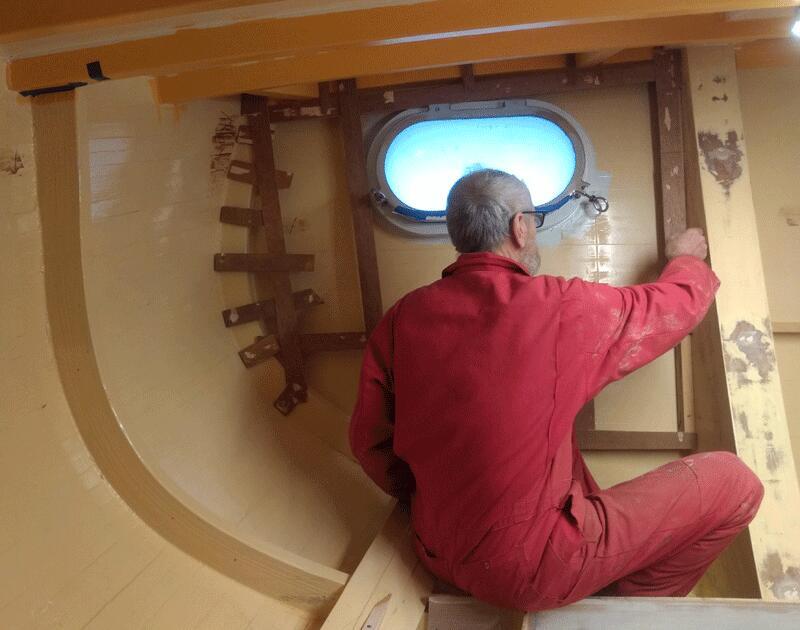
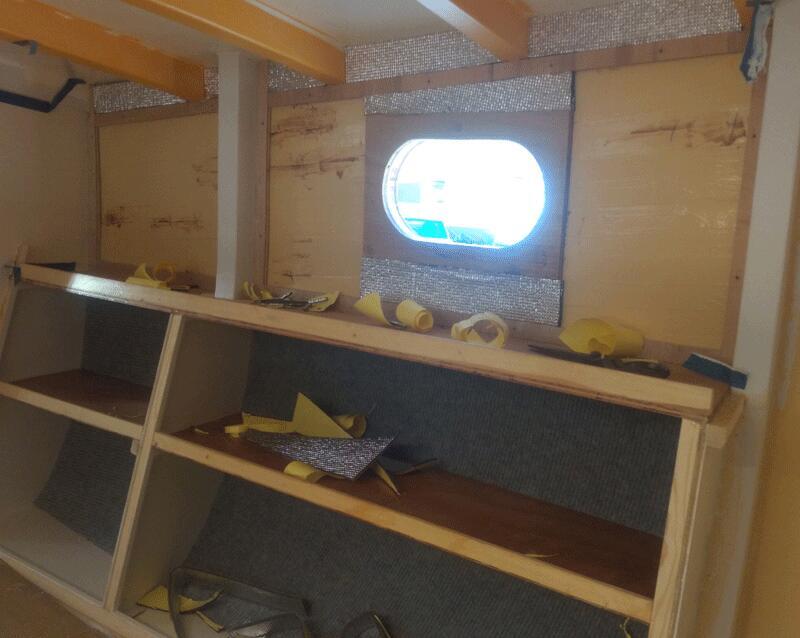
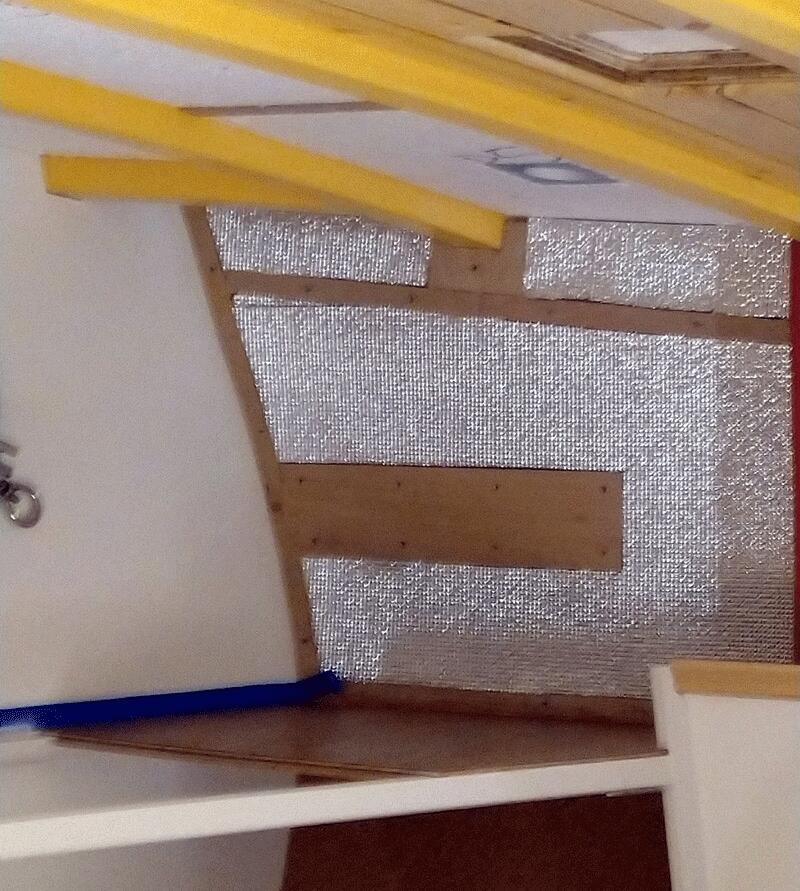
- Added insulation structure for finishing panels / ceiling & deck ceiling
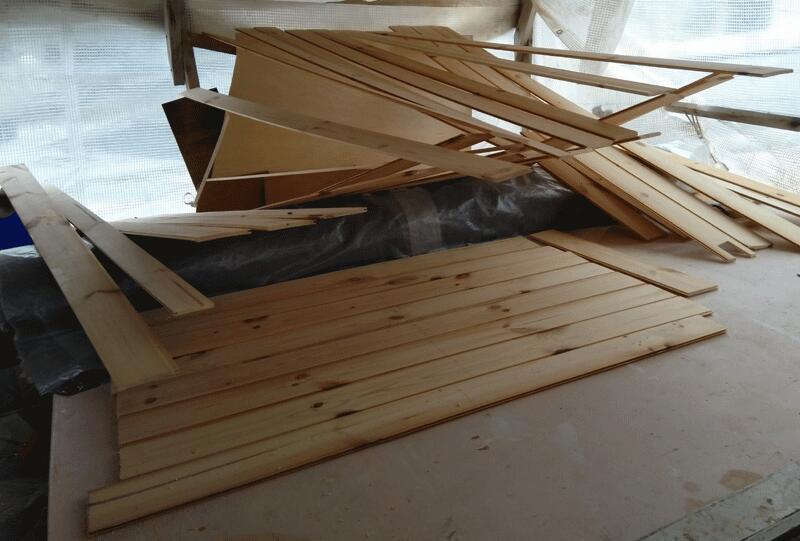
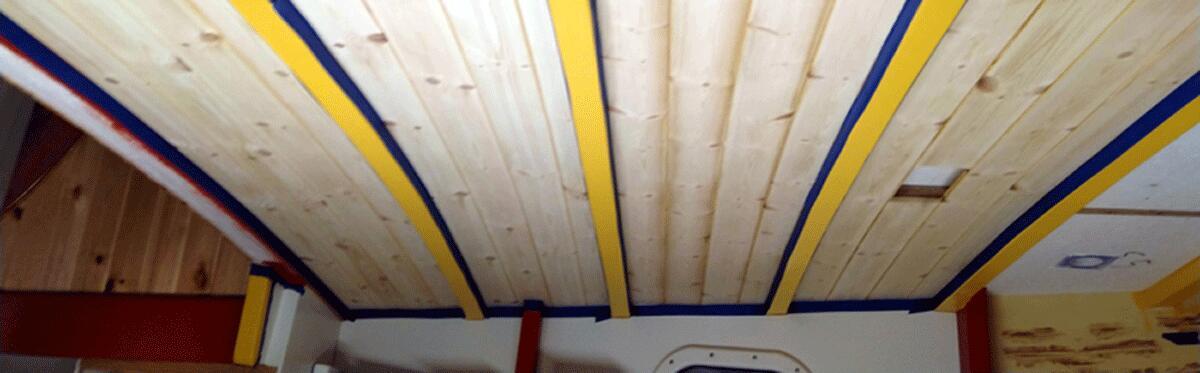
- Made finishing panels / ceiling
- Insulated from stringers upwards
- Insulated deck head
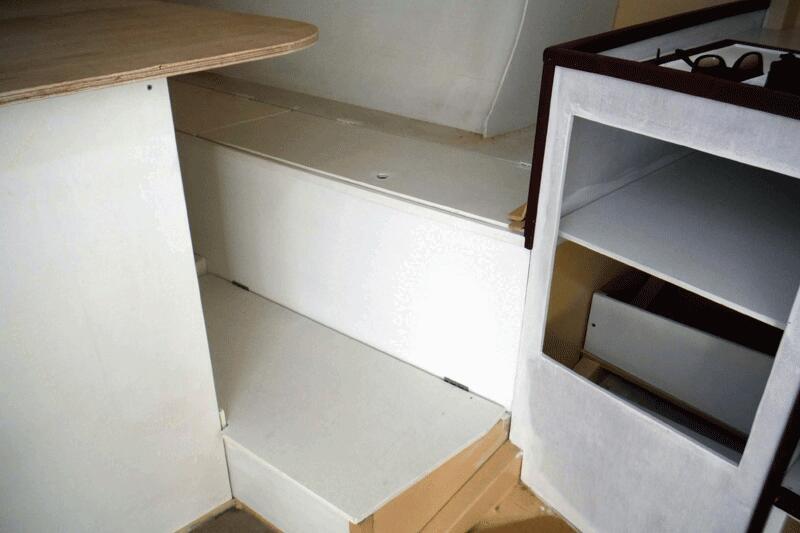
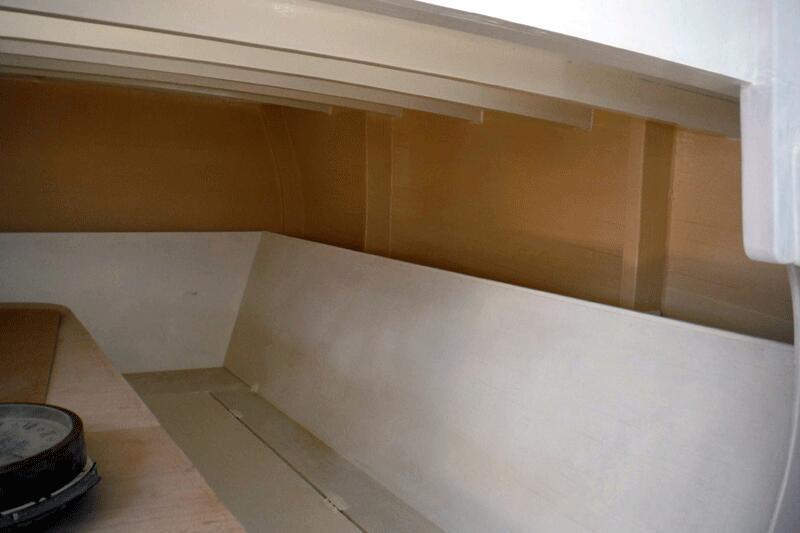
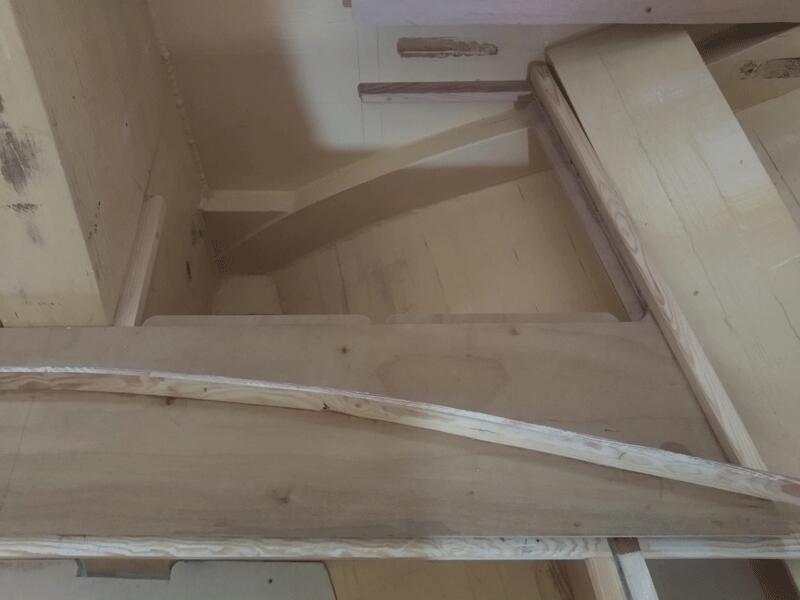
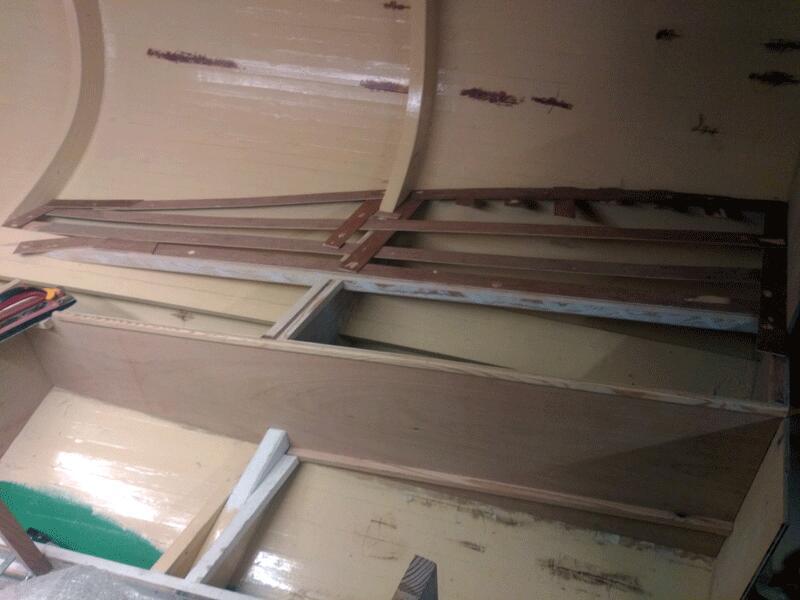
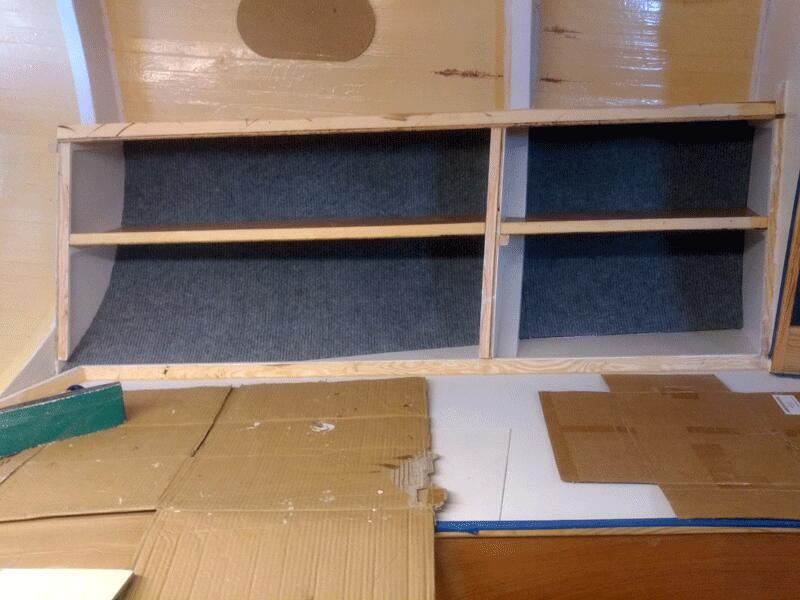
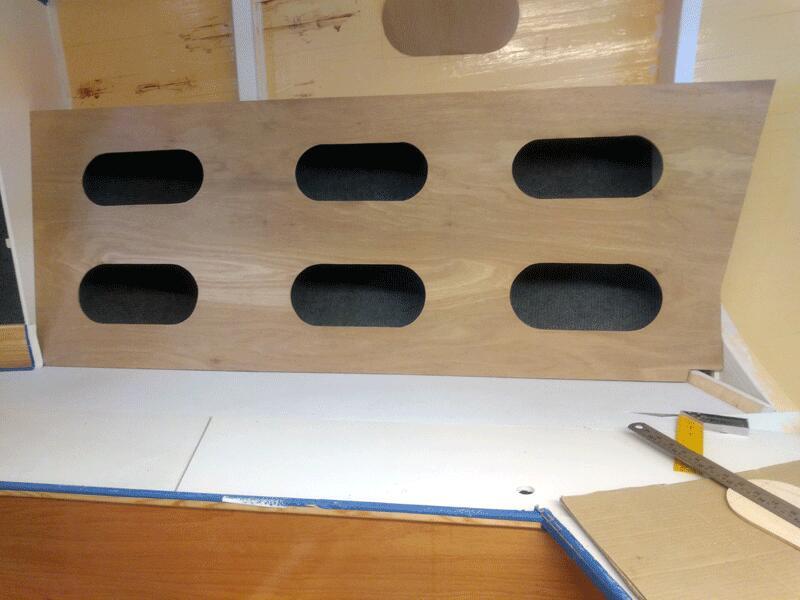
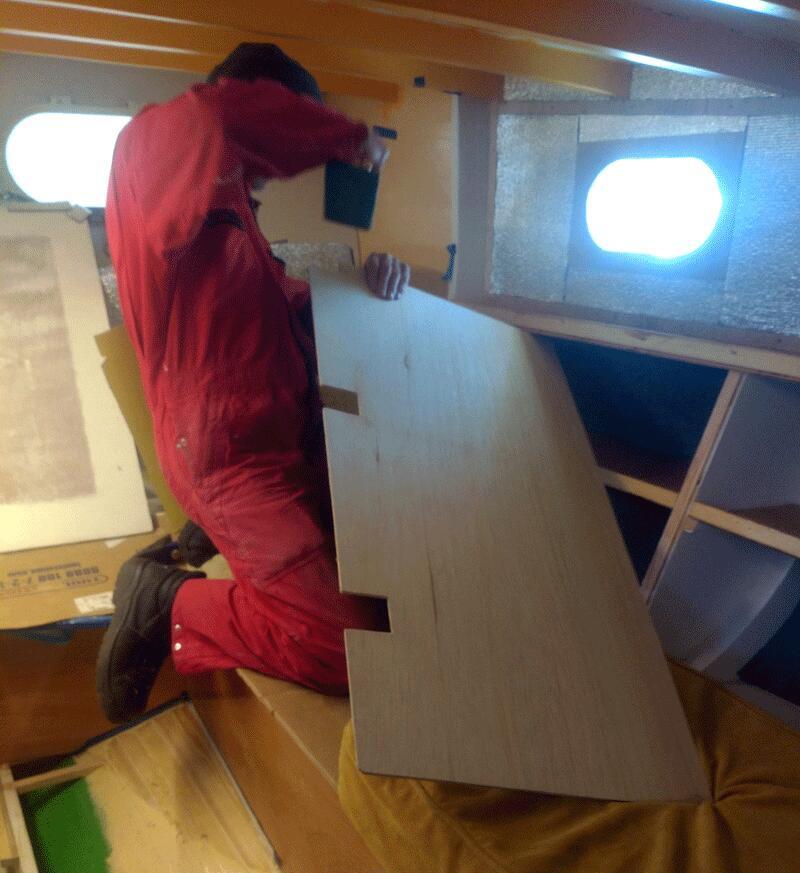
- Made a shelf and lockers behind saloon seating
- Made seating lockers & lids
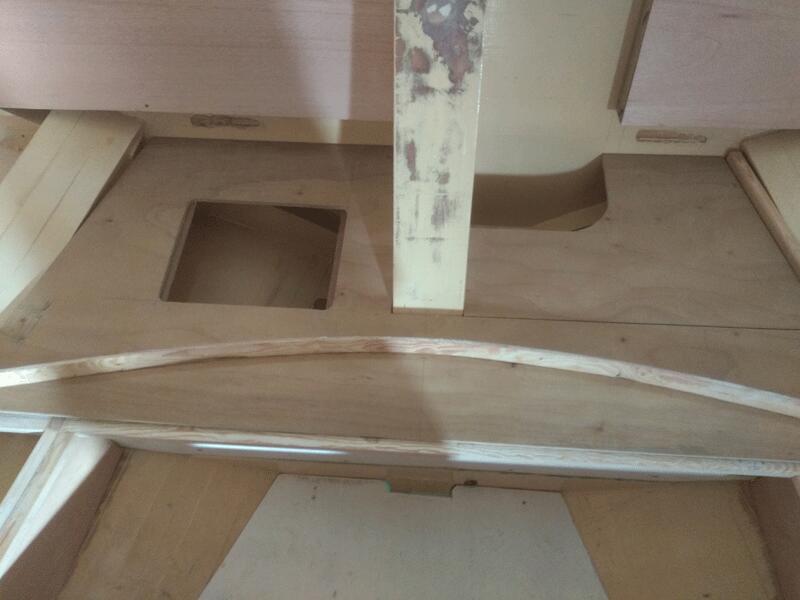
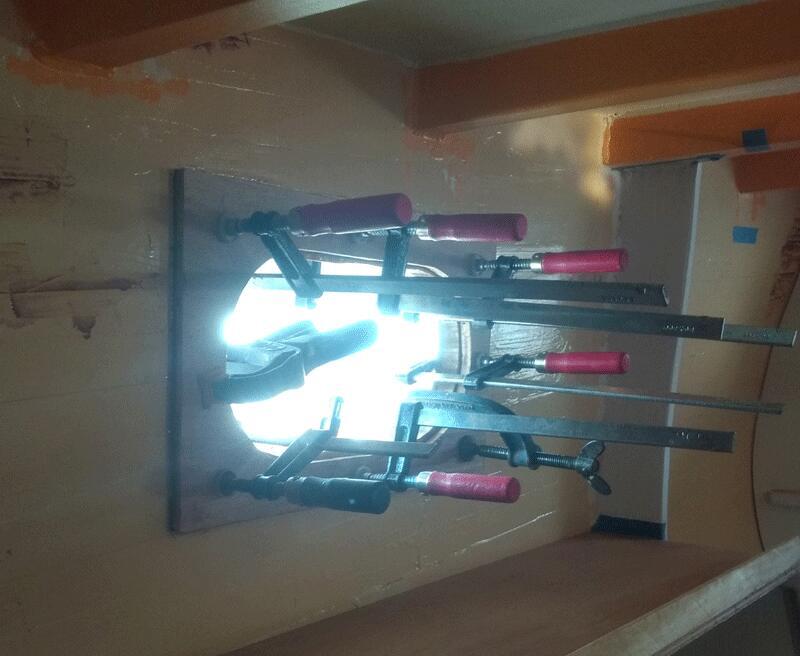
- Made structure & floor board for floor level around the table / engine
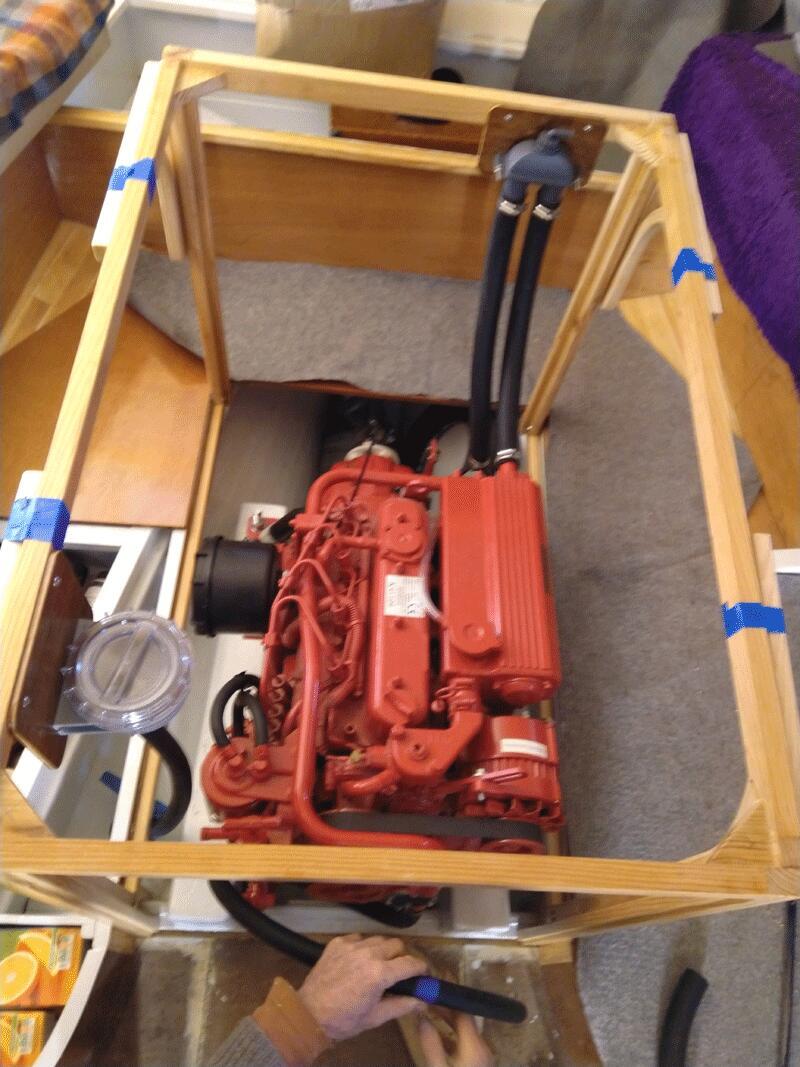
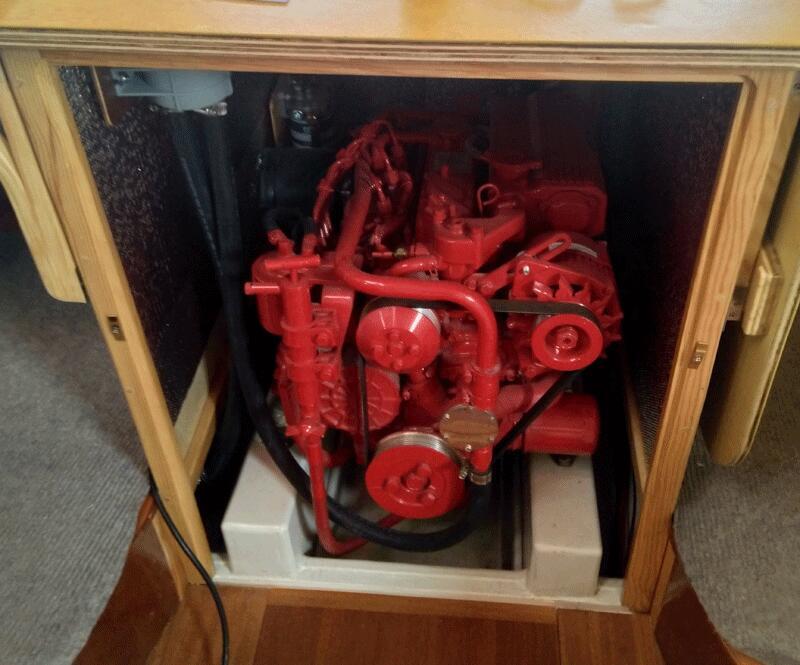
- Made engine box with removable panels
- Made table with two folding leaves, covered with Marmoleum
- Drilled 2 holes for piping and cables to the cockpit
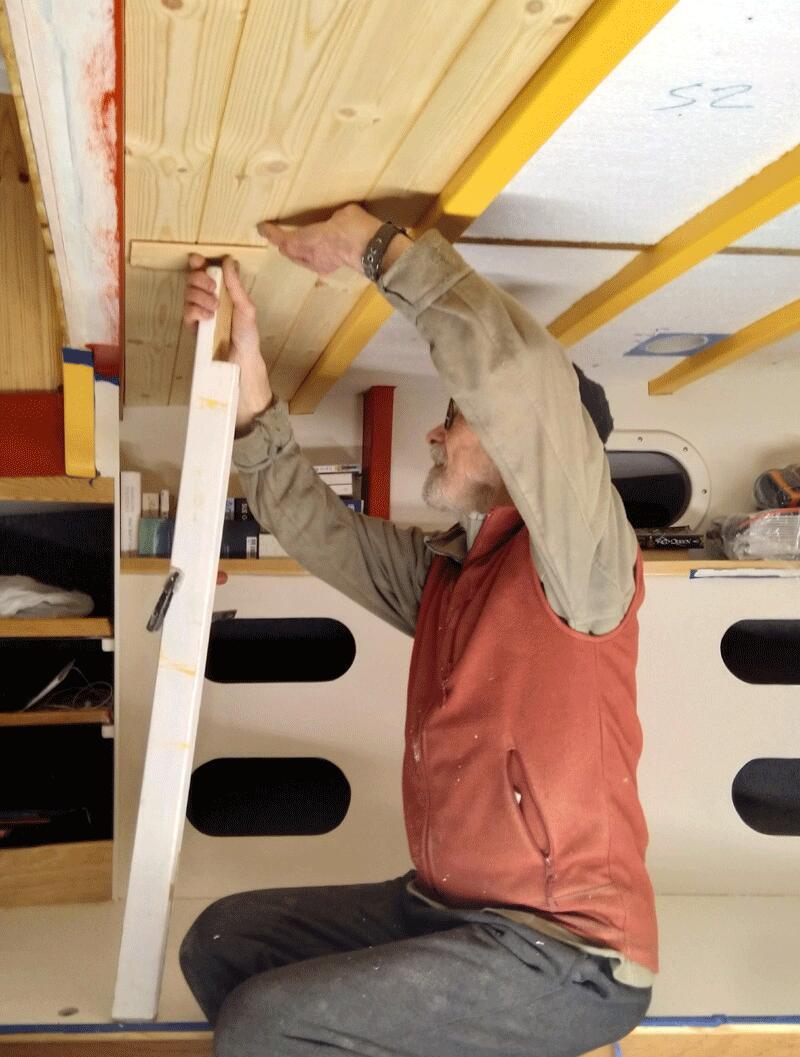
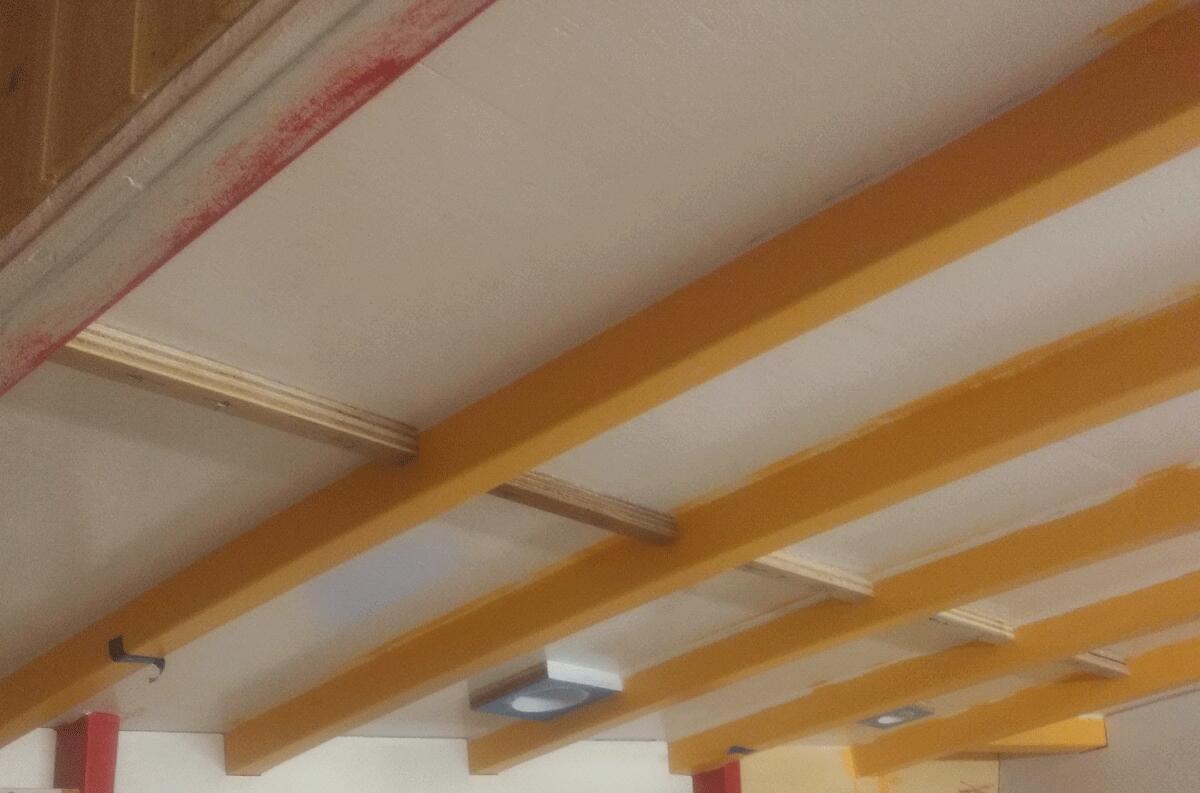
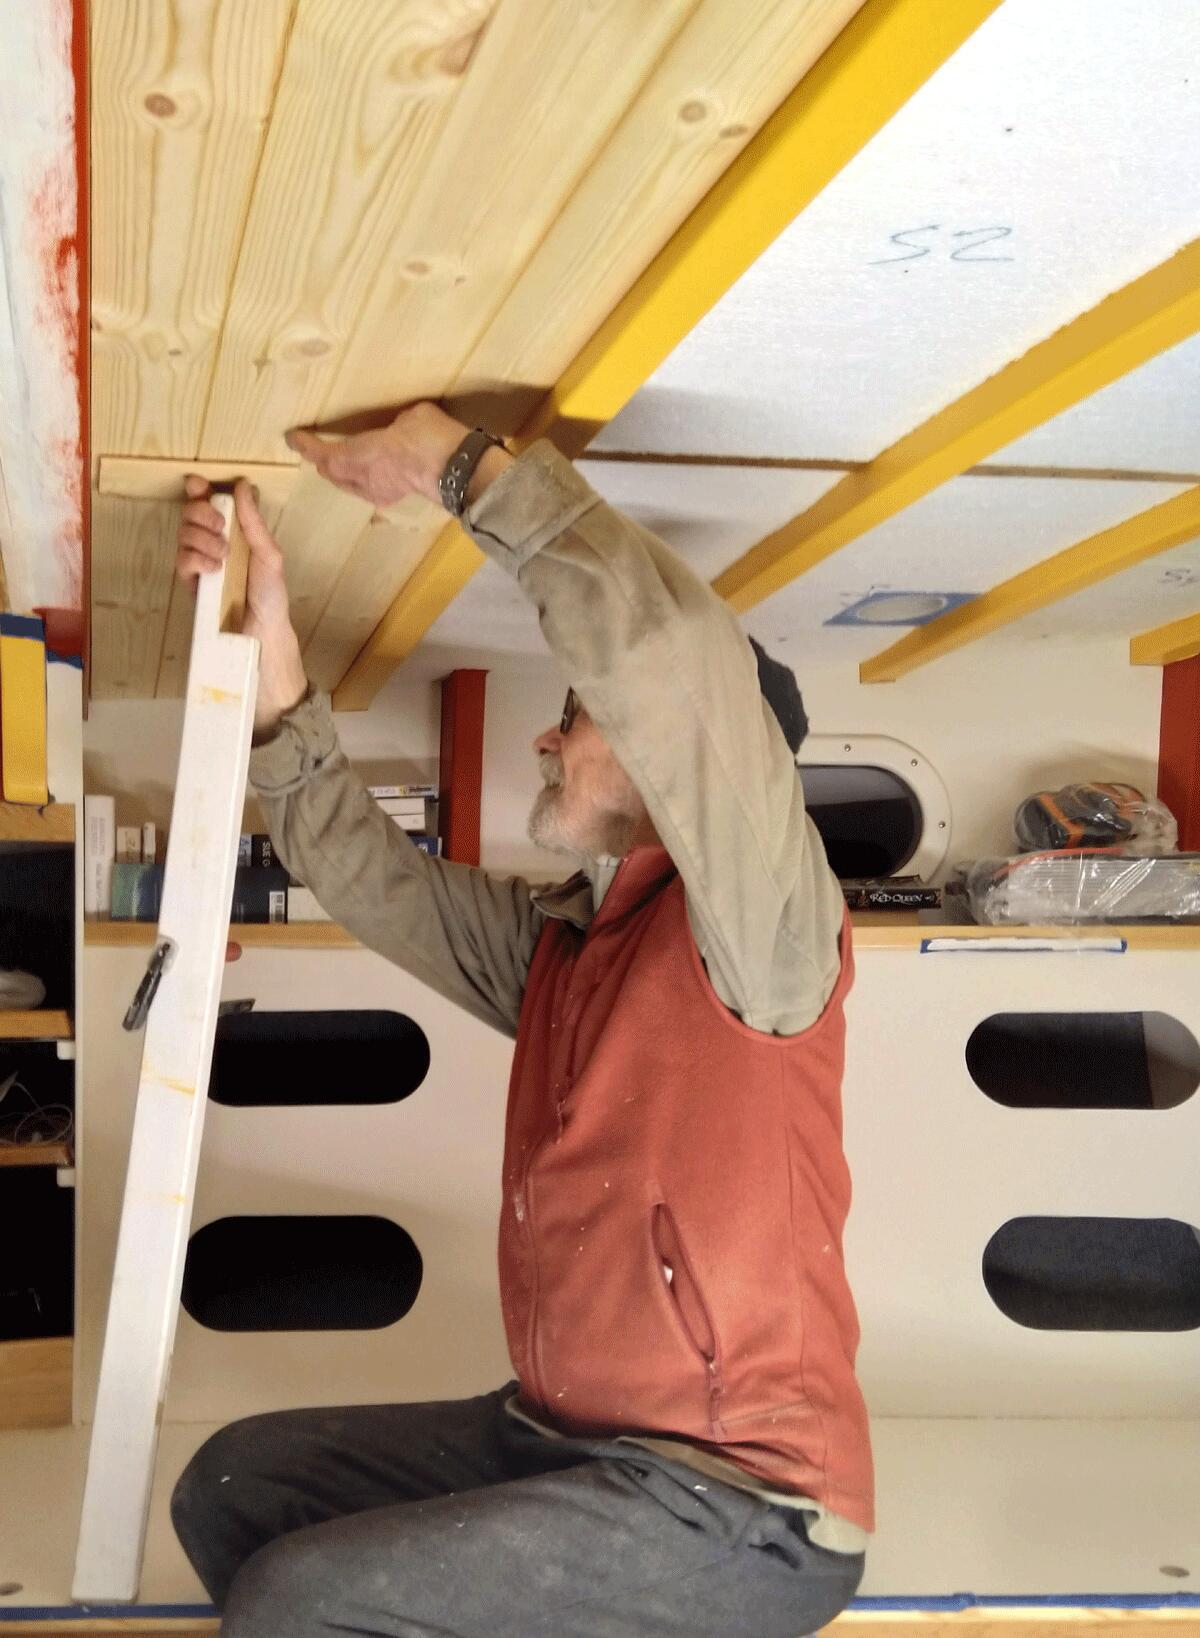
- Clad deck head
- Rounded / bevelled all deck beams
- Built / made 2 side lockers & doors
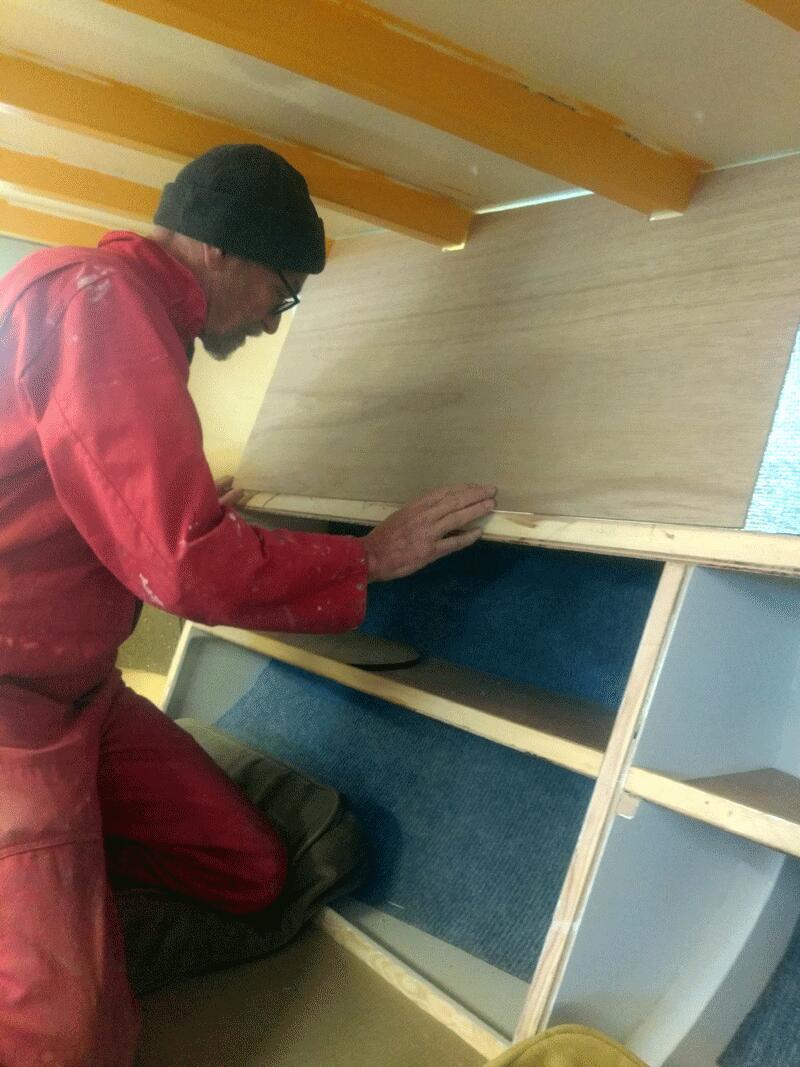
- Made curved backrest
- Made shelf behind curved backrest
- Flooring — sapele 4mm x 75mm strips, glued with flooring glue
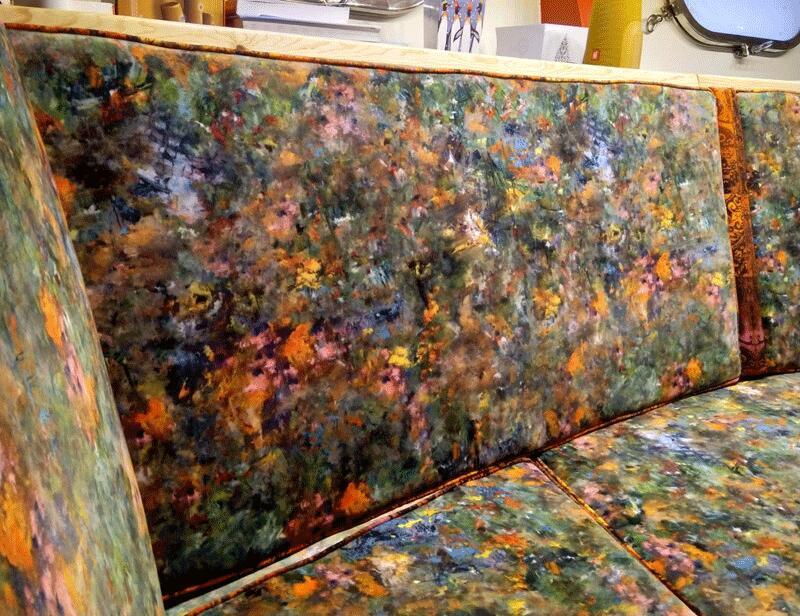
- Saloon upholstery — made by Jake
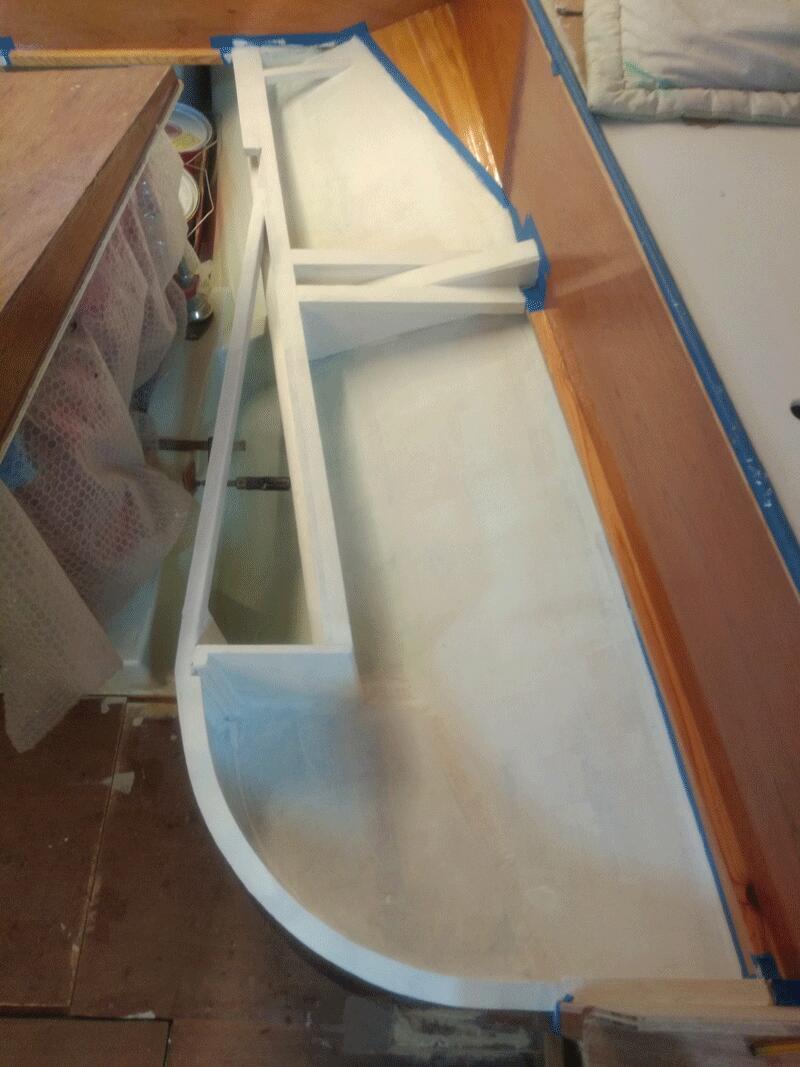
- Made oil box under the engine
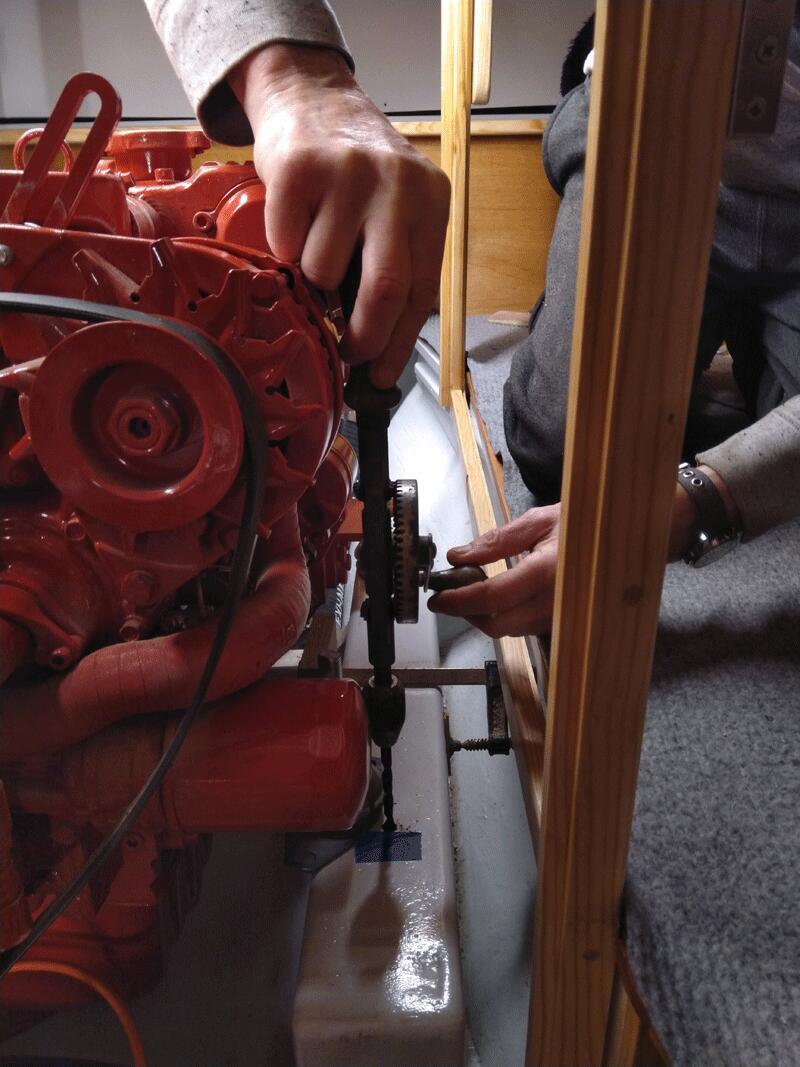
- Built engine beds
Insulation
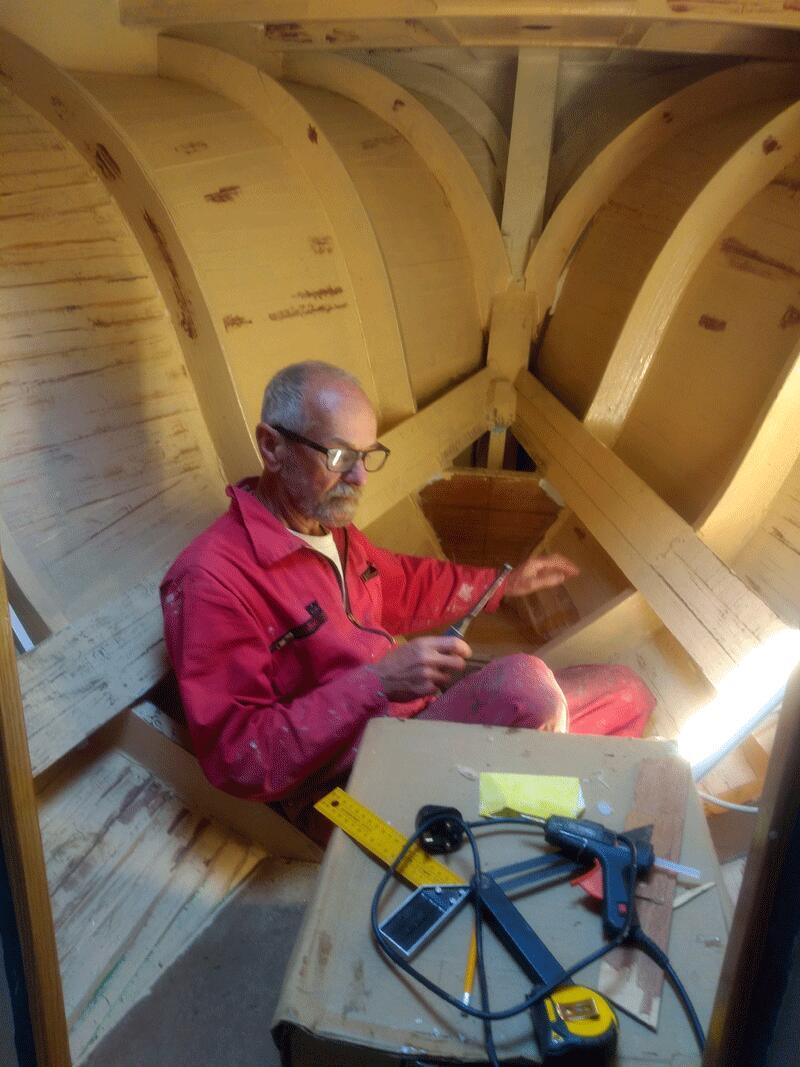
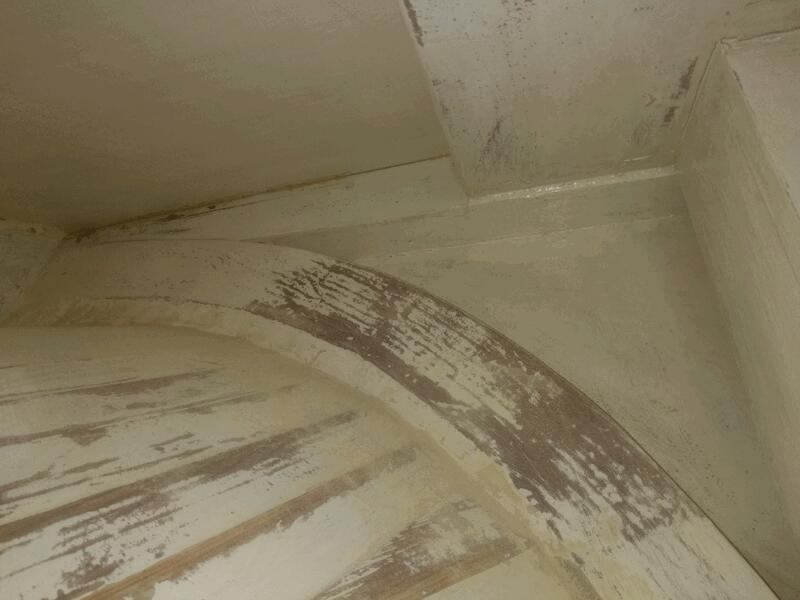
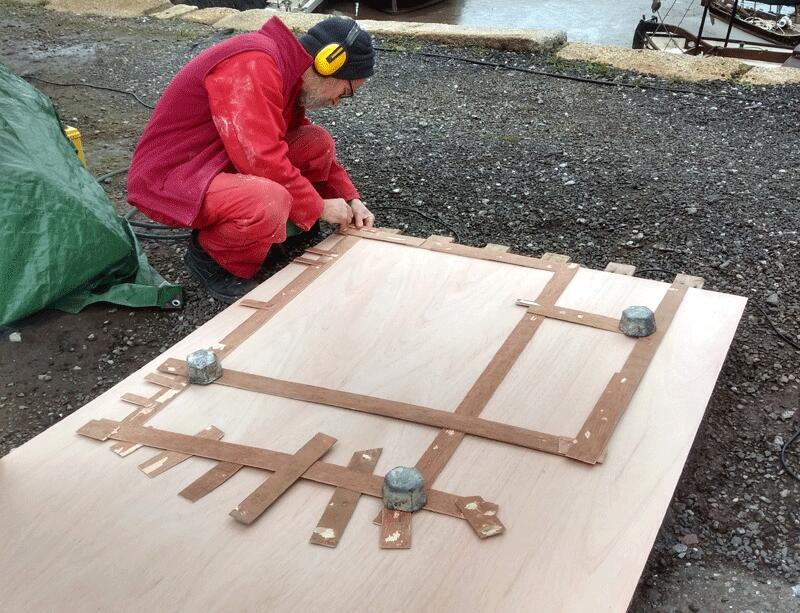
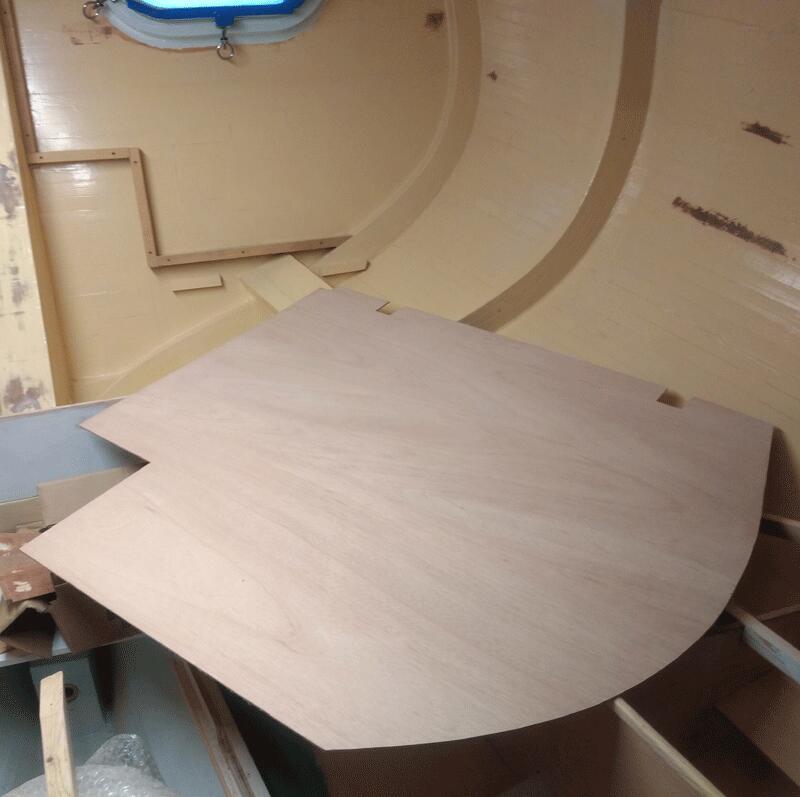
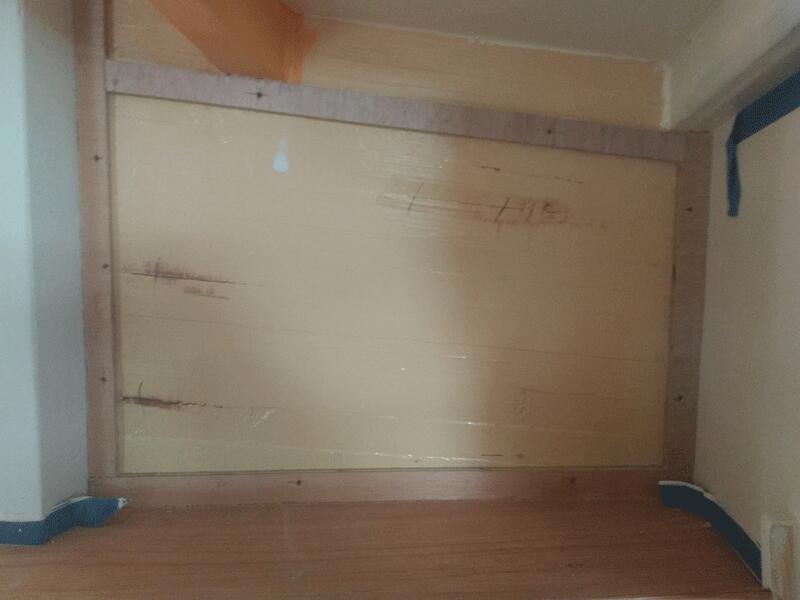
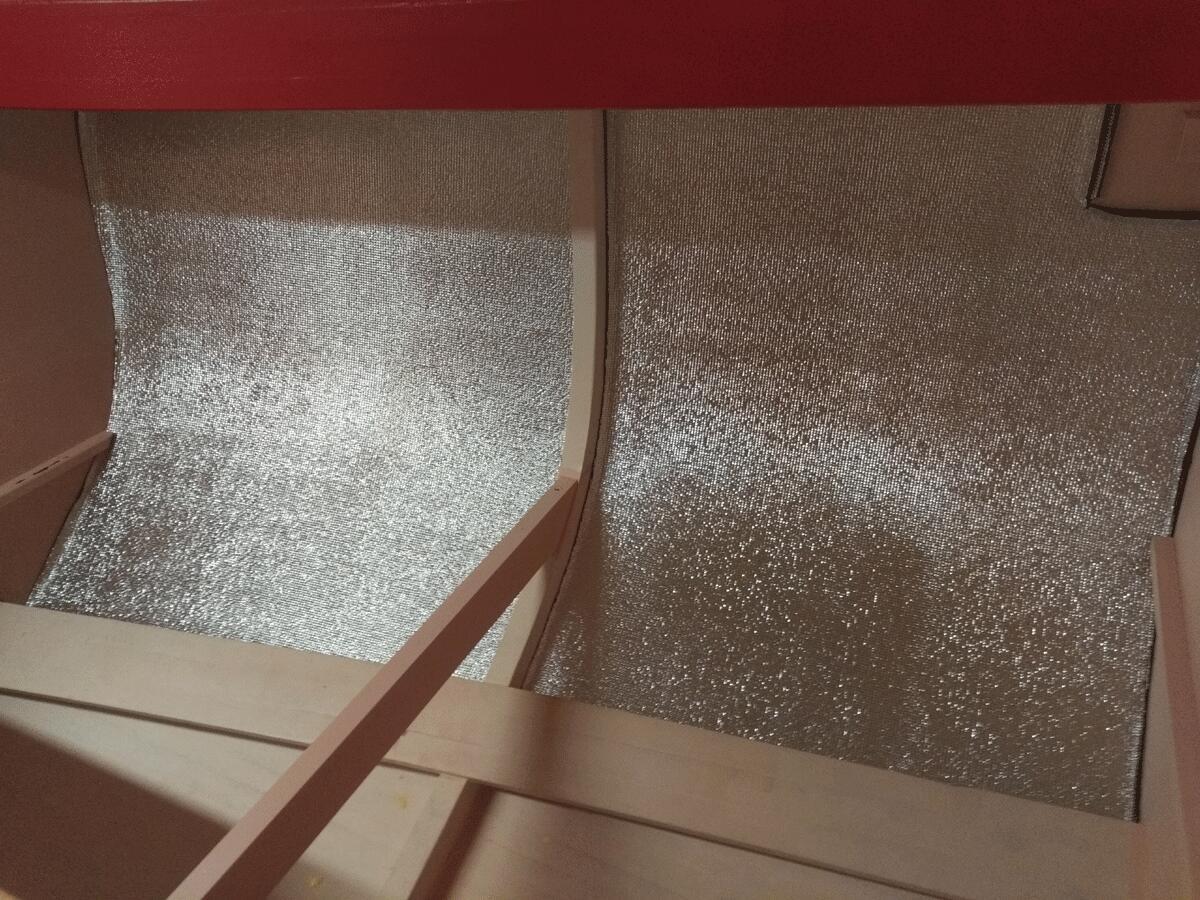
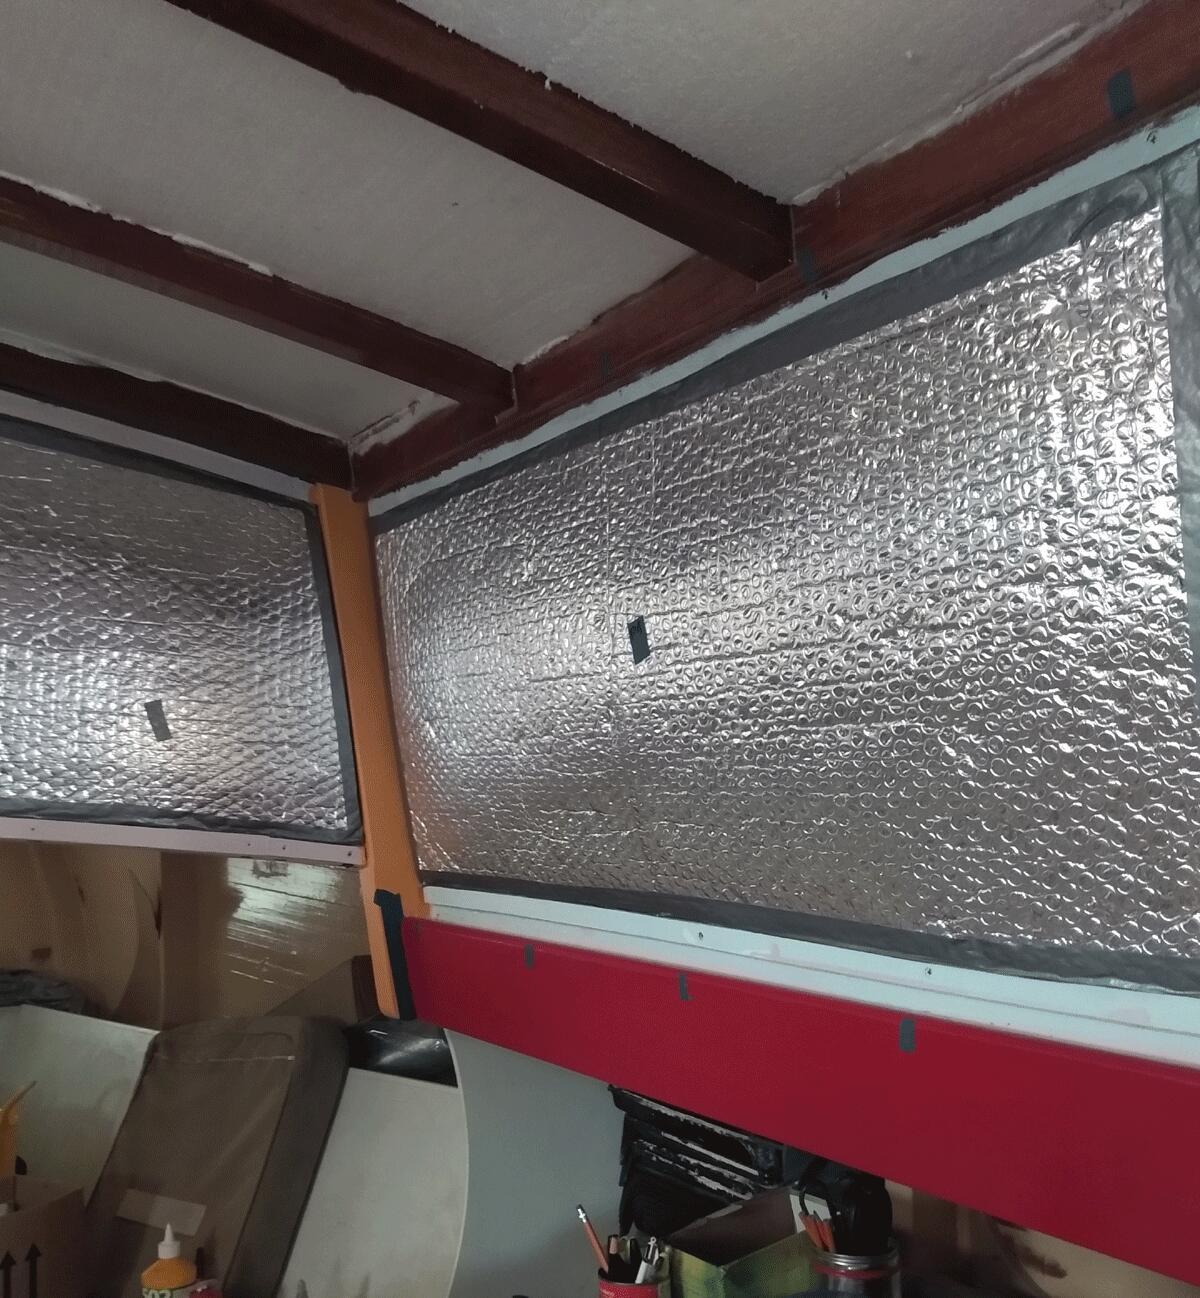
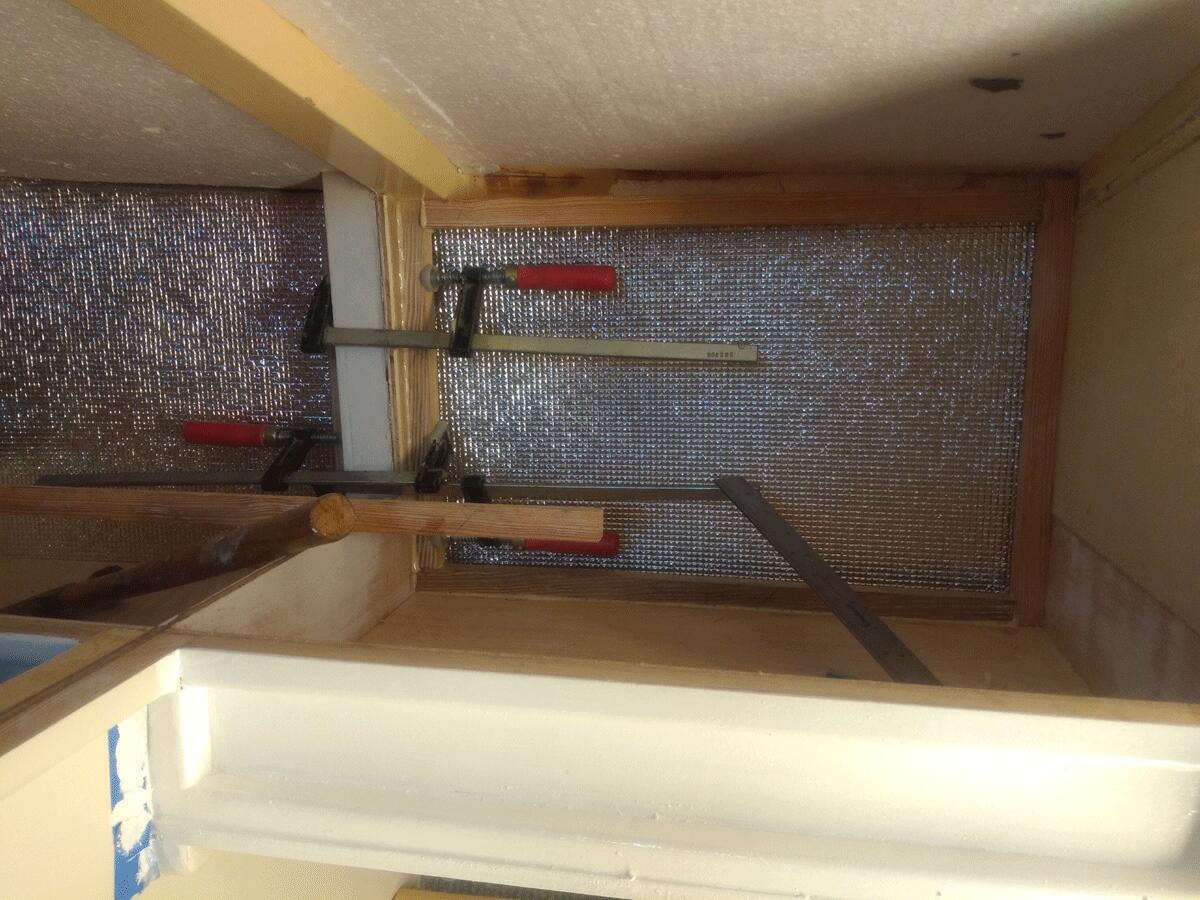
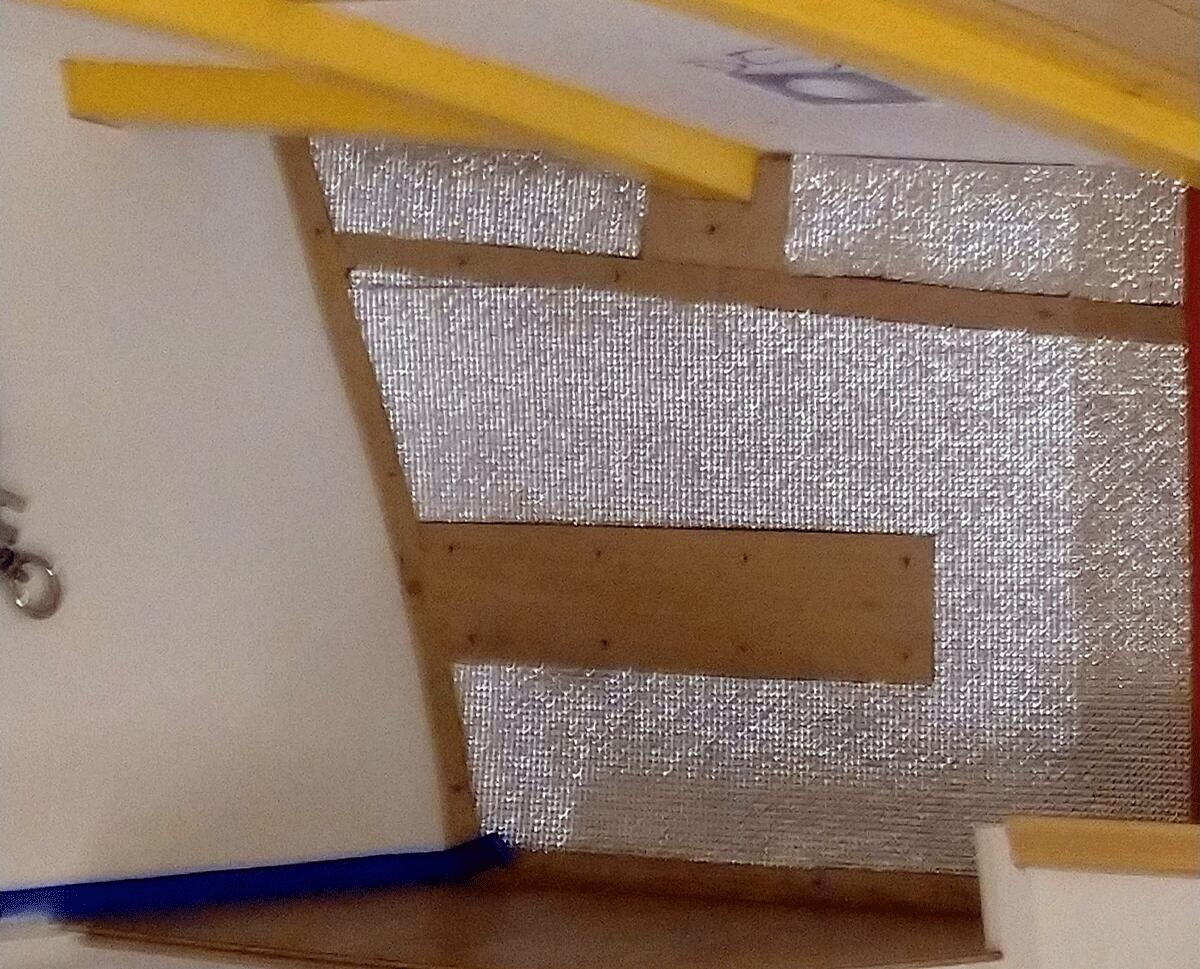
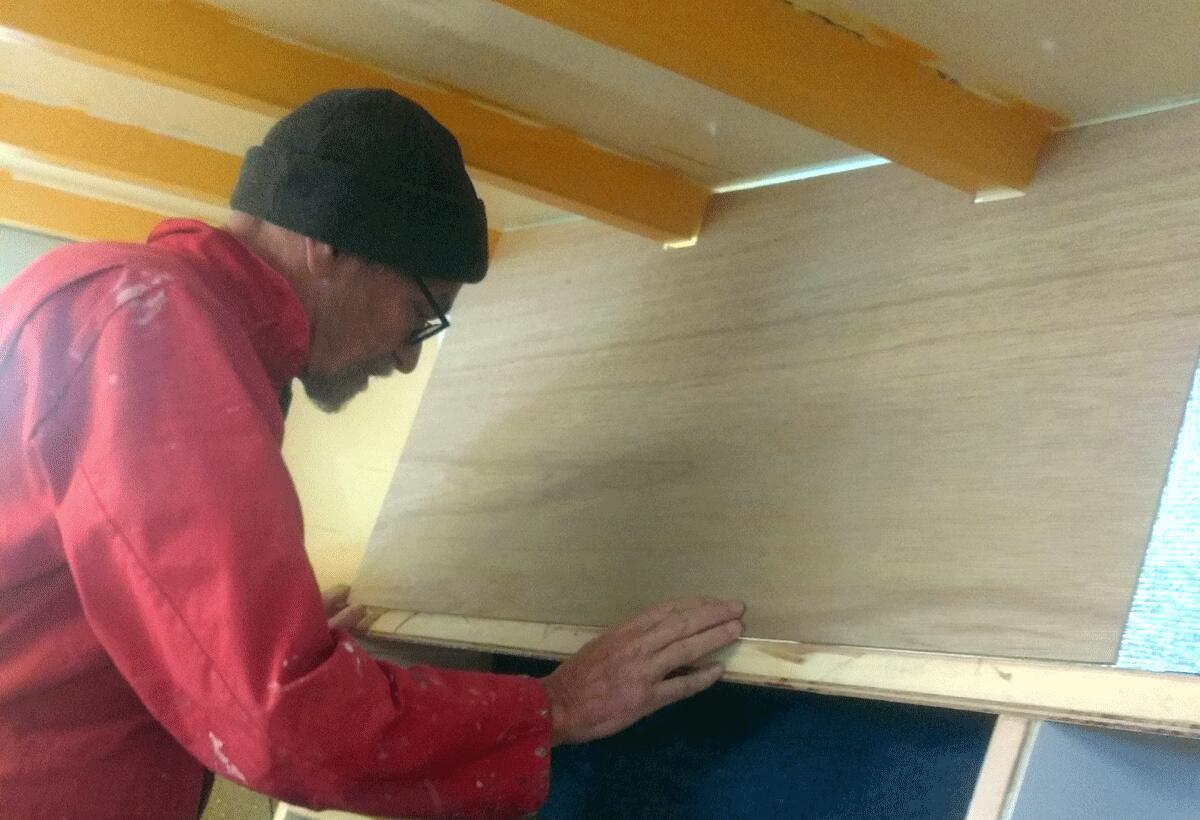
Cabin, decks & hull (down to the stringers) was insulated — like building another hull inside the outer one. Patterns between the frames and the deck beams had to be taken for insulation cutting. Framing around the insulation for the finished layer plus the pattern for those had to be made. The insulation was covered with either tongue & groove, thin plywood or cork / carpet.
Different types of insulating material were used throughout:
- Cabin deck: 2.5 cm polystyrene
- Side deck: 2.5 cm polystyrene x 2 layers
- Cabin sides: aluminium bubble wrap x 3 layers
- Hull sides: self adhesive aluminium faced foam 12mm x 2 layers
How it was done: Insulation was done by making paper patterns against the hull. For cabin and deck head insulation, 1" wood strips had to be made and glued to create a framework for outer panelling & tongue and groove. For the hull, insulation was spray glued to the hull and covered with carpet.
Finish:
- Cabin — tongue and groove for cabin side and deck head
- Saloon — panel facing on the side of the hull, tongue and groove for deck head
- Lockers (except saloon) — carpet
- Saloon locker — cork

Engine & Equipment
Our approach:
- If you don't have it you don't need to look after it and it costs you nothing
- Keeping it simple to reduce maintenance and cost
- It is easier to live without something than to lead a life of problem solving
Anchoring
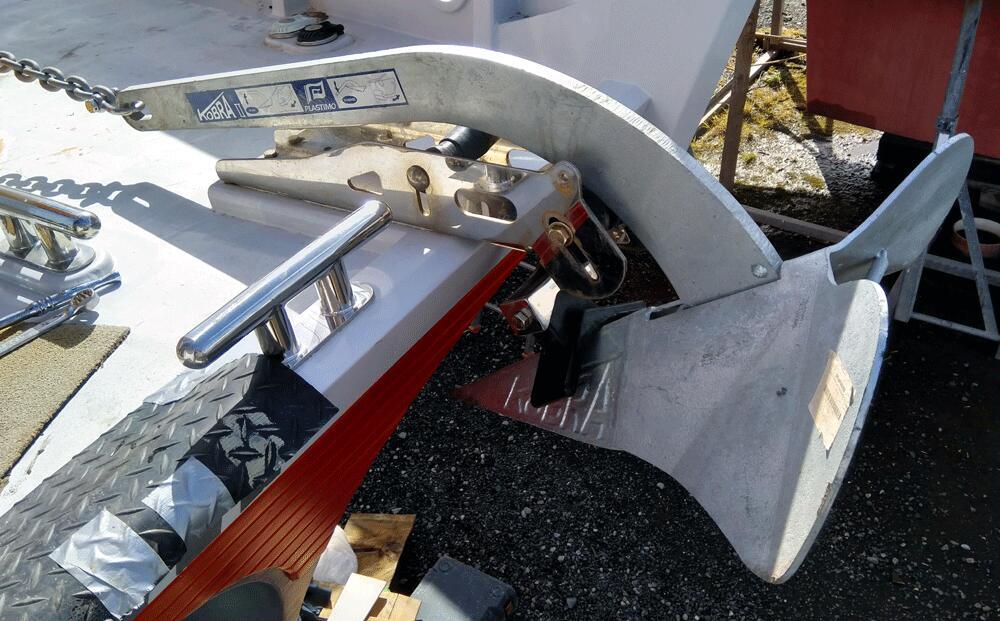
- Fit bow roller
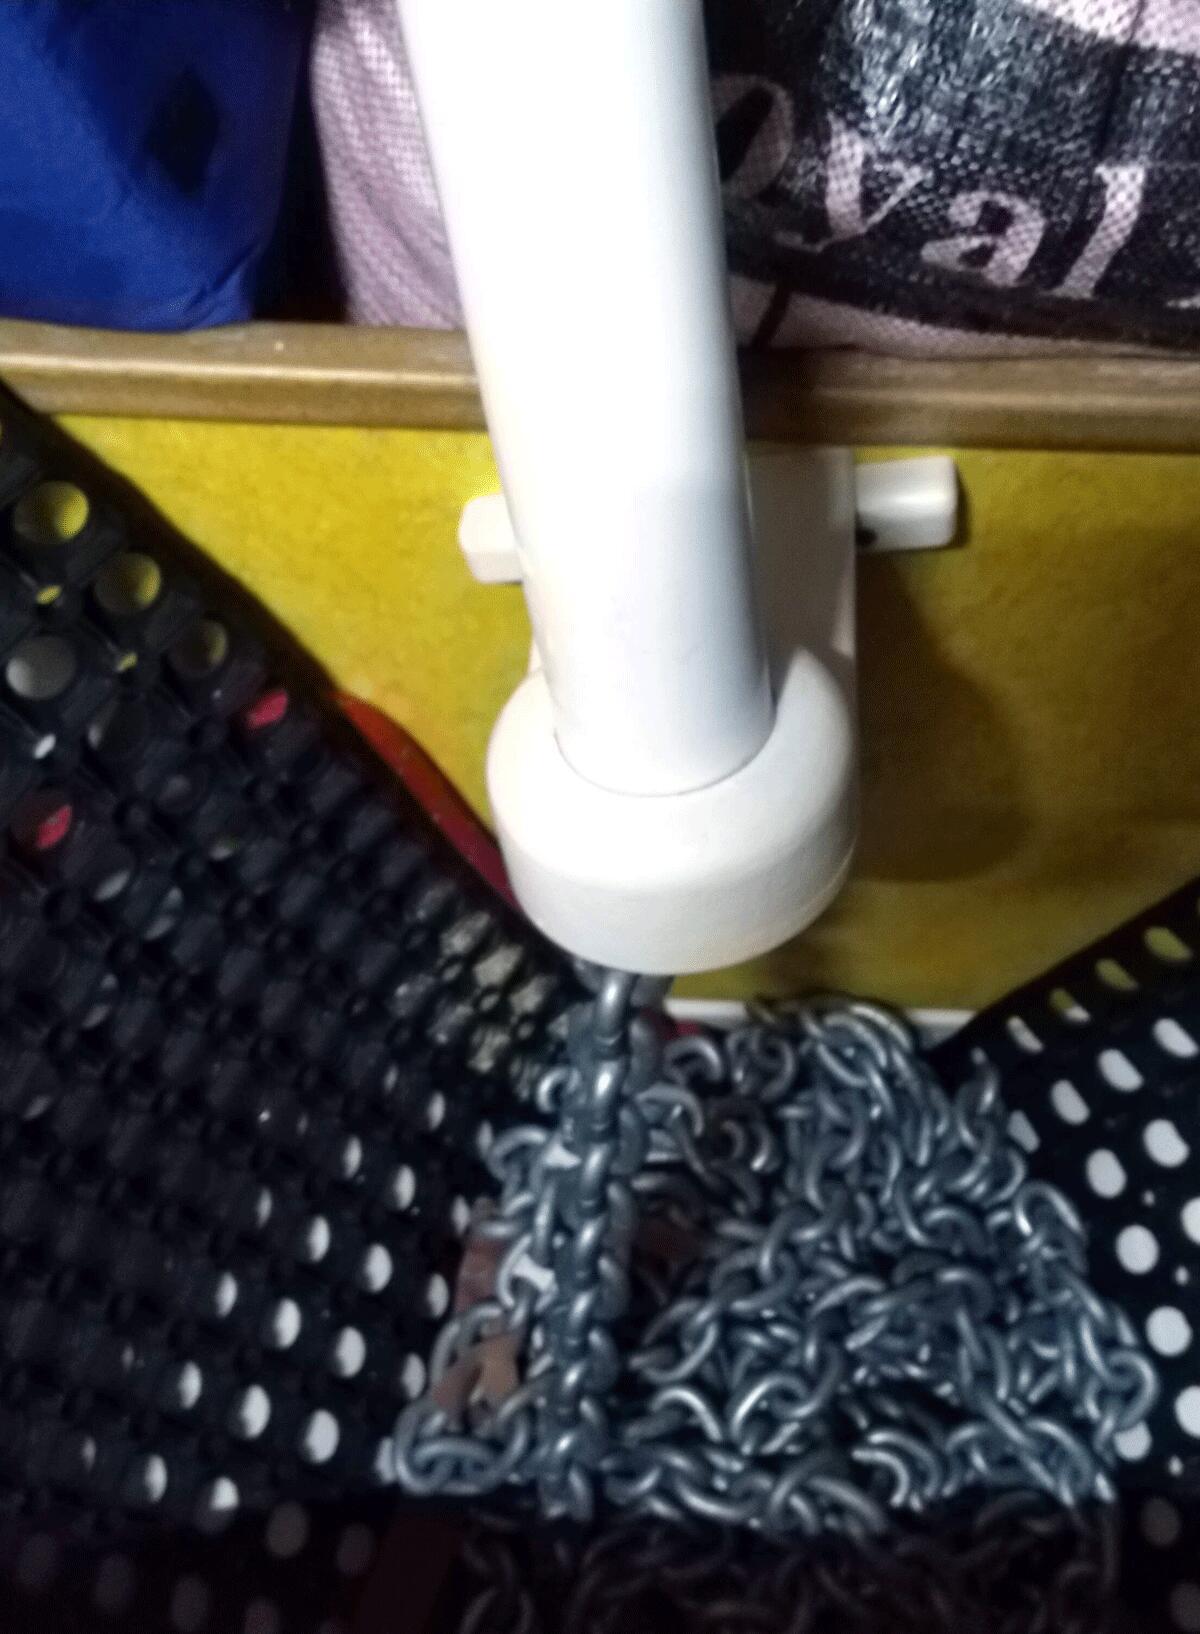
- Make chute for chain drop (in the forepeak)
- Fit two mooring cleats
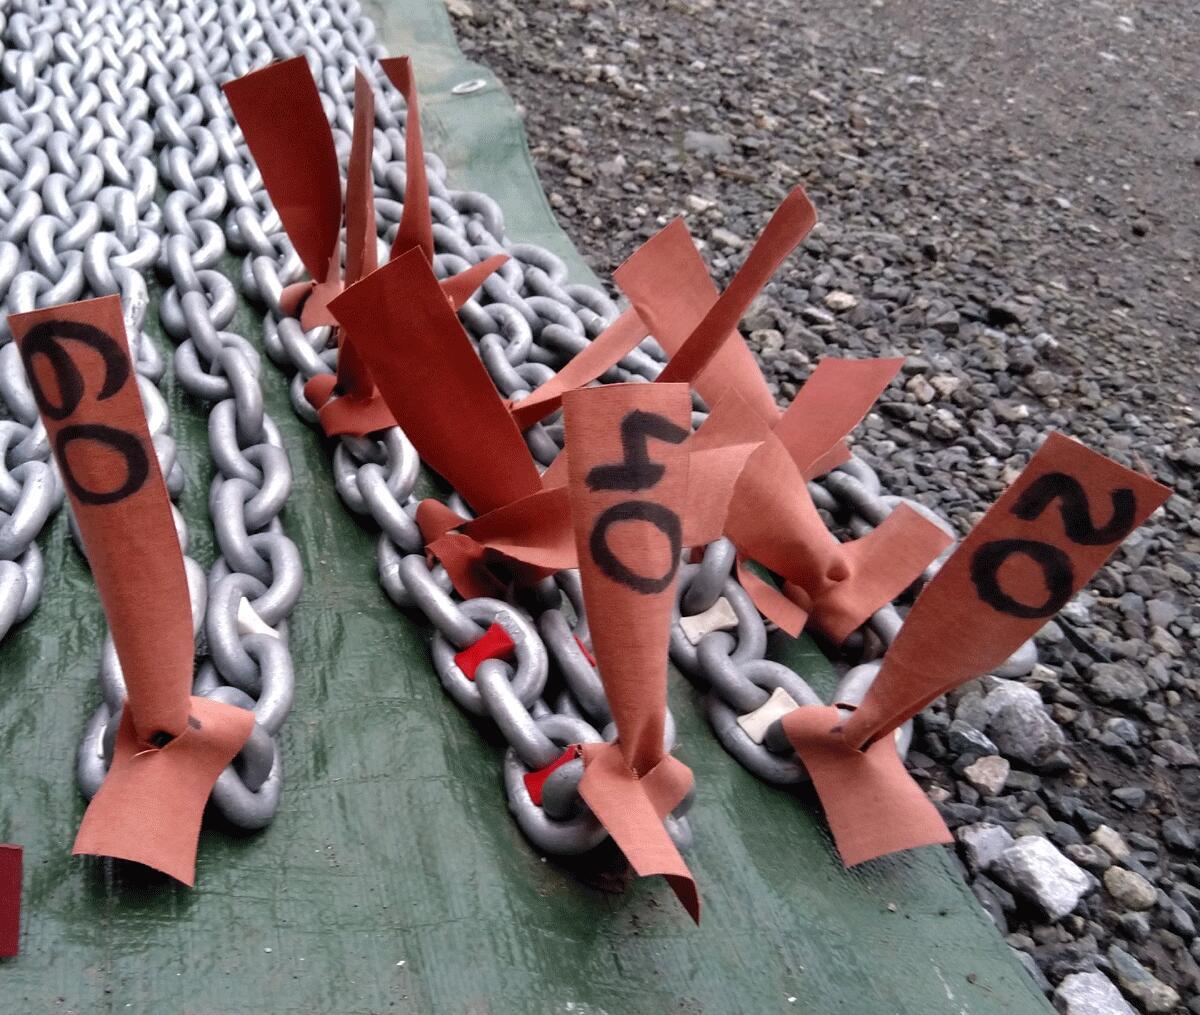
- Mark chain and mooring lines
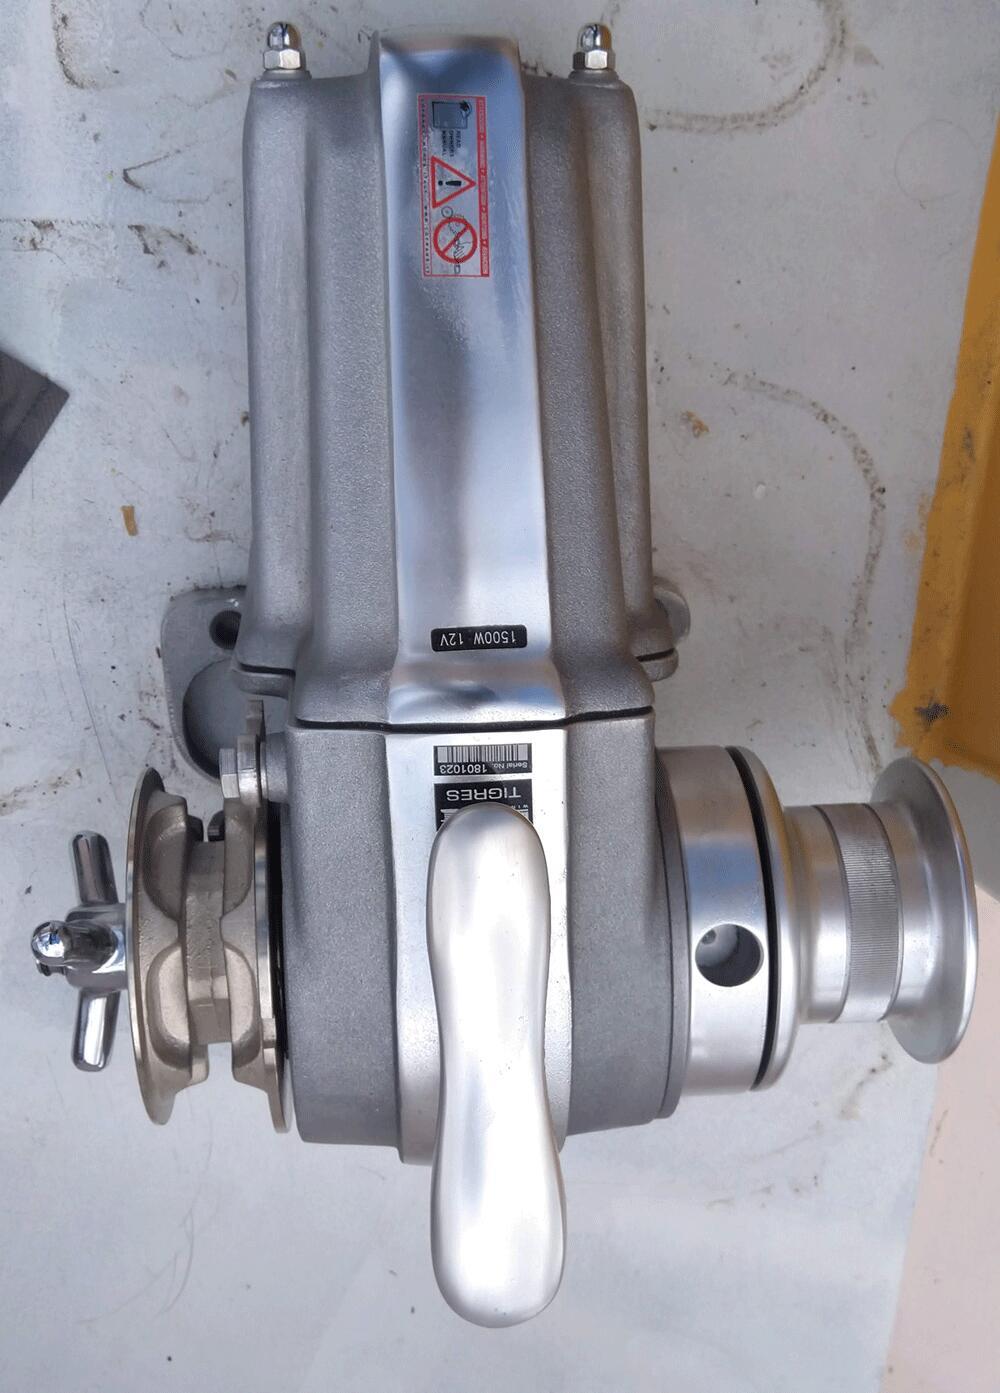
Windlass: Lofrans Tigress windlass — 1500 Watts
Chain: 10mm G4 high test galvanised chain, 80m & 40m length
Anchors:
- Plastimo Kobra 2.35 kg
- Mantus 25 kg
- Mantus 20 kg
- Plus some others!
Instruments & Navigation
- Sextant and appropriate tables, star map
- Nasa Clipper Echo sounder
- Brooks & Gatehouse Vulcan 7 Chartplotter
- ONWA 7" combined chart plotter and AIS transponder
- Standard Horizon combined VHF and AIS receiver
- Nasa Clipper GPS repeater
- Plastimo Contest Compass
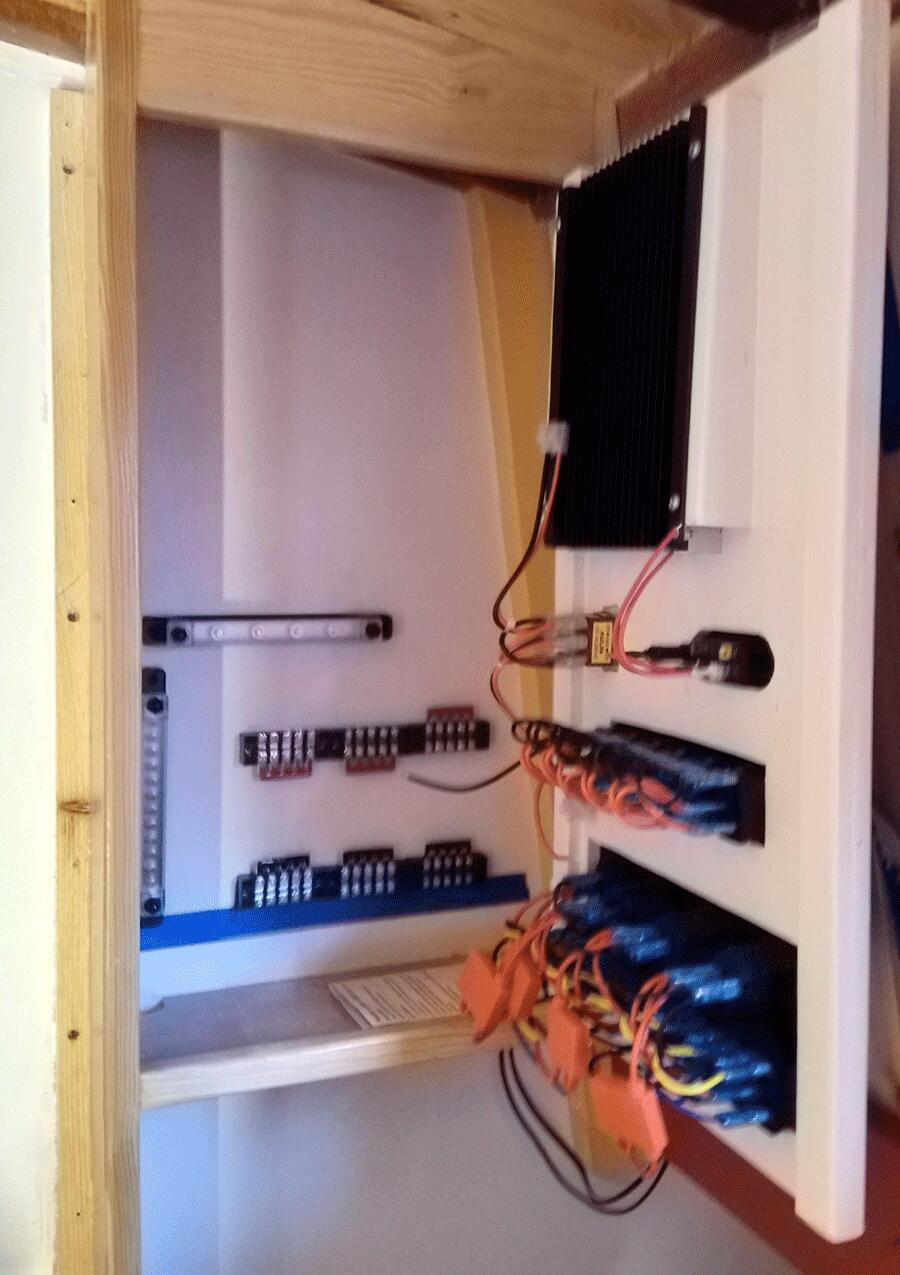
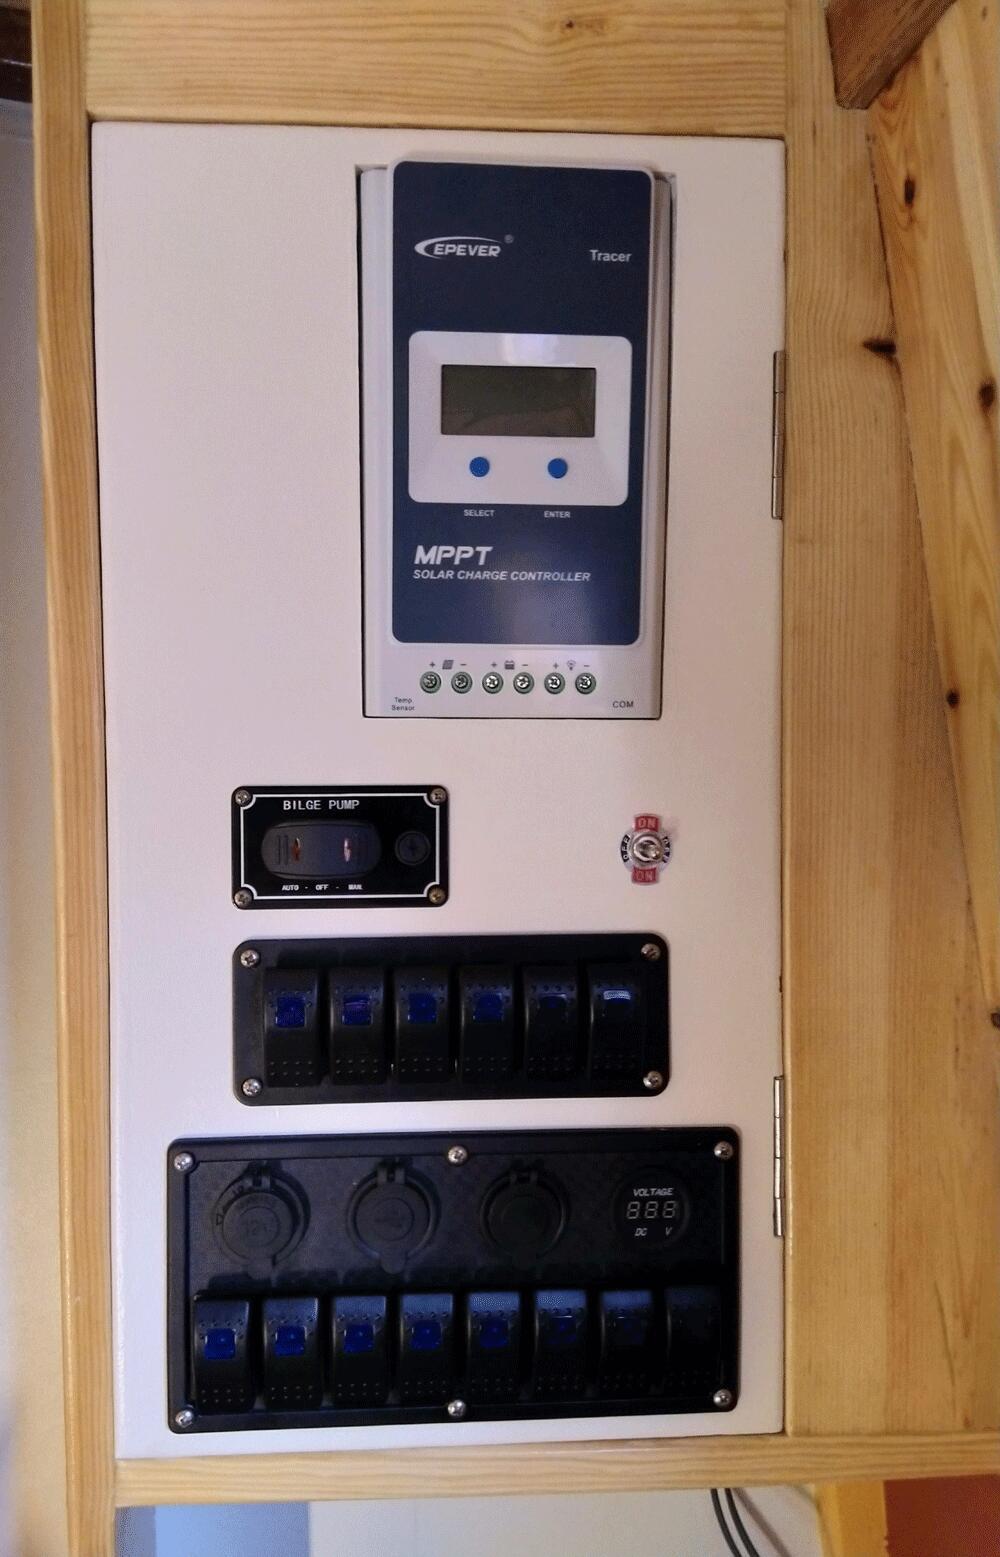
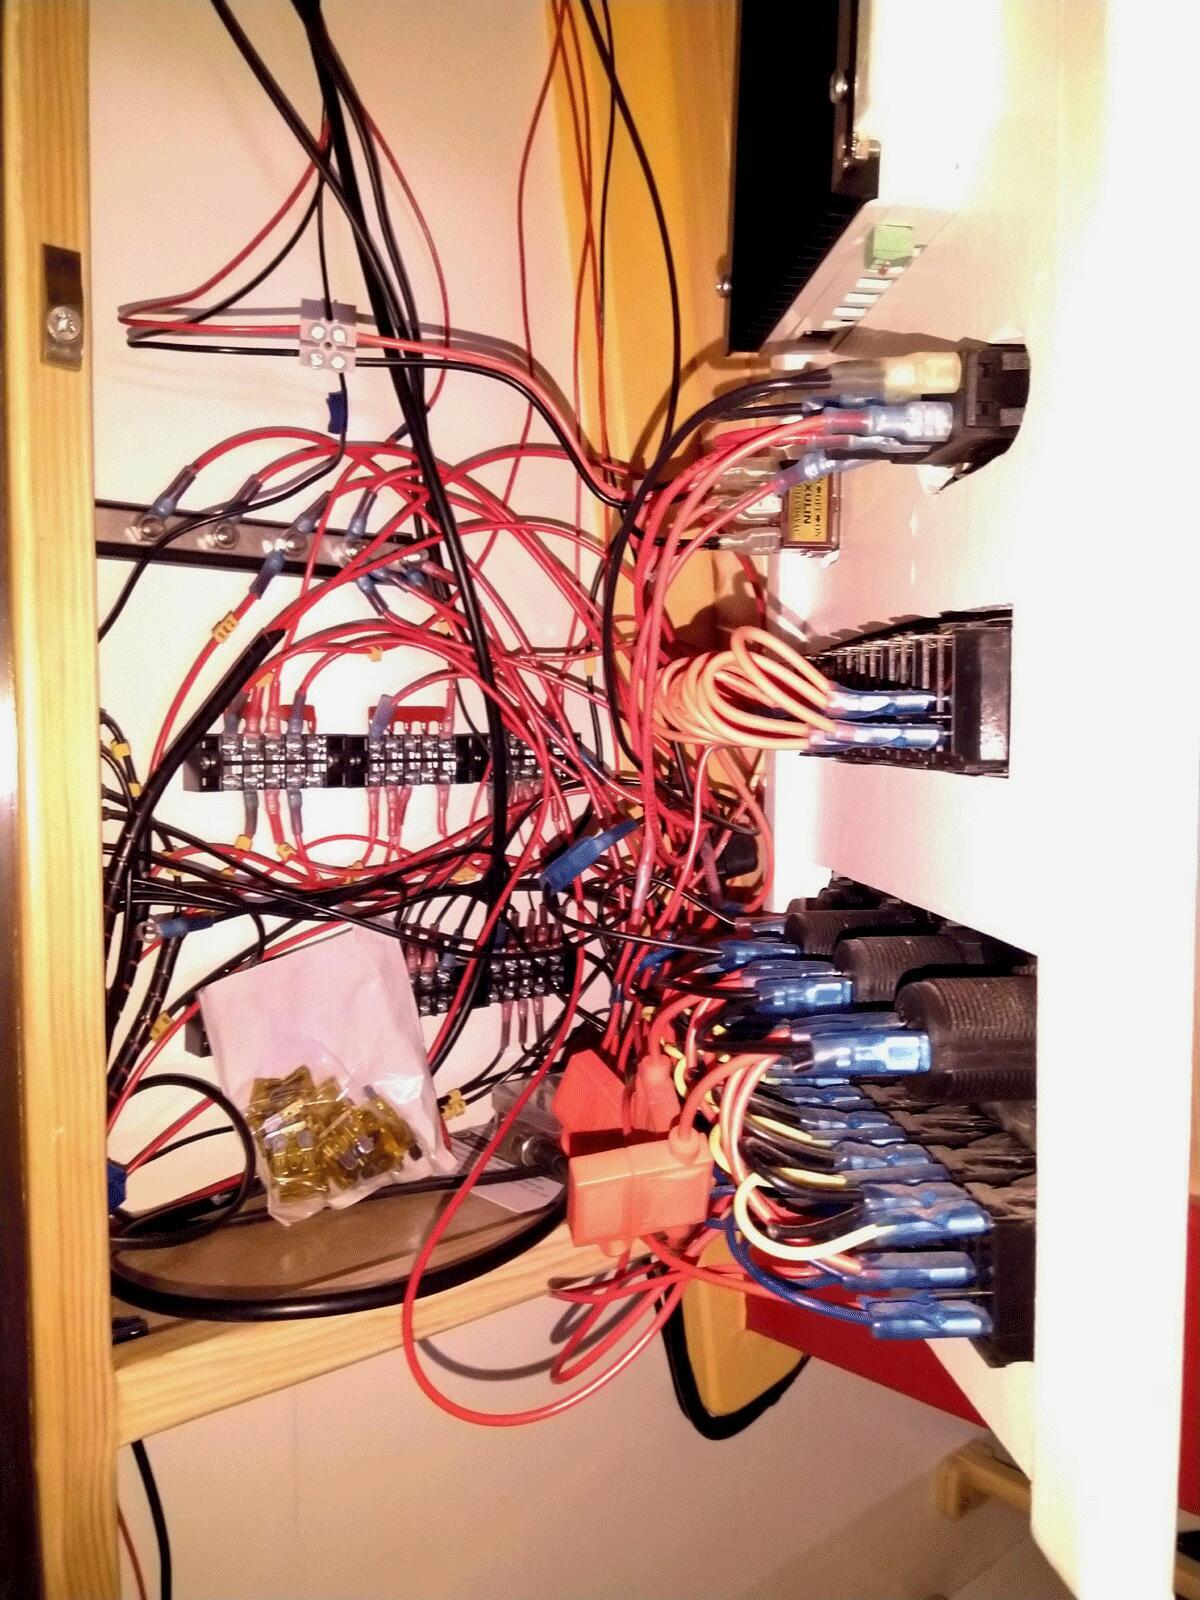
Electrical Installation
- 2 house batteries: AGM 130 Ah each
- 1 engine start battery
- 1000 Watt inverter
Engine & Tanks
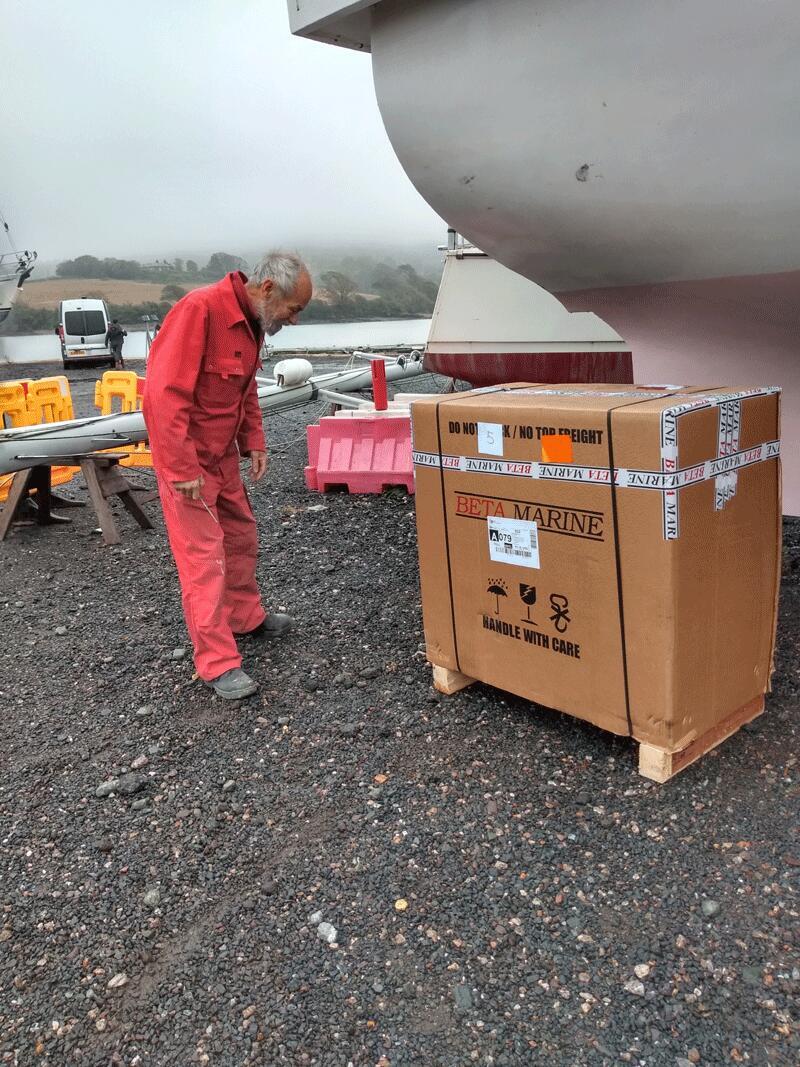
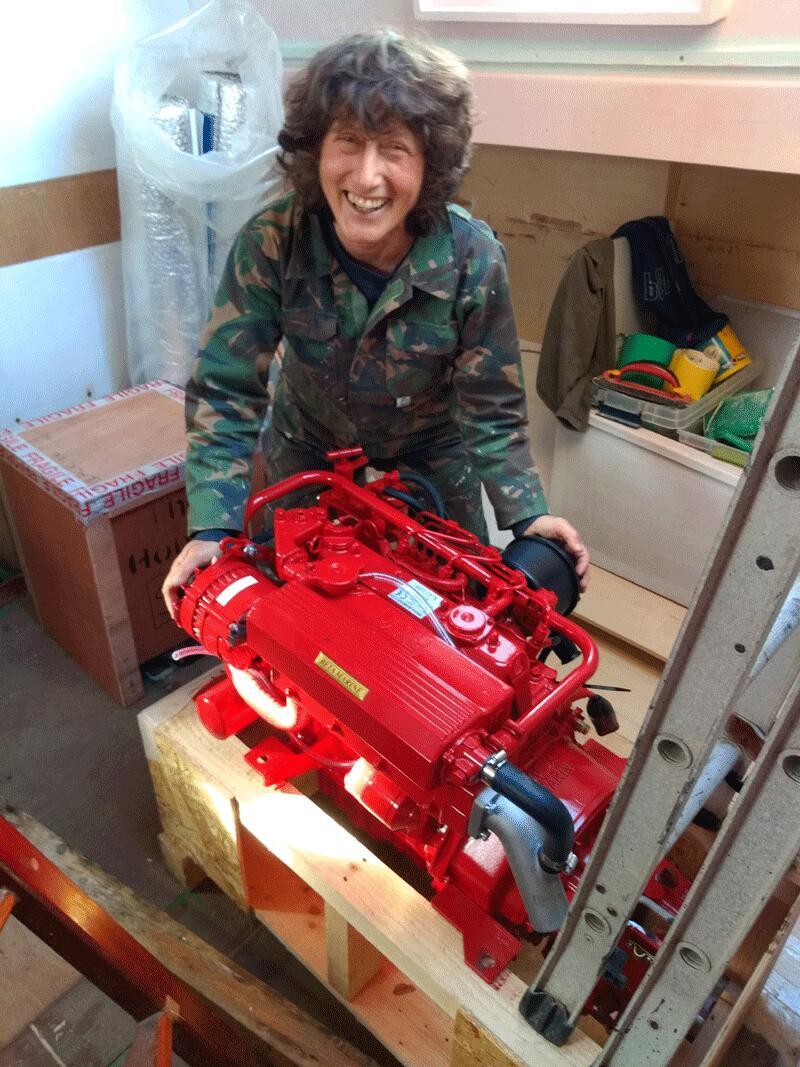
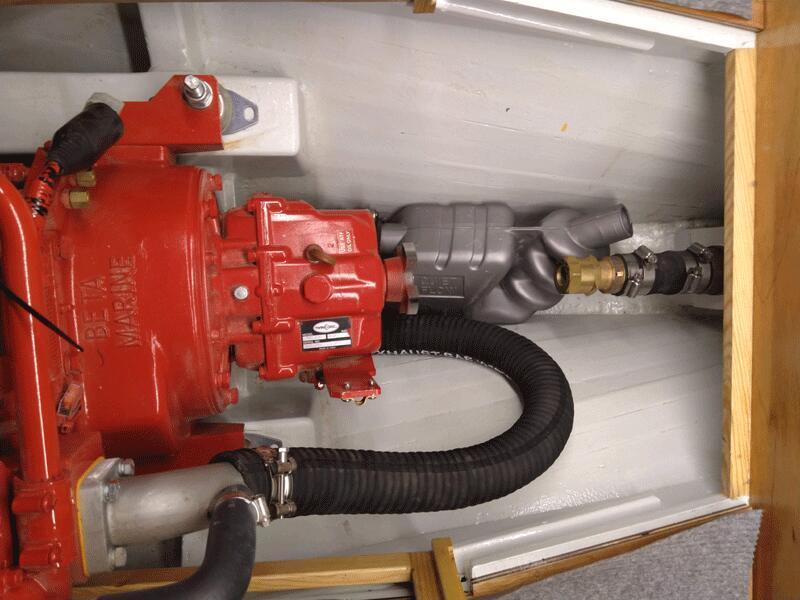
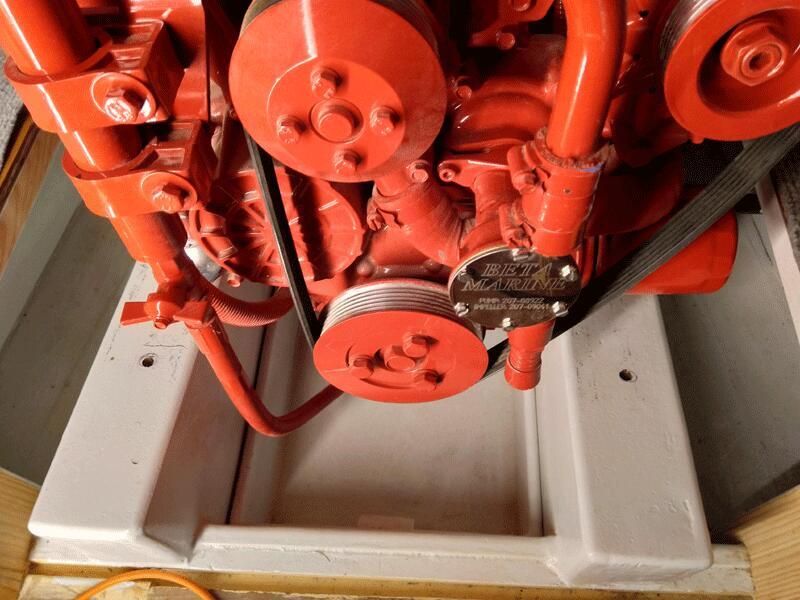
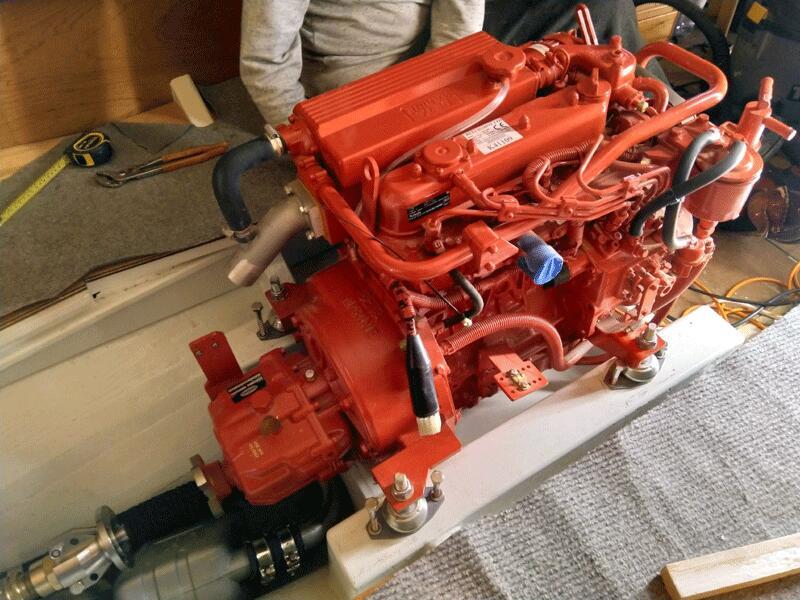
- Beta 38 HP engine
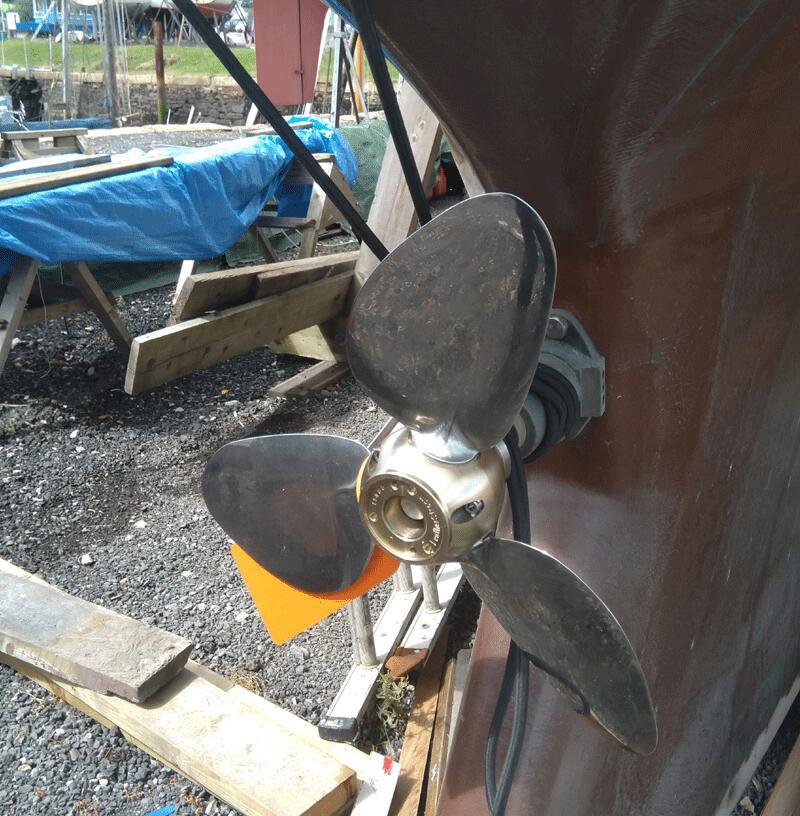
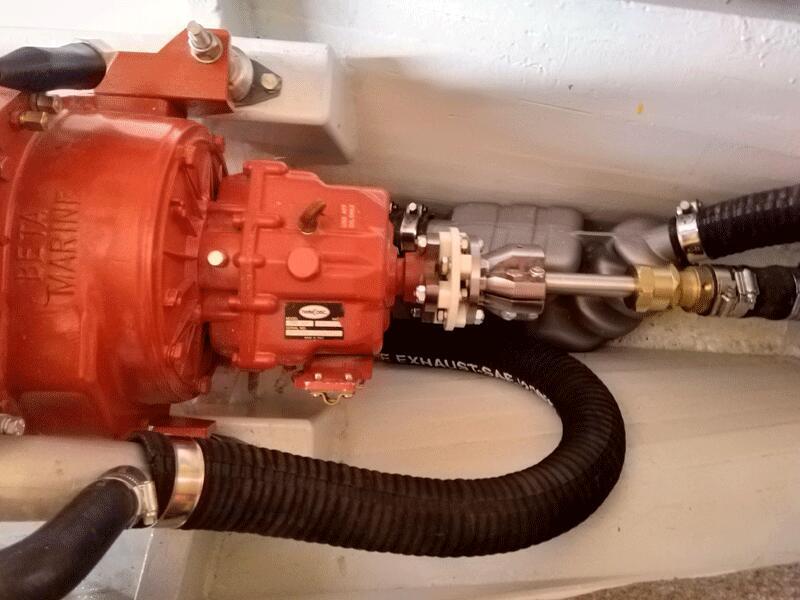
- Shaft drive and three bladed feathering propeller — Sea Stream
- 70 litres tank
Jordan Series Drogue
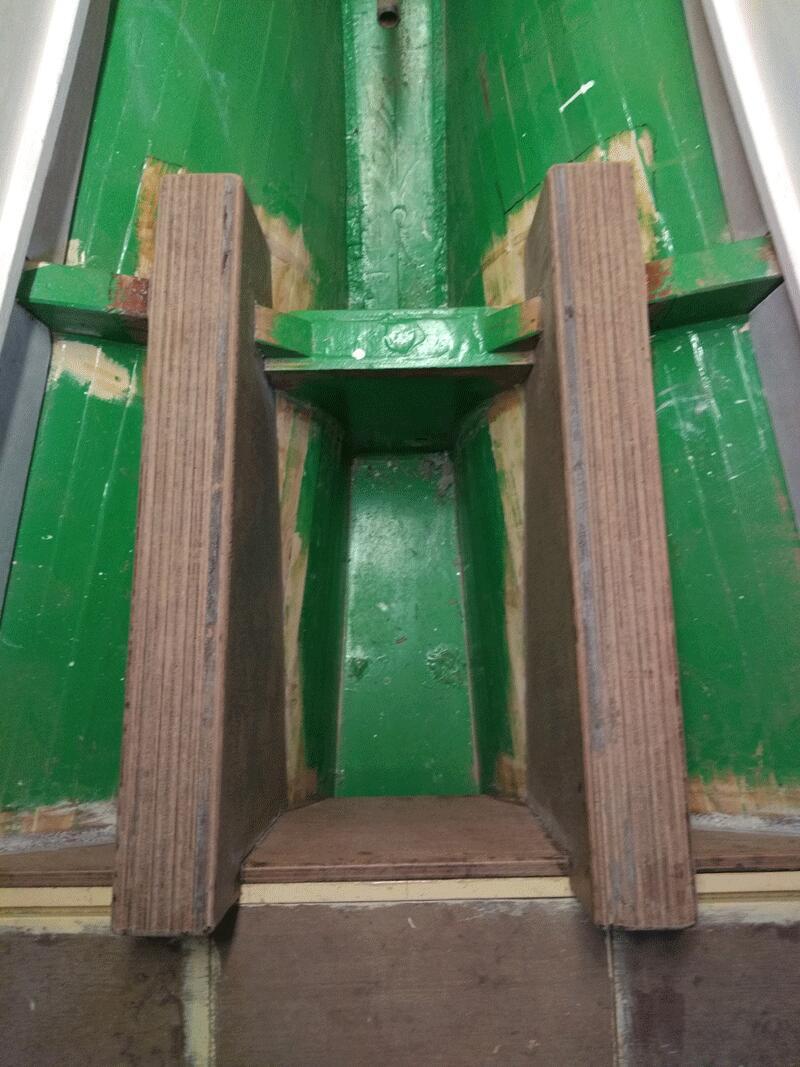
Fitted series drogue plates: 10mm stainless steel / 7 bolts — 10mm SS bolts — 4mm backing plate — 30cm long.
The Jordan Series Drogue is an indispensable insurance policy for any ocean cruiser. It appears to be the safest way to survive a severe storm. Can be purchased ready made or it is not difficult to make it yourself. jordanseriesdrogue.com
For more on the build: The Work and From Hard Work to Sailing